

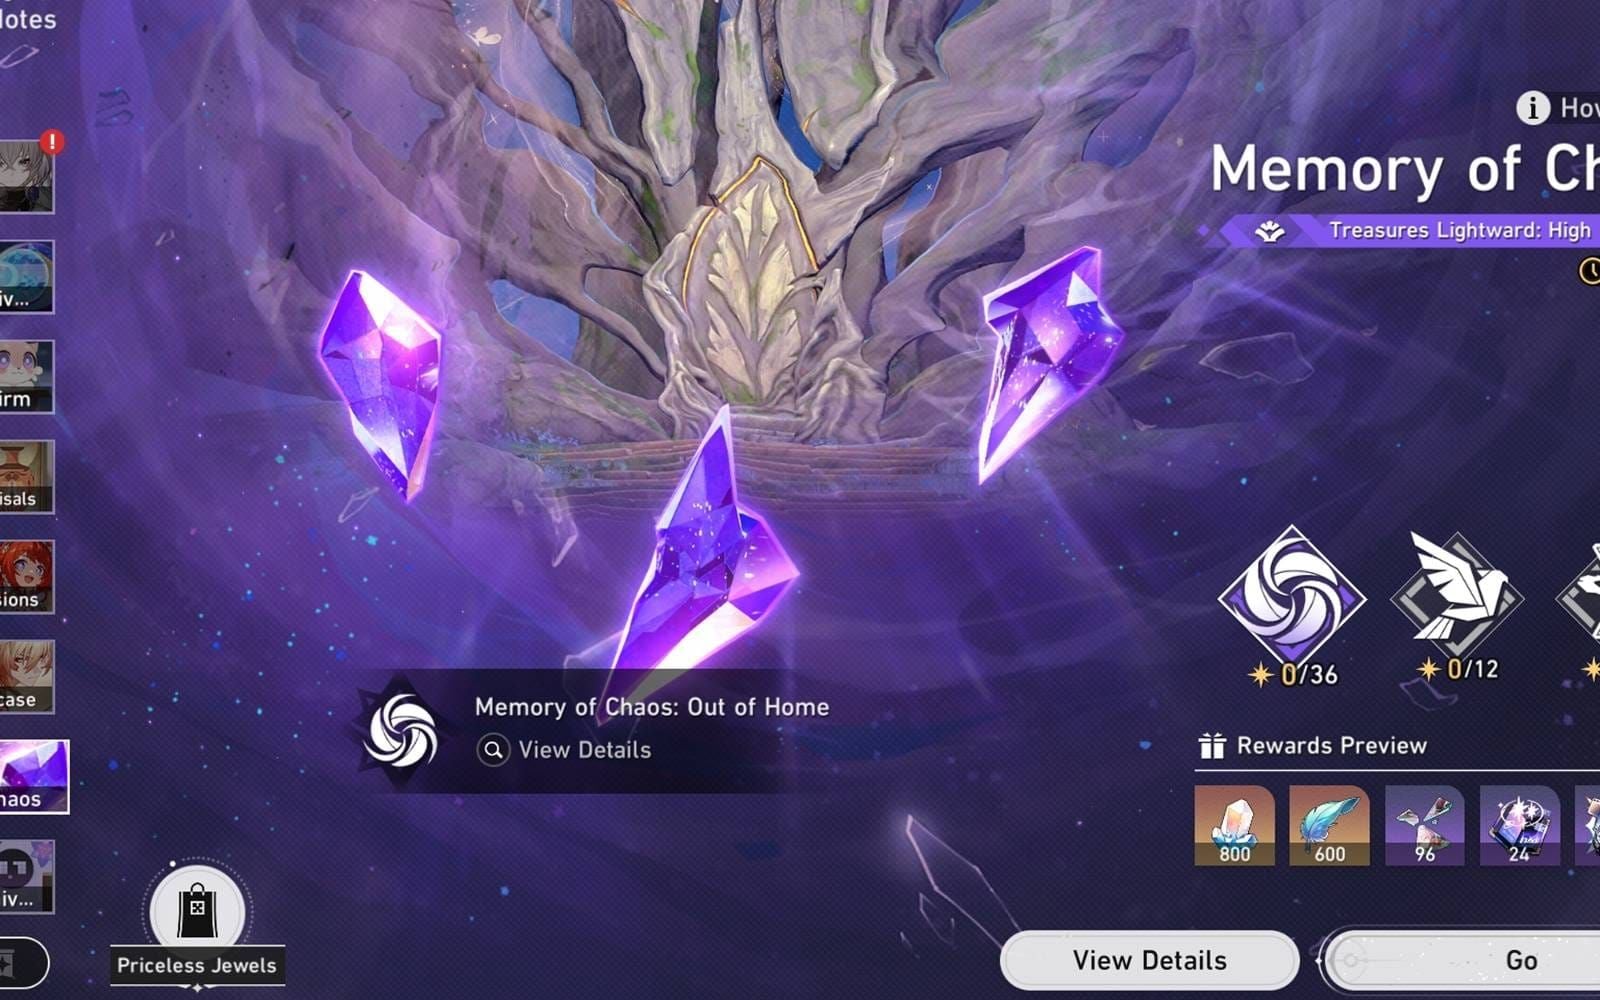
Understanding Memory of Chaos 36-Star Clear Requirements
Let's be honest—Memory of Chaos separates the casual players from those serious about maximizing their stellar jade income. Getting those 36 stars isn't just about bragging rights; it's about securing 600 stellar jades every rotation plus valuable upgrade materials.
Honkai Star Rail stellar jade top up through BitTopup provides competitive rates and instant delivery for limited banners.
The math is straightforward but unforgiving. You need 3-star ratings across all 12 floors, which means hitting specific cycle thresholds that don't care about your account's spending history.
Reward Breakdown: Stellar Jades and Progression Materials
Each MOC rotation drops 600 stellar jades for perfect completion—that's 1,200 jades monthly when you factor in the bi-weekly resets. For F2P players, this represents one of your most reliable income streams.
But here's what experienced players know: the cycle requirements get brutal fast. 10+ cycles nets you 1 star (basically participation points), 6-9 cycles gives you 2 stars, and that coveted 3-star rating? You need sub-6 cycle clears. Floor 12 is where dreams go to die—top teams are pulling off 0-1 cycle clears through pure synergy exploitation.
Cycle Count Mechanics and Star Thresholds
Every character action pushes that cycle counter forward. Premium teams consistently hit 5.5-6.5 cycle averages, while well-optimized F2P compositions should target 8-10 cycles for reliable completion.
Speed breakpoints matter more than most players realize. Hit 134+ and you're enabling first-turn ultimates. Push to 160+ and suddenly 0-cycle strategies become possible with the right action advance mechanics. Don't sleep on Memory Turbulence effects either—they're offering 40% damage boosts when you play them right.
F2P vs Premium Account Clear Rate Statistics
Here's where it gets interesting. F2P accounts achieve 85-90% of premium performance, but not through brute force—it's through superior SP management and weakness exploitation.
Premium setups gain 20-30% DPS through signature light cones and limited supports, sure. But F2P alternatives using E6 Gallagher and Pela maintain surprisingly competitive clear rates. The secret? Weakness exploitation provides 20-40% damage increases, effectively compensating for lower base stats. In practice, this means F2P players often understand the game's mechanics better than spenders.
Phainon Character Analysis for MOC Endgame
Phainon's arrival has genuinely shifted F2P MOC strategies. His unique mechanics excel in endgame content where sustained damage matters more than flashy burst windows.
Phainon Kit Breakdown: Skills, Ultimate, and Technique
The Coreflame system is brilliant in its simplicity. Phainon accumulates stacks (+1 per action, +30% CRIT DMG each), and at 12 stacks, his Enhanced State (Khaslana) grants 8 additional turns. That's an extended damage window that most bosses simply can't survive.
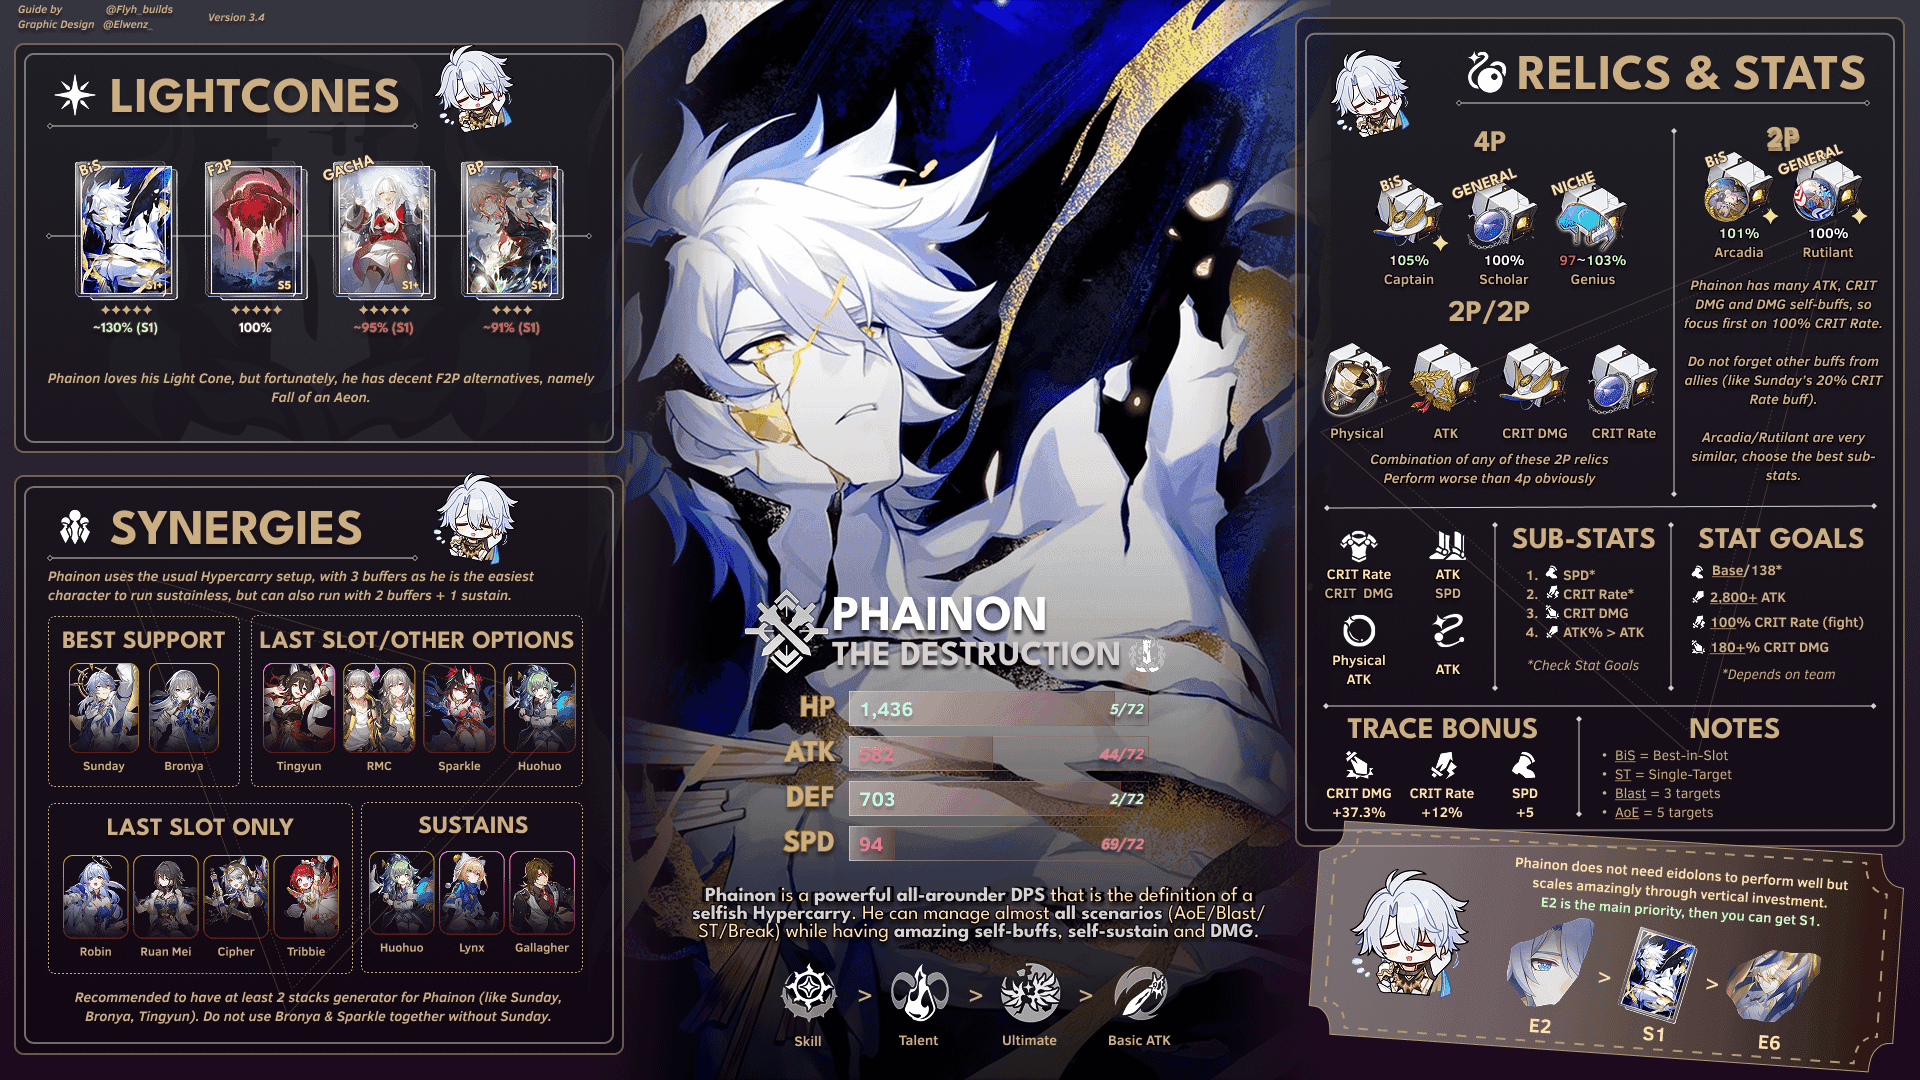
His Ultimate delivers substantial AoE damage while Enhanced Skills provide consistent single-target pressure. What works best is treating him as a marathon runner rather than a sprinter.
Optimal Skill Rotation and Energy Management
Effective rotations focus on rapid 12-stack accumulation through basic attacks and skills, then maximizing Enhanced State duration via smart SP management. Pair him with Tingyun or stack Energy Regeneration Rate rope substats—consistent Ultimate access is non-negotiable.
Phainon's Role in F2P Team Compositions
Phainon excels as a versatile Physical DPS while providing sustained damage against mixed enemy compositions. His self-sufficiency is a godsend for F2P players—you can allocate premium supports elsewhere instead of babysitting your main DPS.
Recommended team: Phainon, Tingyun, Pela, Gallagher. This composition achieves 6.5-8 cycle clears with SP neutrality. It's not flashy, but it's reliable.
Eidolon Impact Analysis for Budget Players
E0 Phainon achieves 6.55 cycles with proper support, making him accessible for F2P investment. E1 enhances stack generation, E2 provides damage amplification, but here's my advice: prioritize E0 acquisition and relic optimization over eidolon chasing. The performance gains don't justify the stellar jade cost for most players.
Reddit-Proven F2P Team Compositions for 36 Stars
The community has done the heavy lifting here. These compositions have been tested by thousands of players and consistently deliver 36-star results using accessible characters.
Buy Honkai Star Rail passes cheap through BitTopup offers secure transactions and competitive pricing.
First Half Team: Core Units and Flex Slots
The premier F2P composition centers on Acheron hypercarry with Pela (40% AoE DEF shred), Tingyun (ATK buffs), and Gallagher (healing/debuff). This team achieves 8.78 average cycles with proper investment—not whale territory, but absolutely respectable.
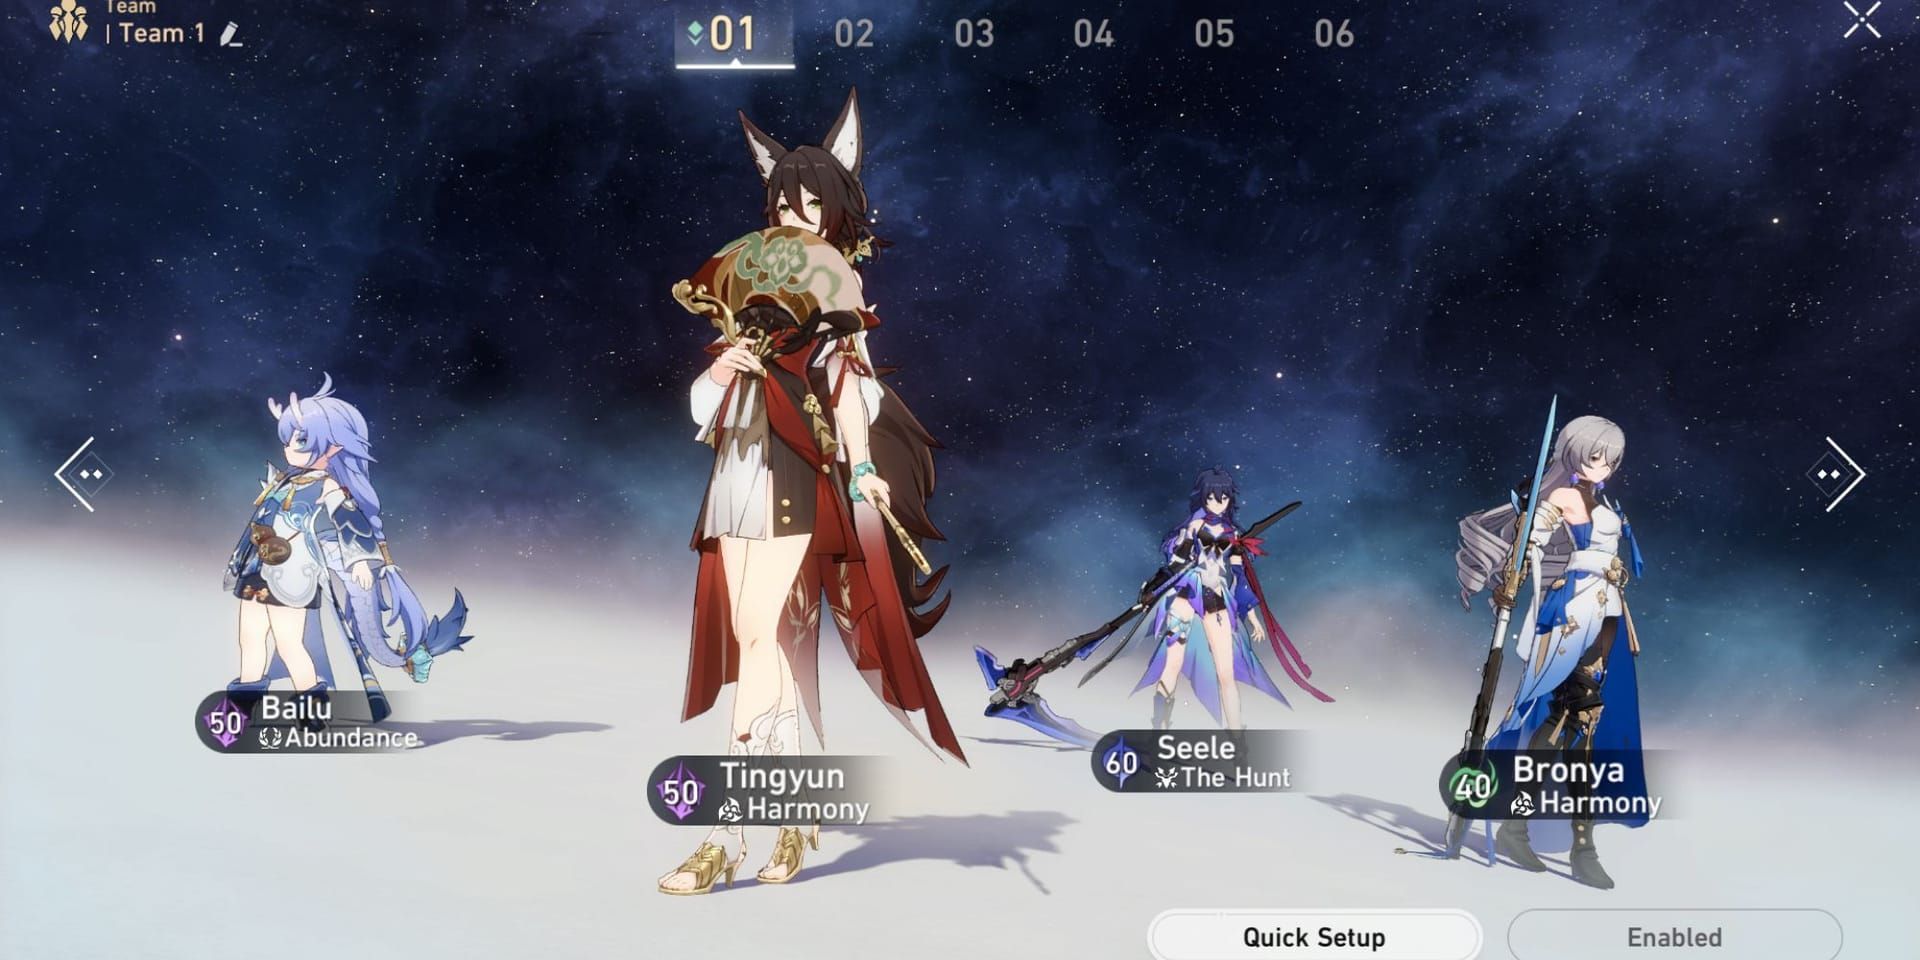
Alternatives? Dr. Ratio or Clara can substitute while maintaining similar support structures. The key is understanding that the supports are doing most of the heavy lifting.
Second Half Team: Budget-Friendly Alternatives
Second half typically features Break Effect compositions using Harmony Trailblazer, Asta (SPD buffs), and Natasha. This setup excels against Fire-weak enemies through Super Break mechanics.
Firefly F2P alternatives achieve 5.5-7 cycles using 4-piece Thief of Shooting Meteor relics and 145+ SPD. It's surprisingly effective when you nail the rotation timing.
4-Star Character Spotlight: Hidden MOC Powerhouses
E6 Gallagher offers universal sustain with debuff application—honestly, he outperforms most 5-star sustain units in MOC scenarios. Pela's DEF shred remains irreplaceable for hypercarry teams. Moze provides SP-efficient Follow-up damage, Tingyun enables consistent Ultimate rotations.
These characters often outperform 5-star alternatives in specific scenarios. Don't underestimate the 4-star roster.
Stat Benchmarks from Community Clear Data
Successful F2P clears require specific benchmarks. DPS characters need 70%+ CRIT Rate, 160%+ CRIT DMG, 3000-3500 ATK. Support characters prioritize 134+ SPD, sustain units focus DEF%/HP%.
Energy Regeneration Rate 120-140% is recommended for Ultimate-dependent strategies. These aren't suggestions—they're requirements.
Relic and Light Cone Optimization for F2P Clears
Strategic relic optimization bridges the performance gap between F2P and premium accounts. It's not glamorous work, but it's where F2P players gain their competitive edge.
Priority Relic Sets for Each Team Archetype
Hypercarry teams prioritize 4-piece Pioneer Diver (12% damage vs debuffed enemies)—perfect synergy with Acheron/Pela/Gallagher compositions. Break Effect teams utilize 4-piece Thief of Shooting Meteor (16% Break Effect scaling) for Firefly and Harmony Trailblazer setups.
Main Stat and Substat Minimum Requirements
DPS builds need CRIT Rate/CRIT DMG circlets, ATK% body, SPD boots, Elemental DMG% spheres. Support characters want SPD boots, Energy Regeneration Rate ropes, DEF%/HP% substats, Effect Hit Rate for debuff application.

Don't compromise on main stats. Substats can be optimized over time, but wrong main stats kill your damage potential.
Free Light Cone Options and Gacha Alternatives
F2P options include Dance! Dance! Dance! (universal support), River Flows in Spring (Hunt DPS), Moment of Victory (Destruction counters). The Herta Store offers 5-star light cones through currency exchange—use it.
Farming Routes for Efficient Relic Acquisition
Focus Cavern of Corrosion stages offering multiple useful sets. Prioritize stages with overlapping utility and maintain 3-6 month farming timelines for steady progression without resource waste. Patience pays off here.
Advanced MOC Cycle Optimization Techniques
This is where good players become great players. Cycle optimization requires deep understanding of action value mechanics and rotation timing.
Speed Tuning and Action Value Manipulation
Proper speed tuning ensures optimal turn order for maximum damage windows. DPS characters benefit from speed ranges enabling double-turns during vulnerability phases. Action advance through Bronya/Sunday provides optimization layers for Enhanced States or Ultimate timing.
It's complex, but the payoff is substantial.
Skill Point Economy Management
SP management determines rotation sustainability. Successful teams maintain SP neutrality through balanced generation/consumption. Sparkle provides +2 SP recovery for premium teams; F2P relies on basic attack cycling and SP-positive characters.
Ultimate Timing for Maximum Burst Windows
Coordinate Ultimate timing for enemy vulnerability phases. Stack damage buffs, DEF shreds, Ultimate bursts during Break windows or transitions. Memory Turbulence Ultimate bonuses enable sub-6 cycle clears with optimized timing.
Elemental Weakness Exploitation Strategies
Weakness exploitation provides 20-40% damage increases through resistance reduction and Break mechanics. Mixed weakness floors benefit from versatile DPS like Acheron; single-element floors favor specialized teams.
Boss Mechanics and Counter Strategies
Current MOC rotations feature specific mechanics that'll punish you for not doing your homework.
Current MOC Rotation Boss Analysis
Floor 11-12 bosses feature phase transitions and crowd control that can derail perfect runs. Furiae Praetor requires priority elimination, Dreamjolt Gorilla demands CC immunity. Ichor Memosprite exploits Break windows for vulnerability phases—nail the timing and you can skip entire phases.
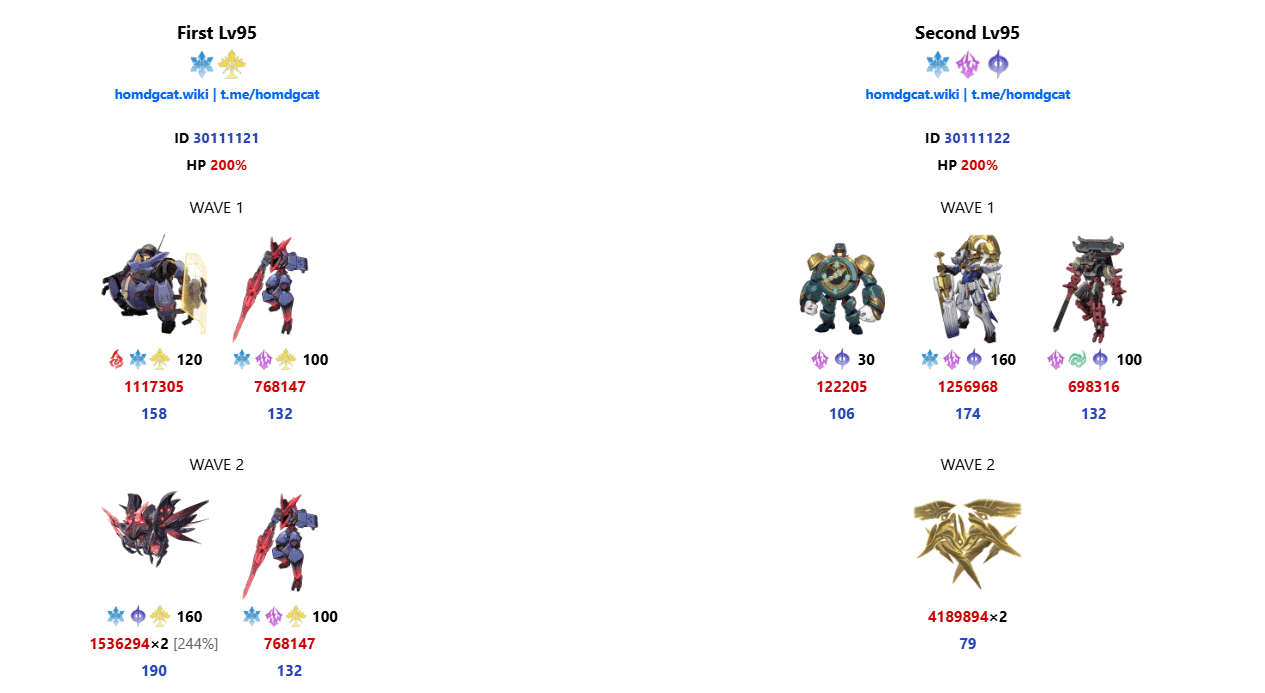
Phase Transition Triggers and Optimal Damage Windows
Boss transitions trigger at specific HP thresholds or turn counts. Understanding these triggers enables damage timing optimization during vulnerability windows. Evernight teams excel at phase skips using 200% Max HP AoE Ultimate damage.
Turbulence Buff Selection Guide
Memory Turbulence provides encounter-specific advantages when properly utilized. Current rotations favor specific damage types requiring strategic team selection. That 40% damage boost significantly impacts cycle requirements for F2P teams—don't ignore it.
Toughness Bar Break Timing for Crowd Control
Toughness Break timing provides crucial crowd control for damage concentration. Break Effect teams excel through Harmony Trailblazer and Ruan Mei synergies. Strategic timing disables boss mechanics while maximizing damage windows.
Resource Management for Sustained MOC Success
Smart resource allocation separates players who occasionally hit 36 stars from those who do it consistently.
Stellar Jade Allocation Strategy
F2P allocation should prioritize limited characters offering significant MOC improvements over incremental upgrades. Phainon's banner (November 26 - December 16) represents strategic investment for Physical weakness coverage.
Avoid eidolon chasing for roster expansion—it's a trap.
Trailblaze Power Efficiency for Endgame Prep
Relic farming represents highest-impact investment for MOC preparation. Focus versatile sets serving multiple archetypes. Balance guaranteed upgrades (ascension/talents) with relic optimization for steady progression.
Character Investment Priority Tier List
S-Tier F2P investments: E6 Gallagher (universal sustain), Pela (irreplaceable DEF shred). Standard 5-stars like Dr. Ratio, Clara, Bronya offer premium performance with guaranteed acquisition, providing better long-term value than limited banner chasing.
Frequently Asked Questions
Can F2P players realistically achieve 36 stars in Memory of Chaos? Absolutely. F2P players consistently achieve 36-star clears with proper team building and relic investment. Community data shows 85-90% of premium performance through strategic selection and mechanical mastery. You'll need 3-6 months of focused preparation, but it's definitely achievable.
Is Phainon necessary for current MOC 36-star clears? Not necessary, but he provides significant value for Physical weakness floors. His 6.55 cycle E0 performance offers competitive speeds, while F2P alternatives using Acheron, Firefly, or Dr. Ratio remain perfectly viable.
What are minimum stat requirements for MOC 36-star clears? DPS characters need 70%+ CRIT Rate, 160%+ CRIT DMG, 3000-3500 ATK. Support characters want 134+ SPD for turn order. Sustain units focus DEF%/HP% scaling with adequate Effect Hit Rate. These aren't guidelines—they're requirements.
How many cycles are needed for 3-star ratings? Most floors require sub-6 cycles for 3-star ratings, with Floor 12 demanding exceptional optimization. F2P teams should target 8-10 cycles, while premium setups achieve 5.5-6.5 cycles.
Which 4-star characters provide the best MOC value? E6 Gallagher (universal sustain/debuff), Pela (40% AoE DEF shred), Tingyun (energy support), Moze (SP-efficient Follow-up damage). These characters often outperform 5-star alternatives in specific scenarios.
What causes the most common MOC failures? Ignoring elemental weaknesses (20-30% damage loss), insufficient debuff stacking, poor SP management causing rotation breakdowns, inadequate speed tuning, and improper Ultimate timing. Most failures come down to preparation, not account limitations.


