

Who Is Jahoda? Character Overview and Meta Role
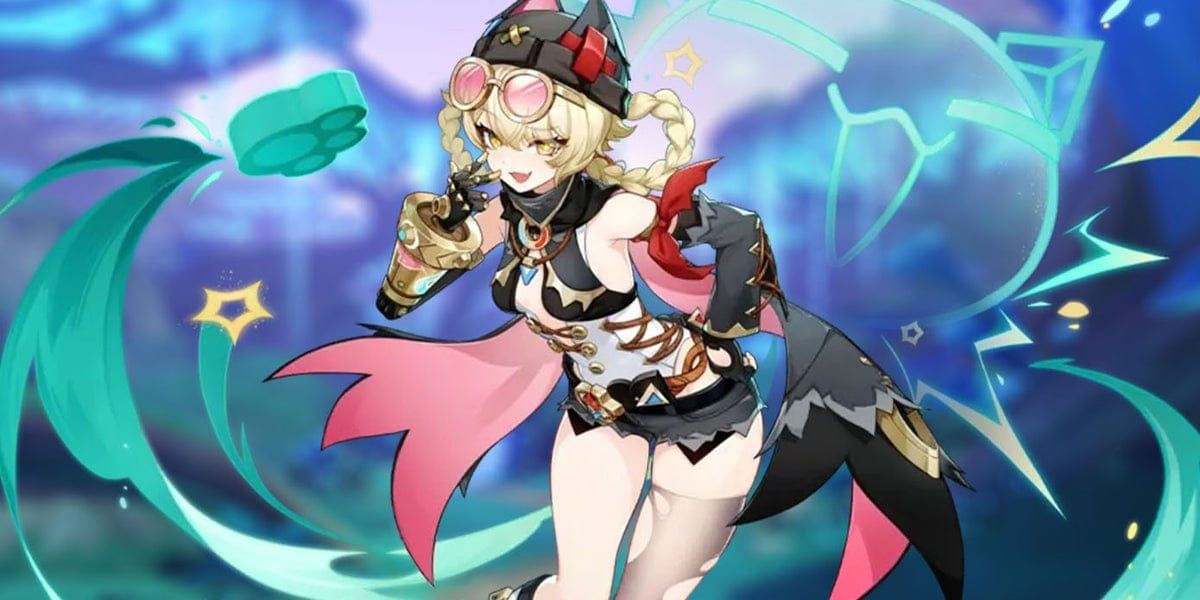
Let's cut straight to what makes Jahoda special. She's a 4-star Anemo Bow user from Nod-Krai who solves a problem many players face: choosing between healing and elemental support. With Jahoda, you don't have to.
Her kit revolves around those adorable robotic companions that follow her around, absorbing enemy elemental auras and converting them into sustained off-field damage. At level 90, she sits at 9,646 HP, 223 ATK, and 580 DEF—modest numbers that scale surprisingly well thanks to her 18.5% Heal Bonus ascension stat.
What really sets her apart? The Moonsign synergies. If you're planning to pull for any Nod-Krai characters, Jahoda becomes nearly essential.
For players looking to secure her at release, Genshin Impact top up center offers reliable primogem packages with instant delivery—something I've personally used during tight banner windows.
Her Role in Your Teams
Think of Jahoda as your Swiss Army knife support:

- VV Shred Specialist: That crucial 40% elemental resistance reduction through Viridescent Venerer
- Sustained Healer: ATK-scaling heals that actually keep up with damage
- Elemental Manipulator: Absorbs and redistributes enemy auras in ways that feel almost unfair
- Moonsign Amplifier: Passive buffs that make Moonsign characters significantly stronger
Here's what I love about her design—she's fully functional at C0. Sure, constellations help, but you're not missing core functionality if you can't afford to chase them.
Breaking Down Jahoda's Kit: Skills and Talents
Normal Attack: Strike While the Arrow's Hot
Honestly? Skip this entirely. Her normal attack multipliers (82.4% / 38.0% x2 / 101.2% at level 10) aren't why you're using her. Save your resources for what actually matters.
Elemental Skill: Savvy Strategy - Splitting the Spoils

This is where things get interesting. Her skill puts her into Shadow Pursuit state—basically a dash that absorbs elemental auras from enemies. The absorption follows a strict priority: Pyro > Hydro > Electro > Cryo.
Here's a pro tip I learned the hard way: you can tap the skill again to cancel the dash early. This lets you grab the elemental absorption without committing to the full animation, keeping your rotations tight.
When she's enhanced by Moonsign effects (called Ascendant Gleam), those Fluffy Meowball attacks become genuinely threatening, dealing stored elemental damage and generating 2 Energy per hit. The 3.5-second cooldown means consistent particle generation—something energy-hungry teams desperately need.
Elemental Burst: Hidden Aces - Seven Tools of the Hunter
At level 10, this hits for 372.96% Anemo damage upfront, then summons two robots for 12 seconds. Each robot deals 31.1% damage while healing your active character for 143.8% ATK + 1,102 HP, plus an additional 55.3% ATK + 424 HP to whoever needs it most.
The 70 Energy cost feels steep until you realize how much utility you're getting. In practice, proper ER investment makes this a non-issue.
Passive Talents: The Real Game-Changers
Plan to Get Paid is where Jahoda's versatility shines. Depending on your team's elements, those robots get dramatically different enhancements:
- Pyro teams: +130% robot damage (yes, really)
- Hydro teams: +120% healing effectiveness
- Electro teams: An additional robot
- Cryo teams: -10% attack interval
Sweet Berry Bounty provides +100 EM for 6 seconds when robot healing affects allies above 70% HP. This synergizes beautifully with Furina teams.
Moonsign Benediction gives +1 level to party Moonsign abilities. If you're running Nod-Krai characters, this passive alone justifies her slot.
Talent Priority That Actually Works
- Elemental Burst to 8-9+: Your healing and damage foundation
- Elemental Skill to 6+: Adequate off-field contribution
- Normal Attack: Don't. Just don't.
Best Weapons: From F2P to Premium Options
Premium 5-Star Choices
Elegy for the End (R5) remains her best-in-slot for pure support. The 608 base ATK and 55.1% ER solve energy problems while providing +120 EM to Jahoda and triggering team buffs (+200 EM, +40% ATK for 12s). It's expensive, but the team-wide value is undeniable.
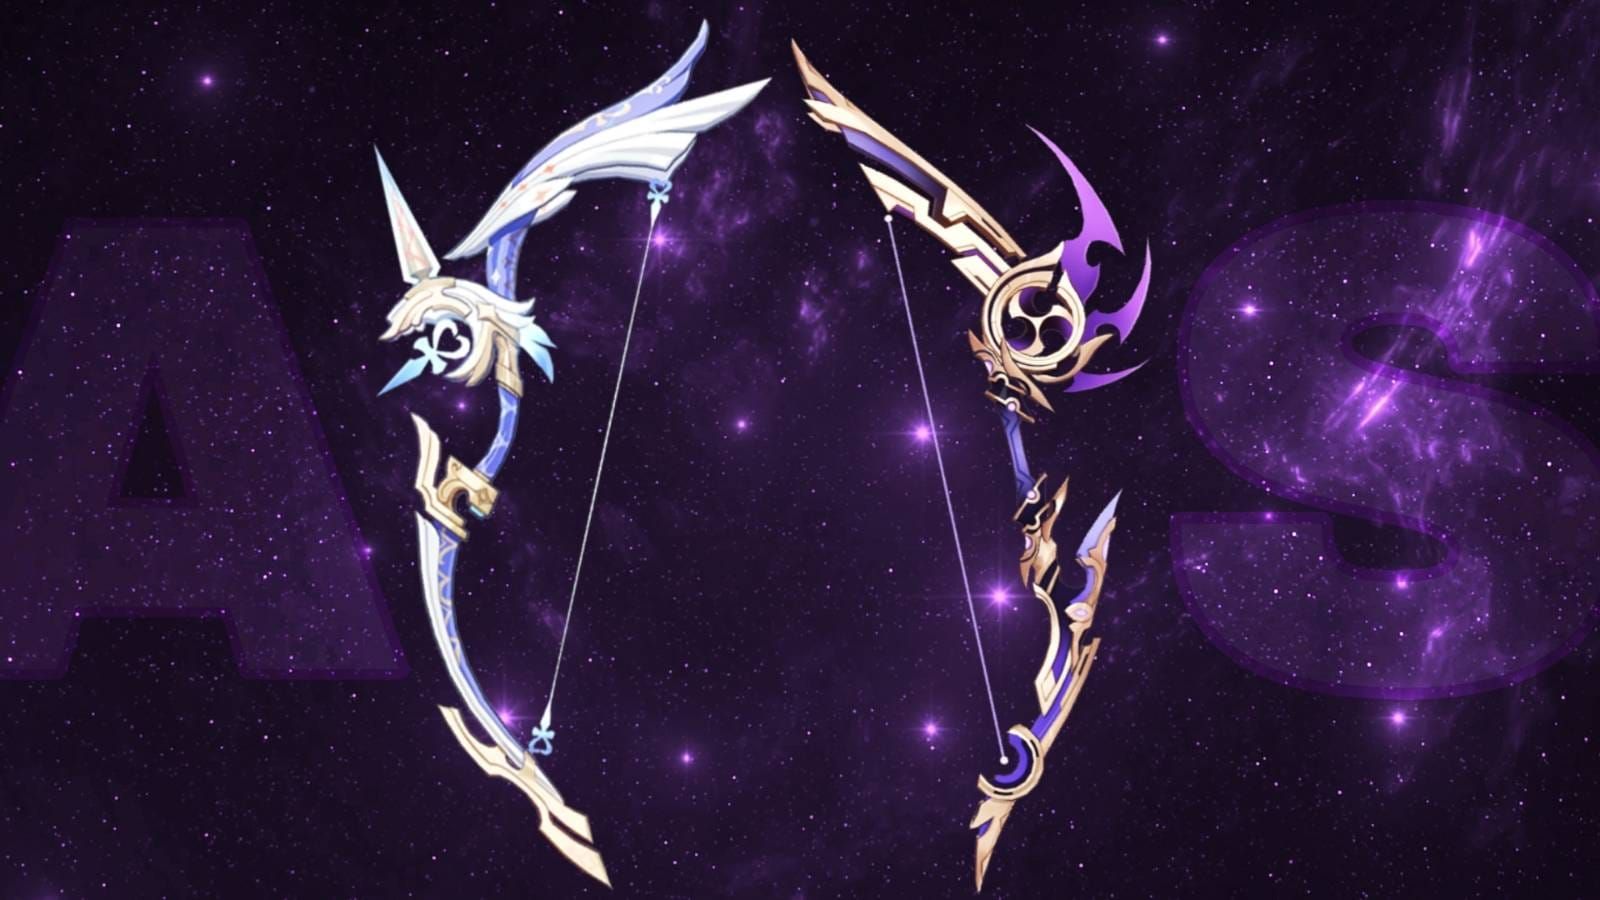
The Dawn of Distanthymn is her signature weapon with 674 ATK and 44.1% CRIT DMG. The Rising Dawnwind passive grants +60-120% damage bonus out of combat, though it decays in battle. More damage-focused than Elegy, but less team utility.
4-Star Weapons That Deliver
Rainbow Serpent's Rain Bow (R4/R5) is your best 4-star option. 510 base ATK with 45.9% ER, plus a passive that grants +56% ATK for off-field damage dealers. Perfect for Jahoda's robot mechanics.
Snare Hook deserves special mention as a craftable alternative. 454 base ATK, 61.3% ER, and +120 EM for 12s on reactions. During Ascendant Gleam, that becomes +240 EM total. For Moonsign builds, this weapon punches above its weight.
F2P Reality Check
Favonius Warbow (R4/R5) solves the energy problem most F2P players face. 454 base ATK, 61.3% ER, and 6 Energy generation every 6 seconds with CRIT hits. You'll need CRIT Rate substats, but the energy return dramatically reduces your ER requirements.
The math works out to roughly 35% less ER needed from artifacts when Favonius procs consistently.
Artifact Sets and Stats: What Actually Matters
Set Bonuses That Work
Viridescent Venerer (4-piece) is your default choice. +15% Anemo damage, +60% Swirl damage, and that crucial -40% enemy elemental resistance for 10 seconds. Universal value that never goes out of style.
Silken Moon's Serenade (4-piece) is for Moonsign specialists. +20% ER, +120 EM during Ascendant Gleam, and +10% Lunar Reaction damage per Gleaming Moon effect. If you're committed to Nod-Krai teams, this can outperform VV.
Noblesse Oblige (4-piece) works as a budget option when someone else is running VV. +20% Burst DMG and +20% team ATK post-burst provides solid team support.
Main Stats Priority
- Sands: Energy Recharge until you hit 200%+, then ATK%
- Goblet: ATK% for healing focus, Anemo DMG% for damage focus
- Circlet: Healing Bonus or CRIT Rate (Favonius weapons only)
Substat Reality Check
Support Build Priority:
- Energy Recharge (200-250%, drops to 165-200% at C4)
- CRIT Rate (50%+ for Favonius weapons)
- ATK% (scales everything she does)
- Elemental Mastery (reaction damage)
Moonsign Build Priority:
- Energy Recharge (180-200% minimum)
- Elemental Mastery (reaction scaling)
- ATK% (base scaling)
- CRIT Rate (if using Favonius)
Team Compositions: Where Jahoda Shines
Premium Moonsign Composition
Lunar-Charged Team: Jahoda + Flins + Ineffa + Aino
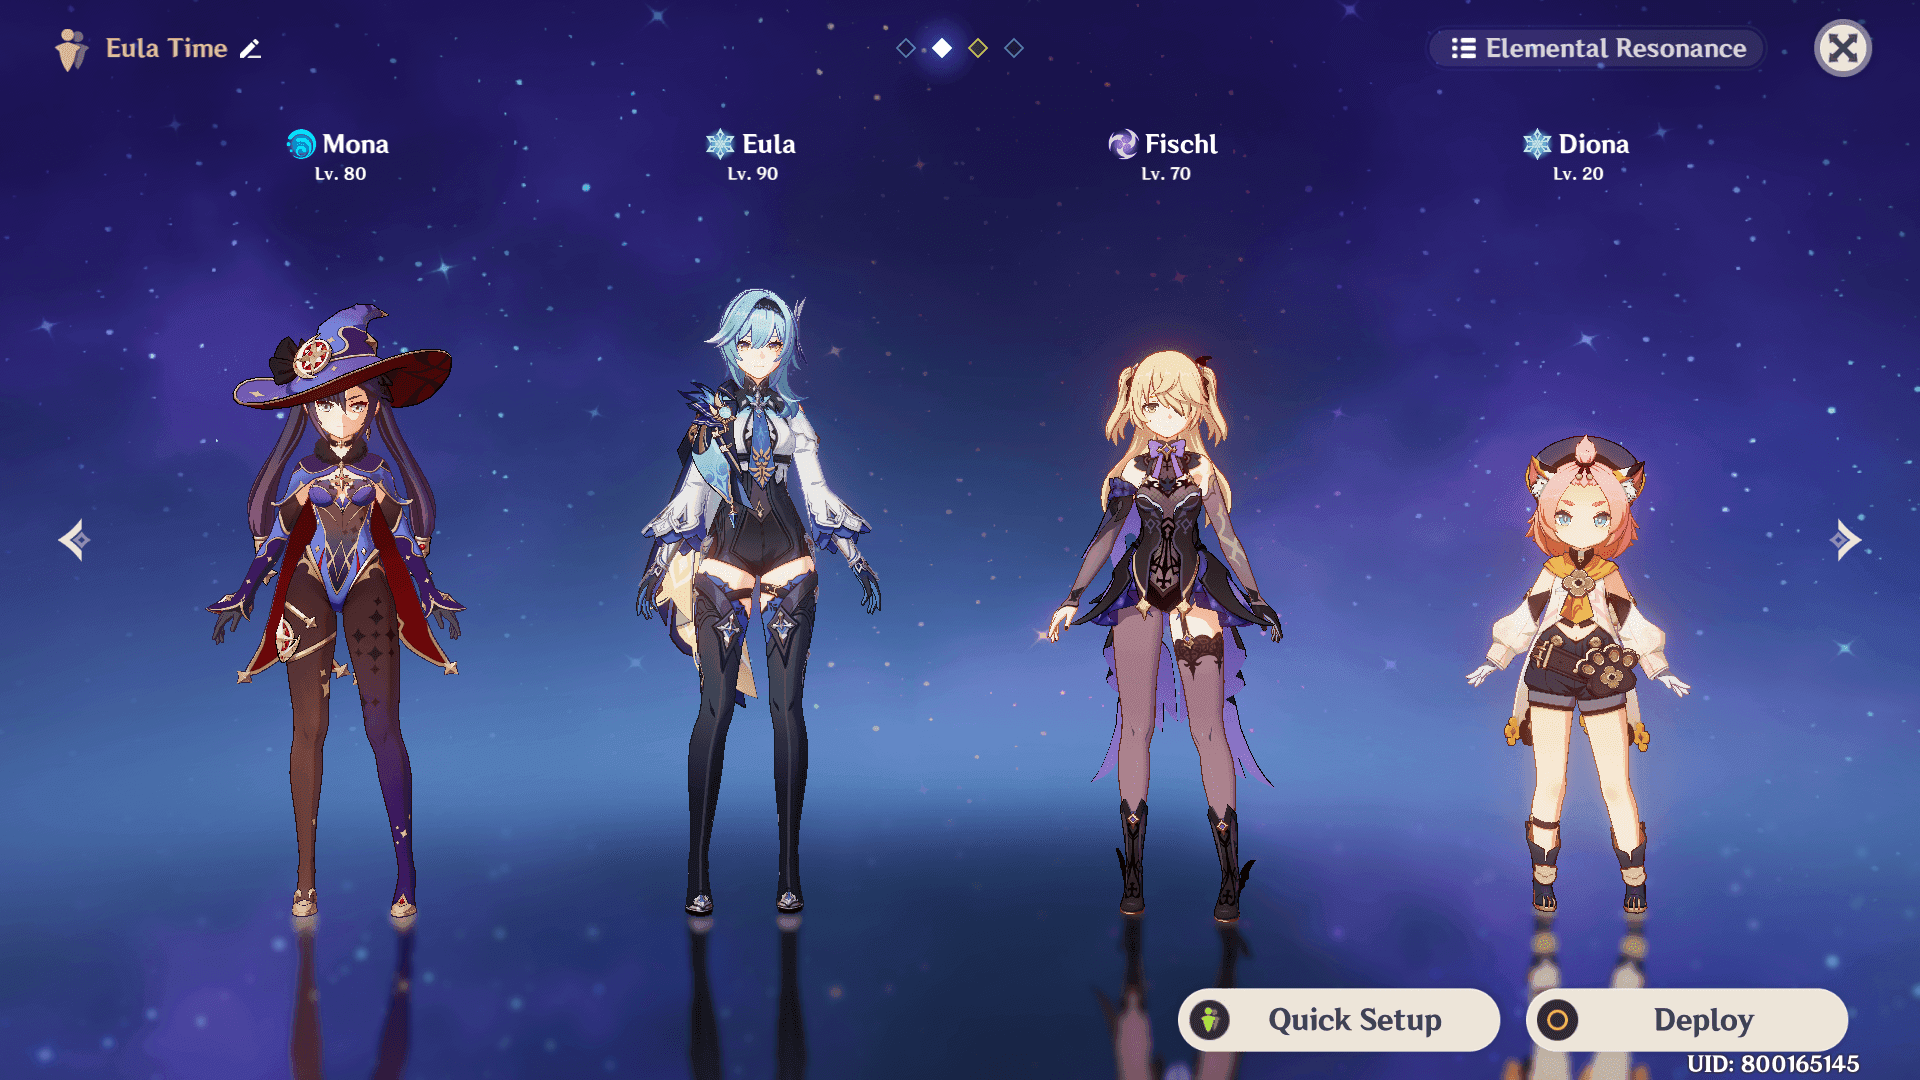
This is where Jahoda reaches her full potential. The rotation flows like this:
- Ineffa Skill/Burst (Hydro application)
- Aino Burst/Skill (Electro setup)
- Jahoda Skill (full flask absorption for C6 buffs)
- Flins Skill/Burst/Normals (main DPS window)
- Jahoda Burst (healing and robot deployment)
Jahoda runs Elegy + 4VV while Flins carries Bloodsoaked Ruins + 4-piece Night of Sky's Unveiling. The synergy is remarkable.
F2P Friendly Option
Vaporize Team: Jahoda + Yanfei + Yun Jin + Xingqiu
More accessible but still effective:
- Xingqiu Burst/Skill (Hydro application)
- Yun Jin Burst (Normal Attack buffs)
- Jahoda Skill (VV shred)
- Yanfei Charged Attacks (Vaporize damage)
Experimental Compositions
Vapemelt: Jahoda + Mavuika + Citlali + AinoAggravate: Jahoda + Clorinde + Nahida + Fischl
Both work surprisingly well, though they require more investment to optimize.
Character Synergies Worth Noting
- Moonsign Characters: That +1 Moonsign level provides substantial damage increases
- Furina: Healing above 70% HP builds Fanfare while Jahoda gets +100 EM
- Energy-Hungry DPS: Her particle generation supports consistent burst uptime
Players pushing for Spiral Abyss optimization can secure additional wishes through cheap Genesis Crystals for new Natlan banner.
Constellation Guide: C0 to C6 Value Analysis
C0 Performance Reality
You get complete access to her core functions: VV shred, ATK-scaling healing, elemental absorption, and Moonsign synergies. The main limitation? Energy management requiring 200-250% ER investment.
But here's the thing—that's totally manageable with proper artifact farming.
Constellations Worth Considering
C1: 50% chance for Fluffy Meowballs to bounce for additional damage and energy. Solid value for Moonsign builds, skippable otherwise.
C2: Tracks a second dominant element for dual enhancements. This transforms her utility in mixed-element compositions. Game-changing for flexible team building.
C4: Robot elemental conversion recovers 4 Energy, reducing ER requirements by roughly 35%. This significantly improves rotation fluidity and artifact flexibility.
C6: Full flask buffs provide Moonsign characters +5% CRIT Rate and +40% CRIT DMG for 20s. If you're committed to Moonsign teams, this is transformative.
Damage Increases by Constellation
- C1: 15-25% DPS increase in Moonsign teams
- C2: 20-30% utility improvement in mixed teams
- C4: 10-15% effective DPS through rotation improvement
- C6: 30-50% DPS increase for Moonsign DPS characters
Ascension Materials and Farming Strategy
Complete Shopping List
Character Ascension (1-90):
- Vayuda Turquoise: 1 Sliver, 9 Fragments, 9 Chunks, 6 Gemstones
- Lightbearing Scale-Feather: 46 total (Radiant Moonfly boss)
- Drive Shaft components: 18 Broken, 30 Reinforced, 36 Precision Axle
- Portable Bearing: 168 total (Lempo Isle local specialty)
- Mora: 420,000
All Talents to 10:
- Ascended Sample: Knight: 18 total (weekly boss limitation)
- Vagrancy books: 9/63/114 (Teachings/Guide/Philosophies)
- Drive Shaft components: 18/66/93
- Crown of Insight: 3 total
- Mora: 4,957,500
Farming Locations and Tips
Lightbearing Scale-Feather: Radiant Moonfly boss in underground caves near Lempo Isle. Standard world boss mechanics.
Portable Bearing: Scattered across Lempo Isle—Clink-Clank Krumkake Craftshop, Blue Amber Lake, Barrowmoss Barrens, Nothing Passage. 48-hour respawn cycle, so mark your calendar.
Drive Shaft Materials: Landcruiser enemies throughout Nod-Krai region. They're everywhere once you know what to look for.
Vagrancy Books: Lightless Capital Domain on Wed/Sat/Sun. Plan accordingly.
Pre-farming Strategy
Start with Knight samples immediately—you need 18 total, and weekly limitations mean 6+ weeks of consistent farming. Crown of Insight from events should be your second priority since availability is limited.
Advanced Gameplay: Rotations and Pro Tips
Standard Support Rotation
Basic Framework:
- Deploy team skills/bursts for elemental application
- Jahoda Skill (absorb priority element, tap to cancel dash)
- Continue DPS rotation
- Jahoda Burst when healing needed
- Repeat based on cooldowns and energy
Advanced Techniques That Matter
Skill Dash Canceling: Tap skill immediately to stop Shadow Pursuit dash. This enables quick absorption without extended animations that waste rotation time.
Burst Animation Optimization: Cancel through character swap after robot deployment to reduce rotation time by roughly 0.5 seconds.
Energy Management Deep Dive
ER Thresholds:
- 200-250% ER for solo battery situations
- 180-200% ER with team energy support
- 35% reduction at C4 (game-changing)
Particle Optimization:
- Skill in Moonsign state generates consistent particles
- Favonius procs provide 6 Energy every 6s with proper CRIT Rate investment
- Team energy support through other Anemo characters
Common Mistakes I See
- Ignoring absorption priority (Pyro > Hydro > Electro > Cryo)
- Overextending skill duration and wasting rotation time
- Poor burst timing not coordinated with team healing needs
- Insufficient ER investment creating rotation gaps
Meta Analysis: Tier Ranking and Pull Value
Where She Stands
Moonsign Teams: S-tier support (irreplaceable synergies) General Anemo Support: A-tier (competes directly with Sucrose and Sayu) Healing Support: A-tier (unique VV shred + sustain combination) F2P Accessibility: S-tier (5-star utility at 4-star cost)
Character Comparisons
vs Sucrose: Jahoda trades EM sharing and crowd control for healing and Moonsign synergies. Different tools for different problems.
vs Sayu: Jahoda offers superior damage contribution and team utility, while Sayu provides better exploration value.
vs Jean: Jean wins on raw healing and cleansing, but Jahoda offers better energy generation and specialized buffs.
Pull Value Assessment
High Priority If:
- You're investing in Moonsign/Nod-Krai characters
- Your account lacks Anemo support options
- You need healing without sacrificing VV utility
- You're F2P seeking versatile 4-star supports
Lower Priority If:
- You have established Jean/Sucrose/Venti accounts
- You're avoiding Moonsign compositions entirely
- Your roster focuses purely on DPS optimization
- Limited primogems need to prioritize 5-stars
The bottom line? C0 provides full functionality. Higher constellations offer substantial improvements but aren't required for success.
Banner Strategy: How to Get Jahoda
Banner Details
Release: Version 6.2 Luna III Phase 1, December 3-23, 2025 Featured Characters: Durin (5-star Pyro), Venti (5-star Anemo rerun), Jahoda, Faruzan, Bennett
That's actually a solid banner lineup. Bennett and Faruzan both provide excellent value.
Wish Mathematics
- 4-star Pity: Guaranteed every 10 wishes
- Rate-up Mechanics: 50% chance first 4-star, 100% second if first wasn't rate-up
- Jahoda Probability: ~16.67% per 4-star pull (three featured 4-stars)
Primogem Planning
Conservative Estimate: 180 wishes (28,800 primogems) for guaranteed acquisition Average Case: 60-90 wishes (9,600-14,400 primogems) Lucky Scenario: 10-30 wishes (1,600-4,800 primogems)
Fast Primogem Solutions
BitTopup offers competitive primogem acquisition with market-leading Genesis Crystal rates, instant delivery, and secure transactions. Their 24/7 support has helped me during tight banner windows more than once.
Budget Reality Check
F2P Resources: Version 6.2 events typically provide 60-80 wishes through primogems and fates Low-Spender Options: Welkin Moon ($5 monthly for 3,000 primogems), Battle Pass ($10 monthly) Banner Value: Multiple valuable characters justify investment beyond just Jahoda
Frequently Asked Questions
What exactly is Jahoda's role? She's a 4-star Anemo Bow support who specializes in healing, VV shred, and Moonsign synergies. Think of her as filling the gap between pure healers and pure supports—she does both effectively.
What weapons should I prioritize? Elegy for the End if you have it, Rainbow Serpent's Rain Bow for 4-star options, and Favonius Warbow for F2P energy management. Snare Hook works great for Moonsign-focused builds.
Which artifacts work best? Viridescent Venerer 4-piece for universal VV shred, or Silken Moon's Serenade 4-piece if you're specializing in Moonsign teams. Prioritize ER sands, ATK% goblet, and Healing Bonus circlet with 200-250% total ER.
Is she worth pulling for? High value if you're investing in Moonsign characters or lack Anemo support options. Her C0 functionality makes her accessible for F2P players while providing unique utility you can't get elsewhere.
What are her best team compositions? Premium option: Jahoda + Flins + Ineffa + Aino for Lunar-Charged synergy. F2P friendly: Jahoda + Yanfei + Yun Jin + Xingqiu for Vaporize. She also excels in Aggravate teams with Clorinde + Nahida + Fischl.
How should F2P players build her? Favonius Warbow + 4VV artifacts, prioritize 200%+ ER, level burst to 8+, skill to 6+, and skip normal attacks entirely. Focus on C0 functionality before chasing constellations.


