

ASM Abakan Overview: Where It Stands in Season 3.9
The Numbers That Matter
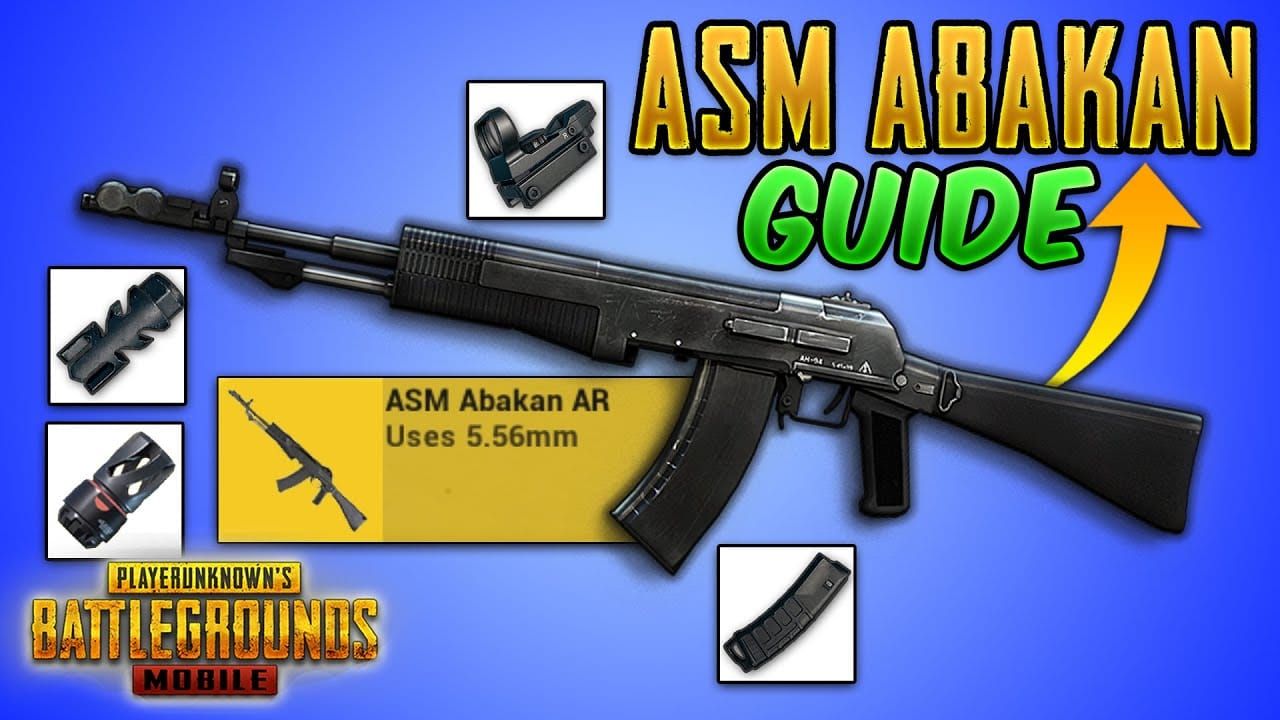
Here’s what makes this weapon tick: 5.56mm rounds, available on every Classic Mode map, with a firing mechanic that’ll either make you love it or frustrate you to no end. Those opening shots fire in rapid succession with pinpoint accuracy, then everything changes.
We’re looking at competitive damage against the M416’s 41 base with an 0.085-second fire rate (482 DPS). Three modes give you options – Full-Auto for close quarters, Two-Shot Burst for precision work, and Single-Shot when you need that perfect headshot. Full attachment support means you can tune this thing exactly how you want it.
Quick note for players serious about optimization: PUBG UC Top Up services keep you stocked with premium content. Trust me, having access to every attachment and skin makes a difference when you’re fine-tuning your setup.
What Changed in Season 3.9
The attachment rebalancing hit hard this update. Muzzle Brake got completely reworked – now it’s about view stability and reduced firing sway instead of pure recoil reduction. Honestly? It’s actually more useful now for tracking targets.
Quickdraw Magazines reload noticeably faster. Compensators remain the go-to for recoil control, but here’s something interesting: Suppressors now reduce bullet spread too. That’s a game-changer for stealth builds.
Why It’s Tier S (And Why Some Players Disagree)
Community consensus puts the ASM Abakan in Tier S territory, especially for what pros call devastating openers. I’ve seen players completely dominate with this weapon’s initial accuracy advantage. Compare it to the AKM’s 48 base damage with 0.1-second fire rate – you get better control without sacrificing much damage.
But here’s my take: it’s only Tier S if you master the transition timing. Miss that window, and you’re fighting an uphill battle.
Complete Recoil Pattern Breakdown
What You’re Actually Fighting
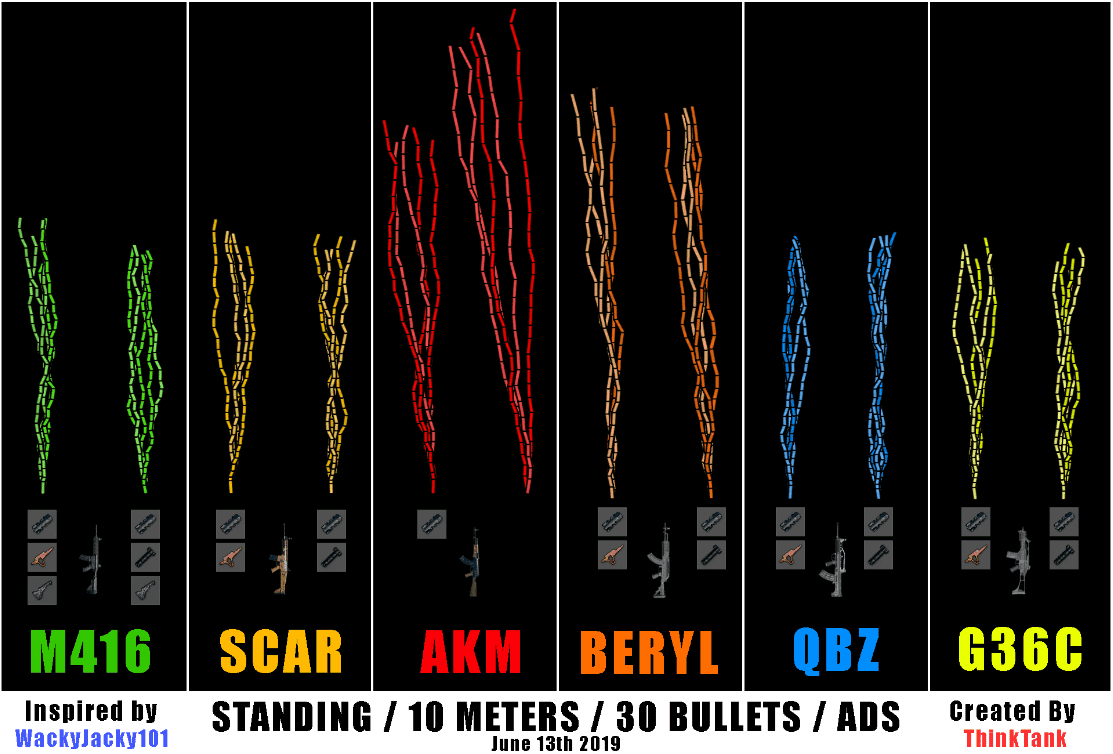
Those first two shots? Minimal deviation. We’re talking tight grouping perfect for headshots. Then reality kicks in – conventional assault rifle spray with moderate vertical climb and manageable horizontal drift.
The recoil sits between the M416’s smooth control and the AKM’s wild kick. Not the easiest, not the hardest.
Vertical vs Horizontal Components
Primary vertical recoil with minimal horizontal during the burst phase. You’ll need downward compensation similar to other 5.56mm rifles, but with way less intensity during those crucial opening moments.
After the burst ends, horizontal recoil follows a slight left-right pattern. Still more manageable than the AKM’s significant movement, but it requires attention.
How It Stacks Against the Competition
Against the M416’s balanced profile, you get superior initial accuracy but slightly increased difficulty during sustained fire. Compared to the AKM’s nightmare recoil beyond 30 meters, this thing maintains effectiveness at medium ranges through controlled bursts.
It bridges the gap between SCAR-L stability and Beryl M762’s high-risk characteristics. That’s actually perfect positioning in the current meta.
Mastering Recoil Control
Finger Positioning That Works
Your primary firing finger needs consistent contact pressure for precise burst timing. Supporting thumb should be ready for compensation after that second shot. Unlike weapons demanding immediate aggressive pull-down, this benefits from a measured approach during initial shots.
Timing Is Everything
Here’s the critical technique: delay significant downward compensation until after the second shot. During that initial burst, minimal pull-down maintains the inherent accuracy advantage.
You need approximately 0.15-0.2 seconds before applying full recoil control. Practice this timing in Solo Training Grounds until it becomes instinctive. No shortcuts here.
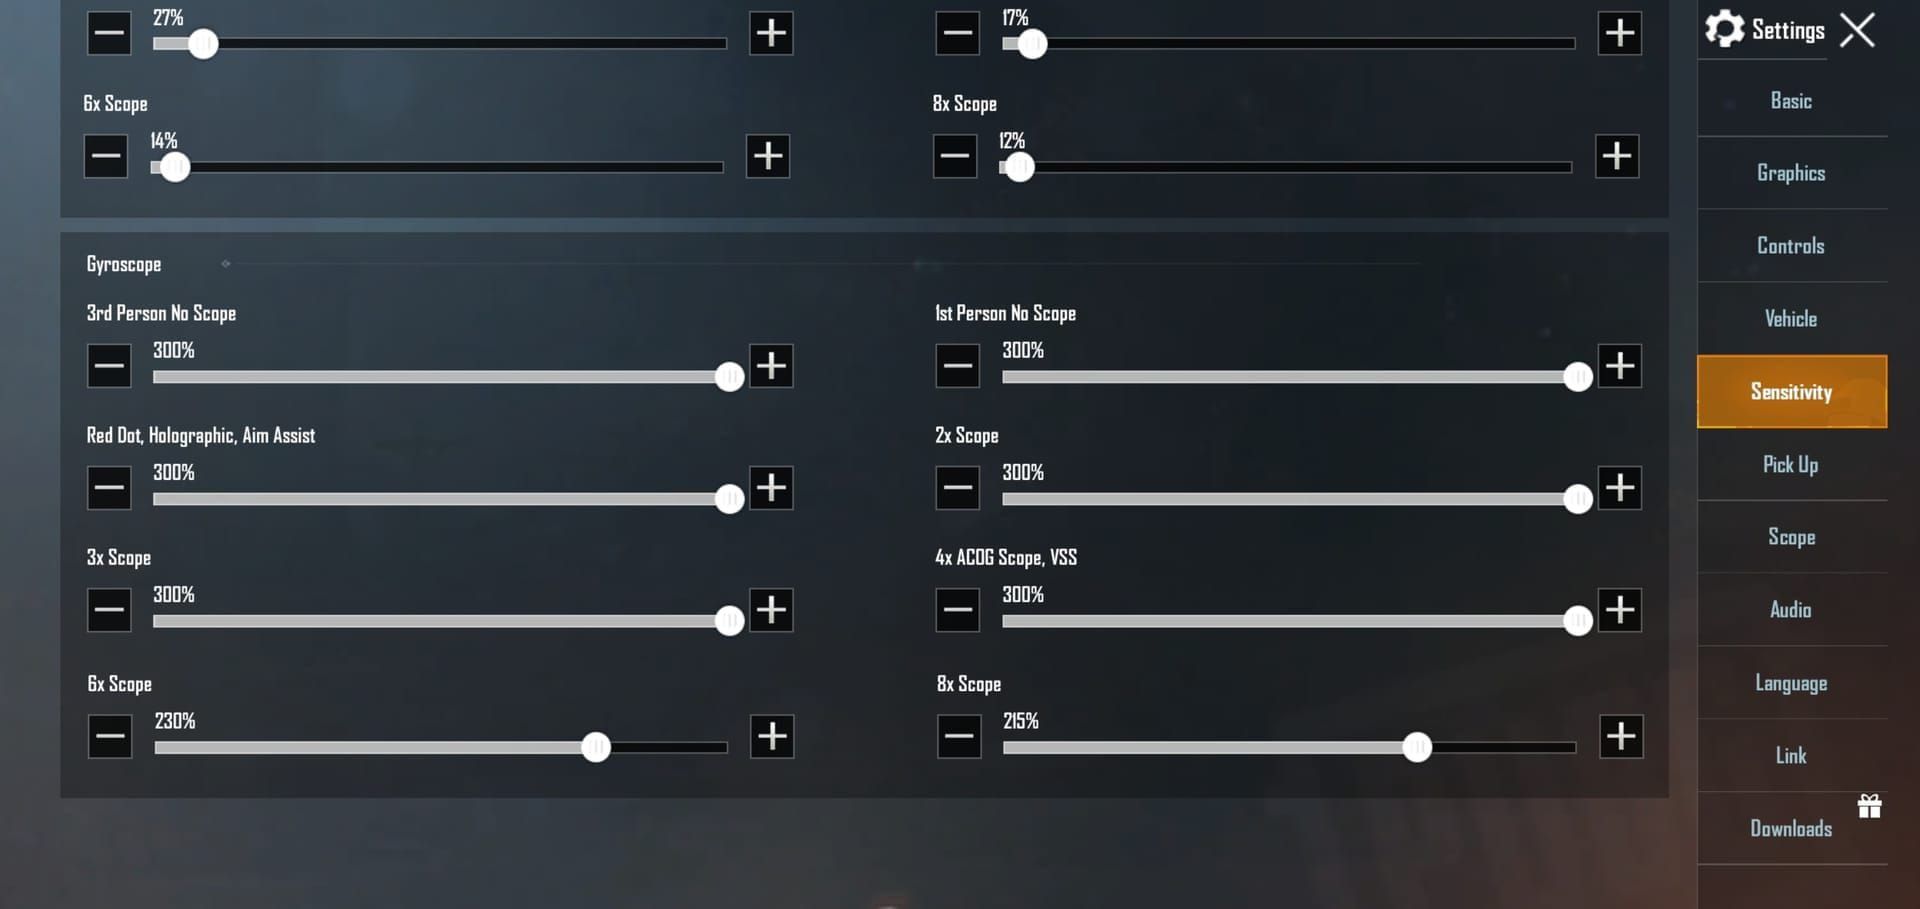
Gyroscope Integration for Advanced Players
Lower gyroscope sensitivity (50-70% of your standard values) allows fine-tuned control during opening shots without over-correction. I configure separate sensitivities for different scopes – optimized red dot settings for close-range burst control while maintaining higher sensitivity for magnified optics.
Takes time to dial in, but the payoff is substantial.
Optimal Attachment Configurations
Muzzle Attachments: What Actually Works
Compensator provides that essential 25% recoil reduction for sustained fire. The rebalanced Muzzle Brake trades pure recoil reduction for improved view stability – beneficial for target tracking, especially during those hectic squad fights.
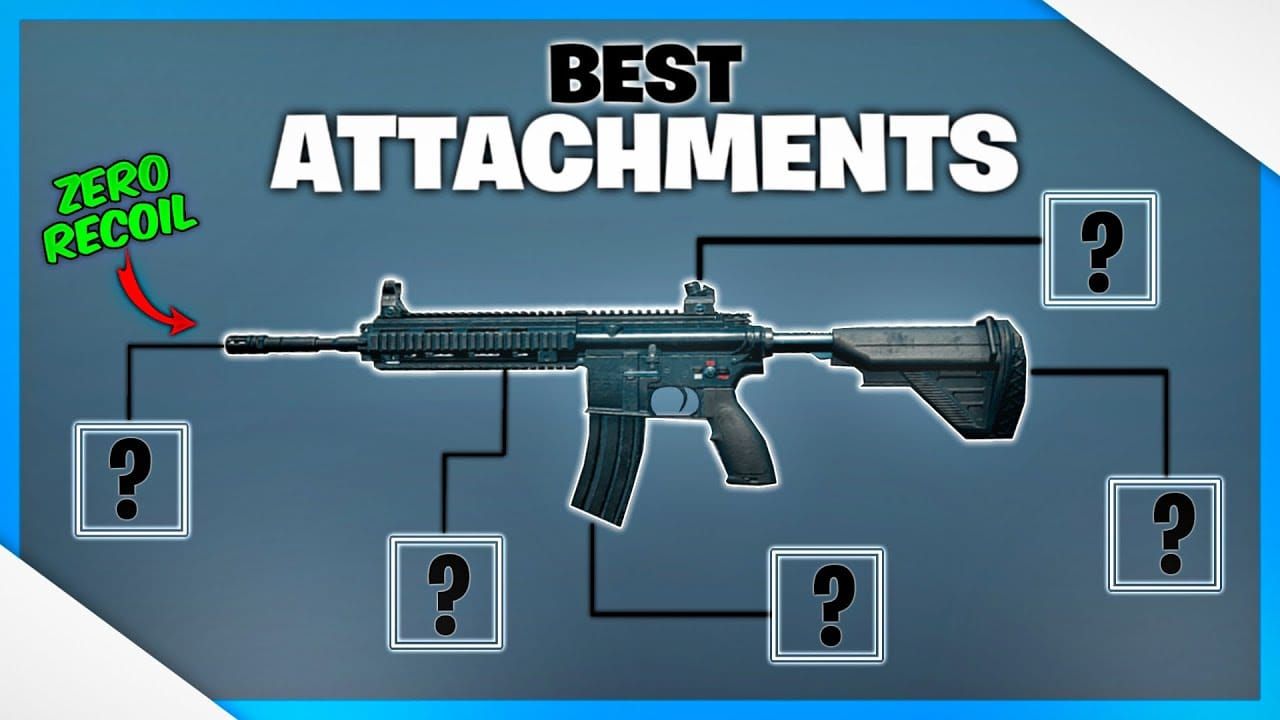
Suppressors offer tactical advantages through sound reduction while adding bullet spread reduction benefits. Don’t sleep on this combo for stealth plays.
Grips and Stocks That Make Sense
Vertical Grips provide essential stability, particularly benefiting the sustained fire phase. Angled Grips offer faster ADS speed for aggressive playstyles emphasizing burst potential – personal preference here.
Tactical Stocks deliver comprehensive stability improvements. Reduced weapon sway and improved recovery time between bursts. Pretty much mandatory for serious play.
Scope Selection by Range
Red dot and holographic sights optimize close to medium-range engagements where that two-shot burst provides maximum advantage. 3x and 4x scopes leverage initial accuracy for effective range extension.
6x scopes represent specialized configurations, though you should focus on single-shot mode for maximum accuracy at those distances. Honestly, dedicated marksman rifles often work better for long-range anyway.
Burst vs Full-Auto: When to Use What
Dedicated Burst Fire Applications
Two-Shot Burst excels in medium-range engagements beyond 50 meters where precision outweighs sustained fire. Maximizes that inherent accuracy advantage while providing controlled damage ideal for peek shooting.
Particularly effective during initial contact phases and coordinated team attacks. Master this, and you’ll dominate medium-range positioning.
Full-Auto Strategies
Full-auto leverages the two-shot accuracy boost for devastating opening damage before transitioning to sustained suppression. Works best in close-quarters where elimination speed outweighs ammunition efficiency.
Requires immediate target commitment and mastery of transition timing. Half-hearted sprays won’t cut it.
Range-Based Mode Selection
Close-range (0-30m): Full-auto for maximum damage output. Medium-range (30-100m): Both burst and controlled full-auto viable depending on target exposure. Long-range (100m+): Single-shot precision or carefully controlled bursts.
Simple framework, but execution makes all the difference.
Sensitivity and Control Settings
Camera and ADS Tuning
Camera sensitivity 60-80% maximum enables responsive movement without sacrificing control. ADS sensitivity: red dot/holographic 40-60%, magnified scopes 20-40%.
Maintain a 1.5:1 to 2:1 ratio (camera:ADS) for consistent muscle memory across engagement scenarios. This ratio has worked for thousands of players – don’t overthink it.
Gyroscope Configuration
Lower sensitivity values (30-50% standard) provide fine-tuned control for that initial accuracy advantage. Configure separate sensitivities for scope types: red dot 40-60%, magnified scopes 20-40%.
Advanced users can configure different vertical/horizontal sensitivities emphasizing downward compensation. Takes practice, but the precision gains are real.
Device-Specific Adjustments
High refresh rate devices (90Hz+): increase sensitivities 10-15% for improved visual feedback. Larger screens: increase 10-20% to accommodate expanded finger travel.
Device input lag requires anticipated recoil compensation timing and slight sensitivity increases. Know your hardware.
ASM Abakan vs Meta Competition
Versus AKM Performance
Superior controllability compared to the AKM’s challenging recoil while maintaining competitive damage. The AKM’s 48 base damage provides higher per-shot damage, but that significant recoil makes control difficult beyond 30 meters.
ASM Abakan’s two-shot accuracy enables consistent medium-range performance where the AKM struggles. Plus, 5.56mm ammunition appears more frequently than 7.62mm – practical consideration.
M416 Comparison
M416 maintains versatility through consistent all-range performance, while ASM Abakan excels in burst damage scenarios. M416’s 41 base damage and predictable spray pattern provides reliable DPS but lacks that opening damage spike potential.
ASM Abakan’s two-phase recoil requires sophisticated control but rewards skilled players with superior initial accuracy. Choose based on your skill level and playstyle preferences.
Situational Weapon Selection
Close-quarters: Choice between M416’s sustained DPS versus ASM Abakan’s burst potential. Medium-range: ASM Abakan’s optimal zone where two-shot accuracy provides significant advantages. Team composition: Support players benefit from ASM Abakan precision, entry fraggers prefer consistent weapons like M416.
Training Ground Practice
Recoil Pattern Drills
Focus on transition timing between initial burst and sustained fire phases. Requires 15-20 minutes daily practice for muscle memory development – no negotiating this time investment.
Wall spray exercises at 25m, 50m, 100m visualize pattern and compensation requirements. Moving target practice integrates recoil control with tracking skills.
Moving Target Methods
Dynamic shooting combines recoil control with movement mechanics. Practice shooting while strafing, jumping, transitioning between cover.
Target switching exercises develop rapid acquisition for multi-target scenarios. Range variation drills prepare for diverse engagement distances. Mix it up.
Tracking Progress
Track headshot percentages, spray grouping sizes, target elimination times for objective feedback. Record training sessions for detailed technique analysis and identifying persistent issues.
Establish personal records and work systematically toward improvement benchmarks. Data-driven improvement beats guesswork every time.
Pro Gameplay Applications
Ranked Match Positioning
Excel in medium-range positioning (50-100m) where two-shot accuracy provides maximum benefit. Prioritize elevated positions and cover-to-cover movement enabling quick burst engagements.
Focus on doorway control and window angles where brief exposure allows optimal burst utilization. This weapon rewards smart positioning more than aggressive pushing.
For enhanced ranked performance, Buy PUBG UC through reliable platforms maintains competitive advantages. Exclusive weapon skins provide psychological benefits during intense matches – sounds superficial, but confidence matters.
Team Fight Tactics
Focus on priority target elimination through burst damage during coordinated engagements. Provide supporting fire using accuracy for consistent damage during extended fights.
Entry fragging requires aggressive positioning with precise initial shots for early advantages. Know your role and stick to it.
Map-Specific Applications
Erangel: Open terrain favors medium-range configurations. Prioritize elevated positions for burst-based combat.
Sanhok: Dense vegetation requires aggressive applications. Emphasize full-auto while maintaining burst capabilities.
For budget-conscious enhancement, PUBG Mobile Top Up Cheap options provide premium content access. BitTopup offers competitive pricing with fast delivery and secure transactions for latest weapon skins and battle pass content.
Miramar: Long sightlines make precision capabilities valuable. Configure with higher magnification optics and focus on compound edge positioning for optimal engagement opportunities.
Frequently Asked Questions
How does the two-shot burst mechanic actually work in practice? First two bullets fire in rapid succession with exceptional accuracy before transitioning to normal patterns. That high-precision window lasts 0.15-0.2 seconds. Minimize recoil compensation during this phase, then apply standard control techniques.
What’s the absolute best attachment combo for recoil control? Compensator (25% recoil reduction), Vertical Grip (stability), Tactical Stock (handling improvements). Alternative: Muzzle Brake for view stability. Extended Quickdraw Magazines for faster reloads. Pretty standard meta setup.
How’s it compare to M416 in current meta? Superior initial burst damage through two-shot accuracy versus M416’s consistent sustained performance. ASM Abakan rewards skilled players with higher damage potential during engagement initiation. M416’s more beginner-friendly with predictable recoil.
What sensitivity settings should I start with? Camera: 60-80% maximum. ADS: 40-60% (red dot), 20-40% (magnified). Gyroscope: 30-50% standard values. High refresh rate devices: increase 10-15%. Larger screens: increase 10-20%. Adjust from there based on feel.
Which firing mode for different engagement ranges? Close-range (0-30m): Full-auto for maximum damage. Medium-range (30-100m): Both burst and full-auto work – depends on target exposure. Long-range (100m+): Single-shot precision or controlled bursts.
How do I practice recoil control effectively? 15-20 minutes daily focusing on transition timing. Wall sprays at multiple distances. Moving target practice. Track accuracy percentages and elimination times for progress monitoring. Consistency beats intensity here.


