

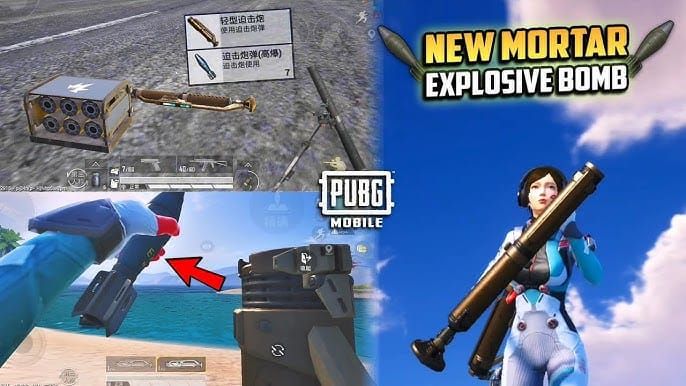
Here’s the thing about PUBG Mobile’s 4.0 update – when they dropped mortars on September 4, 2025, everything changed. We’re talking dual firing modes that’ll make your squad disappear faster than you can say chicken dinner. Direct-fire hits immediately, but it’s that indirect-fire mode with delayed bombardments that’s keeping players up at night.
This isn’t your typical grenade spam. We’re dealing with heavy artillery that creates devastating area-of-effect damage capable of wiping entire squads. Period. The learning curve? Steep as hell.
For enhanced PUBG Mobile experience, the PUBG Mobile UC global store on BitTopup offers competitive pricing and instant delivery, providing resources for premium content and battle passes that deliver tactical advantages.
Understanding PUBG Mobile 4.0 Mortar Bombardment Mechanics
Bombardment Trigger Conditions
Look, mortar deployment isn’t rocket science, but it’s close. Players need elevated positions with adequate cover – think high ground with broad battlefield views while staying protected from return fire. The real kicker? Teams that master timing and placement don’t just gain advantages; they dominate zones completely.
It’s all about forcing movement. Smart operators use mortars for zone control, making enemies dance to their tune.
Damage Radius and Blast Zones
The blast radius is unforgiving. Multiple targets within impact zones? Gone. The realistic reload animations might look cool, but they’re your lifeline – those natural breaks between bombardments are when you move or die.
Indirect-fire mode marks targets on maps, giving you precious seconds before impact. Emphasis on precious – we’re talking limited warning time here.
Timing and Duration Patterns
Here’s what separates pros from noobs: understanding bombardment patterns. Several seconds pass between target marking and shell impact, but those realistic reload sequences? They create strategic movement windows. Counter-attack opportunities exist, but only if you’re paying attention to exposed operators during their reload cycles.
Essential Audio Cues for Mortar Survival
Pre-Bombardment Warning Sounds
If you’re not using headphones, you’re already dead. PUBG Mobile’s 7.1 surround sound system with 8 audio channels isn’t just fancy tech – it’s survival equipment. Positional audio mechanics let you triangulate mortar threats before they turn you into digital confetti.
The difference between projectile ‘crack/whiz’ sounds and weapon ‘boom’ sounds? That’s the difference between knowing where death is coming from versus where it originated. Time delays between these sounds help estimate distance, but they won’t reveal exact shooter locations.
Incoming Mortar Audio Signatures
Front versus back sound confusion driving you crazy? Turn your character 90 degrees. Sounds will pan clearly to left or right ears – problem solved. The game’s audio engine struggles with vertical sounds (different floor levels), so you’ll need visual confirmation alongside audio detection.
Active triangulation involves moving while listening to audio panning changes. When you move, distant mortar launch sounds shift in your headphones, providing precise bearings for attack or retreat decisions.
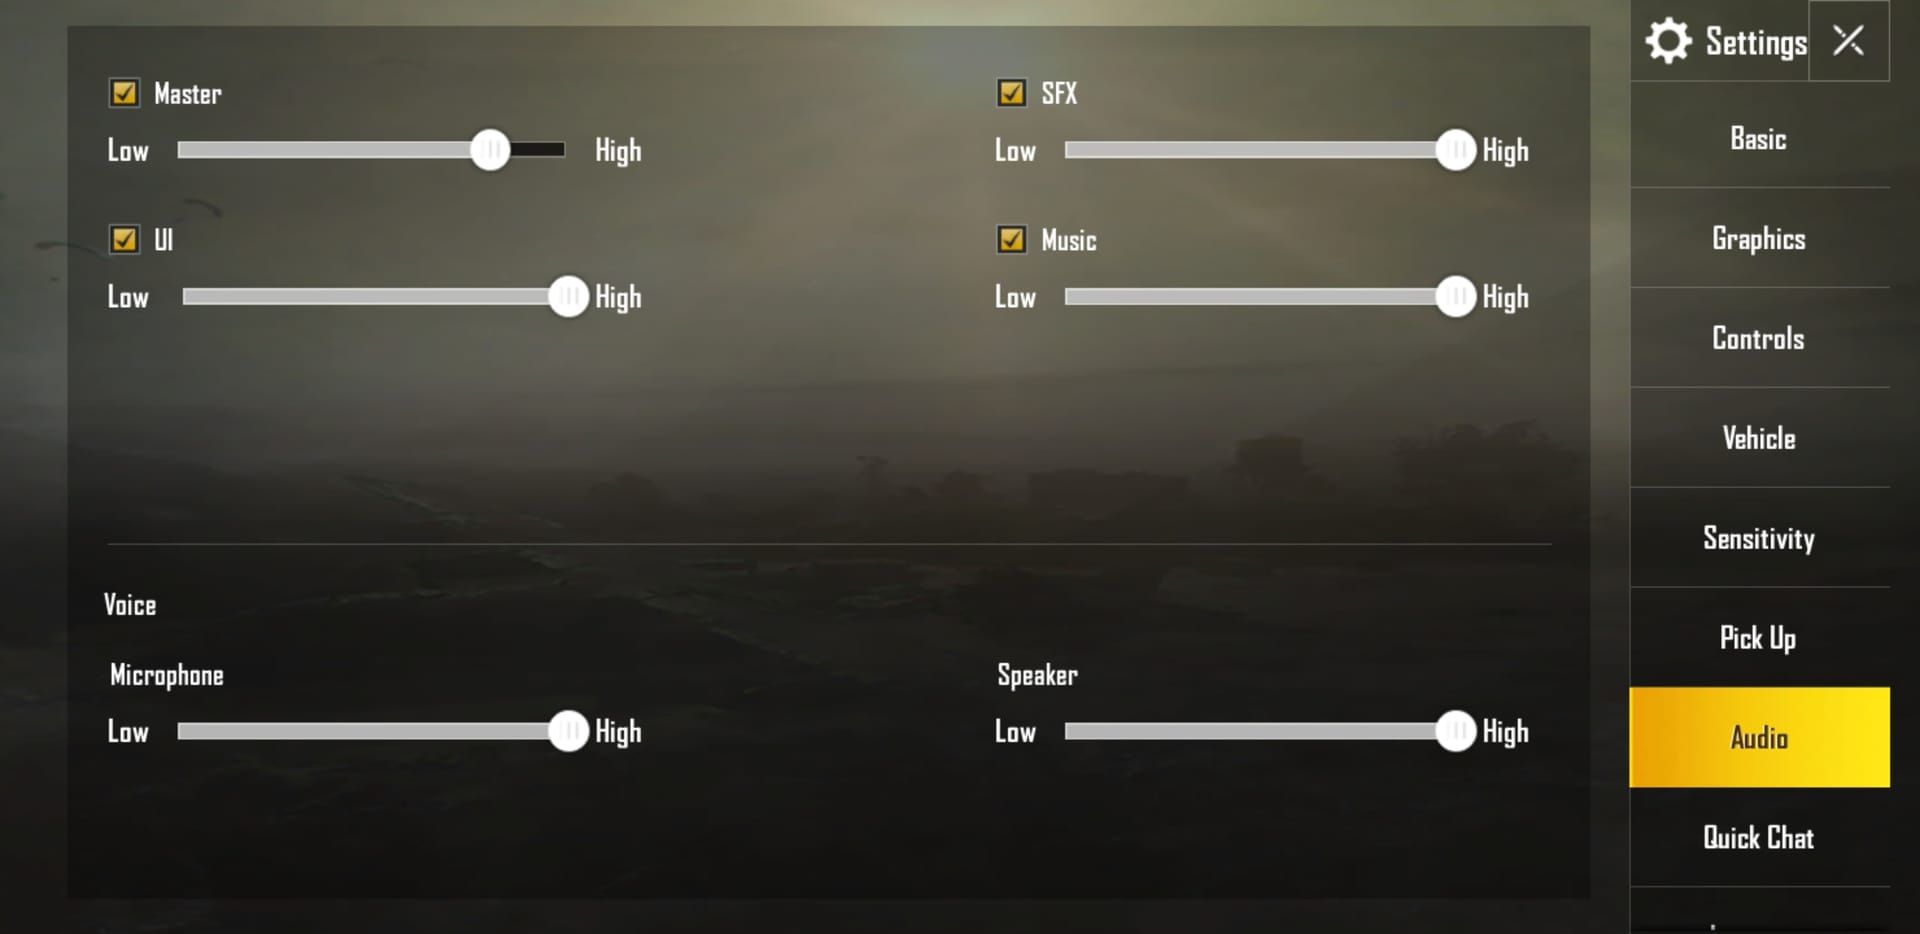
Optimal Audio Settings Configuration
Third-Person Perspective camera sensitivity should hit 95-100% for quick reactions during sudden attacks. For long-range counter-mortar work, drop those sensitivity settings: 6x and 8x scopes work best between 10-13% for accurate targeting.
Gyroscope features? Game-changer. Frees up your thumbs for movement commands while device tilting handles aim control.
Strategic Positioning Before Bombardment Zones
Safe Distance Calculations
Hard cover isn’t just recommended – it’s mandatory. Buildings, walls, trees, rocks provide superior protection compared to any wearable armor. They block projectiles AND break line of sight. Open fields become death traps against mortars, no exceptions.
High ground offers better views but becomes a tactical trap without hard cover. Risk versus reward, people.
Cover Type Effectiveness Analysis
Multi-story buildings offer vertical escape options and multiple exit routes. Concrete and brick structures provide superior blast resistance – your best friends during bombardments. Natural cover like large rocks and cliff faces protect while maintaining mobility options.
Vehicle cover? Mobile protection with rapid repositioning capabilities, but you’re presenting larger targets with explosion hazards when damaged. Choose wisely.
Map-Specific Positioning Strategies
Dense forests provide natural concealment with multiple cover options. Desert environments require careful planning between sparse positions – every piece of cover counts. Urban environments offer abundant hard cover but create trap scenarios with limited escape routes.
Playing safe zone edges reduces attack angles and minimizes crossfire exposure. Just don’t forget about circle threats while focusing on mortars.
Advanced Movement Techniques During Active Bombardments
BitTopup’s PUBG Mobile UC top up trusted platform provides secure transactions and excellent customer support, helping access premium items and seasonal content that enhance tactical options during bombardment scenarios.
Emergency Escape Patterns
Unpredictable repositioning isn’t just technique – it’s survival instinct. The ‘rope-a-dope’ tactic involves jumping through windows, exiting through back doors, circling buildings, then re-entering from different angles to ambush enemies. Static positioning makes you an easy target.
Constant, unpredictable movement prevents accurate location prediction during bombardments. The Magic Broom vehicle reaches speeds up to 120 km/h with flight capability for rapid evacuation, though its fragile design requires strategic usage.
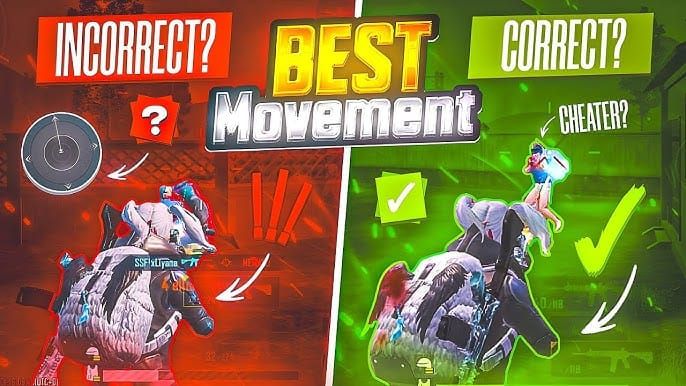
Zigzag Movement Optimization
Evasive maneuvers include strafing (side-to-side movement), crouch-shooting to reduce profile and recoil, jump-shooting for close-quarters disruption, and jiggle peeking for rapid cover-based firing. Sprint movement covers ground quickly but increases visibility – crouch movement reduces profile but limits speed during critical escapes.
Balance is everything.
Sprint vs Crouch Movement Timing
Coordinate movement timing with bombardment patterns for optimal positioning between strikes. Understanding reload windows enables strategic movement during natural breaks. Smoke grenades create concealment walls for safe movement across open areas and secure teammate revivals.
Emergency protocols require pre-planned escape routes and immediate execution when bombardment begins. No hesitation.
Cover Selection and Protection Strategies
Building vs Natural Cover Comparison
Buildings excel in direct protection but may limit escapes. Natural cover offers better mobility but potentially less blast resistance. Concrete provides highest protection levels in multi-story buildings, enabling vertical positioning advantages and diverse escape routes.
Rock formations offer solid blast protection while allowing quick repositioning. It’s about reading the situation and choosing accordingly.
Multi-Level Structure Advantages
Vertical positioning provides elevated firing positions, multiple escape routes, and protection from ground-level bombardments. Stairwell positioning allows controlled engagement angles while maintaining quick access to different levels.
Rooftop access provides ultimate high-ground advantages but requires careful exposure management due to increased vulnerability to counter-bombardment. High risk, high reward.
Vehicle Cover Risks and Benefits
Vehicle positioning offers mobile cover with rapid repositioning capabilities. Risks include explosion hazards when damaged, increased visibility, and limited protection against high-explosive rounds. Benefits include rapid zone rotation, mobile firing platforms, and emergency evacuation options.
Vehicles excel in open terrain with limited static cover – know when to use them.
Team Coordination and Squad Survival Tactics
Communication Protocols
Effective squad communication proves critical for surviving coordinated attacks. Voice chat enables instant callouts for mortar positions and incoming strikes. Designated role assignments – spotters, movement coordinators, support personnel – improve squad survival rates dramatically.
Warning systems must provide clear threat direction, impact timing, and recommended movement directions. No room for confusion here.
Synchronized Movement Strategies
Squad coordination requires synchronized positioning to avoid clustering in target zones. Spread formation maintains cohesion while minimizing collective vulnerability. Leapfrog movement patterns maintain forward progress while ensuring continuous overwatch.
Emergency regrouping protocols establish predetermined rally points when squads separate during bombardments. Plan ahead or pay the price.
Revival and Support Techniques
Teammate revival requires strategic timing with smoke grenade deployment for concealment. Support positioning involves maintaining overwatch while providing covering fire. Medical supply distribution and ammunition sharing become critical during extended bombardment scenarios.
Squad sustainability depends on these fundamentals.
Common Mortar Survival Mistakes to Avoid
Positioning Errors
Tunnel vision while scoped eliminates peripheral awareness, making players vulnerable to flanking and strikes. Open field positioning represents the most dangerous mistake against mortars – just don’t do it.
Static positioning in predictable locations allows pre-targeting. Constant repositioning prevents accurate targeting.
Audio Cue Misinterpretation
Confusing projectile ‘whiz’ sounds with weapon ‘boom’ sounds leads to incorrect threat assessment. Front-back audio confusion causes movement toward threats – use the 90-degree turn technique for directional clarity.
Ignoring vertical audio limitations leads to incomplete threat assessment. Visual confirmation is required.
Panic Movement Patterns
Panic responses result in poor movement choices and increased vulnerability. Random movement without purpose wastes stamina and may lead to dangerous positions. Abandoning team coordination reduces squad survival rates.
Maintain communication and coordinated responses, even under pressure.
Map-Specific Bombardment Survival Guide
Erangel Mortar Zones
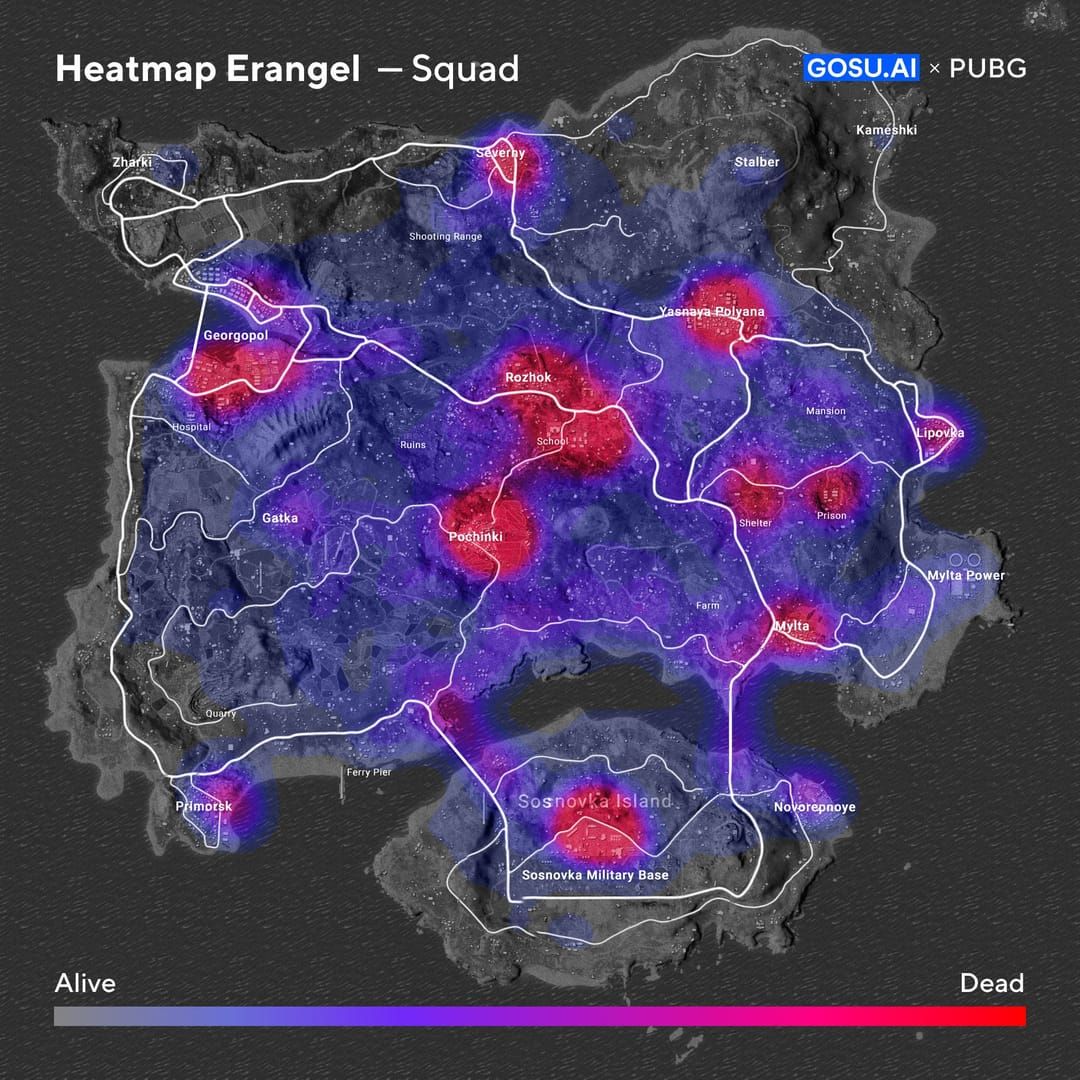
Urban areas like Pochinki provide abundant hard cover but create bottleneck scenarios. Open fields between compounds require predetermined cover positions. Bridge crossings become dangerous due to limited cover and predictable patterns.
Coastal areas offer water escapes but limit cover availability. Plan accordingly.
Sanhok Dense Cover Strategies
Dense vegetation provides excellent concealment but limits threat detection visibility. Elevated temple positions offer advantages but become priority targets requiring careful approach planning.
River systems provide barriers and escape routes while offering limited cover options. Use the terrain to your advantage.
Desert Map Open Area Tactics
Sparse cover distribution and long sight lines present unique challenges. Rock formation clusters provide essential hard cover in exposed terrain. Extended compound spacing requires careful rotation timing to minimize exposure.
Vehicle usage becomes critical for safe zone rotation – embrace the mobility.
Advanced Pro Tips and Competitive Strategies
Prediction Techniques
Experienced operators target high-traffic areas, common cover positions, and chokepoints. High-ground positions with good cover and battlefield views represent prime setup locations. Late-game scenarios increase mortar usage probability as zone compression forces closer engagements.
Think like your enemy to survive them.
Aggressive Positioning
Counter-attack strategies require coordinated approaches during reload windows. Close-range engagement neutralizes mortar advantages by forcing direct combat. Suppression using sustained fire and smoke disrupts operations while enabling flanking movements.
Sometimes the best defense is a good offense.
Tournament-Level Survival Methods
Professional strategies incorporate zone edge manipulation, predictive movement, and resource conservation. Tournament players utilize sophisticated communication and role specialization for maximum survival rates.
Lower graphics settings aid competitive survival by reducing visual clutter and improving enemy visibility. Third-Person Perspective enables information gathering without body exposure for spotting setups and checking area safety.
The World of Wonder 1.0 mode provides practice opportunities for custom bombardment scenarios in controlled environments. Use it.
Frequently Asked Questions
How do you survive mortar bombardments in PUBG Mobile? Master audio cue recognition using 7.1 surround sound, strategic positioning with hard cover, and unpredictable movement patterns including strafing and smoke usage. Use headphones to distinguish projectile ‘whiz’ from weapon ‘boom’ sounds.
What are the audio cues for PUBG Mobile mortars? Initial ‘boom’ indicates firing location, followed by projectile ‘whiz’ sounds. Time delays help estimate distance. Use 90-degree turns to resolve directional confusion and leverage 8-channel audio for precise detection.
How far should you be from mortar explosions? Distance depends on available cover rather than measurements. Hard cover provides protection at closer ranges while open areas require maximum distance. High-explosive damage eliminates squads within impact radius.
What is the best positioning during bombardments? Use hard cover with multiple exits, avoid open fields, maintain high-ground threat awareness. Play zone edges to reduce attack angles and maintain predetermined escape routes.
How to recognize mortar warning sounds? Listen for distant firing ‘booms’ indicating deployment, followed by incoming projectile signatures. Move while listening to improve directional accuracy through audio panning changes.
What movement techniques work against mortars? Use unpredictable repositioning, strafing, crouch-shooting, and strategic smoke deployment. The ‘rope-a-dope’ tactic involves alternate building exits. Use Magic Broom vehicle for 120 km/h evacuation when available.


