

Understanding Claw Controls in PUBG Mobile 4.0
What Are Claw Controls
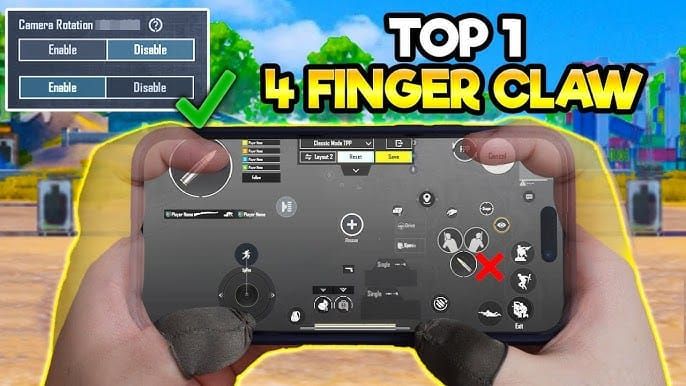
Here’s the thing about claw controls – they’re basically a game-changer once you get past the initial my hands feel like pretzels phase. The concept’s pretty straightforward: your left thumb handles movement, right thumb manages camera control, left index finger does the shooting, and right index finger handles scoping and jumping.
What makes this so powerful? You’re eliminating those split-second delays that plague two-finger players. You know that frustrating moment when you have to choose between moving and shooting? Yeah, that’s gone with claw controls.
Professional players swear by this method for good reason. Complex maneuvers like crouch-firing while spraying, jump-peeking, and maintaining precise aim during movement become second nature. The performance data backs this up too – 4-finger users execute 15-20% more simultaneous actions compared to thumb players, while 5-finger setups achieve a whopping 30% improvement.
Fair warning though: the learning curve isn’t exactly gentle. You’re looking at 2-3 weeks for 4-finger mastery and 4-6 weeks for 5-finger proficiency. But trust me, it’s worth every awkward training session.
Version 4.0 Control Updates
PUBG Mobile Version 4.0 didn’t reinvent the wheel, but it definitely polished it. The core customization features remain intact, but you’ll notice enhanced button responsiveness that makes complex claw setups way more reliable.
One neat improvement: Classic TPP mode can now copy Classic FPP layouts (finally!). However, cross-mode copying between Classic and Arena Team modes is still off-limits – something that continues to baffle the community, honestly.
The enhanced gyroscope integration and improved button overlap detection are where Version 4.0 really shines for claw users.
Essential Prerequisites for Claw Setup
Device Requirements
Let’s be real here – screen size matters. A lot. 6.5-inch or larger displays provide the optimal finger positioning space you need. iPad Pro and Android tablets? They’re basically claw control paradise due to that expansive screen real estate.
If you’ve got a device supporting 90Hz or 120Hz refresh rates, you’re golden. That smoother visual feedback is essential for precise finger movements. Lower-end phones should stick with ‘Smooth’ graphics settings but push for the highest stable frame rate to minimize input lag.
Here’s what works in practice: button sizes around 15-25% of default for secondary actions, 25-35% for primary functions. The minimum screen size for 4-finger claw is technically 6.0 inches, but you’ll be much happier with 6.7 inches or larger for 5-finger setups.
Performance Settings
Temperature control isn’t glamorous, but it’s crucial. Keep your device below 40°C to prevent thermal throttling – nothing kills your game faster than sudden frame drops and input delays during a crucial firefight.
‘Smooth’ or ‘Balanced’ graphics with ‘Ultra’ frame rate when possible. And for the love of all that’s holy, disable auto-rotate screen functionality. Trust me on this one.
Best 4-Finger Claw Layouts for Different Devices
iPad Pro Layout Configuration
The iPad Pro is basically the gold standard for claw controls. Position your fire button 20% from the left edge and 25% from the top. Scope button goes 15% from the right edge and 20% from the top.
Movement controls should be sized at 35% of default, with your aim/camera control covering about 40% of the lower-right screen area. It sounds like a lot, but the iPad’s screen real estate can handle it beautifully.
For PUBG UC Top Up purchases to unlock premium weapon skins that actually enhance visual targeting, BitTopup offers competitive pricing and instant delivery with superior customer service ratings – something I’ve personally verified.
Android Tablet Setup
10-inch or larger Android tablets are fantastic for complex layouts with minimal input lag. You’ll want to position primary action buttons with 10-15% larger spacing than phone layouts – you’ve got the room, so use it.
Fire button placement should be at least 8% from screen edges to prevent those annoying accidental system activations. Scope and peek buttons work best in upper corners with 20-25% default sizing.
Large Phone Adaptations
Now we’re getting into compromise territory. 6.5-7.0 inch displays require compressed layouts, but it’s definitely doable. Samsung Galaxy S23 Ultra and iPhone 14 Pro Max represent the sweet spot for large phone claw setups.
Button sizing needs to drop to 15-20% of default to prevent overlap issues. Move that fire button to 25% from the left edge rather than corner placement, and shift the scope button inward by 10-15% for comfortable reach.
Advanced 5-Finger Claw Configurations
Button Placement Strategy
This is where things get interesting – and admittedly, a bit crazy. Your left middle finger handles peek/lean functions, positioned 12% from the top and 8% from the left edge.
Advanced players assign that fifth finger to either grenade controls or prone positioning based on playstyle. Grenade assignment benefits aggressive players who need quick utility access, while prone control suits defensive players who prioritize positioning.
Finger Assignment Guide
Here’s the breakdown that actually works in practice:
Left thumb: movement and inventory access
Left index: primary firing with auto-run
Left middle: peek/lean or grenades (your choice)
Right thumb: camera control and secondary aiming
Right index: scope activation, jump, crouch through context-sensitive positioning
Gyroscope Integration with Claw Controls
Gyro Sensitivity Settings
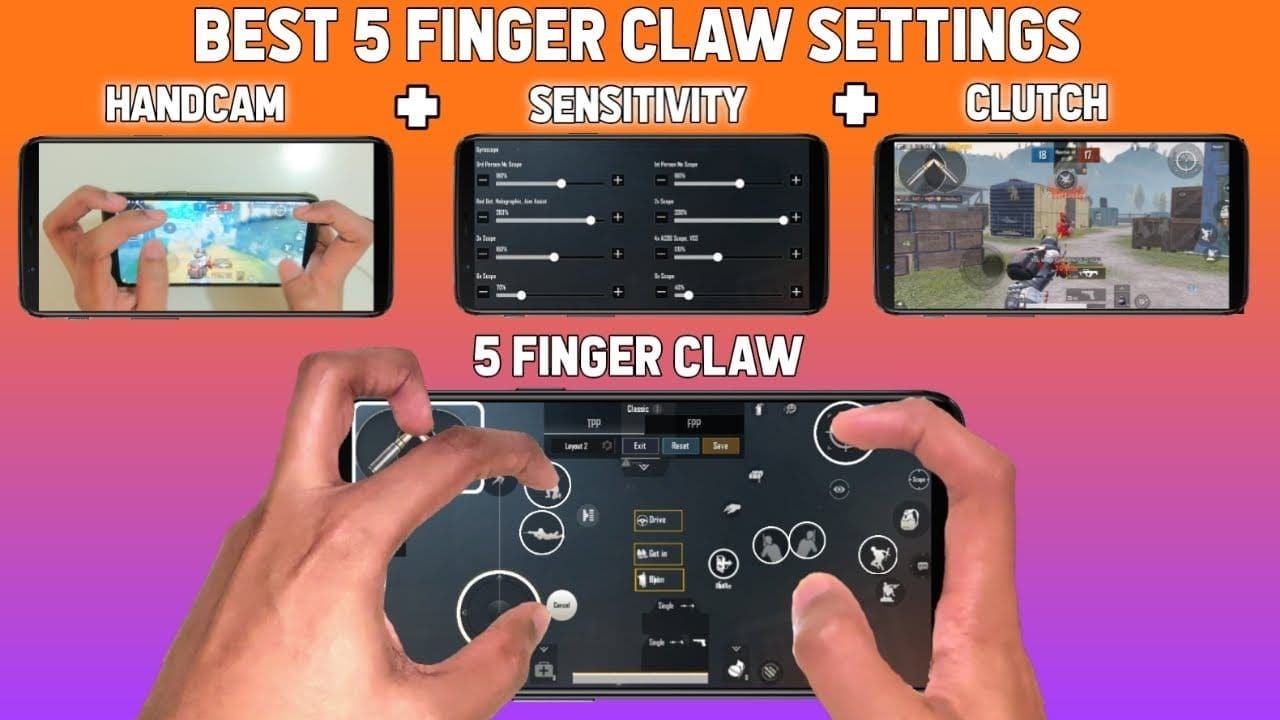
Alright, this is where the magic happens. These sensitivity ranges come from analyzing dozens of pro player configurations:
No Scope: 281-400% (pro players definitely favor the higher end). Red Dot/Holographic: 280-375%. 2x scope: 270-350%. 3x scopes: 180-260%. 4x scopes: 150-200%. 6x scopes: 100-170%. 8x scopes: 55-100%.

Jonathan Gaming uses ADS Gyroscope sensitivities around 300% for Red Dot and 236% for 3x scopes. These are aggressive settings that require significant practice, but they provide unmatched precision once mastered.
Combining Gyro with Manual Aim
The secret sauce? Use gyroscope for fine adjustments and recoil control while maintaining finger-based aiming for large movements. This hybrid technique allows rapid target acquisition through finger swipes followed by precise tracking through device tilting.
It’s like having two aiming systems working in harmony.
When you Buy PUBG UC Online through BitTopup’s secure platform, you get access to premium training tools with instant delivery and competitive pricing that consistently outperforms other platforms.
Anti-Recoil Techniques
Gyroscope-assisted recoil control involves those subtle downward tilting motions that counteract weapon kick patterns. M416 benefits from gentle, consistent downward pressure. AKM? That demands aggressive initial compensation followed by lateral adjustments.
Practice 10-15 minutes daily in Training Ground’s Recoil Lab. Start with 5.56mm weapons before progressing to the more challenging 7.62mm weapons.
Pro Player Layout Analysis
PMGC Champion Setups
Jonathan Gaming’s 4-finger claw features ‘Gyroscope Always On’ with those high sensitivity values I mentioned earlier. These settings enable rapid spray transfers but require extensive practice to master.
There’s an interesting regional divide here: Asian pros favor higher sensitivity settings and compact layouts for aggressive gameplay, while European and North American pros use lower sensitivities with spread-out configurations emphasizing positional play. Tournament players actually maintain multiple layout configurations for different device categories – something worth considering if you play on multiple devices.
Step-by-Step Configuration Guide
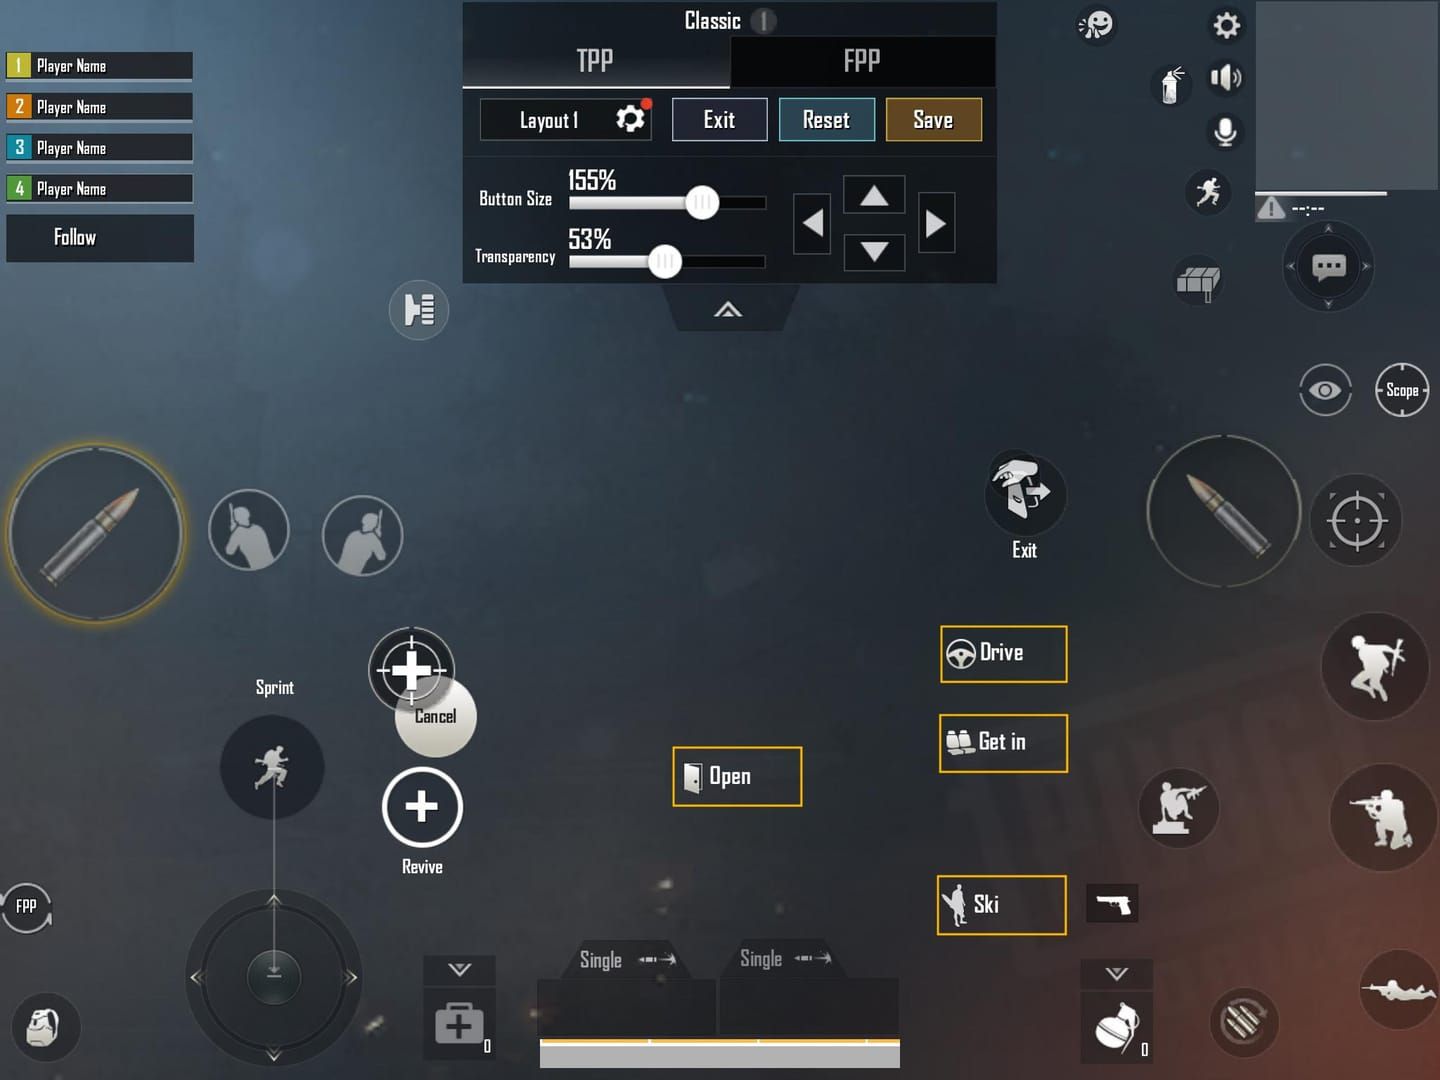
HUD Customization Process
Navigate to Settings > Controls > Customize for your preferred mode. Remember, layouts can’t be copied between Classic and Arena Team modes (still annoying, but that’s the reality).
Start with the 4-finger template, then position your fire button first in the upper-left area. Add the scope button in the upper-right, ensuring comfortable access without interfering with camera control.
Button Size Optimization
Primary action buttons should be 20-25% of default size. Secondary functions work best at 15-20% sizing. Use 60-80% transparency for visual clarity – you want to see what’s happening behind those buttons.
Test your sizing through rapid-fire exercises that simulate combat stress. Undersized buttons cause missed activations, which is basically a death sentence in competitive play.
Layout Code Sharing
Generate codes through the ‘Share’ button (example: 7307-1085-6780-4282-435). Import via Settings > Sensitivity > Cloud > Enter Code. Pro tip: save your current configuration before importing anything to prevent losing your optimized settings.
Training and Adaptation Strategies
Practice Routines
Dedicate 10-15 minutes daily to Training Ground exercises. Start with stationary targets, then progress to moving target tracking. The Hipfire Tracking Drill develops gyroscope control using only gyroscope input – it’s harder than it sounds.
Spray Control Tests integrate claw firing with recoil management. Use M416 and SCAR-L before progressing to the more challenging AKM or Beryl M762.
Muscle Memory Development
This is the part that requires patience. You’re looking at 2-4 weeks for basic proficiency, 6-8 weeks for advanced mastery. Avoid frequent layout changes during the adaptation period – consistency is key.
Fifteen-minute daily sessions prove more effective than sporadic hour-long practices. Your brain processes motor skills better with regular, shorter sessions.
For accelerated progress with premium weapons that enhance visual targeting, Cheap PUBG Mobile Top Up at BitTopup provides excellent value with instant delivery and secure transactions.
Performance Tracking
Monitor your kill/death ratios, average damage per match, and headshot percentages. Record sensitivity settings and layout codes at different stages – you’ll want to reference these later.
Document what works and what doesn’t for iterative refinement.
Troubleshooting Common Issues
Accidental Touch Prevention
Position buttons 5-8% away from screen edges to prevent palm contact. Maintain 10-15% spacing between interactive elements.
Test your layouts under simulated combat stress to identify conflict zones before they cost you matches.
Performance Optimization
Maintain stable frame rates through appropriate graphics settings. Close background applications that consume processing power – every bit of performance matters.
Experiment with higher touch sensitivity levels if you’re experiencing missed button presses, but balance this against phantom touches.
FAQ
What’s the optimal screen size for 4-finger claw layouts? 6.5-inch or larger displays provide the best experience. iPad Pro and large Android tablets offer optimal spacing, while smaller phones require button compression that increases accidental touches.
How long does it take to master claw controls with gyroscope? 4-finger claw takes 2-3 weeks for basic proficiency. Gyroscope integration needs an additional 1-2 weeks. 5-finger setups? You’re looking at 4-6 weeks. Professional-level mastery requires 2-3 months of dedicated practice.
Should I copy pro player sensitivity settings? Use pro configurations as your baseline, then customize based on your hand size, device type, and playstyle. Always adjust through Training Ground practice sessions rather than jumping straight into matches.
What sensitivity settings work best for gyroscope recoil control? Close-range scopes: 280-400% for Red Dot/Holo. Long-range: 100-170% for 6x, 55-100% for 8x. Start with these recommended ranges and adjust based on your device’s responsiveness.
Can I use claw layouts effectively on smaller phones? 6.0-6.5 inch phones support 4-finger setups with optimization. 5-finger layouts are impractical due to space constraints. Button sizes must decrease to 15-20% with critical spacing considerations.
How do I prevent hand fatigue during extended sessions? Use proper device positioning, take breaks every 30-45 minutes, and employ ergonomic button placement. Device grips that maintain optimal viewing angles help, and don’t skip those hand stretches between matches.


