

Getting to La Signora: What You Actually Need
The Archon Quest Grind
Here’s the thing about La Signora - she’s locked behind some serious story progression. You’ll need to push through Chapter 2: Act 3 - Omnipresence Over Mortals, specifically that intense Duel Before the Throne sequence. Worth it though, because this fight’s genuinely one of the more engaging weekly bosses.
The domain sits inside Tenshukaku in Inazuma City. Weekly reset happens Monday 4:00 AM Server Time, and here’s a pro tip I wish someone had told me earlier - your first three weekly bosses only cost 30 Original Resin, but after that? You’re looking at 60 Resin per attempt.
For premium resource access, Genshin top up secure gateway provides reliable Genesis Crystals with competitive pricing and instant delivery through BitTopup’s secure platform.
AR Requirements (And Why They Matter Less Than You Think)
Adventure Rank 30’s the minimum, but honestly? Your team strength relative to World Level matters way more. This boss scales hard with World Level - we’re talking significant HP and damage jumps.
Can’t handle the heat? You can temporarily drop your World Level for 24 hours. No shame in that while you’re learning her patterns.
La Signora’s Two-Phase Dance of Death
Phase 1: When Ice Becomes Your Enemy
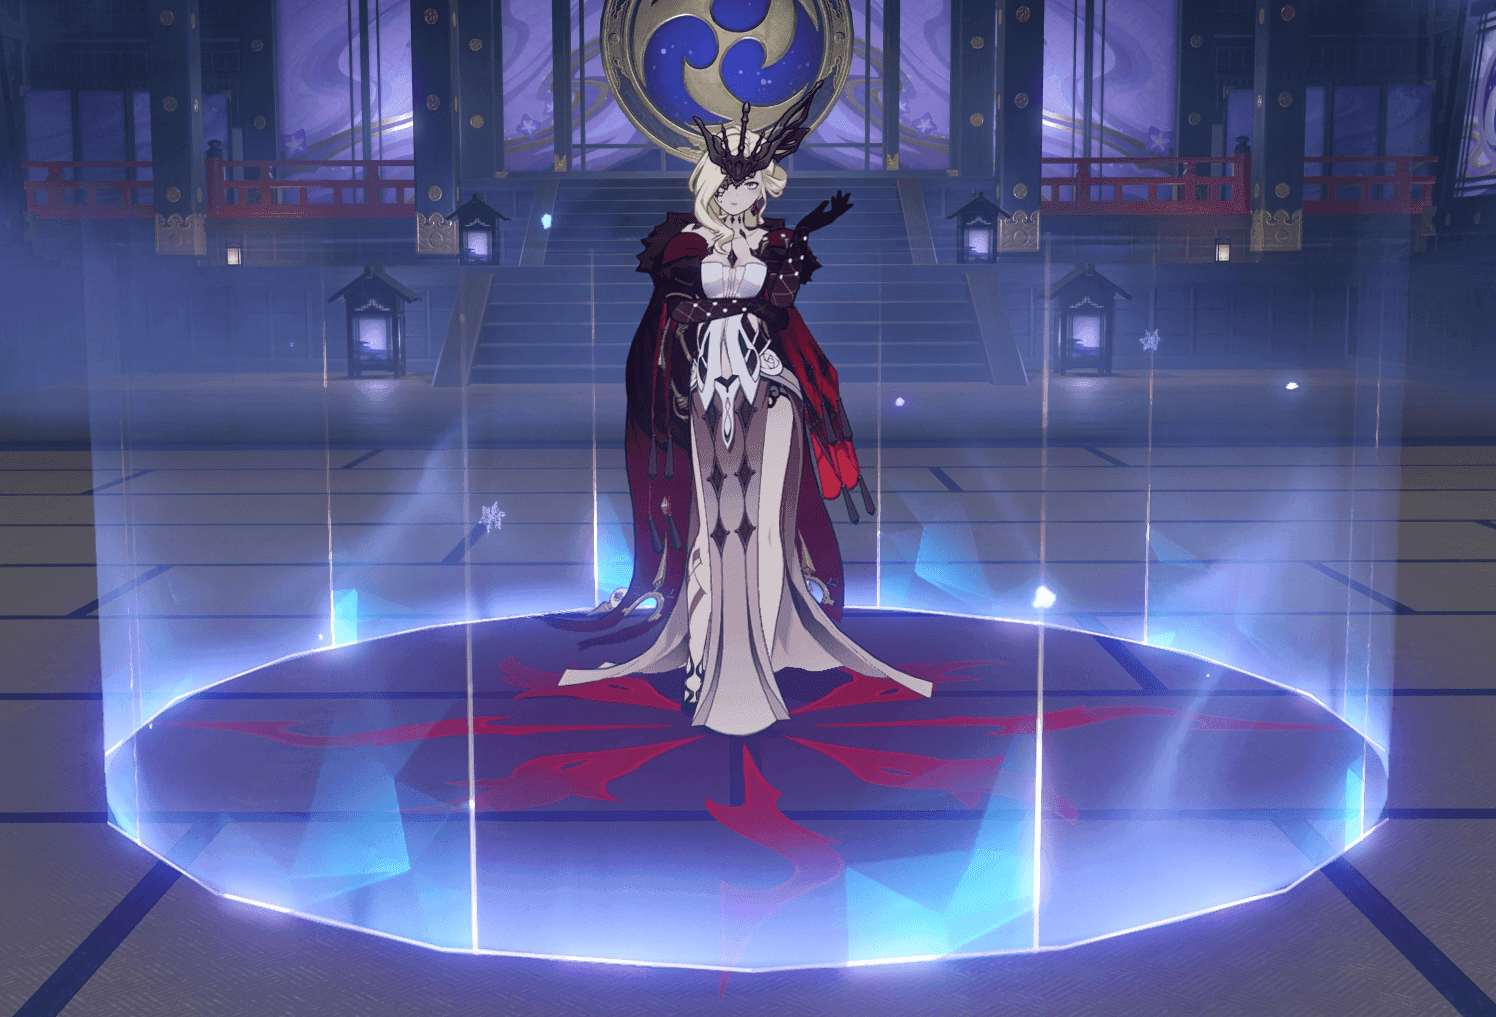
The Witch of Ice isn’t messing around. She hits you with devastating Cryo attacks while that nasty Sheer Cold meter slowly fills up. And when that meter maxes out? You’re taking rapid HP damage that completely ignores shields. Yeah, even Zhongli can’t save you from hypothermia.
Her attack patterns are pretty telegraphed once you know them: Spike Wheel Combos (three ice shots followed by that curved wheel), Shower of Ice Spikes with helpful AoE indicators, Homing Ice Spikes that… well, they home in on you, and those brutal Charged Ice Spikes that create massive damage zones.
Boss maintains 70% Cryo resistance but only 10% to everything else. Here’s where it gets interesting - there’s a damage cap that prevents you from bursting her down too quickly. Try to deal more than 30% HP in a short window, and she’ll nullify the excess damage while instantly filling your Sheer Cold gauge. Rude.
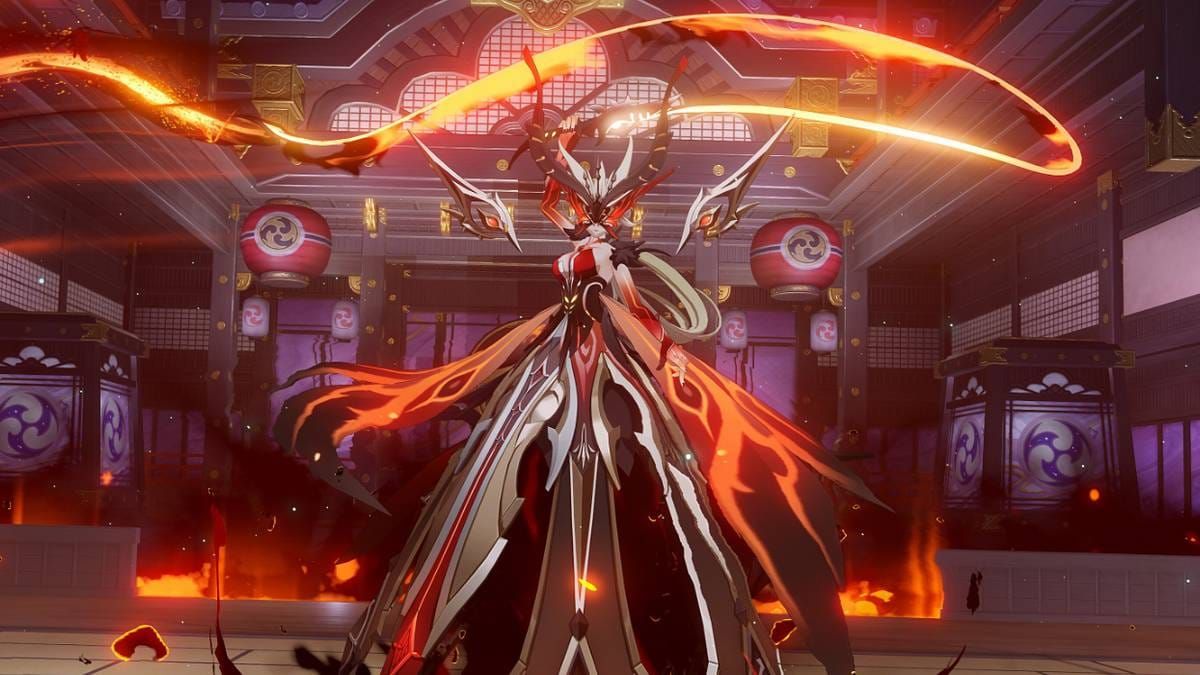
Phase 2: Fire and Fury
Around 20% HP, she pulls this dramatic transformation sequence, encasing herself in a Cryo Cocoon. She’s completely immune to direct damage here while doubling your Sheer Cold accumulation rate. Fun times.
Breaking the cocoon requires those Crimson Lotus Moths scattered around - each one imbues your next attack with Pyro damage. The cocoon’s got different vulnerabilities: Pyro works normally, Electro deals half damage, Anemo and Geo quarter damage, while Hydro and Dendro are basically useless.
Then she becomes the Crimson Witch of Embers. Sheer Cold gets replaced with Blazing Heat, and now she’s got 70% Pyro resistance instead. Her new toys include Fire Whip variations, Homing Butterflies, Meteor Showers, and that absolutely devastating Flaming Tornado ultimate when she’s low on HP.
Phase 1: Don’t Let Jack Frost Win
Those Life-Saving Hearts of Flame
The Hearts of Flame at arena corners aren’t just decoration - they’re your lifeline. Stand near them and watch that Sheer Cold meter gradually tick down. Destroy one and you get an instant heatwave that clears the gauge completely while eliminating those annoying Frosted Floor effects.
They respawn after destruction, so don’t be afraid to use them strategically.
Pro tip from my own painful learning experience: pack some Goulash. It provides additional Sheer Cold resistance, buying you precious time between beacon uses. Cryo resistance potions help with elemental damage but won’t stop that environmental hazard from building up.
Positioning That Actually Works
Corner regions near Hearts of Flame offer the safest spots - you’ve got hazard mitigation and escape routes. The center’s a death trap with overlapping attacks and limited beacon access.
Watch out for Ice Mines. They explode when you get close, leaving persistent Frosted Floor that’ll make your life miserable. Learn the placement patterns and you’ll find safer movement corridors.
Phase 2: When Everything’s on Fire
Heat Management 101
Eyes of Frost replace those Hearts of Flame, working exactly the same but countering Blazing Heat instead. Those Embered Earth areas work like Frosted Floor - they’ll accelerate heat buildup, so avoid them like the plague.
That Flaming Tornado ultimate? She becomes invulnerable while spawning multiple tornadoes across the arena. Forget about DPS here - just focus on survival using those Eyes of Frost liberally.
For character banner optimization, Genesis Crystals instant approval through BitTopup ensures quick access with secure payment processing and 24/7 customer support.
Staying Cool Under Pressure
Pyro resistance potions provide damage reduction but can’t prevent environmental Blazing Heat - learned that one the hard way. Shield characters become incredibly valuable here, not just for protection but for eliminating knockback and interruption. Maintaining DPS uptime and positioning control makes all the difference.
There’s an achievement called Icy Rivers, Crimson Witch for defeating her without destroying any beacons. It’s doable, but definitely save that for when you’ve mastered the fight.
Team Compositions That Actually Work
The Meta Powerhouses
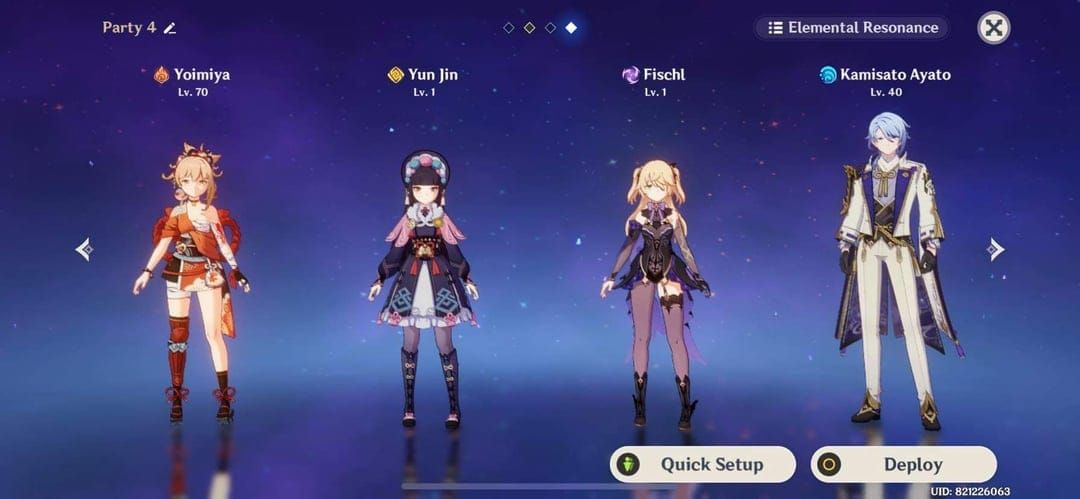
Yoimiya Vaporize (Yoimiya, Bennett, Kokomi, Zhongli): This team’s got everything - ranged DPS, healing, shielding, and elemental coverage. Yoimiya’s range keeps you safe while Bennett and Kokomi handle survival.
Nahida Hyperbloom (Nahida, Kokomi, Kuki Shinobu, Zhongli): Consistent damage regardless of resistance phases, plus dual healing. Hyperbloom reactions don’t care about her resistances.
Alhaitham Spread (Alhaitham, Raiden, Kuki, Zhongli): High personal damage with solid support infrastructure. Dendro reactions give you flexibility.
Elemental Strategy That Makes Sense
Raiden National (Raiden, Bennett, Kazuha, Xingqiu): Those burst windows are exceptional, and Bennett’s healing keeps you alive. Mono Geo (Itto, Gorou, Bennett, Zhongli): Consistent damage that doesn’t care about resistance changes.
Here’s the key insight - elemental diversity is crucial. Single-element teams get absolutely punished during resistance phases. I’ve seen too many Pyro mains struggle in Phase 2.
Support Priorities (The Real MVPs)
Zhongli: Universal resistance shred, interruption immunity, and shields that actually matter. Bennett: Unmatched healing plus attack buffs, creating safe healing zones. Kokomi: Sustained healing without hogging field time, plus hydro application for reactions.
F2P Teams That Don’t Suck
4-Star Builds That Work
F2P Core (Noelle, Xiangling, Xingqiu, Barbara): Noelle handles shield/heal/DPS duties while Xiangling and Xingqiu deliver off-field damage. It’s not flashy, but it works.
Alternative: Xiangling, Beidou, Fischl, Diona for Overload reactions. Kaeya and Rosaria offer excellent Cryo support for Phase 2 with minimal investment.
Free Character Strategies
Lisa: Consistent Electro application that ignores resistance changes, plus substantial AoE burst during her stationary phases. Amber: Crucial Pyro for cocoon breaking, and Baron Bunny provides distraction. Traveler: Flexible elemental coverage - Anemo for crowd control, Geo for construct strategies.
High-Return Investments
Fischl’s Oz: Exceptional off-field damage with minimal investment. Xiangling’s Pyronado: Highest damage-per-investment ratio in the game, excels in Phase 1 with no Pyro resistance. Sucrose: Budget EM support and crowd control that punches above its weight.
Character-Specific Insights
DPS Characters That Shine
Yoimiya: Ranged attacks counter her aggressive melee phases, and normal attack focus avoids energy issues. Ganyu: Exceptional Phase 2 performance through Cryo advantage and ranged safety. Ningguang: Geo consistency unaffected by resistance changes, plus ranged catalyst safety.
Support All-Stars
Diona: Combines shielding and healing in a single slot, plus Cryo application for Phase 2. Jean: Healing and crowd control for emergencies - that instant healing plus regeneration saves runs. Kazuha: Elemental damage bonuses, crowd control, and positioning assistance.
Characters to Bench
Chongyun: His Cryo infusion creates disadvantages during Phase 1, converting your damage to ineffective Cryo. Pure Pyro DPS (Diluc, Hu Tao): They suffer severe penalties during Phase 2. Characters with targeting summons risk destroying your survival beacons - learned that one the hard way with Fischl.
Mistakes I’ve Made (So You Don’t Have To)
Positioning Disasters
Standing in Frosted Floor or Embered Earth dramatically speeds up hazard accumulation. Drop everything and evacuate immediately. Staying too far from beacons creates emergencies - maintain proximity while dodging attacks.
Central positioning during Meteor Shower limits your escape routes. Don’t get greedy with DPS windows.
Elemental Application Blunders
Using bursts right before phase transitions wastes damage due to invulnerability periods. Ignoring resistance changes tanks your damage output - adapt your rotations based on the current phase.
Failing to collect those Crimson Lotus Moths just extends the encounter unnecessarily.
Resource Management Fails
Stamina depletion during critical dodges causes unavoidable damage. Reserve sprint for actual emergencies. Destroying beacons too early eliminates your survival tools. Inadequate healing management leads to environmental death - not the epic boss fight death you’d expect.
Weekly Rewards and Optimization
What You’re Actually Fighting For

Exclusive weekly talent materials (randomly dropped): Molten Moment (Raiden, Aloy, Gorou), Hellfire Butterfly (Kokomi, Thoma, Shenhe), Ashen Heart (Sara, Itto, Yun Jin). Plus Adventure EXP, Mora, Dream Solvent (33% chance), Northlander Billets (33% chance), and Cryo/Pyro ascension gems.
Weekly Priority Assessment
Essential if you’re running Raiden, Kokomi, or Itto as primary DPS. Difficulty sits between Dvalin/Andrius and Azhdaha - manageable but not trivial. That 30 Resin cost for your first three weekly bosses makes prioritization crucial.
Efficiency Tips
Complete within your first three attempts for the Resin discount. Co-op provides achievements while reducing clear times. World Level optimization balances difficulty against rewards, but remember that 24-hour cooldown for changes.
FAQ: The Questions Everyone Asks
How do you unlock La Signora weekly boss? Complete Archon Quest Chapter 2: Act 3 - Omnipresence Over Mortals at AR 30+. You’ll need prior completion of Chapter 2: Act 2 and that Duel Before the Throne quest. The domain becomes permanently available in Tenshukaku with Monday weekly resets.
What are the best safe teams for La Signora? Combine strong shielders (Zhongli, Diona) with reliable healers (Bennett, Kokomi) and diverse elemental DPS. Top compositions include Yoimiya/Bennett/Kokomi/Zhongli and Nahida/Kokomi/Kuki/Zhongli. Avoid single-element teams - those 70% resistance phases will ruin your day.
How do you counter freeze damage in Phase 1? Use Hearts of Flame at arena corners - stand near them for gradual meter reduction or destroy them for instant clearing. Avoid ice patches, maintain medium distance, and use Goulash consumable for cold resistance.
What characters counter overheat mechanics? Use Eyes of Frost for Blazing Heat mitigation. Strong healers (Bennett, Kokomi, Barbara) help recover from environmental damage. Ranged DPS (Yoimiya, Ganyu) maintain safety from those Fire Whip attacks.
What rewards does La Signora drop? Random exclusive talent materials: Molten Moment, Hellfire Butterfly, or Ashen Heart. Dream Solvent (33%), Northlander Billets (33%), Cryo/Pyro gems, and Gladiator’s/Wanderer’s artifacts. Quality scales with World Level.
Can F2P characters beat La Signora? Absolutely. Use Noelle/Xiangling/Xingqiu/Barbara core or Xiangling/Beidou/Fischl/Diona alternatives. Focus on diverse elements, strong healing, and patient positioning. Don’t forget consumables (Goulash, resistance potions) for improved performance.


