

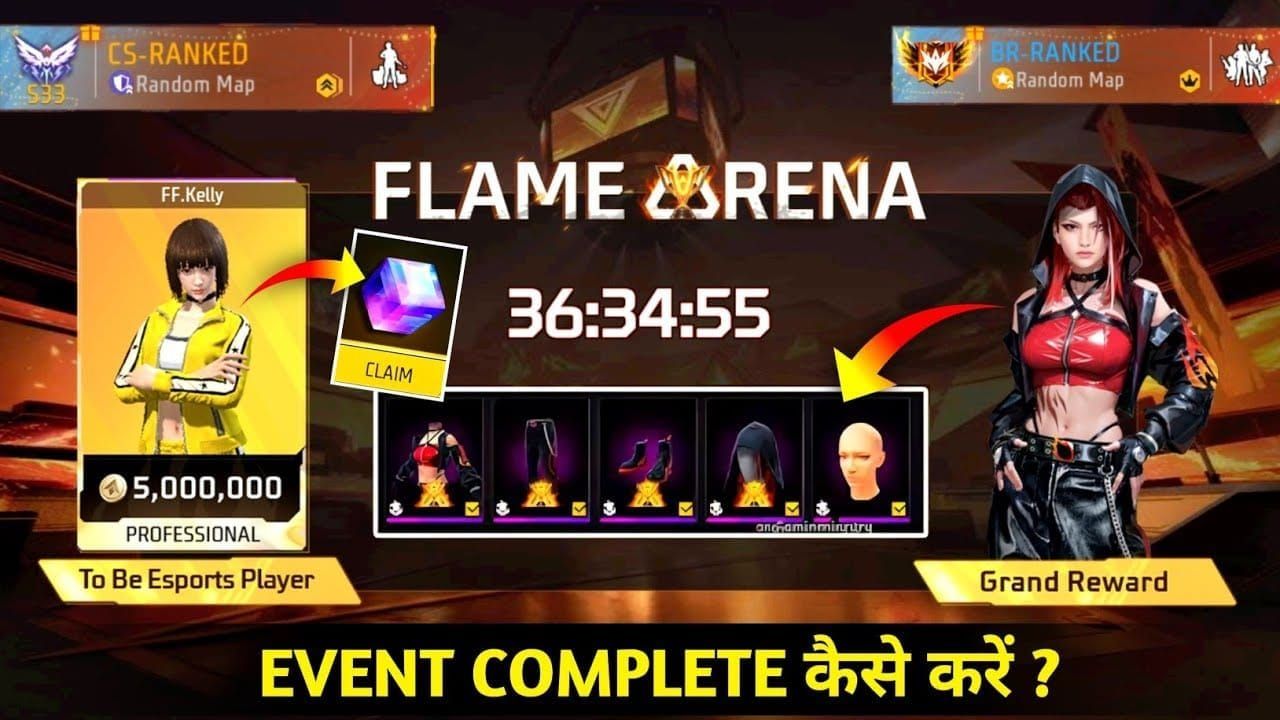
Introduction to Flame Arena in Free Fire OB51
Map Overview and Key Changes
Picture this: Flame Arena's got these elevated platforms and flame pillars that let you own zones right over Gloo Walls. Ground loot? It's stingier now—Helm/Vest drops slashed from 20 to 8. But Weapon Racks (2-4 per POI) hook you up with 2 guns plus a Super Med Kit. Airdrops hit at 180s (defense-focused, 4/3 squad) and stretch to 270-460s (gold guns incoming). Late game, scorching rings orbit tight, and sky banners flag elims on your minimap.
Land major POIs for those racks and arsenals first thing. Upgrade your Arsenal ASAP—costs 1500 FF Coins + 600 Coin Key, netting 3 Hel/Vests + 4 red guns. Waypoint revives pop at 3 points (they auto-delete after 15m/10s).
Why Positioning Wins Games Here
Ever wonder why some squads just own Flame Arena? It's those elevated platforms dishing power angles. Super Bonfire from CS Market (8m heal/boost radius) keeps you topped near Trophy. Then Scorch Zone kicks in at 420s: 3 golden revival points, Super Cards, marked chests. Knockdowns bleed HP over 14s (+35% crawl speed); Thiva's 4s Bot revive reaches 16m.
Hold pillars with Bolt Lightning or Barricades. Pack 6 enhanced Gloo Walls (+100 HP, 3%/s armor regen from Team Booster). Hug Trophy for Booyahs, leaning on UAV-Lite buffs.
(Quick editor note: In my grinding sessions, ignoring elevation here is a death sentence—feels like playing on hard mode solo.)
For OB51 Flame Arena, use Free Fire diamonds top up for OB51 flame arena. BitTopup: instant delivery, competitive prices, secure transactions, full OB51/elite pass support, top user ratings, 24/7 service.
Understanding Safe Peeks
Definition and Benefits
Safe peeks? They're your elevated platforms peeking over Gloo Walls—game-changer. Nero's 150HP plushie (12s, 100m range) absolutely shreds walls at 16HP/s in that 8m no-Gloo zone (45s CD). Bolt's Lightning Zone? 60 DMG/s (team immune, 30s duration, 5x per 600s). Sit-up Gloo near Trophy with UAV-Lite; pair Thiva + Bot for 4s revives.
Position on pillars. Deploy enhanced Gloo (Team Booster: 1st free, 2nd/3rd at 400/800 Coins). Bait enemies with Info Box or Hit List, then track those minimap banners.
Core Mechanics in Free Fire
Nero's active sniffs out 8m foes and explodes to wreck walls—team it with Thiva revives for clutch plays. Ford's passive? 10HP/s for 3s (resets after active). Kairos cuts 90% shield/armor DMG. Hammer enhancement (600 Coins/weapon) maxes attachments +1 red-tier, +10% team heal.
Grab Repair/Inhaler pickups x2. Prioritize Thiva, Boosters, Waypoints. Loadout slots and 50% coins stick around post-revive.
Mastering Power Angles
Identifying Dominant Spots
Power angles scream from elevated spots and flame pillars, controlling whole zones. Flamer weapons like Trogon, AC80, PARAFAL lob grenades every 3 shots (5s CD). S-tier picks: Winchester-III (6-bullet RoF, 2-burst), PARAFAL-Flamer (+5% pen/DMG/acc). Snag Zone Holder at Tactical Market for Info Box, Arsenal Key, Hit List.
Stock Flamers and VSK94 from racks. Hold with Cyber tools or Barricades. Damage/chip upgrades run 200/350/850 Coins for L1-3.
Zone-by-Zone Breakdown
Early game: rack up Flamers, Monster Truck to Flame Zone. Mid: Hit Tactical Market for gadgets and Bolt Maker. Late: orbit Trophy, Super Bonfire keeps you alive. Rin's buff speeds kunai post-hit, dealing 12 DMG + distance to 3 auto-targets (perfect anti-Gloo).
Predict the announcer. Dodge static rings and flares. Bolt denial in high-traffic spots. Waypoints (3 minimap points) guide your IGL routes.
Step-by-Step Safe Peek Guide
Preparation and Timing
Kick off with 4 Med Kits and 2 Inhalers—no room for extras. Elims drop 200 Coins (50% retained). Super Leg Pockets boost bonfire, backpack, armor, items. First Booster's free (HP/EP +2/1s, +7% speeds, x3 out-zone EP).
Max missions and squads for econ. Carry 6 Gloo Walls, Blaze Mode power-ups. Dodge pre-flare via Bonfire or minimap.
Execution Techniques
Sit-up Gloo peeks near Trophy. Nero plushie wrecks foes. Lightning seals the Booyah. M60-III needs 1700 tokens; Mini Uzi mag drops to 16 from 20. Revive at golden points (420s).
Deploy Gloo. Peek from elevation. Track banners. Avoid going solo—you'll miss those revives.
Practice Drills
Hunt POIs early via Waypoints. A-tier: M60/FAMAS Flamers (+3% DMG/RoF), Thompson-X (+8% RoF/+15% range).
Custom rooms for pillar holds. Simulate rotations dodging flares. Test Nero-Thiva synergy.
Fuel OB51 grind with buy Free Fire diamond recharge for elite pass. BitTopup: lightning-fast delivery, budget rates, reliable safety, full Free Fire support including elite passes, seamless experience, responsive service.
Optimal Power Angle Positions in Flame Arena
Hot Drop Areas
Drop major POIs: 2-4 racks per POI, upgrade Arsenal fast. Full Rush loadout: FAMAS-III-Flamer rusher, Nero support, VSK94-Flamer flanker, Waypoint IGL. Defense airdrops at 180s (gold x6 early).
Grab Flamers. Rotate to Flame Zone. Monster Truck or Waypoints. Synergy: Nero+Thiva, Booster+Pockets.
Mid-Game Holds
Tactical Market: Super Bonfire and Smoke Vortex. Hold pillars with Bolt (60 DMG/s). Scorch Zone revives at 420s.
Buy intel for baits. Enhance Winchester/PARAFAL. Prioritize squad sticks.
Final Zone Dominance
Hug Trophy. UAV-Lite buffs Gloo, Super Bonfire hits 8m radius. Sky banners spot foes.
Orbit late-game. Seal with Lightning. Booyah on sustains.
Comparisons: Flame Arena vs. Classic Maps
Peek Differences
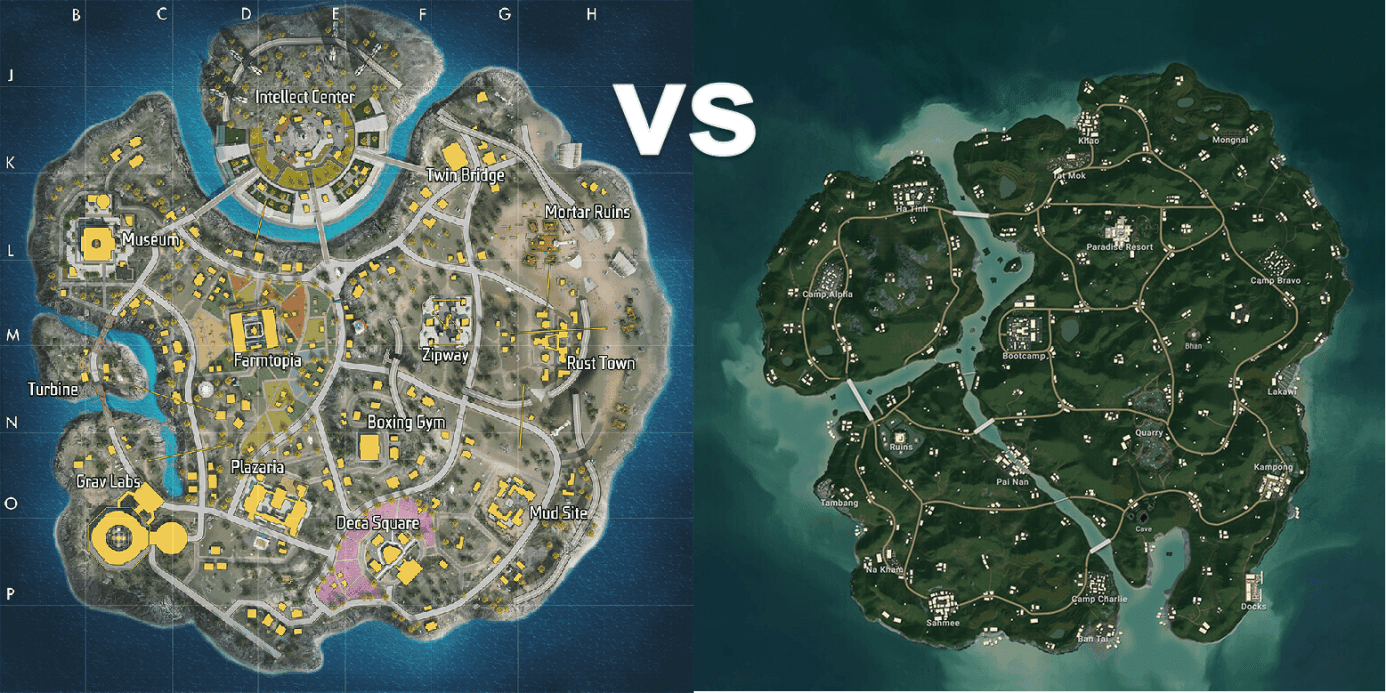
Elevated beats Gloo Walls every time; Nero shreds uniquely, and reduced ground loot pushes you to racks. Research from OB51 data shows:
- Flame: pillars for angles, mandatory flare dodges.
- Classic: more ground Helm/Vest.
- Advantage: early POI racks + Truck rotations.
Angle Advantages
Pillars enable denial; Flamers lob every 3 shots vs. standard grenades. Data edges:
- Flame: 60 DMG/s Bolt, 420s revives.
- Classic: no Trophy orbit.
- Edge: Thiva's 4s Bot, Rin's auto-target.
(Editor take: Flame feels faster-paced—classic maps let you breathe more, but that's subjective from hundreds of ranked drops.)
Common Mistakes and How to Avoid Them
Overpeeking Pitfalls
Ignoring flares? Zero coins from static kills. Poor econ skips free Boosters. Solo play misses banners and revives.
Rotate pre-flare. Max econ at 200 Coins per elim. Stick to squad and IGL Waypoints.
Angle Exposure Fixes
Sloppy Gloo or no elevation; static rings eat you alive.
Use 6 enhanced Gloo. Pillar holds. Thiva and Boosters first.
Pro Tips and Case Studies from OB51
Tournament Highlights
Nero shred + Lightning? Pure win seals. Thiva revives clutch hard. Flame Tokens from dailies, weeklies, Booyahs (weekend doubles) snag outfits and blades. Squads rake more.
Booster + Hammer on S-tier. Early zone + denial.
Player Loadouts
Peak setup: All Boosters + Hammer + Bolt. Winchester/PARAFAL core.
- Rusher: FAMAS-III-Flamer.
- Support: Nero.
- Flanker: VSK94-Flamer.
Squad Strategies and Rotations
Team Angle Coverage
Rush: Rusher/Nero/VSK/Waypoint. Hold: Market intel + pillars. Synergy: Nero+Thiva, Booster+Pockets. 3 Waypoint points.
IGL Waypoints. Coordinate revives. Cover angles.
Safe Rotation Paths
Early Monster Truck to Flame Zone. Predict announcer, dodge flares, hug Trophy. Airdrops 270-460s.
POI racks first. Pre-flare moves. Bolt denial in high-traffic.
Tools, Metrics, and Further Practice
Custom Room Setups
Drill pillar peeks, Gloo sit-ups, Flamer denial. Simulate 420s revives, Waypoint routes. Econ practice (Hammer 600 Coins).
Pillar holds. Rotation flares.
Tracking Your Progress
Peek success: elevation + intel. Angle control: 60 DMG/s uptime. Booyahs from sustains, minimap banners.
Max missions. Squad feedback.
Conclusion and Next Steps
Booster + Hammer on Winchester/PARAFAL. Early rotates + Nero-Thiva lock OB51 wins. Grind dailies for Tokens; squads double rewards.
FAQ
What are safe peeks in Free Fire Flame Arena?
Elevated platforms over Gloo Walls; Nero shreds 16HP/s, sit-up near Trophy with UAV-Lite.
How to find power angles in OB51 map?
Hold flame pillars; Bolt Lightning 60 DMG/s denial, Tactical Market intel.
Best landing spots for positioning in Flame Arena?
Major POIs: 2-4 Weapon Racks/POI; upgrade Arsenal ASAP.
Common mistakes in Flame Arena peeks?
Ignoring flares (no static coins), solo (miss revives); rotate pre-flare, stick squad.
Pro tips for safe peeking in Free Fire OB51?
6 enhanced Gloo, Thiva 4s revives, Lightning seals Booyahs.
How to rotate safely in Flame Arena?
Monster Truck to Flame Zone early, Waypoints, dodge flares hugging Trophy.


