

Challenge Overview & Unlock Requirements
What Are Masters of the Night-Wind Challenges?
Specialized Warrior's tests introduced in Version 5.2 near the Statue of the Seven in upper-west Natlan. Unlike combat trials, these emphasize environmental navigation and Saurian Indwelling over fighting. Version 5.5 added three more trials, totaling 21 Warrior Challenges across Natlan.
Ranking system:
- S-rank: Precious Chests (Obsidian Fragments)
- A-rank: Exquisite Chests
- B-rank: Common Chests
For consistent Primogem income to build your roster, Buy Welkin Moon through BitTopup with secure transactions and competitive pricing.
Prerequisite Quests
Complete Calling from the Masters of the Night-Wind quest:
- Cross bridge to Masters settlement
- Unlock waypoint near circular ancient gate
- Talk to Chief Biham
- Complete Obsidian Altar test at Sacrificial Altar
Altar test steps:
- Collect three clues: center glowing light, right blue tapestry, far bookshelf
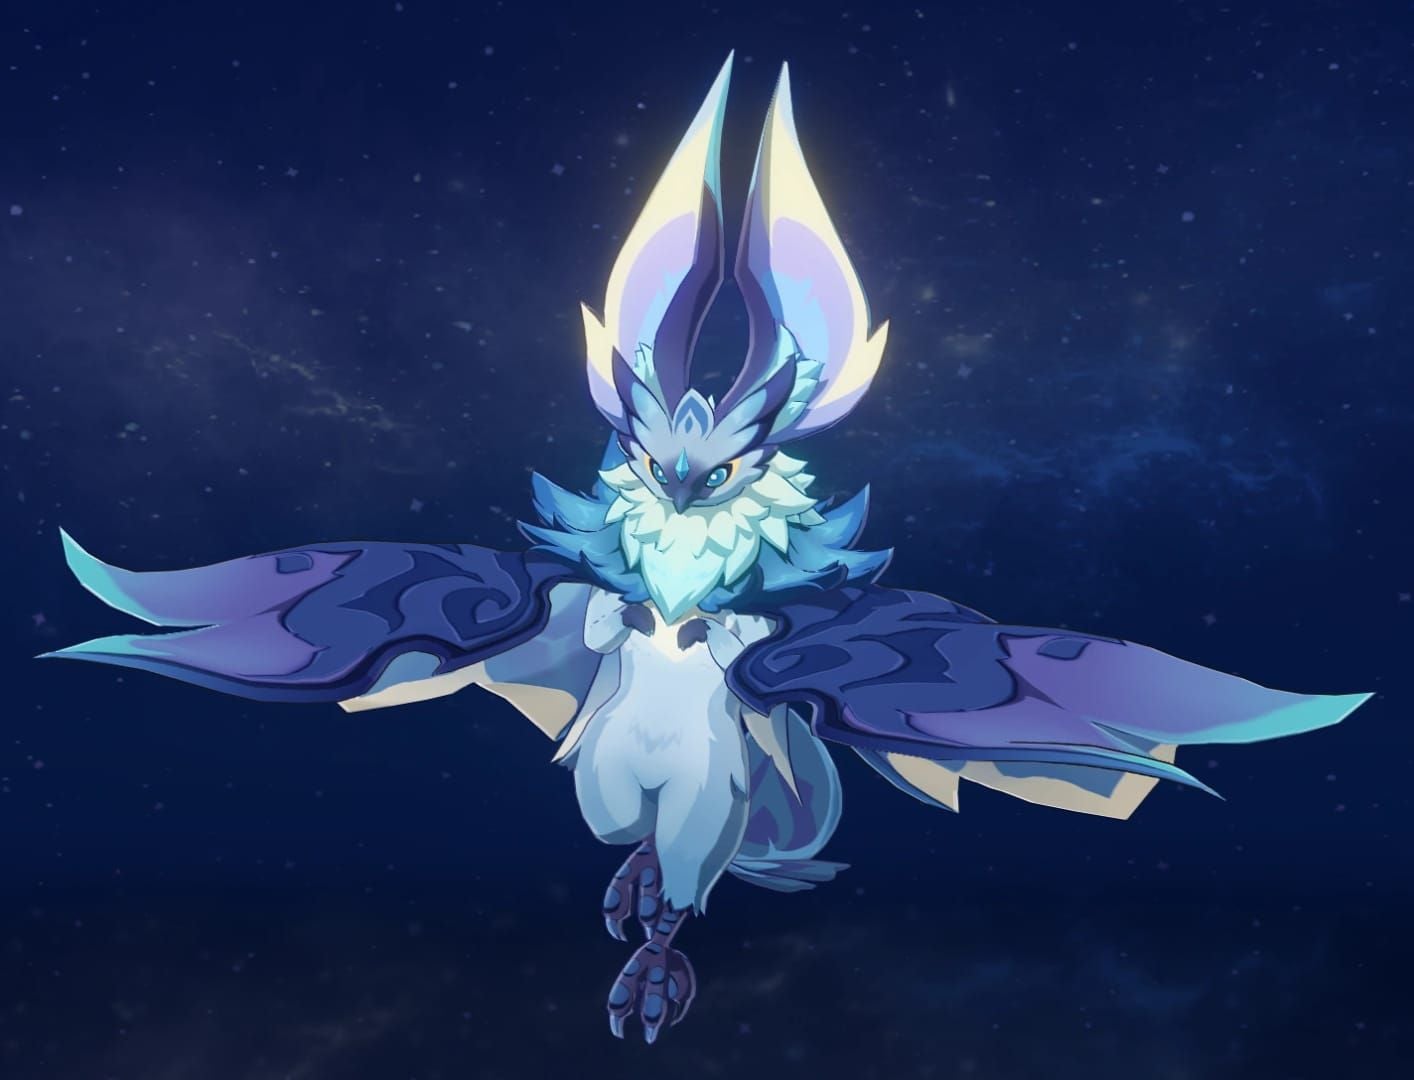
- Interact with Spiritscone to transform into Iktomisaurus
- Use Elemental Sight to reveal hidden marks
- Open paths and place altar on elevated platform
- Reward: 3 Hero's Wit
Challenge Locations
- Forward! And Forward Again!: Iktomisaur Spiritscone at tribal settlement
- A Saurian Returns to the Nest: Wooden platform, speak with Manyoya
- Leap to the Peak: Near Statue of the Seven, talk to Bitsin
- Charge forward! Go, go, go!: Floating platforms, speak with Matahga
Hidden Achievements
Three Woven Scroll puzzles across Tezcatepetonco Range, Xalac Vale, Quahuacan Cliff, and cave west of Tezcatepetonco. Require Iktomisaur Indwelling to scan graffiti, create wind currents, navigate hazards. Completing all unlocks Luxurious Chest achievement.
S-Rank Criteria Breakdown
Scoring System
Point-based scoring, not time trials. Score accumulates through checkpoints with deductions for purple orb hits. Purple orbs are the critical factor—hitting them significantly reduces points, often preventing S-rank.
Key differences from combat challenges:
- No survival mechanics or damage
- Speed matters less than precision
- Efficient routes naturally avoid obstacles
Score Mechanics
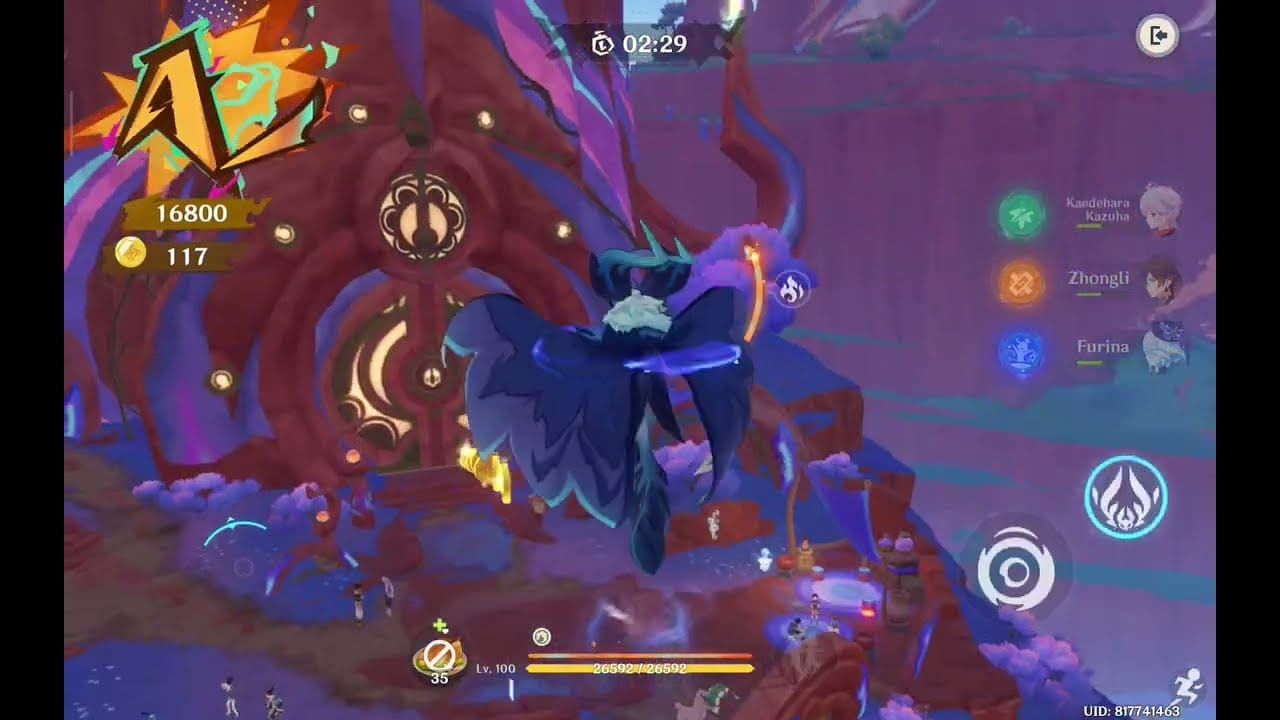
Iktomisaurus jumping ability is primary scoring mechanic. Master jump timing, trajectory arc, landing precision. Floating platforms and air balloons provide alternative routes requiring precise timing. Wind currents from Woven Scroll puzzles offer strategic advantages.
Common Misconceptions
- Character choice: Iktomisaurus Indwelling provides most consistent control; character approaches add unnecessary variables
- Purple orb penalties: One collision doesn't auto-disqualify; multiple successful checkpoints can compensate for 1-2 hits in longer challenges
Challenge Locations & Access
Map References

Forward! And Forward Again!: Central settlement, accessible from main waypoint. Spiritscone clearly marked in open area.
A Saurian Returns to the Nest: Elevated wooden platform above settlement. Follow terrain from central waypoint, climb/glide to reach Manyoya.
Leap to the Peak: Near Statue of the Seven, most separated from settlement. Bitsin marks start point. Use Statue for quick teleport and healing.
Recommended Order
- Obsidian Altar test: Learn Indwelling basics, earn 3 Hero's Wit
- Forward! And Forward Again!: Straightforward layout, introduces purple orb avoidance
- A Saurian Returns to the Nest: Adds vertical navigation, gap-crossing
- Leap to the Peak: Most complex, combines all mechanics
Environmental Factors
Forward!: Stable conditions, clear sightlines, open layout enables advance planning.
Saurian Nest: Wind currents assist/hinder navigation. Narrow wooden pathways demand precise movement.
Leap to Peak: Complex interactions—elevation changes, wind currents, extended gliding. Higher altitude affects gliding distances. Stamina management crucial.
Optimal Strategies
Iktomisaurus Indwelling (Recommended)
Most reliable S-rank method. Provides:
- Standardized movement eliminating character variables
- Fixed jump arc/distance for precise memorization
- Unlimited movement (no stamina consumption)
- Elemental Sight reveals hidden navigation aids
Character Alternatives
Citlali or Ororon work but add complexity:
- Stamina limitations and ability cooldowns
- Better for shorter sequences
- Requires higher mechanical skill than Indwelling
Citlali: Strong vertical movement, less precision than Iktomisaurus Ororon: Excels horizontal distance, needs careful vertical planning
For Genesis Crystals to build your roster, visit the Genshin Impact Top Up Center at BitTopup for fast delivery and secure transactions.
Step-by-Step S-Rank Guides
Forward! And Forward Again!
- Interact with Spiritscone at settlement
- Opening: Three jumps across platforms, widely-spaced orbs. Time jumps to arc over orbs from platform center
- Mid-section: Floating platforms, tighter orb spacing. Chain jumps immediately on landing—maintain forward momentum
- Final: Air balloons provide vertical lift. Approach at slight angles for directional control. Glide at peak altitude to bypass ground orb clusters
A Saurian Returns to the Nest
- Speak with Manyoya at wooden platform
- Climbing section: Purple orbs line walls. Identify gaps, plan route through safe zones. Pause at ledges to assess next segment
- Platform jumping: Gaps with suspended orbs at various heights. Aim for platform edges to maximize space for next jump
- Wind currents: Enter deliberately for altitude, exit at optimal height. Brief contact better than extended riding
Leap to the Peak
- Talk to Bitsin near Statue of the Seven
- Opening: Narrow platforms, significant gaps. Jump with full momentum just before platform edge. Land near far edge for optimal next jump setup
- Middle obstacle field: Most complex section—orbs, narrow paths, elevation changes. Slow pace for precision. Use diagonal movement across platforms for cleaner navigation lines
- Final gliding: Extended section requiring proper angle. Too steep drops below path; too shallow extends flight time. Maintain consistent glide angle
Charge Forward! Go, Go, Go!
- Speak with Matahga
- Floating platforms: Jump immediately on landing before platforms descend/shift. Develop land-jump rhythm without pause
- Air balloon sequence: Contact balloons at center for maximum lift. Off-center deflects trajectory sideways
- Final sprint: Densest orb concentration. Requires route memorization, not reactive navigation. Practice repeatedly for muscle memory
Advanced Techniques
Movement Mechanics
Iktomisaurus jump physics:
- Fixed parameters, consistent across uses
- Maximum height at arc midpoint
- Horizontal distance depends on forward speed at initiation
- Mid-air directional control allows minor corrections
Pro tip: Maintain momentum between jumps. Jumping while stationary produces minimal horizontal distance.
Route Memorization
S-rank requires memorized routes, not reactive navigation. Purple orb placements are fixed.
Memorization strategy:
- Break challenges into sections (platform clusters, elevation changes)
- Memorize sections independently
- Practice sections in isolation by failing after target segment
- Chain sections together gradually
Visual Cue Recognition
- Purple orbs identifiable at distance—scan forward, not immediate surroundings
- Platform edges/gaps signal jump preparation
- Elevation changes suggest climbing/gliding needs
- Wind currents/air balloons show particle effects
Hidden Achievements
Woven Scroll Puzzles
Tezcatepetonco Range: Capture three Naughty Monetoos. Scan graffiti with Iktomisaur Elemental Sight to reveal wind currents. Place currents beneath Monetoos.
Xalac Vale: Drain water to reveal scroll. Glide to end without touching blackness obstacles. Rewards Precious Chest.
Quahuacan Cliff: Scan stone graffiti to create laser-blocking barriers. Defeat Wayob Manifestation surrounded by Yumkasaurus.
Luxurious Chest Achievement
Complete all three puzzles, then access descending platform while Indwelling Iktomisaur. Platform unlocks after puzzle completions. Achievement triggers at destination with Luxurious Chest (Primogems, Hero's Wit, Mystic Enhancement Ore).
Check achievement list under Natlan exploration for progress tracking.
Common Mistakes & Troubleshooting
Purple Orb Collisions
Most frequent failure cause. Even 2-3 collisions can drop below S-rank threshold. Each applies fixed point deduction with no recovery mechanism.
Solutions:
- Prioritize precision over speed
- Slow down in high-density sections
- Aim for platform centers when landing for better next jump angles
Route Optimization
Reactive navigation insufficient for S-rank. Orb density demands premeditated routes accounting for multiple obstacles.
If you repeatedly fail same sections, issue is route selection, not execution. Analyze for alternative paths with better avoidance angles.
Mechanical Execution
Common errors:
- Mistimed jumps (too early/late)
- Directional input overcorrection mid-air
Fixes:
- Use consistent visual landmarks as jump triggers
- Minimal mid-air input for predictable trajectories
Retry vs Improve
Challenges don't involve builds when using Indwelling. Solution is route optimization and practice, not character improvement.
When to retry: Scores consistently improve When to break: Scores plateau/worsen (fatigue degrading execution)
Resource Preparation
Food Buffs
- Stamina reduction (Northern Smoked Chicken): For character-based approaches
- Stamina regeneration (Lotus Seed and Bird Egg Soup): Enables aggressive ability usage
- Defensive foods: For prerequisite quests and Woven Scroll combat
Character Readiness
Iktomisaurus Indwelling: Character level/equipment irrelevant. Any character can initiate Indwelling with standardized abilities.
Character-based: Citlali/Ororon need sufficient stamina pool and ability levels. Higher character level = larger stamina pool.
Investment Strategy
No resin investment needed for Indwelling approach. Challenges depend purely on mechanical skill and route knowledge.
Focus resin on general account progression—artifacts, talents, weapons. Masters challenges remain accessible through skill regardless of resource investment.
FAQ
What are the Masters of the Night-Wind challenges in Genshin Impact?
Three Warrior's trials in Natlan testing Iktomisaurus Indwelling navigation: Forward! And Forward Again!, A Saurian Returns to the Nest, Leap to the Peak. Reward Precious Chests with Obsidian Fragments for S-rank. Emphasize jumping precision and purple orb avoidance, not combat.
How do you unlock Masters of the Night-Wind Warrior challenges?
Complete Calling from the Masters of the Night-Wind quest: cross bridge to settlement near upper-west Natlan Statue, unlock waypoint, finish Obsidian Altar test. Teaches Iktomisaurus Indwelling mechanics.
What are the S-rank requirements for Night-Wind challenges?
Near-perfect navigation with minimal purple orb collisions. Point-based scoring, not time limits. Each orb hit significantly reduces score. Maintain momentum through checkpoints while avoiding all orbs.
Which characters are best for Masters of the Night-Wind?
Iktomisaurus Indwelling most reliable—standardized jumping, unlimited stamina. Citlali or Ororon work but require stamina management and higher mechanical skill.
Where are all Masters of the Night-Wind challenge locations?
Forward! And Forward Again!: settlement Spiritscone. A Saurian Returns to the Nest: Manyoya's wooden platform. Leap to the Peak: Statue of the Seven with Bitsin. All in upper-west Natlan Masters tribal area.
What rewards do Masters of the Night-Wind challenges give?
S-rank: Precious Chests (Obsidian Fragments, Primogems, enhancement materials). A-rank: Exquisite Chests. B-rank: Common Chests. All challenges plus Woven Scroll puzzles unlock Luxurious Chest achievement with premium rewards.


