Understanding Genshin 6.2 Spiral Abyss Floor 12-1 Changes
Enemy Lineup and Behavior Patterns in 6.2
Floor 12-1 throws some nasty curveballs at you this cycle. You're looking at Sternshield Crabs sporting hefty Pyro shields alongside Battle-Scarred Rock Crabs that love summoning their annoying Stoneborne Seeds. Enemy levels hit 95-100, so half-baked team comps won't cut it anymore.

The Sternshield Crabs pack substantial Pyro resistance—which actually works in our favor for Vaporize teams with proper Anemo support. Those Battle-Scarred Rock Crabs? They'll spam up to 6 Stoneborne Seeds that you'll need to handle with Bloom reactions. It's chaotic, but manageable with the right approach.
For budget optimization, cheap genshin impact primogems top up for f2p abyss clears through BitTopup provides secure and affordable resources to strengthen character builds.
Abyss Blessing Analysis and Team Synergy
The 6.2 blessing is honestly a gift for F2P players. We're talking 200% Bloom damage increase and 75% Lunar-Bloom damage bonus—numbers that can make budget teams punch way above their weight class.
Jahoda shines here because her Anemo application spreads elemental auras like nobody's business. Her Elemental Skill absorbs elements (following Pyro > Hydro > Electro > Cryo priority) and converts them into satisfying AoE Anemo damage. That 12-second Burst duration with built-in healing? Perfect for surviving those extended Bloom sequences that would otherwise melt your team.
DPS Requirements and Time Management
Here's where many F2P players get it wrong—Floor 12-1's 420-second timer isn't about pure burst DPS anymore. It's about sustained reaction damage, and that's exactly where Jahoda teams excel.
With Jahoda's Viridescent Venerer 4-piece shredding enemy resistance by 40%, combined with that juicy 200% Bloom blessing, F2P teams can actually match the damage output of much higher investment compositions. The catch? You absolutely need 200-250% Energy Recharge on Jahoda for consistent Burst uptime. No shortcuts here.
Jahoda Overview: Why This Character Works for F2P Abyss Clears
Jahoda's Kit Breakdown and Abyss Advantages
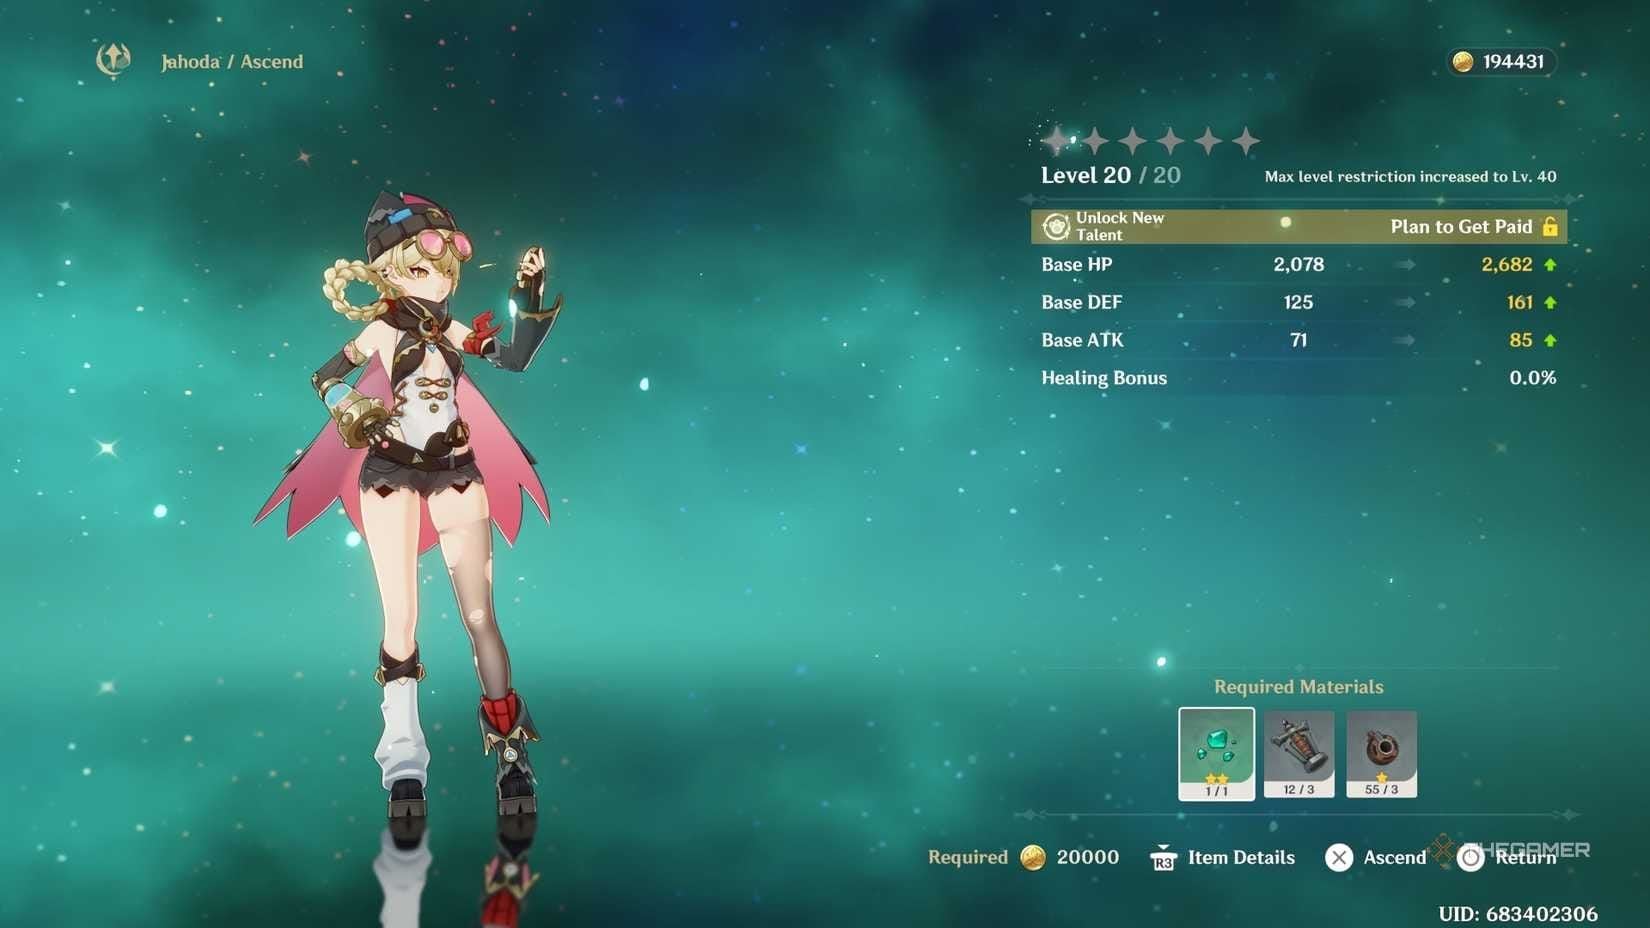
Let's talk numbers. Jahoda's a 4-star Anemo bow support with 9,646 HP, 223 ATK, 580 DEF, and 18.5% Healing Bonus at C0. Not spectacular on paper, but her kit synergies tell a different story.

Shadow Pursuit (her Elemental Skill) is where the magic happens. It absorbs the highest priority element available, storing it in her Purr-loined Treasure Flask for AoE Anemo damage. The tap-cancel technique gives you precise positioning control while generating energy through those Meowball projectiles—essential for maintaining rotations.
Hidden Aces (Elemental Burst) summons two robots that provide AoE Anemo damage and healing over 12 seconds. Healing scales with 143.8% ATK plus 1,102 flat HP, which is surprisingly robust. Sweet Berry Bounty grants +100 Elemental Mastery when healing teammates above 70% HP—a passive that rewards good timing.
F2P Accessibility and Investment Requirements
Here's the beautiful part: Jahoda achieves full functionality at C0. No constellation gating, no but you really need C2 asterisks. Her ascension materials include Vayuda Turquoise, Lightbearing Scale-Feathers from the Radiant Moonfly boss, and Portable Bearings from Lempo Isle—nothing too exotic.
Talent priority's straightforward: Elemental Burst to 8-9+ levels (this is non-negotiable), Elemental Skill to 6+ levels, and you can leave Normal Attack at level 1 unless you're running her as main DPS.
For accelerated progression, affordable genesis crystals recharge for budget spiral abyss teams through BitTopup offers competitive rates and instant delivery.
Role Flexibility: Main DPS vs Sub-DPS Comparison
As main DPS, Jahoda provides consistent on-field Anemo application through Normal Attack chains and frequent Skill usage for Moonsign reactions. It's not meta-breaking, but it works.
Where she really shines is sub-DPS configurations—quick-swap support that applies VV shred, triggers Swirl reactions, and provides emergency healing. That 12-second Burst duration means she keeps contributing even when off-field. In practice, most F2P teams benefit more from this supportive approach.
Best F2P Jahoda Team Composition #1: Reaction-Based Setup
Complete 4-Character Team Breakdown
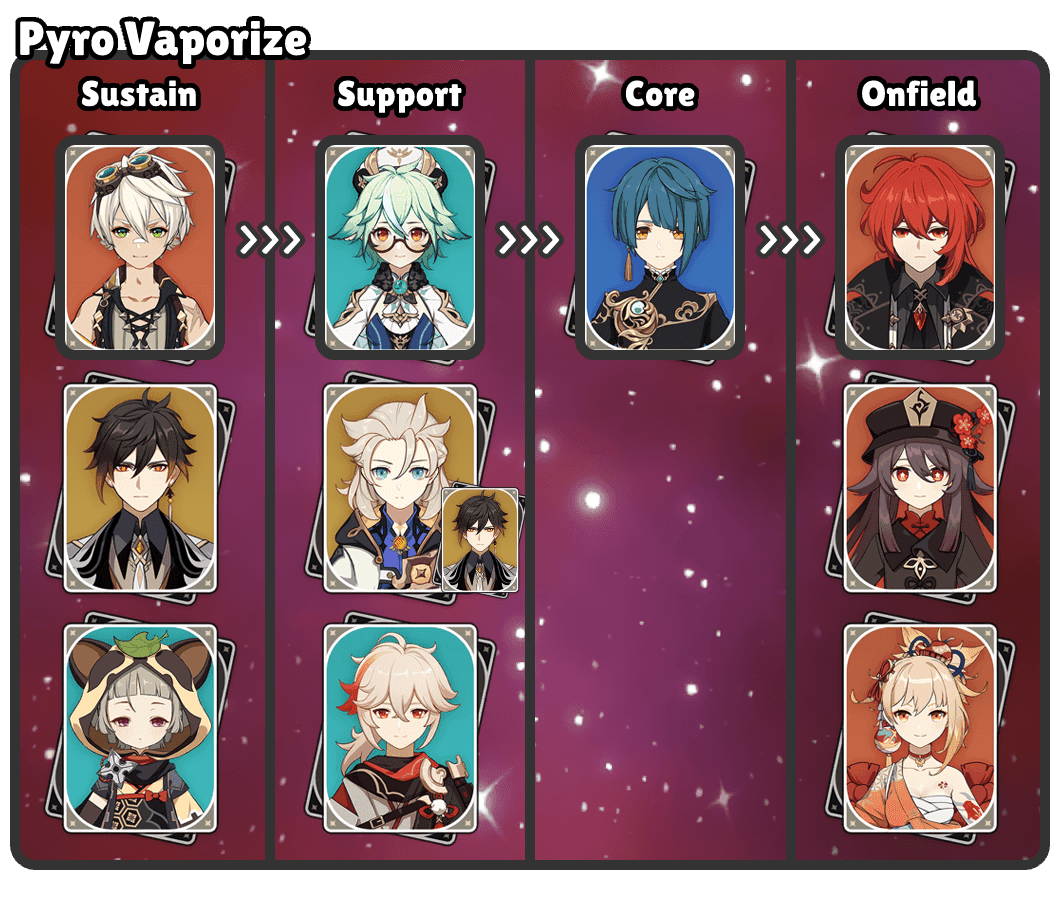
The premier F2P setup: Jahoda, Yanfei, Yun Jin, Xingqiu. This Vaporize composition hits all the right notes without requiring any 5-star characters.

Jahoda runs Favonius Warbow + 4pc Viridescent Venerer with 200-250% ER. Yanfei carries Dodoco Tales + 4pc Crimson Witch as your primary Pyro DPS. Yun Jin operates with Favonius Lance + 4pc Noblesse for those crucial Normal Attack buffs. Xingqiu completes the picture with Favonius Sword + 4pc Emblem, providing reliable Hydro application.
Character Role Distribution and Synergies
The synergy revolves around maximizing Vaporize frequency while maintaining solid defense. Yanfei's Pyro creates the reaction foundation, while Xingqiu's orbital swords ensure consistent reverse Vaporize triggers.
Jahoda's absorption prioritizes Pyro, allowing Swirl spreading that enhances Xingqiu's efficiency. The VV 4-piece reduces both Pyro and Hydro resistance by 40%—substantial damage amplification. Energy economy relies on Favonius weapons across three team members, creating self-sustaining cycles that experienced players swear by.
Why This Team Excels Against Floor 12-1 Enemies
Those Sternshield Crabs' Pyro shields become surprisingly manageable with sustained Pyro application enhanced by VV reduction. Yanfei's charged attacks, amplified by Yun Jin's buffs and Jahoda's shred, provide sufficient shield-breaking damage without requiring perfect execution.
For Stoneborne Seeds, Jahoda's Swirl enhances Bloom reactions while her healing ensures survival during those chaotic explosion phases. The 200% Bloom blessing synergizes beautifully with Swirl spreading for massive AoE damage that can clear multiple seeds simultaneously.
Best F2P Jahoda Team Composition #2: Supportive Burst Setup
Alternative Team Configuration for Different Playstyles
The secondary composition focuses on Lunar-Charged reactions: Jahoda, Flins, Ineffa, Aino. This setup emphasizes sustained reaction damage over burst windows.
Jahoda uses 2pc Silken Moon's Serenade + 2pc VV for +20% ER and those Gleaming Moon effects (+60/120 EM, +10% Lunar Reaction DMG). The rotation flows: Ineffa Skill/Burst > Aino Burst/Skill > Jahoda Skill with tap cancel > Flins Skill/Burst > Jahoda Burst.
Character Substitution Options for Flexibility
Sethos can replace Yanfei for Pyro DPS duties, while Aino substitutes for Xingqiu in Hydro application. When survivability outweighs damage amplification, Diona replaces Yun Jin. Collei provides Dendro for Bloom-focused encounters—flexibility that adapts to your roster limitations.
Weapon alternatives include Rainbow Serpent's Rain Bow (510 ATK, 45.9% ER) or Elegy for the End (608 ATK, 55.1% ER with team buffs) if you're lucky enough to have them.
Situational Advantages Over Team #1
This Lunar-Charged composition excels in sustained reaction damage scenarios where fights drag on. Moonsign synergies provide scaling damage that improves throughout encounters—perfect for those longer Floor 12-1 chambers.
Energy management becomes more forgiving due to extended rotations and multiple generation sources. Team adaptability allows emphasis on Dendro/Hydro during Bloom phases or Lunar-Charged scaling during Pyro phases, depending on what the encounter throws at you.
F2P Weapon Options for Jahoda in Spiral Abyss
Top 3 Free-to-Play Weapon Recommendations
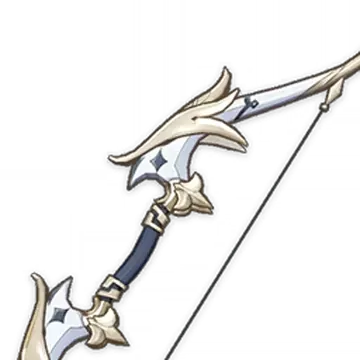
Favonius Warbow remains the gold standard. 454 ATK, 61.3% ER, and it generates 6 Energy particles on CRIT hits with a 6-second cooldown. This reduces ER requirements by roughly 35%, and multiple CRIT opportunities through Skill Meowballs and Burst robots ensure reliable generation.

Rainbow Serpent's Rain Bow offers higher base stats: 510 ATK, 45.9% ER. The +56% ATK bonus when off-field makes it effective for sub-DPS builds where higher base ATK improves both damage and healing scaling.
Elegy for the End (if you have it) provides 608 ATK, 55.1% ER, plus team buffs (+120 EM, +20% ATK through Sigil mechanics) and +60% Swirl DMG bonus. It transforms Jahoda into a significant team buffer beyond just her VV contributions.
Refinement Priority for Budget Players
Don't stress about Favonius Warbow refinements—they provide diminishing returns since the cooldown stays constant. R1's sufficient for most compositions.
Rainbow Serpent refinements increase the off-field ATK bonus from 56% to 100% at R5, but that requires excessive materials for modest gains. Elegy refinements enhance team buffs significantly, but weapon rarity makes refinement impractical for most F2P accounts.
Optimal Artifact Builds for F2P Jahoda
Best Artifact Sets for Different Team Roles
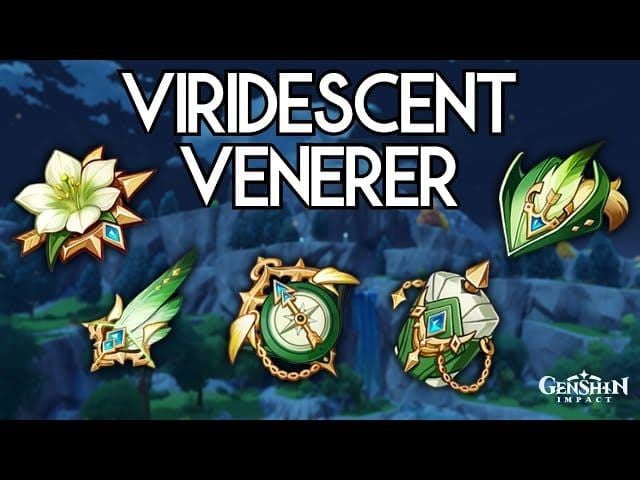
Viridescent Venerer 4pc is the universal choice. +15% Anemo DMG, +60% Swirl DMG, and that crucial 40% elemental resistance reduction for 10 seconds. Valley of Remembrance domain efficiency lets you farm VV and Maiden Beloved simultaneously—resin efficiency at its finest.

Silken Moon's Serenade specializes for Moonsign teams. 2pc provides +20% ER, while 4pc grants Gleaming Moon effects (+60/120 EM, +10% Lunar Reaction DMG). Situational but powerful in the right compositions.
Hybrid 2pc VV + 2pc Silken Moon offers a balanced approach, sacrificing VV 4pc shred for consistent energy management and reaction damage. Sometimes compromise is the practical choice.
Main Stat and Substat Priority Guide
Sands: ATK% or ER based on your weapon choice. Favonius users can run ATK% Sands and reach ER through substats. Goblet: ATK% for versatility (healing + damage) or Anemo DMG% for Swirl focus. Circlet: Healing Bonus% for survivability or CRIT Rate/DMG for damage and Favonius procs.
Substat Priority: ER (200-250%) > ATK% > CRIT Rate/DMG > EM. Don't compromise on that ER threshold—it's what separates functional builds from frustrating ones.
Farming Routes and Resin Efficiency Tips
Valley of Remembrance domain provides both VV and Maiden sets with high resin efficiency. Prioritize main stats over substats initially—you can always upgrade later. The artifact strongbox converts unwanted 5-stars into VV pieces, and daily routes supplement domain farming without resin expenditure.
Talent Leveling Priority and Constellation Guide
Which Talents to Level First with Limited Resources
Elemental Burst gets absolute priority. Levels 8-9 are the optimal stopping point for most F2P accounts. Healing scales with 143.8% ATK + 1,102 flat HP, and the AoE damage contributes meaningfully to your overall DPS.
Elemental Skill takes secondary priority—level 6 is sufficient since absorption mechanics remain consistent regardless of level.
Normal Attack stays at level 1 for quick-swap builds. Main DPS builds might consider moderate investment, but it's rarely worth the materials.
You're looking at 18 Knight samples, Drive Shaft components (18/66/93), and up to 3 Crowns for maximum investment. Prioritize Burst crowning only after ensuring roster-wide investment.
Constellation Value Analysis for F2P Players
C0 provides complete functionality for F2P Abyss applications. No asterisks here.
C1 adds 50% bounce damage and energy generation improvements. Moderate value if you get it through normal pulling.
C4 is the most significant for F2P players—provides 4 Energy recovery, reducing ER requirements by roughly 35%. Game-changing if you can reach it.
C6 offers +5% CRIT Rate and +40% CRIT DMG for Moonsign DPS, plus substantial team buffs. Powerful but exceeds practical F2P investment levels.
Breaking Points: When Jahoda Becomes Abyss-Viable
Basic viability: Level 70/80, Burst talent 6, functional VV artifacts, 200%+ ER. This gets you through most content.
Optimal F2P performance: Level 80/90, Burst talent 8, 220-250% ER. This ensures consistent uptime and maximizes healing/reaction damage.
Premium performance: Level 90, Burst talent 9+, superior artifacts. Approaches 5-star effectiveness but often exceeds practical F2P budgets.
Combat Rotation and Execution Strategy for Floor 12-1
Step-by-Step Rotation for Team Composition #1
Here's what works best in practice:
- Yanfei: Normal Attack sequences establish Pyro aura, charged attacks provide consistent application
- Xingqiu: Skill + Burst for Hydro orbital and damage reduction
- Jahoda: Skill absorption (prioritize Pyro), tap-cancel for positioning, Meowball energy generation
- Yun Jin: Skill + Burst for Normal Attack amplification, Favonius energy generation, Noblesse ATK% buffs
- Jahoda: Burst for healing and continued Anemo application (12s duration)
Step-by-Step Rotation for Team Composition #2
The Lunar-Charged rotation flows differently:
- Ineffa: Skill + Burst establish Dendro application
- Aino: Burst + Skill provide Hydro for Bloom reactions
- Jahoda: Skill with tap-cancel for Anemo application and VV shred
- Flins: Skill + Burst for primary damage, benefits from established auras
- Jahoda: Burst for healing and support during cycle preparation
Energy Management and Burst Timing
Energy management requires coordinated Favonius procs across team members. Aim for 40-50% CRIT Rate to ensure consistent particle generation.
Prioritize survivability over damage—activate Jahoda's Burst when team HP drops below 70% to maintain that Sweet Berry Bounty passive (+100 EM). Pre-cast abilities during enemy transitions to maximize energy generation between waves.
Advanced Tips and Common Mistakes to Avoid
Elemental Reaction Optimization Strategies
Jahoda's Skill absorbs elements in strict priority: Pyro > Hydro > Electro > Cryo. Apply your desired element immediately before Skill usage to ensure correct absorption—timing matters here.
VV 4pc resistance reduction applies to the Swirled element, making absorption choice strategically important. Absorbing Pyro before Yanfei's damage windows maximizes Vaporize damage, while Hydro absorption can enhance Bloom reactions.
5 Mistakes That Cost F2P Players Their Clear
Insufficient Energy Recharge: That 200-250% ER threshold isn't negotiable. Sacrifice other stats if necessary.
Incorrect elemental absorption timing: This disrupts entire reaction sequences. Apply elements immediately before Skill usage—no exceptions.
Overcommitting to Skill dash: Use the tap-cancel technique for safety and energy management instead of full dashes that leave you vulnerable.
Poor healing timing: Activate Burst proactively at 70% HP rather than reactively after taking damage. Prevention beats cure.
Poor energy particle collection: Position Jahoda to collect particles from teammates while maintaining optimal positioning for reactions.
How to Adapt Strategy Based on RNG and Card Draws
Prioritize energy generation and elemental reaction bonus cards over pure damage increases—consistency trumps peak damage in Abyss.
Adapt positioning and rotation timing to enemy spawn variations using Jahoda's Skill dash mobility. Identify shield types early and adjust absorption priorities accordingly. Maintain backup energy sources to accommodate Favonius weapon RNG variations.
Resource Management: Preparing Your Account for Success
Resin Allocation for Jahoda Team Building
When building from scratch, allocate 60% of daily resin to artifact farming. Valley of Remembrance provides VV and Maiden sets with high efficiency—you can't go wrong here.
Coordinate weekly talent material farming across team members to maximize efficiency. Prioritize Favonius weapon ascension for universal applicability across multiple characters. Coordinate boss farming for multiple Nod-Krai characters using Radiant Moonfly materials.
Primogem Spending Strategy for F2P Abyss Progression
Focus on versatile 4-star supports over specialized 5-star DPS characters. Avoid weapon banner pulling—events and crafting provide sufficient functionality for F2P success.
Target constellation investment on characters with significant low-constellation power spikes. Maintain 28,800 primogem reserves (180 pulls) for guaranteed essential character acquisition when meta shifts demand it.
Frequently Asked Questions
What are the minimum requirements for Jahoda to function in Floor 12-1? Level 70/80, Burst talent level 6, 200% Energy Recharge, 4-piece Viridescent Venerer with correct main stats. Favonius Warbow provides optimal energy management and should be your first choice.
Can Jahoda teams achieve 36 stars in Spiral Abyss as F2P? Absolutely. Properly built Jahoda teams achieve 9-star Floor 12-1 clears through Vaporize and Bloom optimization. The 200% Bloom damage blessing significantly enhances F2P damage when combined with VV shred—it's honestly overpowered.
Which team composition works better for F2P players: Vaporize or Lunar-Charged? The Vaporize composition (Jahoda/Yanfei/Yun Jin/Xingqiu) provides more consistent results due to simpler rotations and broader character accessibility. Start here unless you specifically have the Lunar-Charged characters built.
How much Energy Recharge does Jahoda need with Favonius Warbow? Favonius reduces ER requirements by roughly 35%, allowing functional builds at 200-220% ER. CRIT Rate substats become essential for reliable passive activation—don't neglect them.
What artifacts should I prioritize when farming for Jahoda? 4-piece Viridescent Venerer with ATK% or ER Sands, ATK% Goblet, Healing Bonus% Circlet. Prioritize main stats over substats initially—you can always upgrade later. Maintain those 200%+ ER requirements no matter what.
Is Jahoda worth pulling for F2P accounts focused on Abyss progression? Jahoda provides exceptional F2P value through healing, VV shred, and reaction support in a single character slot. C0 functionality and 4-star accessibility make her highly recommended for F2P accounts lacking Anemo supports. She's honestly one of the best investments you can make.


