Gloo Revamp Overview: January 2026 Patch Changes
MLBB Patch 1.9.60 (Advanced Server January 2026) introduces fundamental changes to Gloo's skill mechanics, shifting his playstyle toward aggressive crowd control setups.
Passive Sticky Stack System:
- Applies up to 5 stacks
- 4% Movement Speed reduction per stack (20% max)
- 4% damage reduction to Gloo per stack (20% max)
- 6-second duration
Skill 1 Slam Improvements:
- 80 + 80% Total Magic Power damage
- 1-second immobilize on impact
- Goo puddle explodes after 3 seconds: 300-450 + 12% Extra Max HP Magic Damage
- Healing: 2.5-5% Max HP vs minions, 5-10% vs heroes
- Cooldown: 10s (Level I) to 6s (Level VI)
- Goo contact resets cooldown and triggers explosion
Skill 2 Spread Enhancements:
- 100-200 + 80% Total Magic Power damage
- 0.5-second immobilize
- 4-second untargetability in split form
- 80 + 15% Total Magic Power damage every 0.25s (16 ticks total)
- 10% Movement Speed bonus during split form
Ultimate Grab Refinements:
- 9-second attachment duration
- Recovers 25-30% Max HP
- Transfers 80% damage received to host
- Basic attacks: 30-90 + 50% Total Magic Power + 6% Extra Max HP damage
- 50-second cooldown (5s if host dies)
For players looking to maximize Gloo mastery with premium skins, MLBB diamonds top up through BitTopup provides secure transactions with instant delivery.
Meta Impact: Advanced Server data shows 51-53% win rate with 15-20% ban rate in Patch 1.9.60. The revamp addresses inconsistent crowd control by providing guaranteed immobilization chains that setup kills for damage dealers.
7 Revamped Gloo Combos Pros Are Spamming
Combo 1: Basic Initiation Chain

Execution: Skill 1 → Skill 2 (within 0.3s) → Ultimate
- Skill 1 provides 1-second immobilize + goo puddle
- Skill 2 adds 0.5-second immobilize = 1.5s total CC
- Split form applies 5 Sticky stacks in ~2 seconds
- Activate Ultimate at max stacks for 9-second attachment
Best Against: Immobile mages and marksmen without dash abilities
Pro Tip: Practice the 0.3-second timing in Custom Mode for consistent execution.
Combo 2: Burst Attachment for Squishy Elimination
Execution: Skill 2 → Skill 1 → Ultimate
- Skill 2 closes distance with 10% Movement Speed bonus + untargetability
- Skill 1 immobilizes for 1 second
- Goo explosion (3s): 300-450 + 12% Extra Max HP damage
- Enemy contact with goo resets Skill 1 cooldown for second cast
- Ultimate secures attachment before Flicker escape
Best For: Side lane ganks from jungle fog
Combo 3: Team Fight Zone Control
Execution: Skill 1 (backline) → Skill 2 (multi-target) → Ultimate (priority target)
- Cast Skill 1 into enemy cluster for zone denial
- Use Skill 2 to apply Sticky stacks to 2-3 heroes
- Reserve Ultimate for overextended carries
- 9-second attachment outlasts most ultimate durations
Key: Strong map awareness to identify wasted enemy mobility skills
Combo 4: Escape and Re-engage with Flicker
Escape Phase:
- Skill 2 split form = 4s untargetability
- Flicker during split form for maximum distance
- Skill 1 behind you to slow pursuers
Re-engage Phase:
- Flicker back after cooldowns refresh
- Standard Skill 1 → Skill 2 → Ultimate chain
Works Best: When team maintains vision control
Combo 5: Early Game Gank (Level 1-4)
Setup:
- Level 1-3: Skill 1 poke for Sticky stacks + 5-10% Max HP healing
- Level 4: Full combo unlocked
Execution:
- Roaming partner initiates CC first
- Enemy uses mobility skill to escape
- Follow with Skill 1 → Skill 2 for 1.5s immobilize
- Damage dealer executes burst
Timing: 6-second Skill 1 cooldown allows two casts in extended skirmishes
Combo 6: Late Game Backline Dive
Execution: Flicker (onto carry) → Skill 1 → Skill 2 → Ultimate
- Flicker bypasses frontline directly to backline
- Skill 1 immobilizes for 1 second (prevents reactive purify/mobility)
- Skill 2 extends CC to 1.5s + 4s untargetability
- Ultimate attaches for 9 seconds
Late Game Value: 80% damage transfer to fully-built carry removes them from fight
Requirement: Engage when enemy CC is on cooldown
Combo 7: Animation Cancel for Maximum DPS
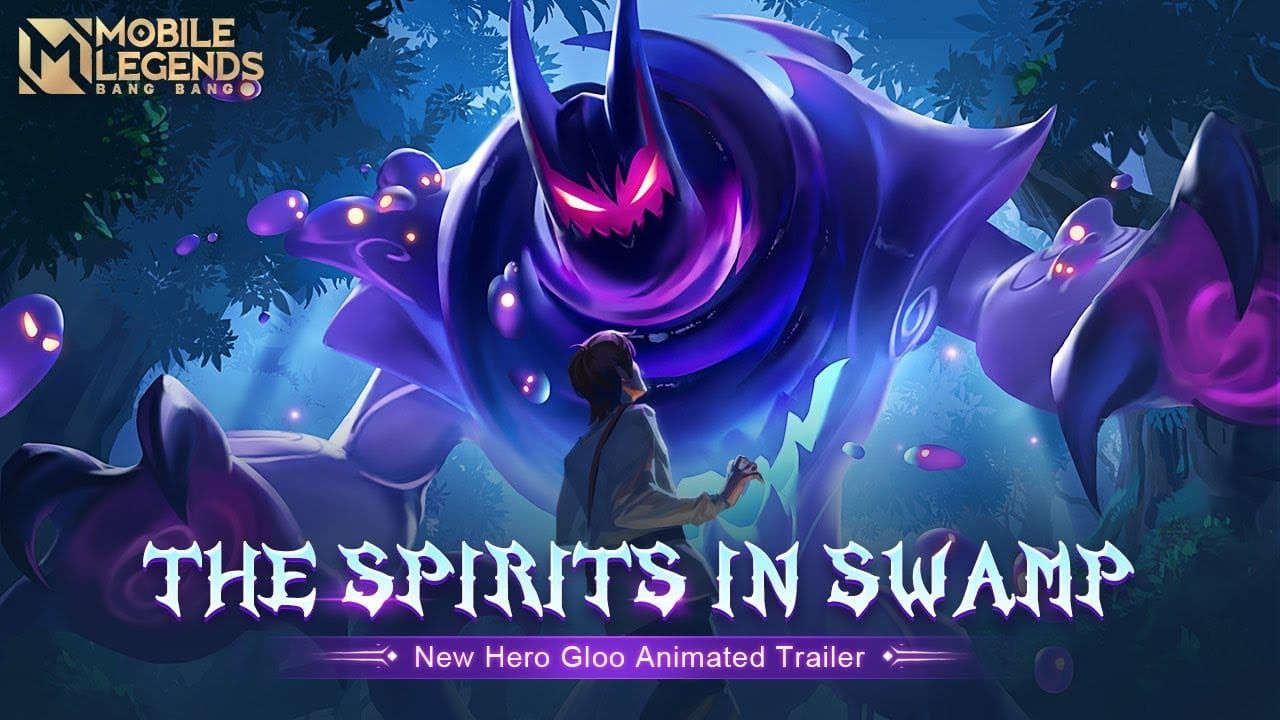
Technique: Cast Skill 2 immediately after Skill 1 damage registers but before slam recovery animation completes
Result: Reduces combo time from 1.8s to 1.4s
Visual Cue: When Gloo's arms begin retracting after slam impact, input Skill 2
Advanced: Movement commands cancel basic attack animations during Ultimate attachment (12-14 attacks vs standard 10-12)
Practice: Custom Mode against stationary targets until sub-0.5s transition times
Best Gloo Emblem Setup
Tank Emblem Tenacity (Optimal):

- +35 physical and magic defense
- +600 HP at level 60
- Synergizes with Sticky stack's 20% damage reduction
Talents:
- Agility: Movement Speed for positioning and Skill 1 accuracy
- Wilderness Blessing: Bonus jungle damage + enhanced assist gold
- Impure Rage: Percentage Max HP Magic Damage on basic attacks
For faster emblem optimization, buy Mobile Legends diamonds online at BitTopup for instant delivery.
Fighter Emblem Alternative: Use only when team has dedicated tank and needs additional damage. Sacrifices survivability for burst potential.
Stat Priority:
- Movement Speed > HP > Defense
- Skip Magic Penetration and CDR (diminishing returns)
3 Counter Heroes Pros Use Against Gloo
Counter #1: Yu Zhong
Why He Counters:
- Black Dragon ultimate = crowd control immunity
- Ignores 1.5-second immobilization chain
- Percentage HP healing outpaces Gloo's damage
- Life steal + ultimate healing tanks Ultimate attachment
How to Play Around:
- Build Dominance Ice for 50% healing reduction
- Engage when ultimate is on cooldown (40s window)
- Avoid 1v1 scenarios
Counter #2: Faramis
Why He Counters:
- Vicious Revival grants immortality to allies
- Negates Ultimate Grab kill pressure
- Cult Altar fear interrupts combo execution
- Shadow Stampede poke forces defensive Skill 1 usage
How to Play Around:
- Bait ultimate before committing Ultimate Grab
- Force fights in waves (trigger revival, disengage, re-engage after 30s CD)
- Focus Faramis first to eliminate immortality
Counter #3: Vexana
Why She Counters:
- Eternal Guard creates puppets of slain heroes
- Gloo attachment transfers to enemy-controlled puppet
- Charmed Specter terrify interrupts combo chain
- Nether Touch magic DoT forces defensive itemization
How to Play Around:
- Avoid Ultimate on targets below 40% HP when she has ultimate
- Focus zone control over high-risk attachments
- Build Athena's Shield early for magic burst mitigation
Optimal Item Build Path
Core Build:
- Warrior Boots: Physical defense + roaming speed (3-min timing)
- Cursed Helmet: Magic damage aura synergizes with 9s attachment (7-8 min)
- Oracle: 30% healing amplification enhances Skill 1 heal to 6.5-13% Max HP (11-12 min)
Situational Defense:
- Antique Cuirass: 30% enemy physical attack reduction vs fed marksmen/assassins
- Athena's Shield: Magic damage shield vs burst mages
- Dominance Ice: 50% healing reduction vs Yu Zhong/Esmeralda/Uranus (mandatory)
- Immortality: Late-game resurrection vs burst compositions
Component Priority:
- Cursed Helmet: Ruby Crystal first for HP
- Oracle: Magic Resistance Cloak vs magic damage, Regen Mask vs physical
Avoid: Damage items like Genius Wand delay core defensive build
Battle Spell: Flicker vs Vengeance
Flicker (Recommended 90% of matches):
- Bypasses frontline for backline access
- Enables Escape and Re-engage Combo
- 120s cooldown aligns with objective timings
- Compensates for melee range limitation
Vengeance (Situational):
- 40% damage reflection synergizes with 80% damage transfer
- Works best vs basic attack carries (Beatrix, Melissa, Wanwan)
- Lacks engagement versatility
- Use only vs multiple basic attack carries with limited CC
Never Choose: Execute, Inspire, Arrival, Sprint, Petrify
Common Mistakes to Avoid
Wrong Ultimate Targets:
- ❌ Attaching to tanks/fighters instead of carries
- ❌ Attaching to targets with CC immunity (Yu Zhong ultimate, Fredrinn Brave Assault)
- ✅ Prioritize marksmen/mages for 9-second neutralization
Poor Positioning:
- ❌ Predictable positions telegraph engagement
- ❌ Overextending without vision
- ✅ Approach from fog of war using jungle paths/bushes
Build Errors:
- ❌ Fighter Emblem when you're primary tank
- ❌ Rushing damage items delays core defense
- ❌ Skipping Dominance Ice vs sustain heroes
- ✅ Adapt itemization to enemy composition
Ignoring Counters:
- ❌ Same combo pattern vs all heroes
- ❌ Not adjusting build vs counter heroes
- ✅ Build Athena's Shield vs Vexana, Dominance Ice vs Yu Zhong
Advanced Strategies for Mythic Rank
Roaming Patterns:
- Level 2: Clear first jungle camp → mid lane gank with Skill 1
- Level 4: Gold lane ganks (longer lane = extended chases)
Team Synergy:
- Pair with burst mages (Eudora, Aurora, Pharsa) for guaranteed skill shots during 1.5s CC
- Marksmen (Beatrix, Melissa) free-fire safely during Ultimate attachment
- Avoid teams with multiple tanks or no damage carries
Late Game Macro:
- Lord control: Skill 1 goo puddles block jungle entrances
- Split-push: Cursed Helmet wave clear threatens side towers
- Objective trading: Contest with Ultimate ready, trade without it
Communication:
- Ping Ultimate cooldown before fights
- Call target priority in voice chat
- Ping Retreat after attachment if team can't win
Practice Drills
Daily Routine (15 minutes):
- Custom Mode: Animation cancel practice until consistent 0.3s timing
- Goo puddle placement: Block multiple escape routes
- Record sessions to identify timing variations
Pro Gameplay Analysis:
- Watch MPL matches for positioning and combo timing
- Study itemization choices vs different compositions
- Replicate roaming patterns and objective timing
Performance Metrics:
- Combo success rate: Target 70%+ in Mythic
- Ultimate attachment targets: 80%+ on carries
- Death rate: 3-5 deaths per match average
FAQ
What are the best Gloo combos after January 2026 revamp? Skill 1 Slam (1s immobilize) → Skill 2 Spread within 0.3s (0.5s immobilize) = 1.5s total CC. During Skill 2's 4s split form, apply max Sticky stacks, then Ultimate Grab for 9s attachment.
Which emblem is better for Gloo in 2026 meta? Tank Emblem Tenacity with Agility, Wilderness Blessing, Impure Rage. Provides +35 defense, +600 HP for frontline survivability. Fighter Emblem only when team has another tank.
How do you counter revamped Gloo? Yu Zhong (CC immunity + sustain), Faramis (immortality), Vexana (puppet conversion). Build Sea Halberd/Dominance Ice for 50% healing reduction. Focus Gloo during combo execution before chain completes.
What is optimal Gloo skill rotation for team fights? Skill 1 for zone control → Skill 2 for multi-target Sticky stacks → Ultimate on priority carries who overextend. 50s Ultimate cooldown requires selective usage on high-value targets.
Should I use Tank or Fighter emblem on Gloo? Tank Emblem in 90% of matches. +35 defense and +600 HP ensure combo execution survival and full 9s Ultimate attachment. Fighter Emblem sacrifices necessary survivability.
How to cancel Gloo skill animations for faster combos? Cast Skill 2 within 0.3s of Skill 1 impact when arms begin retracting. Reduces combo time from 1.8s to 1.4s, preventing Flicker escapes and guaranteeing 1.5s CC chain.
Master Gloo's combos faster with premium skins! Get exclusive MLBB diamonds, skins, and battle passes at unbeatable prices on BitTopup – instant top-ups with secure transactions and 24/7 support.


