

Ghosty’s Solo Queue Philosophy
Here’s the thing about solo queue – it’s a completely different beast than squad play. Ghosty’s approach strips away the safety net of teammates and forces you into pure self-reliance mode. The Ghost Companion system becomes your lifeline here, evolving through Soulfire you’ll collect from crates and those creepy monsters scattered around the map.
The core principle? Balance your PvE and PvP activities like you’re walking a tightrope. Take down ghoulish monsters for that precious Soulfire, but don’t broadcast your location to every player within a 500-meter radius. Ghosty’s Shield becomes your best friend during these encounters – think of it as having a portable riot shield when things get dicey.
Solo queue demands you become a master of engagement evaluation. Every gunshot you hear, every elimination in the kill feed – that’s intel. Weakened opponents from recent fights? That’s your opportunity. But here’s where patience separates the pros from the lobby-returners: skip those unnecessary late-game battles. Let the squads tear each other apart while you’re conserving health and healing supplies for when it really matters.
Third-partying weakened enemies? Absolutely. Camping in a bathroom for 20 minutes? Hard pass. Keep moving, use that terrain variation to your advantage, and remember – in solo queue, your greatest enemy isn’t the other players. It’s your own impatience.
For premium resource access, PUBG Mobile UC top up through BitTopup provides instant UC delivery with competitive pricing and secure transactions, ensuring gameplay optimization focus over resource constraints.
Shield Management Optimization
Let’s talk armor priority because this isn’t rocket science, but I’ve seen too many players mess this up. Level 2 vest and helmet should be your baseline – Level 3 is obviously ideal, but Level 1 beats running around naked. Here’s the kicker: prioritize that vest acquisition right after you’ve got weapons sorted. Without teammates to cover your flanks, chest protection against spray patterns becomes absolutely critical.
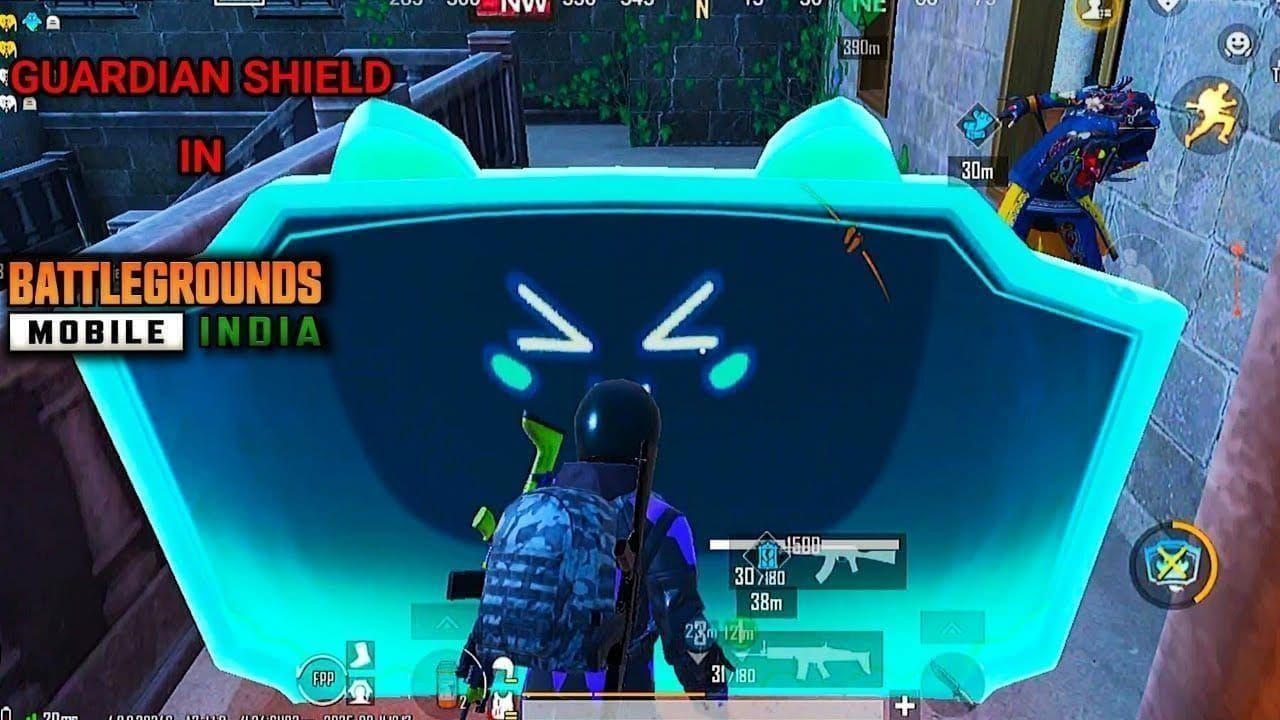
Ghosty’s Guardian Shield is where things get interesting. This rotatable damage absorption tool works during revives, healing, and positioning – basically turning you into a one-person fortress during those vulnerable moments when squads would normally have your back.
Shield Timing & Priority System:
Activate Guardian Shield during Med Kit/First Aid healing (those 6-8 seconds of pure vulnerability)
Level 3: Maximum protection for endgame scenarios
Level 2: Your solid mid-game companion
Level 1: Better than nothing, replace ASAP
Ghosty Armorer: This passive armor repair is a game-changer – extends shield value without constant looting
Headshot Helm: One-time lethal headshot protection (trust me, you’ll need this in final circles)
Pro tip from the trenches: crouch-fire reduces your hitbox while maintaining accuracy. Combine shield usage with natural cover for maximum protection, especially when using those rare healing items that can’t be interrupted mid-process.
Advanced Solo Healing Strategies
Ghosty’s Heal ability is your ace in the hole – it restores health mid-fight and gets stronger with Soulfire collection. Early Soulfire collection isn’t optional; it’s mandatory for upgrading that Heal ability to provide quick recovery without squad revives.
Always heal under cover. I can’t stress this enough. Movement while healing reduces speed and turns you into a walking target practice dummy.
Healing Priority Matrix:
Med Kits: 100% HP in 6-8 seconds, carry 2-3 (20-slot investment, worth every slot)
First Aid Kits: 75% HP in 6 seconds, 10 slots, perfect for post-landing situations
Painkillers: 60% energy boost with indirect HP regeneration above 75%
Energy Drinks: 40% energy, usable while moving, stack 3-4 for flexibility
Adrenaline: Instant 100% boost with speed enhancement (rare but powerful)
Here’s something most guides won’t tell you: replace Bandages with Painkillers as your gear improves. Faster boost application enables health regeneration beyond that 75% limit, and during fights where direct healing becomes suicide, those boosts keep you alive through indirect regeneration.
For consistent premium resources, buy PUBG UC from BitTopup’s secure platform with competitive rates and instant delivery.
Flight Path Optimization
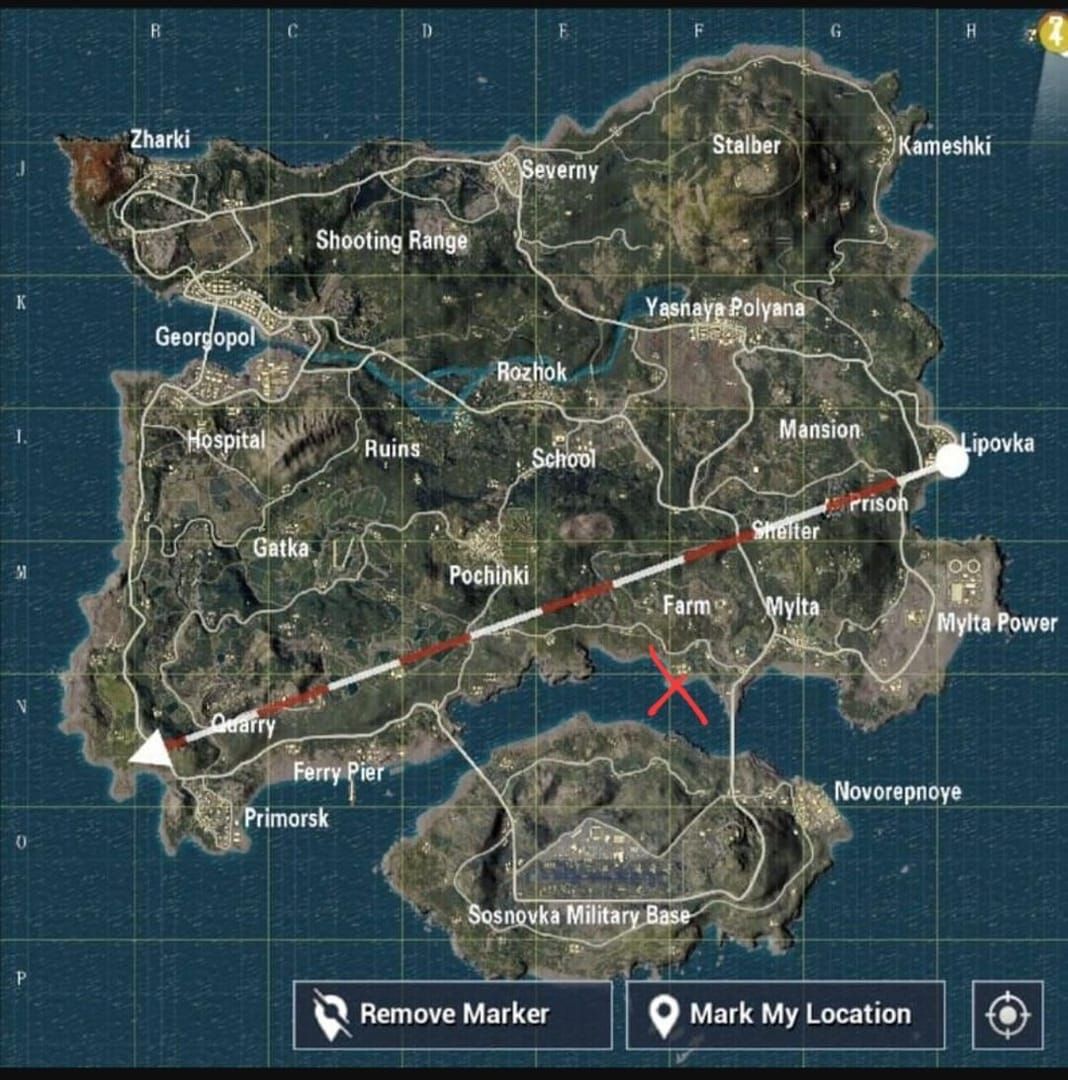
Master the 750-800m jump rule on Erangel (450m on Livik) for optimal landing speed. This isn’t just theory – it’s the difference between landing first or landing dead. Jump at 10 o’clock relative to the flight path, dive straight down, and you’ll hit that sweet 234 km/h maximum speed.
Ghosty’s Balloon Ride changes the mid-game entirely. Aerial repositioning and scouting? Check. Bypassing ground threats for high-ground endgame advantages? Double check.
Hot Drop Alternatives & Route Planning:
Georgopol: High loot density with balanced risk-reward
Mylta Power: Quiet location with rare weapons and armor spawns
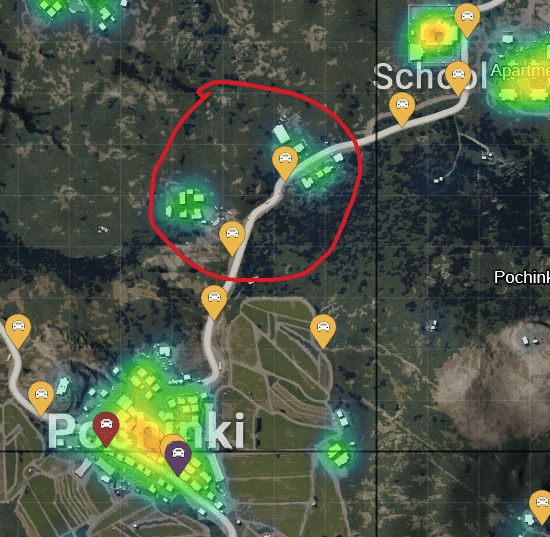
School Apartments: Reliable loot with multiple escape routes (my personal favorite for consistent gear)
Pre-mark buildings during descent – this creates efficient looting patterns that save precious seconds. Target AR/DMR combinations (M416 for that controllable recoil), and prioritize personal healing over squad-shared items. Plan your early routes to shrinking zones using vehicles cautiously while leveraging terrain cover.
Resource Allocation Without Squad Support
Soulfire collection from Phantom Treasure, King’s Crates, and PvE monsters drives Ghosty ability evolution. Open crates under Ghosty Shield cover to avoid broadcasting your position to every sniper in the vicinity.
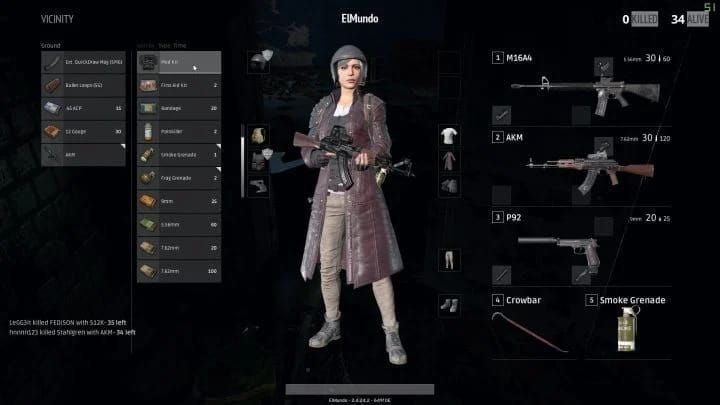
Inventory allocation for personal survival: 2-3 Med Kits maximum, 5-6 Health Kits as primary healing, up to 20 Bandages early game (replace with better items as you find them), 2-3 Painkillers, 3-4 Energy Drinks.
Ammo & Utility Prioritization:
Primary weapons: 150-200 rounds
Secondary: 60-90 rounds
Smoke Grenades: Essential for healing cover and rotation concealment
Frag Grenades: Safe enemy flushing from cover
Magic Broom: High-speed flight option (fragile against snipers, use wisely)
Don’t over-stock ammunition – I’ve seen players carry 400 rounds and die because they had no healing items. Solo players benefit from diverse loadouts covering multiple engagement ranges, adjusting based on weapon type and expected encounter frequency.
Solo Positioning and Movement
Dynamic movement prevents predictable positioning that squads love to exploit. Navigate using cover and varied terrain with constant situational awareness, integrating Ghosty’s Sprint Boost for enhanced rotation mobility.
Master peek mechanics and pre-firing around corners and obstacles. Use natural terrain to break line of sight during healing and repositioning – this is where map knowledge pays dividends.
Rotate early. Blue zone damage and positioning conflicts are death sentences in solo queue. Use covered paths and vehicles strategically, timing movements with other players’ engagements for audio masking. Prioritize elevated positions offering multiple escape routes and clear sightlines – Ghosty’s Balloon Ride provides access to previously unreachable elevated positions.
Third-Party Management
Ghosty’s Enemy Scanner detects and marks hidden enemies during chaotic scenarios. Scan areas before engaging weakened opponents, marking positions to plan solo flanks without squad intelligence.

Monitor audio cues religiously. Gunshots, explosions, vehicles – that’s your intelligence network. The kill feed tracks eliminations and identifies weakened survivors ripe for third-partying.
Position yourself on conflict peripheries rather than diving into direct involvement. Let squads weaken each other, then swoop in for cleanup. Maintain escape routes using smoke grenades and natural cover for safe retreats. Ghosty’s Sprint Boost provides enhanced disengagement mobility when situations turn unfavorable.
Endgame Solo Survival
Final circle survival prioritizes staying alive over elimination count. Period.
Use vehicles and smoke grenades for open area traversal while maintaining building control when possible. Ghosty’s Armorer provides passive armor repair, extending shield value without constant looting, combining with Heal ability for complete sustain.
Final Circle Tactics:
Secure zone edge positions with multiple cover options and escape routes
Avoid center positioning – it exposes you to attacks from all directions
Ensure optimal loadout: full health/boost, maximum ammo, adequate throwables
Practice 1v2/1v3 scenarios using terrain to isolate opponents
Deploy Ghosty abilities strategically, creating advantages that compensate for numerical disadvantages. Use throwables for safe eliminations when direct engagement becomes necessary, maintaining concealment until forced position revelation.
Common Mistakes and Solutions
Overaggression: The biggest killer in solo queue. Avoid unnecessary early fights that deplete resources without strategic benefit. Select battles based on opponent gear, positioning, and your current inventory status. Skip late-game fights unless elimination is necessary for zone positioning.
Resource Management: Balance PvE/PvP activities to avoid depletion. Unmask Timid Ghosts for prizes while assessing ambush risks. Prioritize Soulfire collection for upgrades while maintaining stealth – it’s a delicate balance.
Positioning Errors: Learn landmarks and choke points for improved map awareness. Predict enemy movement patterns based on zone shrinks and rotation routes. Use headphones for enhanced audio detection, enabling proactive positioning adjustments.
FAQ
How does Ghosty’s Guardian Shield work in solo queue? It provides rotatable damage absorption during healing and repositioning. Activate during Med Kit/First Aid vulnerability windows, rotating to block incoming fire while maximizing healing value without squad protection.
What healing items should solo players prioritize? Med Kits (100% HP) and Painkillers (60% energy) over Bandages. Carry 2-3 Med Kits, 2-3 Painkillers, 3-4 Energy Drinks for optimal efficiency without wasting inventory space.
How do I optimize flight paths for solo landing? Use the 750-800m rule: jump at 10 o’clock position, dive straight achieving 234 km/h. Choose low-traffic areas like Mylta Power over hot drops for safer gear acquisition – survival beats early eliminations.
What’s the best third-party strategy? Use Enemy Scanner before engaging weakened opponents. Position on conflict peripheries, let squads weaken each other. Maintain escape routes and use audio cues for optimal intervention timing.
How should I manage solo inventory space? Allocate for survival: 2-3 Med Kits, 2-3 Painkillers, 3-4 Energy Drinks, adequate ammo, 2-3 smoke grenades. Replace Bandages with more efficient options as they become available.
What are critical endgame positioning mistakes? Avoid center positioning in final circles – it’s a death trap. Don’t engage multiple enemies simultaneously; use terrain isolation. Maintain escape routes and avoid revealing your position until absolutely necessary.


