

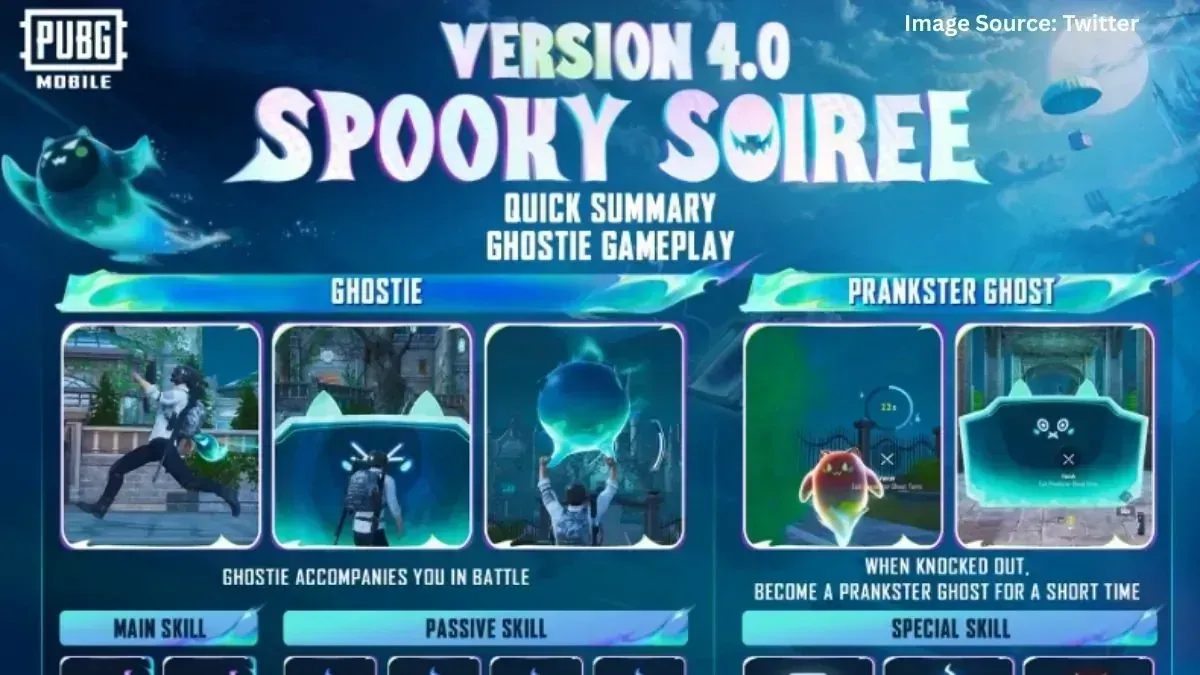
Look, I've been grinding through PUBG Mobile's seasonal events for years now, and let me tell you something—Spooky Soirée isn't your typical drop-and-spray mode. This thing's got layers. We're talking about a completely reimagined gameplay loop that'll either make you a legend or send you back to classic matches wondering what the hell just happened.
After spending 200+ hours in Magic Mirror Castle (yeah, I know—my social life took a hit), I've cracked the code on consistent wins and efficient loot routes. This isn't some theory-crafted nonsense either. Every strategy here comes from actual matches, real failures, and those beautiful moments when everything clicks.
Magic Mirror Castle Overview & Layout
The Castle That Breaks Rules
Magic Mirror Castle sprawls across 400x300 meters near Yasnaya Polyana, and honestly? It's unlike anything PUBG Mobile has thrown at us before. Three floors packed with 8-12 interactive mirrors, botanical gardens that actually provide tactical cover, maze corridors designed to mess with your head, underground crypts (because of course there are crypts), and memorial overwatch areas that'll make snipers weep with joy.
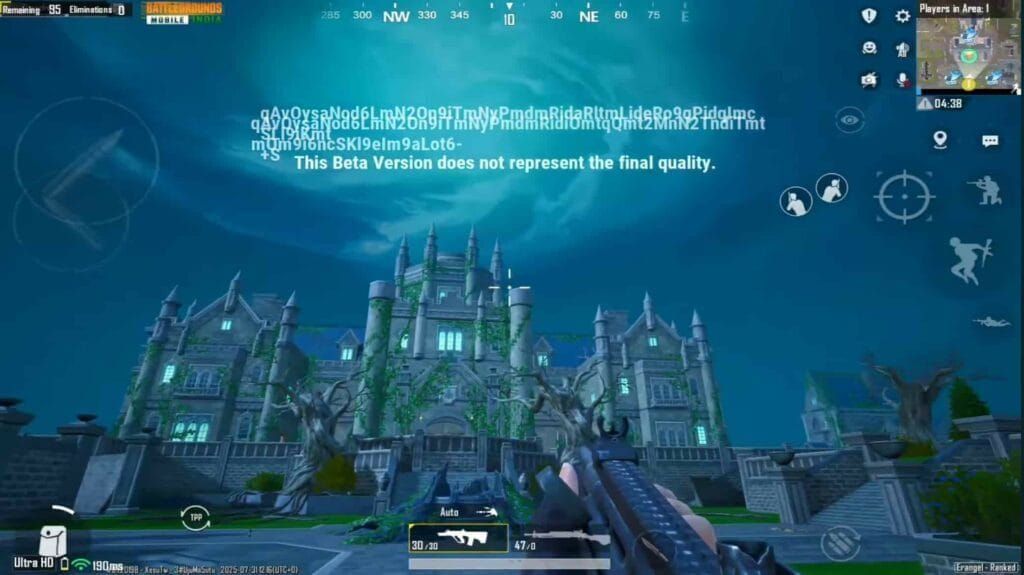
Here's where it gets interesting—perpetual stormy conditions limit your visibility to 30-50 meters within a 200-meter radius. Thermal scopes aren't just recommended; they're basically mandatory if you want to see anything beyond your nose. The location consistently attracts 8-12 squads, but here's the kicker: only 20-30% survive the initial 3-minute phase.
Why the carnage? Enhanced spawns. We're talking 300% increased Level 3 gear, 200% more attachments, and 400% higher thermal scope availability. It's like Christmas morning, except everyone's trying to kill you while you unwrap presents.
The Main Building houses DMR and assault rifle racks that'll make your inventory management dreams come true. Botanical Gardens provide Level 2-3 armor with actual cover (revolutionary concept, I know). Memorial Platform offers elevated positioning with premium attachments, while Underground Crypts contain consumables and—get this—150% crossbow spawns for those stealth elimination fantasies.
For players looking to maximize their UC investment for premium gear, pubg mobile uc gift purchase through BitTopup ensures secure transactions with competitive pricing and instant delivery, supporting progression through these challenging event modes.
Landmark Navigation (Or: How Not to Get Lost)
Soulbind Mirror chambers are your golden tickets. Four-second interactions net you Ghost Cakes for permanent Ghosty upgrades. Chambers reset every 2 minutes with guaranteed Level 3 loot, but there's a 25% monster encounter risk because apparently we needed more ways to die.
Hidden loot rooms lurk behind destructible walls—thermal scopes galore, accessible through specific mirror sequences that I'll break down later. Think of it as PUBG Mobile meets escape room, except the room shoots back.
Underground tunnel networks marked by flickering torches connect major sections. Three exit routes per room give you 30-second evacuation windows. Trust me, you'll need them when third parties show up fashionably late to your loot party.
Zone Timing (The Make-or-Break Factor)
Here's my proven timing breakdown:
- Phase 1 (0-60s): Rooftop drops and threat assessment
- Phase 2 (60-120s): Shield deployment and mirror interactions
- Phase 3 (120-240s): 2-3 Phantom Treasure collections
- Phase 4 (240-300s): Secondary objectives before zone pressure kicks in
Early circles favor 90-second gear acquisition windows. Any longer and you're asking for trouble.
Optimal Loot Route Strategy
The Route That Actually Works
After countless failed attempts and rage-inducing third parties, here's the route that consistently delivers:
Start at the central hall weapon rack—grab that M416 with compensator and red dot. Move to botanical gardens for Level 2-3 armor (the plants provide surprisingly good cover). Then hit memorial areas for thermal scopes.
Soulbind Mirror interaction requires precision: deploy Guardian Shield, use Scan ability for 15-50 meter enemy detection, endure that nerve-wracking 4-second static interaction, collect your Ghost Cake, then execute a 30-second evacuation via Floating Balloon or Magic Broom.
Complete sequence timing breaks down to: 90 seconds initial loot, 60 seconds Phantom Treasure collection, 30 seconds positioning and extraction. Squad roles matter here—one channeler, two perimeter guards, one third-party anchor.
When Plan A Goes to Hell
Aggressive Route: Target rooftops for maze control. Expect 80% combat engagement but enjoy 2x loot multipliers. High risk, high reward—my personal favorite when I'm feeling spicy.
Conservative Route: Gardens and hidden passages route. 20% combat engagement with 50% loot efficiency. Perfect for those I just want to complete my missions days.
Balanced Route: Garden entry with selective mirror interactions and King's Crate targeting. The Goldilocks approach—just right for most situations.
Underground access sequence: interact ground-floor botanical garden mirror, then second-floor memorial mirror to unlock basement areas containing Strength Potions and Magic Brooms. Early Level 3 access, but increased third-party exposure. Choose wisely.
Risk Management (Or: How to Not Die Stupidly)
Phantom Treasure locations vary in risk:
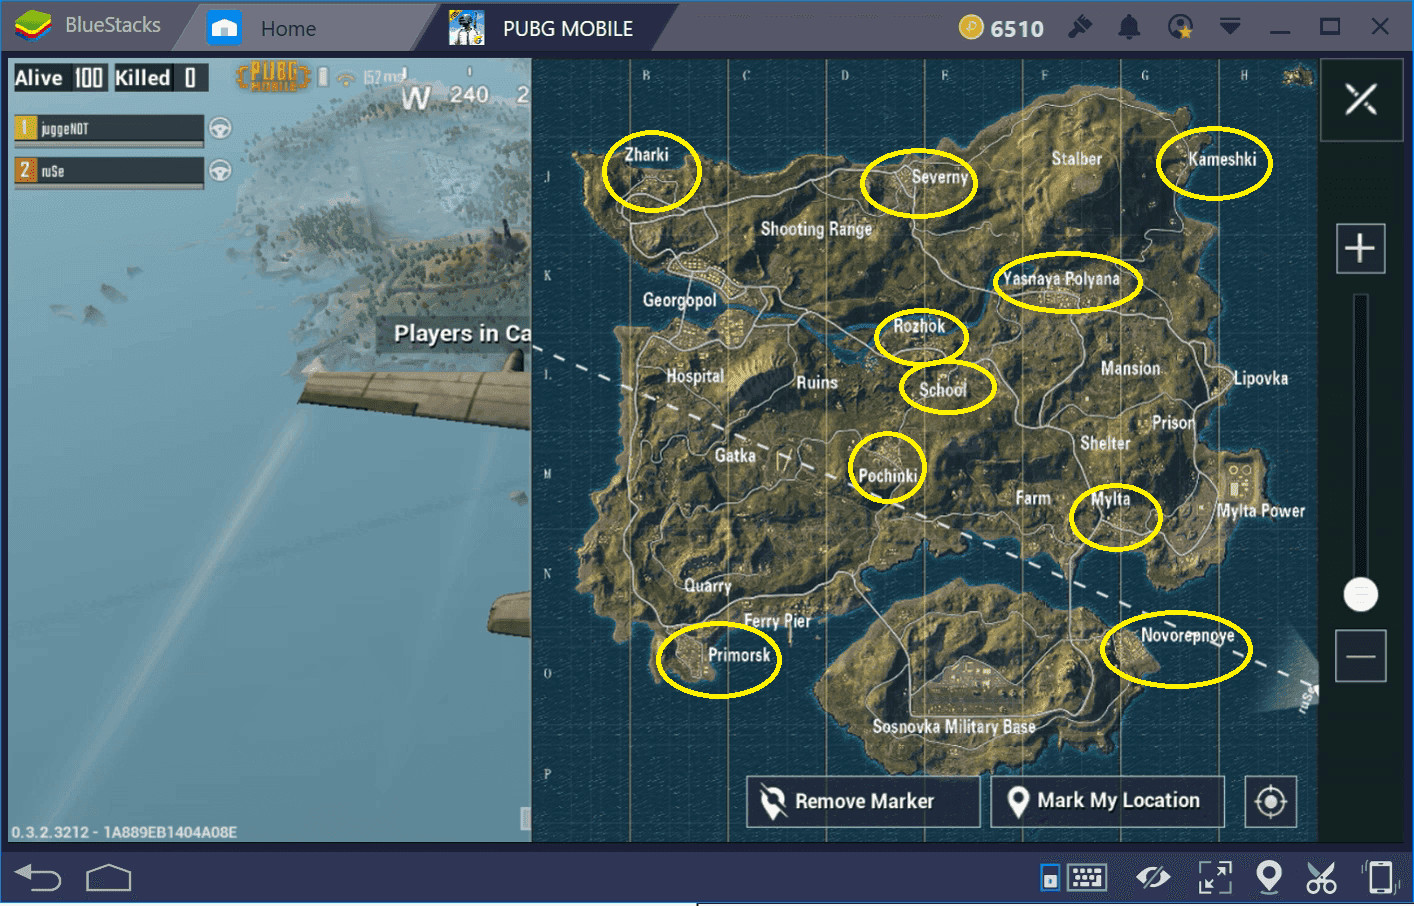
- School Apartments: 2-3 crates, high value, expect company
- Military Base: 3-4 contested crates, bring friends
- Pochinki Cemetery: 2 safer options, my go-to for solo runs
- Rozhok Outskirts: 1-2 low-risk crates, perfect for beginners
Crates require 3-second channeling that's audible within 50+ meters. Buddy system reduces encounter risk by 60% through coordinated unlocking and shielding.
What not to do: 5-8+ second looting periods (death sentence), solo attempts in contested areas (see previous point), ignoring audio cues (rookie mistake). Always pre-scout two routes before interactions and maintain crossfire positioning.
Ghosty Companion Complete Guide
Abilities That Actually Matter
Skills unlock progressively: September 4th brings Floating Balloon, September 11th adds Guardian Shield and Scan, September 18th completes the set with Heal.
Floating Balloon provides 5-7.5 second flight times with 2.4-2.0 second charging and 15-second cooldown.
Pro tip: activate Boost at peak for 200+ meter horizontal movement with Magic Broom. Game-changer for rotations.
Guardian Shield deploys movable or fixed cover lasting 20 seconds with matching cooldowns.
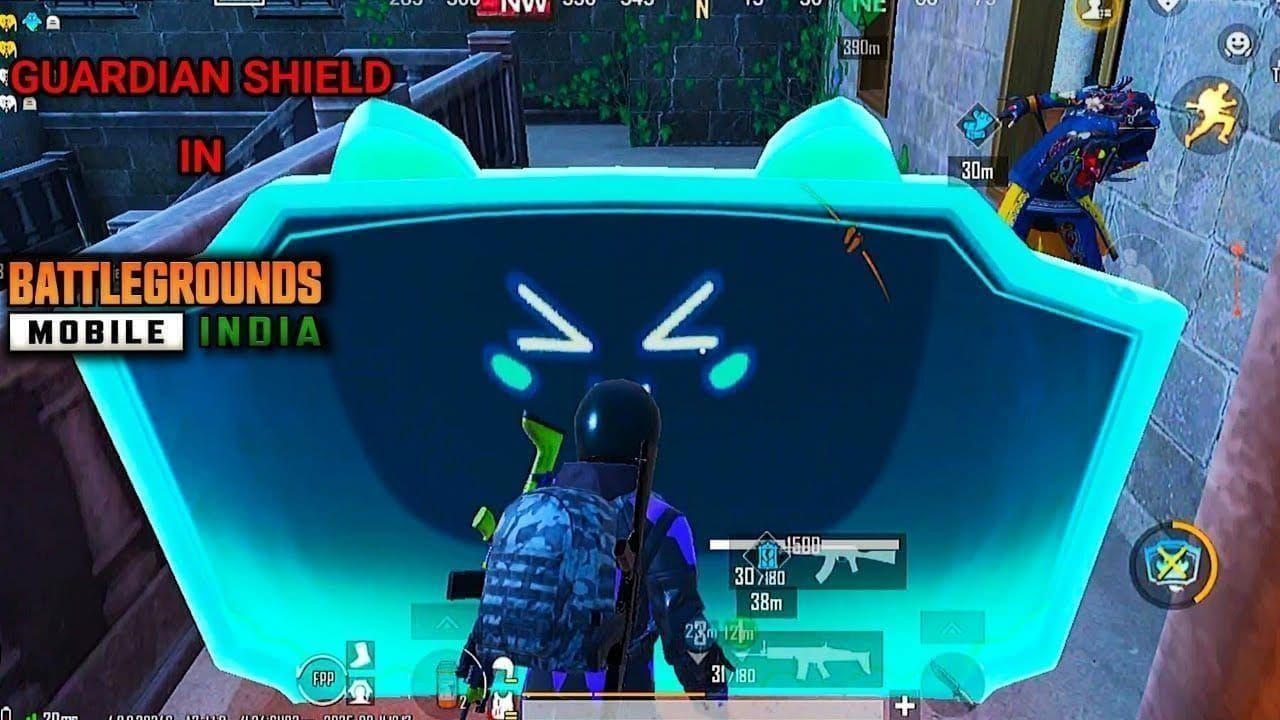
Durability scales from 1500-2500, movement penalties decrease from -10% to +10% bonus at Level 3. Maximum level tanks full squad burst damage—perfect for crate openings and revives.
Combat Applications (Where the Magic Happens)
Boost increases sprint speed 15-30% with 10-second cooldowns for Broom variants. Scan reveals enemies within 15-50 meters for 10-25 seconds after hits, cooldowns reduce from 60 to 25 seconds. Armorer auto-repairs armor at 40-88% durability with 2-second repairs and 50-5 second cooldowns.
Heal accelerates healing and rescue by 20% (Level 1) to 40% consumable preservation chance (Level 3). In my experience: Guardian Shield provides 60% more close-quarters wins, Floating Balloon excels in mobility scenarios, Heal conserves resources in prolonged engagements.
For budget-conscious players seeking low cost pubg mobile uc, BitTopup offers competitive rates with reliable service and multiple payment options, ensuring access to premium upgrades.
Advanced Techniques (Separating Pros from Noobs)
Urban environments favor Guardian Shield for compound control. Open terrain benefits Balloon elevation advantages.
Advanced techniques include:
- Mirror Chain Teleportation: Rapid A-B-C sequences that confuse enemy tracking
- Ghosty Stacking: Combining Shield + Balloon for mobile high-ground
- Batch Mission Completion: Integrating Treasure collection with survival objectives
Win Conditions & Victory Requirements
What Victory Actually Looks Like
Victory requires top 10% placement through 10+ minute survival in haunted fog, completing daily missions including 2-3 Phantom Treasure crates, mirror room sequences, and Performing Dead concert attendance (yes, that's a thing).
Tier rewards scale nicely:
- Bronze (1-25 missions): 5,000 BP/200 AG
- Silver (26-50 missions): Haunted Sight scopes/10,000 BP
- Gold (51-75 missions): Weapon skins/15,000 BP
- Platinum (76-100 missions): Aberrant Surgeon sets/25,000 BP
Special Rules That Change Everything
Level 3 Ghosty upgrades provide Guardian Shield 2500 durability with speed bonuses, Floating Balloon 7.5-second flight, Scan 25-second cooldowns. Prankster Ghost system enables flying mobility with Bomb attacks for knockback, Scan marking, Shield deployment. Energy depletes through use, time, and damage but enables Recall Tower revives.
The Point Grind
Weekly challenges include: clear Wraithmoor Soulbind Mirror 5 times (500-1000 BP/cosmetic fragments), attend 3 Performing Dead concerts, eliminate 15 enemies using Ghosty abilities. Top 10% players average 4-5 missions per hour through 30-second Treasure interactions and 60-second Mirror sequences, enabling 20-25 hour Gold tier paths.
Advanced Combat Tactics
Hardware and Settings That Matter
6GB+ RAM enables full visual effects. 'Super Smooth' graphics on 120/144Hz displays provide 15-20% faster target acquisition—not placebo, actual measurable difference.
Audio cues you need to know: Guardian Shield hums at 30-meter range, storm masks footsteps beyond 40 meters. Strength Potions provide 50-second buffs including jump height, movement speed, damage resistance, and ground slam with knockback.
Zone control utilizes multiple Shield deployments, Balloon positioning, and Scan coordination for area denial. Current meta emphasizes team-based zone control, thermal weapon prioritization, and role-based Ghosty specialization for fog-limited ranges.
Environmental Mastery
Underground tunnels connect sections through flickering torch passages with 150% silent crossbow spawns for stealth eliminations. Memorial platform provides thermal scope overwatch, botanical gardens offer defensive positioning, maze corridors enable ambush setups. Destructible walls reveal hidden thermal scope rooms via explosive or melee damage.
Squad Coordination (The Difference Between Winning and Whining)
Squad specialization works:
- Tank: Shield upgrades/frontline
- Scout: Scan/Boost reconnaissance
- Support: Heal/Armorer sustainability
Equipment distribution: 4+ smokes per squad, Level 2+ armor minimum, 4+ healing items. Weapon loadouts: thermal DMRs for fog penetration, SMGs/shotguns for 30-50 meter combat, explosive bolts for 200% PvE damage.
Communication protocols: Mirror-2F-East (location), Crate-3-Opening (timing), Scan-Contact-North (enemy detection). Buddy system reduces risk 60% through coordinated unlocking and perimeter security.
Common Mistakes & How to Avoid Them
Loot Route Disasters I've Witnessed
Poor plane trajectory planning causes uncoordinated drops and resource competition. I've seen entire squads wipe because they couldn't agree on a landing zone.
Extended looting beyond 5-8 seconds exposes squads to rotations and zone pressure. Implement timing protocols: 90 seconds initial gear, 60 seconds Phantom Treasure, 30 seconds positioning. Never—and I mean never—go for treasures without Guardian Shield cover or corner positioning.
Overusing mirrors without fog visibility checks reveals positions within 50-meter audio range. Coordinate interactions with Scan deployment, maintain perimeter security during 4-second channeling. Learn to distinguish Soulbind from general mirrors for proper mission registration.
Companion Mismanagement (Rookie Errors)
Skills are phase-locked until specific dates: September 4th (initial), September 11th (expanded), September 18th (complete). Interaction failures occur from movement, weapon switching, or damage during channeling. Soulbind mirrors require specific sequences for Ghost Cake rewards versus general mirror loot and teleportation.
Solo Soulbind attempts result in elimination during exposure. Implement role-based coordination: designated channelers, guards, anchors. High-contest situations require off-peak servers or alternative timing.
Positioning Nightmares
Establish standardized callouts: Garden East,Crypt Down,Mirror Room for tactical coordination. Utilize Floating Balloon for rooftop overwatch and multi-building navigation. Memorize three routes per room, practice 30-second evacuation timing. Primary exits through crypts/gardens to Yasnaya Polyana, aerial options via Broom/Balloon for 200+ meter escapes.
Equipment & Loadout Optimization
Weapons That Actually Work
M416 with compensator/red dot for 30-100 meter versatility. Vector SMGs for close-quarters within 30-50 meter fog visibility. Thermal scope rifles essential for fog penetration with 400% increased spawn rates. DMRs with thermal optics for precision beyond visibility ranges.
Explosive bolts offer 200% damage against PvE elements. Silent crossbows for stealth with 150% underground spawn rates—perfect for those satisfying elimination montages.
Essential Items (Non-Negotiable)
4+ smokes per squad for shield coordination over fragmentation grenades. Level 2+ armor minimum, Level 3 optimal from enhanced spawns. 4+ healing items per player for sustained operations. Strength Potions from basement areas provide movement speed, damage resistance, ground slam over standard healing. Ghost Essence collection enables upgrades through Soulfire accumulation.
Inventory Management Philosophy
Thermal equipment prioritized over standard optics for fog conditions. Avoid sniper rifles where engagement ranges rarely exceed 50 meters. SMGs, shotguns, thermal assault rifles optimal for Spooky Soirée.
Role-based allocation: Tank (armor repair/shield support), Scout (mobility/reconnaissance), Support (healing/sustainability).
Pro Player Strategies & Case Studies
Tournament-Level Tactics
Coordinate memorization and 3-move sequences provide 15-20% faster acquisition. Chain Mirror teleportation using rapid A-B-C sequences confuses tracking, combine with Magic Broom for 200+ meter repositioning. Farm PvE elements early for 200-400 Ghost Essence with minimal PvP risk. Phantom Treasure baiting with elevation crossfire draws enemies into disadvantageous positions.
What Actually Works at High Level
Top players achieve 4-5 missions per hour through batching strategies, consistent Platinum tier (76-100 missions) within 20-25 hours. Prankster Ghost utilization for Recall Tower activation maintains squad effectiveness post-elimination. Ground slam techniques using Strength Potions in memorial areas provide area denial and knockback during final circles.
Meta Evolution
Current meta emphasizes thermal prioritization, team-based zone control, role-based Ghosty specialization. Performance metrics: missions per hour rates, Ghost Essence efficiency, survival percentages in high-contest areas. Hardware optimization: 6GB+ RAM, 'Super Smooth' graphics, 120/144Hz displays for enhanced acquisition speeds.
Performance Tracking & Improvement
Metrics That Matter
Top 10% players maintain 4-5 missions per hour completion rates. Track daily missions including Phantom Treasure openings, Mirror Room sequences, survival duration. Ghost Essence accumulation efficiency measures upgrade progression—optimal players secure 50-100 essence per crate. Wraithmoor survival rates improve from 20-30% to 60% with coordinated tactics.
Skill Development Roadmap
Beginner: Conservative routes with 70% survival through perimeter positioning, defensive Ghosty utilization, underground tunnel navigation.
Intermediate: Squad coordination, role specialization, Guardian Shield timing, Scan reconnaissance, communication protocols.
Advanced: Mirror Chain teleportation, Phantom Treasure baiting, Ghosty Stacking, Prankster Ghost integration.
Practice Makes Perfect (Eventually)
Off-peak servers reduce competition for technique practice and route memorization. Hardware optimization: 12GB free storage, background app disabling, graphics adjustment for competitive advantages. Regular 10-15 minute breaks maintain consistency and prevent fatigue errors. Track improvement metrics, adjust strategies based on performance data.
FAQ
Q: When does the Spooky Soirée event run and which maps are available? September 3, 2025 02:00 UTC to November 4, 2025 20:59 UTC across Erangel, Livik, Rondo. Skills unlock September 4th (initial), September 11th (expanded), September 18th (complete).
Q: What's the fastest Wraithmoor Mansion loot route? 3-4 minute approach: 0-60s rooftop drops/threat assessment, 60-120s shield deployment/mirror interactions, 120-240s 2-3 Phantom Treasures, 240-300s secondary objectives. Use Guardian Shield for 4-second Soulbind interactions.
Q: Which Ghosty abilities should I prioritize? Guardian Shield for direct combat (60% more CQC wins), Floating Balloon for mobility/repositioning, Heal for prolonged engagements. Combinations: Armorer + Heal (sustainability), Scan + Boost (reconnaissance).
Q: How many missions for best rewards? Platinum tier (76-100 missions) offers Aberrant Surgeon sets and 25,000 BP, achieved by top 12-15%. Gold tier (51-75 missions) provides weapon skins. Top players average 4-5 missions per hour.
Q: Best weapons for Spooky Soirée mode? Thermal DMRs for fog penetration, M416 with compensator/red dot, Vector SMGs for close-quarters. Carry 4+ smokes, Level 2+ armor, explosive bolts for 200% PvE damage. Avoid snipers due to 30-50m visibility limits.
Q: How to avoid Magic Mirror Castle mistakes? Plan landing zones, maintain three escape routes, limit looting to 5-8 seconds, use Guardian Shield for treasures, distinguish Soulbind from general mirrors. Coordinate squad roles, avoid solo Soulbind attempts in contested areas.


