Clearing Commander Damien requires strict Stigma Brand management, disciplined spatial positioning, and controlled burst windows. Accumulating 7 Brand Stacks triggers an unavoidable instant death that bypasses invincibility buffs, summons a secondary roaming sword, and advances Damien toward an early Phase 2 transition. Surviving the encounter depends on rotating to World Tree Altars at 3 to 4 stacks, dodging the Flying Sword's 5-pulse ground slam, and binding Damien in Phase 2 to temporarily remove the Transcendent Orbs that reduce player damage and healing by 90%.
The Stigma Brand System and Altar Cleansing Mechanics
The central mechanic governing the entire Damien expedition is the Stigma (or Brand) system. Players passively gain stacks as the fight progresses. In Phase 1, an automatic Brand Stack is inflicted on a raid member every 30 seconds, while Phase 2 accelerates this interval to every 20 seconds (with some community logs on the Nexon Forums recording intervals as rapid as 18 seconds). Certain boss attacks also apply stacks upon contact.
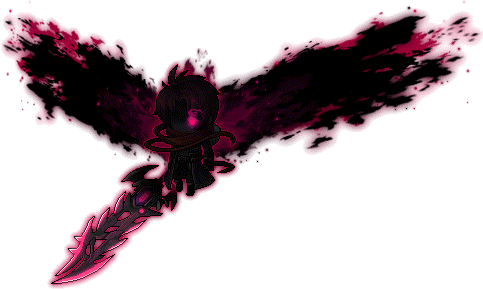
Reaching 7 Brand Stacks is fatal. According to documentation on MapleStory Wiki, hitting 7 stacks deals 100% Max HP damage and instantly kills the player. This lethal hit penetrates standard invincibility frames and ignores cheat-death buffs such as Heaven's Gate or Might of the Nova. When a player dies to 7 stacks, two catastrophic secondary effects trigger:
- A temporary smaller Flying Sword spawns, creating an additional roaming hazard.
- Damien's Crystal Count (visible next to the raid timer) increases by one, displaying an enlarged Brand graphic across the screens of all party members.
To clear stacks, players must locate a World Tree's Altar. Altars spawn periodically at random locations across the arena floor. Cleansing requires standing directly over the altar and holding down the NPC Chat / Interact / Harvest key without interruption. If your character jumps, casts a skill, or takes hit-stun from an attack during the channel, the cleanse cancels immediately.
Crucially, each World Tree Altar can only cleanse one party member before it vanishes. If multiple players are in danger, a player can transfer their stacks to another teammate by holding the interact key over that player. In an analysis by raid contributor Kevin on Dexless, high-coordination parties enforce an altar cleanse cap at 3 to 4 Stigma Stacks. Cleansing at 3 to 4 stacks gives the team a generous buffer against random attack hits and ensures that nobody reaches the catastrophic 7-stack threshold.
| Encounter Hazard | Hazard Type | Visual Indicator | Lethal Consequence | Mitigating Action | Source Reference |
|---|
| 7 Brand Stacks | Instant Wipe Debuff | 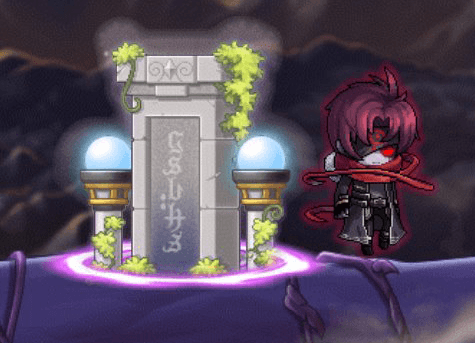 | Deals 100% HP damage, bypasses cheat-death buffs, adds +1 boss crystal, spawns extra sword. | Hold Interact key on World Tree Altar at 3–4 stacks. Avoid movement or taking hits during channel. | MapleStory Wiki |
| Flying Sword (Roam) | Persistent Hazard | 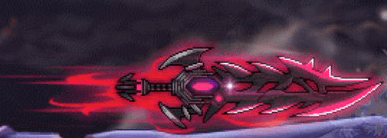 | Inflicts 20% HP touch damage on contact while floating. | Bait sword away from active DPS clusters and altar spawn locations. | MapleStory Wiki |
| Planted Sword Pulses | Ground Burst Hazard |  | Pulses up to 5 times; deals 99% HP damage per pulse (some sources state 90%–100%). | Vacate the immediate blast zone. Use active damage-reduction skills if trapped. | MapleStory Wiki |
| Transcendent Orbs | Zone Debuff (Phase 2) |  | Drains 5% HP/sec; cuts outgoing player damage and potion/skill healing down to 10%. | Kite Damien out of the cloud. Land a bind skill on Damien to despawn orbs temporarily. | MapleStory Wiki |
| Root Trap (World Tree) | Map-Wide Wipe | 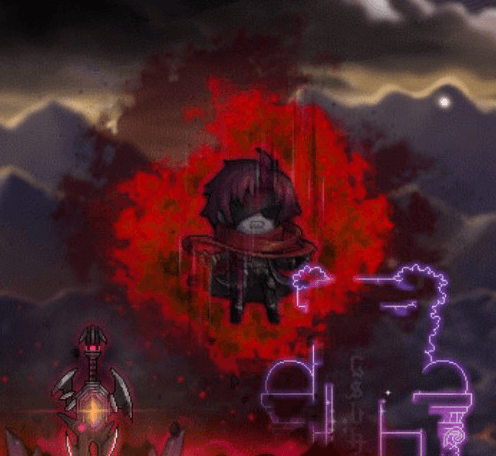 | Channels an arena explosion dealing 200% HP damage (DigitalTQ reports 100%). | Alternate left/right arrow keys rapidly to break Petrify, then burst Damien to break channel. | MapleStory Wiki |
Phase 1 Tactics: Sword Baiting and Flying Cancel Windows
Phase 1 focuses on arena awareness and managing the Flying Sword while chipping away at Damien's health pool. The Flying Sword continuously drifts through the map, dealing 20% HP touch damage on contact. After tracking for a duration, the sword locks onto a target and drives into the arena floor.
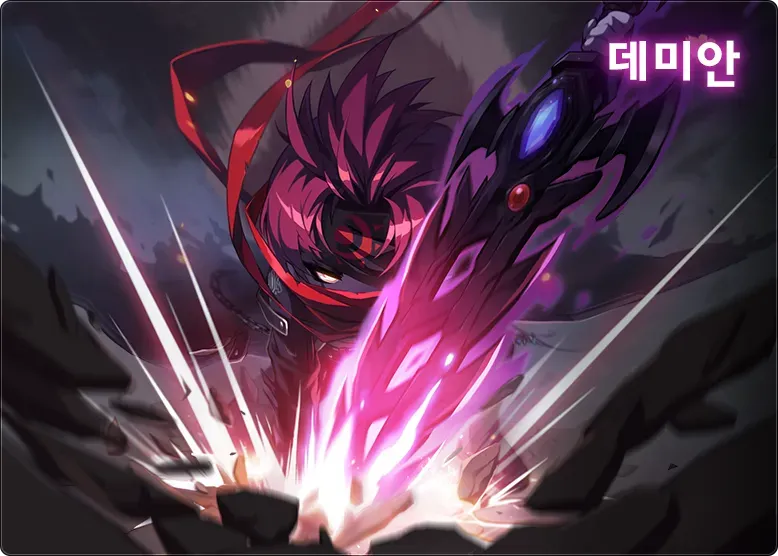
Once planted, the sword becomes stationary and emits up to 5 ground pulses. Each pulse deals 99% HP damage according to MapleStory Wiki, though community guides on DigitalTQ cite 90% and Dexless cites 100% blast zone damage. Survival requires immediate repositioning. If your character lacks mobility options, damage-reduction defensive skills can soften the blow of a pulse, but staying within the zone usually leads to a swift death. Dedicated runners should deliberately bait the sword away from active altars and party burst clusters before it plants.
Damien frequently takes flight during Phase 1 to charge mid-air attacks:
- Dive Attack: Damien hovers diagonally before plunging toward the floor. Sourced party data from Dexless confirms that standing directly underneath Damien completely avoids this attack, preventing both the physical impact damage and the attached brand stack.
- Fireball Barrage: Damien casts floating fireballs from the air. Using a bind skill on Damien while he is airborne interrupts the cast, forces him directly onto the ground, and despawns active fireballs instantly.
Transition Triggers: The 30% HP Rule
Damien transitions into Phase 2 under one of two conditions: when his HP drops to 30%, or when the party fills all 7 slots of Damien's Crystal Count.
Allowing the transition to trigger through 7 Crystal Count points is disastrous. When 7 brand-stack deaths occur, any remaining HP from Phase 1 carries directly over into Phase 2. This creates an endurance nightmare where the party must fight through Phase 2 mechanics—including faster stack generation and lethal damage debuffs—with a bloated boss health bar. Parties must prioritize clean altar management to ensure the transition occurs naturally via the 30% HP threshold.
Phase 2 Mechanics: Transcendent Orbs and Root Trap DPS Checks
Phase 2 alters the pace of the raid. Damien becomes more aggressive, the automatic brand stack generation drops to every 20 seconds, and the arena becomes crowded with new hazards.
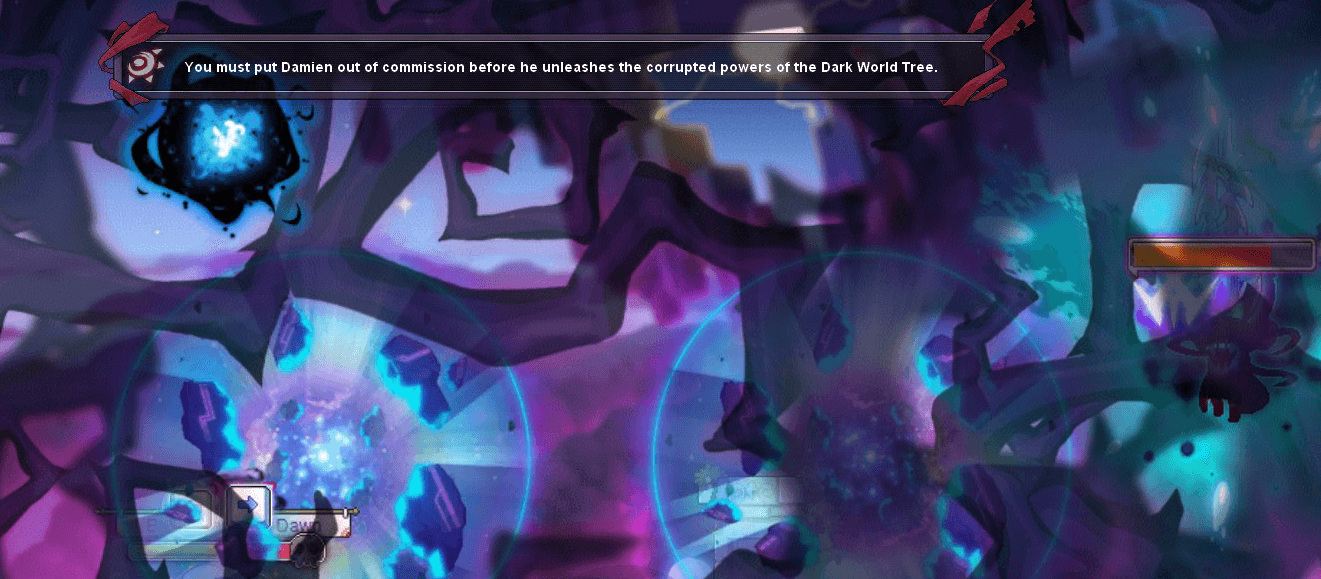
The most punishing addition is the Transcendent Orb mechanic. These large, blue cloud spheres slowly track players around the map. As Damien's health depletes, up to 2 orbs can exist at the same time (some player guides report instances of up to 3).
Standing inside a Transcendent Orb inflicts three severe penalties:
- Characters take 5% Max HP damage every second.
- Outgoing player damage drops to 10% of normal values (a 90% damage reduction).
- The effectiveness of HP potions and party healing skills is reduced to 10%.
Attempting to burst Damien while he stands inside an orb wastes your cooldowns. The party must kite Damien away from the blue clouds before executing damage rotations. True invincibility skills allow players to ignore the damage reduction while active. Furthermore, landing a bind skill on Damien during Phase 2 temporarily despawns all active Transcendent Orbs for the full duration of the bind, creating an ideal window for full burst rotations.
Phase 2 also introduces the Root Trap (Corrupted World Tree) attack. Damien traps the entire party in roots, inflicting the Petrify debuff, and begins channeling an arena-wide explosion. Escaping requires rapidly alternating the left and right directional arrows. Once freed, all party members must immediately strike Damien with high-output attacks. Failing to deal enough damage before Damien completes the channel results in an explosion dealing 200% HP damage (recorded as 100% in some older guides), wiping everyone without invincibility frames.
Raid Execution and Resource Preparation
Minimizing death count losses in Commander Damien requires synchronized party communication. Designate altar cleansing priority before entering the portal. DPS members with high burst cooldowns ready should cleanse first at 3 stacks so they can stand still and attack without tracking worries. Supports and secondary players can hold until 4 stacks.
| Phase Mechanic | Phase 1 Standard | Phase 2 Escalation | Tactical Response |
|---|
| Passive Brand Interval | Inflicted every 30 seconds | Accelerates to every 20 seconds (18s on some logs) | Rotate to altars more frequently; pass stacks if altar is contested. |
| Map Hazards | 1 Flying Sword (20% touch, 99% pulse) | Flying Sword + up to 2 Transcendent Orbs | Kite boss away from blue spheres; maintain open space for altars. |
| Boss Mobility | Hovering Fireballs / Diagonal Dives | Rapid teleportation / Root Trap channels | Stand under Damien during dive; break petrify instantly with arrow keys. |
| Bind Utility | Cancels airborne fireball cast; downs boss | Despawns all Transcendent Orbs during bind | Coordinate all main burst cooldowns strictly with party bind skills. |
| Wipe Condition | 7 Brand Stacks (+1 Crystal Count) | 7 Brand Stacks OR failed Root Trap DPS check | Maintain strict 3–4 stack altar threshold; burst boss during Root Trap. |
Because maintaining continuous damage output and staying alive during the 5% per second orb ticks requires uninterrupted buff uptime, automated consumable use is vital. Players often equip Wonder Black, Blue, or Silver auto-buff pets funded via MapleStory M Crystals to guarantee instant potion consumption and maintain party buffs without manual casting delays during intense cleansing rotations. Crystals also supply Shielding and Warding scrolls, which safeguard high-tier equipment enhancements necessary to meet the demanding DPS checks in Phase 2.
Keep in mind that while core boss mechanics mirror the PC encounter documented across raid compendiums, mobile expedition tunings in MapleStory M feature dedicated raid party scaling and Single Mode entry options with adjusted boss health pools.
Commander Damien FAQ
What happens when a party member reaches 7 Stigma or Brand stacks?
The player instantly dies, dealing 100% Max HP damage that bypasses death-prevention buffs like Heaven's Gate. The death summons an additional smaller roaming flying sword to the arena and increases Damien's Crystal Count by one, pushing the raid closer to a forced Phase 2 transition with carried-over health.
How can players mitigate the Phase 2 Transcendent Orb damage reduction zone?
Players can lure Damien away from the roaming blue spheres before committing major skill cooldowns. Alternatively, landing a bind skill on Damien forces all active Transcendent Orbs to despawn temporarily for the entire duration of the bind, allowing uninhibited damage and normal potion healing.
How do players survive Damien's Phase 2 Root Trap full-map explosion?
When the Corrupted World Tree casts Root Trap, spam the left and right directional arrow keys repeatedly to break out of the Petrify debuff. Once free, hit Damien with high-damage attacks immediately to interrupt his channel before the 200% HP explosion detonates.
How can you avoid Damien's Dive Attack in both phases?
When Damien ascends and begins charging his diagonal dive attack, walk directly underneath him. Characters positioned straight below his airborne sprite avoid all damage and do not gain additional Brand Stacks from the dive.