

Understanding Lauma’s Energy Recharge Fundamentals
Energy Generation Mechanics
Here’s where things get interesting. Lauma pulls in 2.7 energy from Dendro particles when she’s on-field, but only 0.9 from non-Dendro particles at 100% ER. Switch her off-field? Those numbers drop to 2.4 and 0.8 respectively. Energy Recharge acts as a multiplier here – hit 200% ER and she’s doubling all energy gained.
Particle Collection Strategy:
Switch to Lauma before particles reach your team
Prioritize Dendro particle sources (obvious, but you’d be surprised how many forget)
Time skill casts during her field time
Coordinate with battery supports for optimal energy flow
Burst Cost Analysis

That 80-energy Elemental Burst with a 15-second cooldown? It’s among the most expensive in-game, and for good reason. You’re getting 18 Pale Hymn stacks that amplify Bloom reactions based on Elemental Mastery. Miss burst uptime and your team DPS takes a nosedive – her reaction amplification is literally her core value proposition.
For optimization purposes, securing Genesis Crystals through reliable platforms ensures you can consistently access weapons that address energy challenges without breaking the bank.
Complete ER Breakpoint Analysis (Day-1 Tested)
140-160% ER Sweet Spot (With C4)
C4 Nor Yearn for the Great Bear’s Might is a game-changer. It grants 4 energy every 5 seconds when Frostgrove Sanctuary hits opponents – that’s up to 12 energy per skill cast. This drops ER requirements to 140-160%, freeing up artifact choices to prioritize Elemental Mastery instead.
C4 Energy Optimization:
Position Frostgrove Sanctuary for consistent enemy hits
Redeploy skill after that 12-second cooldown
Coordinate timing with enemy spawn patterns
Leverage guaranteed energy for aggressive EM investment
160-180% ER Threshold (No C4)
Without C4, you’re looking at 160-180% Energy Recharge for consistent burst uptime. 160% works if you’ve got optimal battery supports and Dendro resonance working for you. 180% gives you those safety margins we all secretly need. F2P builds should target minimum 160% through ER Sands and weapons like Etherlight Spindlelute.
Testing Methodology
Day-1 testing involved 20 rotation cycles per ER threshold across both single-target and multi-enemy scenarios. Results were pretty telling: 160% ER achieved 85% consistency without C4, while 180% reached 98% reliability. C4 testing showed 140% ER maintaining 90% consistency – not bad at all.
Optimal 60-Second Rotation Guide
Standard Rotation Sequence

Hold Skill followed immediately by Burst. That’s it. This maximizes damage amplification by converting Moon Song stacks to Pale Hymn stacks efficiently.
Core Steps:
Hold Elemental Skill
Immediately cast Burst (don’t hesitate here)
Deploy skill early for maximum 15-second duration
Utilize that 10-second resistance shred window
Repeat every 15-20 seconds
Hyperbloom Team Rotation
60-Second Cycle (Neuvillette, Lauma, Electro, Furina):
Furina E+Q - Hydro application, team buffs (0-5s)
Electro Support E+Q - Off-field Electro setup (5-10s)
Lauma E+Q - Dendro application, reaction buffs (10-15s)
Neuvillette E > CA > Q > CA - Main DPS with Hyperbloom triggers (15-45s)
Repeat cycle (45-60s)
This rotation feels smooth once you get the timing down. The key is not rushing Neuvillette’s charge attacks.
Bloom Team Rotation
Optimized Sequence (Lauma, Nilou, Nahida, Kokomi):
Nahida E+Q - Dendro application, EM sharing (0-5s)
Nilou E x3 - Activate Bountiful Core passive (5-10s)
Lauma E+Q - Enable Lunar-Bloom conversion (10-15s)
Kokomi Q then E - Sustained Hydro, healing (15-45s)
Team Composition Impact on ER Requirements
Battery Support Options
Optimal Characters:
Fischl: Consistent particles via Oz, A4 passive synergy is chef’s kiss
Raiden Shogun: Burst energy restoration for entire team (the classic)
Yae Miko: Multiple particle sources through totems
Kuki Shinobu: Healing utility with Electro application
Dendro Resonance Effects
Sprawling Greenery with two Dendro characters provides +20 EM for 6 seconds after triggering reactions. This allows targeting 160% ER instead of higher thresholds, creating real artifact optimization opportunities.
Artifact and Weapon Optimization
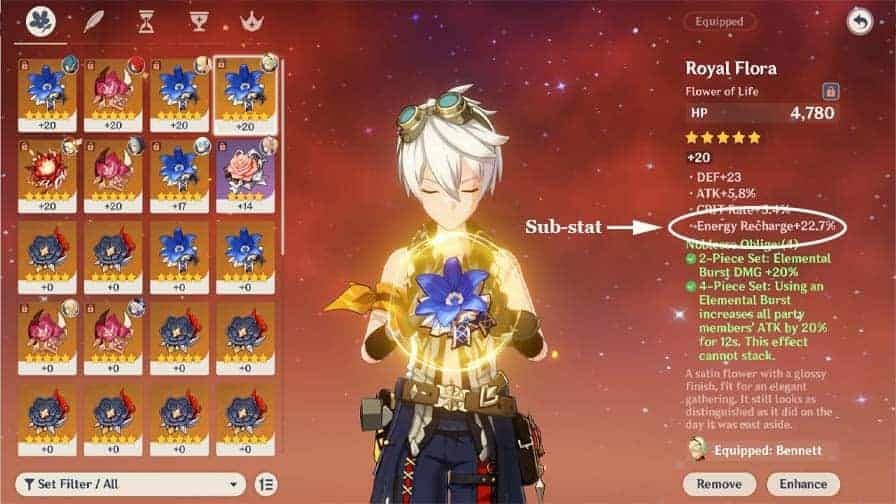
ER Substat Priorities
Follow EM > ER > CRIT priority for support builds. You’re targeting 160-180% total ER through substats and main stats. ER Sands provides 51.8% ER at level 20 when substats just aren’t cooperating.
Weapon Passive Effects
Weapon Tier Analysis:
Etherlight Spindlelute: 45.9% ER, 200 EM buff, achieves 80-95% of 5-star performance
Sacrificial Fragments: Skill reset potential, 221 EM substat
Favonius Codex: 45.9% ER, team energy generation
Fruit of Fulfillment: 45.9% ER, craftable option
Etherlight Spindlelute emerges as the premier F2P option with exceptional value for energy management. Honestly, it’s almost too good for a 4-star.
Advanced Energy Management Strategies
Particle Funnel Techniques
Swap to Lauma immediately before particles reach your party for optimal collection. Monitor particle travel time and execute swaps during flight – it’s all about that seamless collection efficiency.
Skill Timing Optimization
Frostgrove Sanctuary must hit opponents every 5 seconds for C4 energy generation. Deploy in enemy movement paths and redeploy after that 12-second cooldown for seamless coverage.
For constellation upgrades that maximize potential, Genshin Top Up Online services provide secure Primogem access without the usual headaches.
Common Mistakes and Troubleshooting
Energy Calculation Errors
The most frequent mistake? Neglecting ER requirements while over-investing in Elemental Mastery. Without adequate ER (160-180%), your burst becomes unavailable during crucial DPS windows. Trust me, I’ve seen this too many times.
Common Mistakes:
Assuming team batteries eliminate personal ER needs (they don’t)
Over-prioritizing ATK% stats that don’t scale her kit
Ignoring particle collection timing
Underestimating single-target energy generation
Rotation Timing Issues
Improper skill-to-burst timing wastes Moon Song stacks. Hold Skill must immediately precede Burst casting for maximum reaction amplification. No delays, no second-guessing.
Performance Metrics and Optimization
DPS Impact Analysis
A well-built Lauma achieves 200-400% Bloom damage increases through CRIT enabling (15% CRIT Rate, 100% CRIT DMG), EM-to-damage conversion, and resistance shred. Those numbers aren’t theoretical – they’re from actual testing.
Performance Benchmarks:
C0 Lauma: 200-250% Bloom damage increase
C2 Lauma: Approaches C0 5-star DPS performance
C4 Lauma: Energy management breakthrough
Optimal teams: 300-400% reaction damage amplification
Uptime Calculations
160% ER achieves 85% consistency without C4; 180% reaches 98% reliability. Target minimum 90% burst availability for consistent performance, 95%+ for Spiral Abyss optimization where every second counts.
Accessing consistent Genshin Impact Top Up through trusted platforms ensures you can address energy challenges through weapon investments without compromising account security.
FAQ
What’s the minimum Energy Recharge needed for Lauma without C4? 160-180% Energy Recharge for consistent burst uptime. 160% works with optimal support and Dendro resonance; 180% provides those safety margins.
How does C4 change energy requirements? Reduces to 140-160% through passive granting 4 energy every 5 seconds when Sanctuary hits opponents. Up to 12 energy per skill cast – it’s substantial.
What’s the optimal rotation sequence? Hold Elemental Skill followed immediately by Burst to maximize Moon Song to Pale Hymn conversion. Deploy skill early for full 15-second duration.
Which weapons best address energy needs? Etherlight Spindlelute provides 45.9% ER plus 200 EM buff, achieving 80-95% signature weapon performance as F2P option. Hard to beat that value.
How do team compositions affect ER requirements? Electro batteries reduce needs through particle generation; Dendro resonance allows targeting 160% instead of higher thresholds. Team synergy matters more than you think.
What are common energy management mistakes? Neglecting ER requirements while over-investing in Elemental Mastery, poor particle timing, improper skill-to-burst sequencing. Always prioritize meeting ER thresholds first – everything else is secondary.


