

Memory of Chaos Floor 12 Overview: The 3.5→3.6 Transition That’s Actually Worth Caring About
What’s Changed (And What Hasn’t)
So here’s the deal with ‘Gambler’s Plight’ – it’s running from August 4 through September 15, 2025, which means you’ve got time to figure this out. But don’t sleep on it.
Version 3.5 dropped August 13th with Hysilens and Cerydra, plus those Kafka/Silver Wolf reruns everyone was waiting for. The real kicker? Version 3.6 hits September 23-24, bringing Evernight (Ice/Remembrance) and Permansor Terrae (Physical/Preservation). That Physical kit on Permansor might just solve some second-half headaches we’ll talk about later.
Here’s something interesting from the data – out of 26,639 players analyzed, 65.12% find the current difficulty manageable with proper team composition. That’s… actually pretty encouraging for what’s supposed to be endgame content.
The ‘Gambler’s Plight’ turbulence is where things get spicy. Elite enemies start with ‘Memory Imprint’ – basically a Burn DoT that triggers 220% ATK AoE damage when you use Skills on marked targets. This heavily favors DoT teams and skill-focused DPS over basic attack spammers.
Oh, and Version 3.6 introduces ‘Anomaly Arbitration’ as the new endgame mode. Three separate teams plus a final challenge team. Yeah, resource management just got more complicated.
The Numbers Don’t Lie (But They’re Not Everything)
Top damage dealers are averaging 7.31 cycles with 40.79% usage rates. Sustain characters cluster around 7.72-7.8 cycles – which tells you something about how much punishment you’re taking here.
Popular team compositions hit 6.5-8.22 cycle averages, but here’s where it gets interesting: E1+ limited characters drop that to 3.78-5.37 cycles. Significant power scaling benefits, sure, but the gap isn’t insurmountable. F2P accessibility through optimized 4-star compositions is very much real.
Complete Enemy Lineup Analysis (The Stuff That Actually Matters)
First Half: Robot Chaos Central
Wave 1 throws Howling Casket and Aurumaton Gatekeeper at you, plus those annoying Illumination Dragonfish summons. Pro tip: prioritize the Aurumaton Gatekeeper for its disruptive mechanics. The Howling Casket’s Terror infliction on marked characters is manageable if you handle the Gatekeeper first.
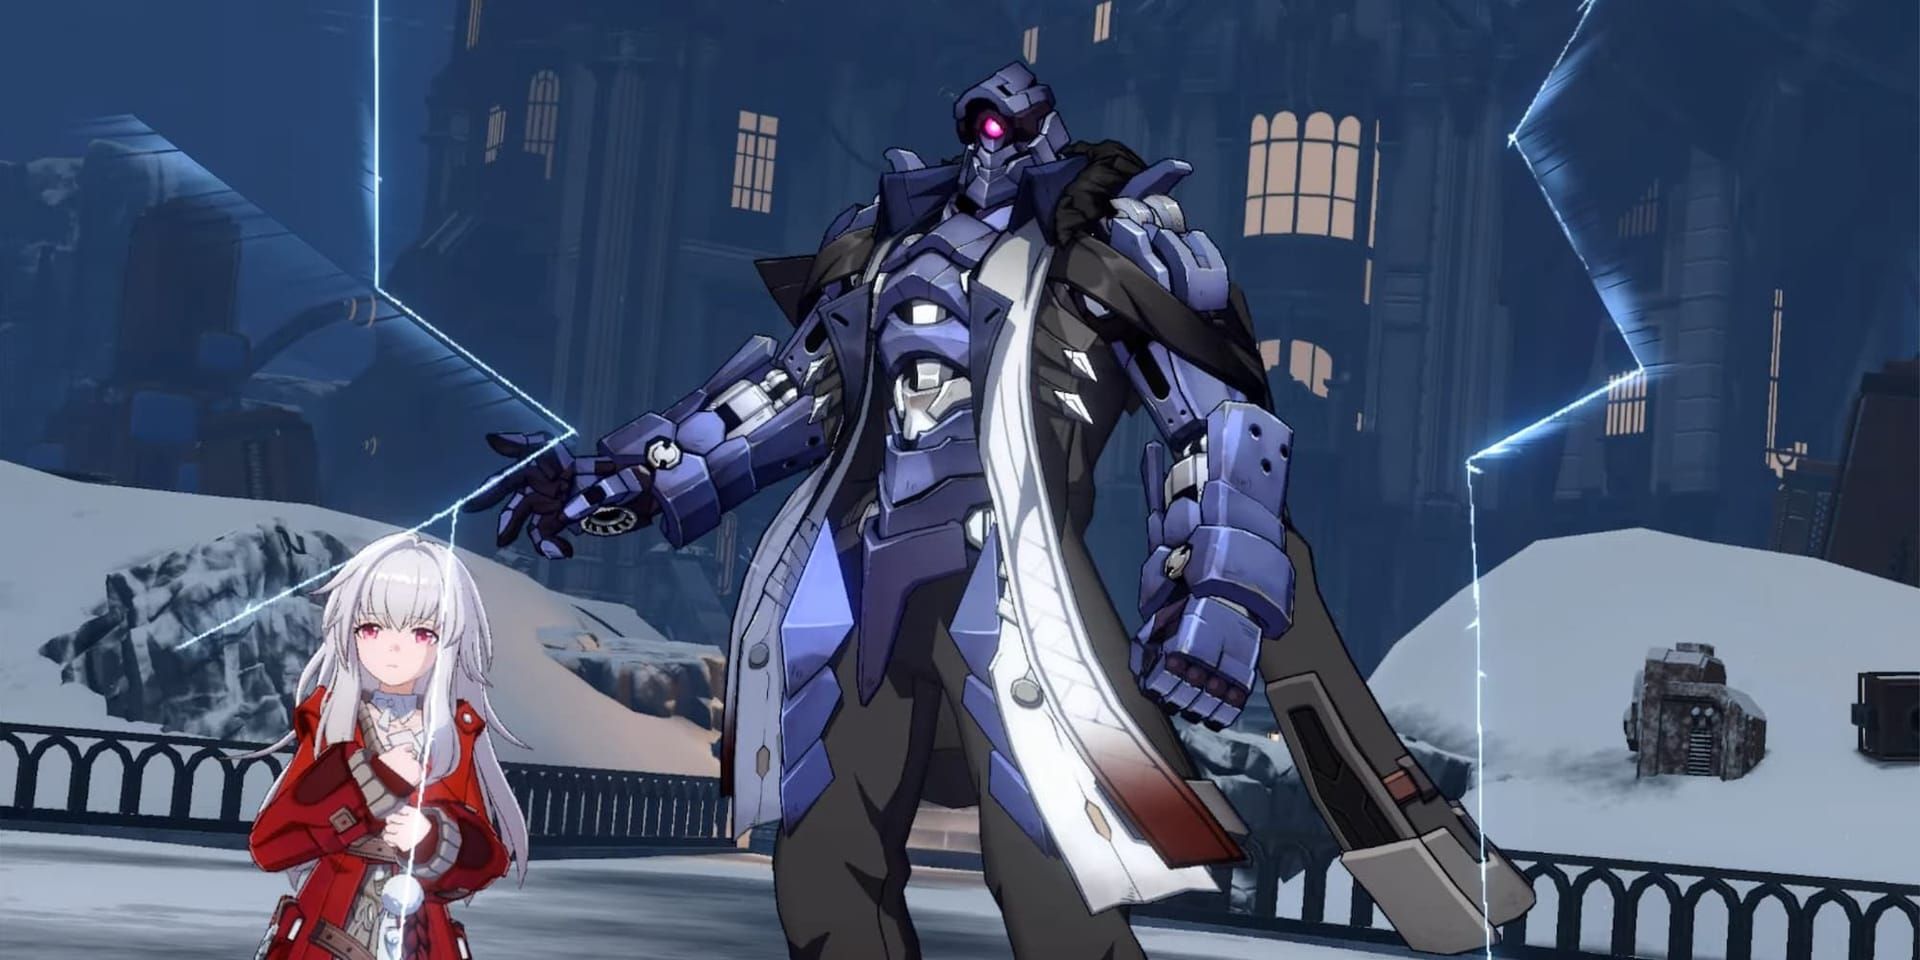
Wave 2 is where Svarog shows up with another Howling Casket and those Auxiliary Robot Arm Unit summons that everyone loves to hate. Svarog’s Arm Unit will capture your allies if you don’t eliminate it quickly – and I mean quickly. Strategic ultimate timing during the summon phase isn’t optional here.
Lightning and Wind elements are your best friends. Focus breaking that Auxiliary Robot Arm Unit immediately upon summon, or better yet, inflict Weakness Break before the capture mechanics even start.
Second Half: Welcome to the Casino (House Always Wins)
Wave 1 features Black Tide’s Corroded Daemon and Champion. The Champion’s duel mechanic requires around 480,000 damage for victory, which grants team-wide ATK buffs. Sounds scary, but it’s more manageable than the numbers suggest.
Wave 2 brings Aventurine of Stratagems with All or Nothing Dice summons. The gambling mechanic targets single characters in Phase 1, then escalates to entire teams in Phase 2. AoE attacks increase your gamble success rates and prevent those nasty Imprisonment debuffs.
Physical damage is your primary weakness here, with Wind as a viable alternative. The gambling mechanic basically requires AoE-capable characters for second-half compositions – no getting around it.
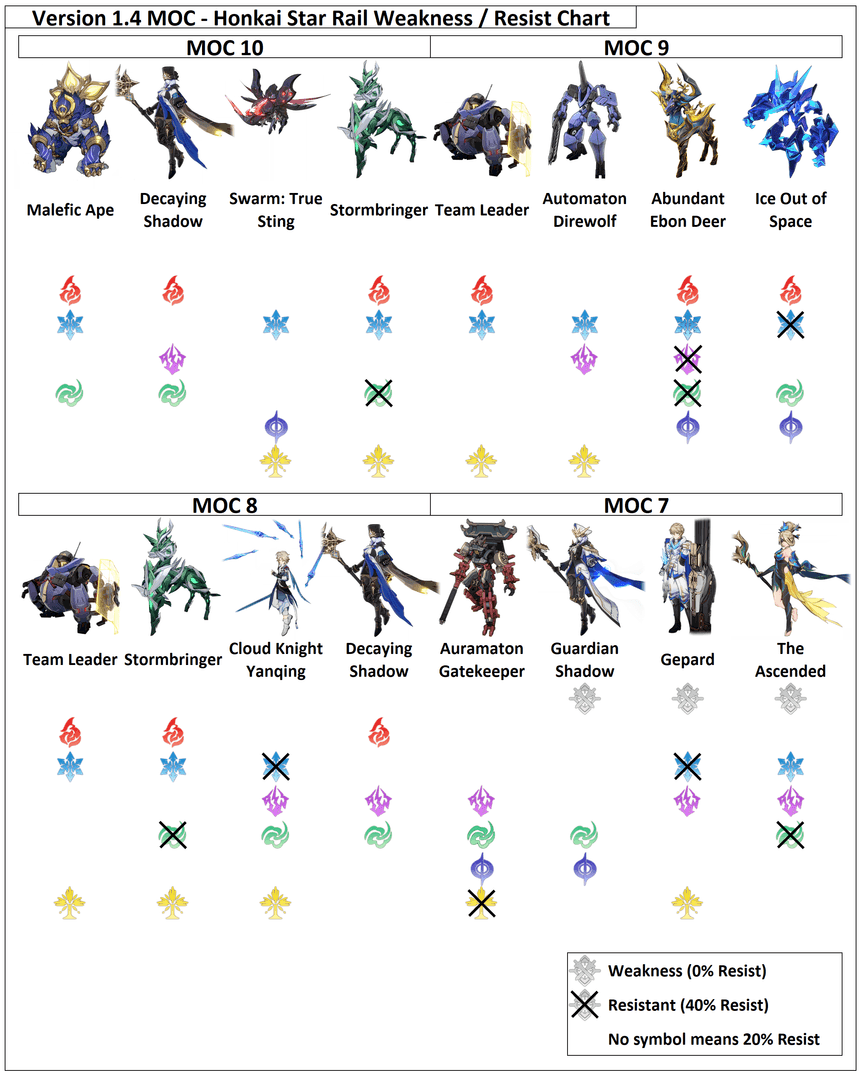
Resistance Tables (Skip the Guesswork)

What Works Where
First Half: Lightning is optimal against everything. Wind is your high-effectiveness backup. Physical/Ice/Fire/Quantum/Imaginary sit at standard resistance levels – workable but not ideal.
Second Half: Physical dominates against all enemies. Wind offers moderate effectiveness as an alternative. Lightning takes a hit in effectiveness compared to the first half.
Exploitation Strategies That Actually Work
The turbulence’s 220% ATK AoE multiplies weakness exploitation benefits significantly. Lightning teams excel in the first half due to universal weakness coverage – Serval’s AoE plus turbulence creates those satisfying chain reactions you’re looking for.
Physical dealers dominate the second half. That Champion duel’s 480,000 damage threshold becomes manageable through proper buff stacking.
DoT effects gain indirect benefits since skill-based DoT application triggers that 220% ATK AoE component. Break strategies get enhanced value when you combine weakness exploitation with turbulence effects.
Budget Team Building (For Those of Us Without Whale Budgets)
F2P Character Priority List
First Half Budget Core: Serval (Lightning DPS), Dan Heng (Wind DPS), Asta (Fire Support), Lynx (Physical Sustain). This exploits primary weaknesses while providing the survivability and energy generation you actually need.
Second Half Budget Core: Any Physical DPS options you’ve got, Trailblazer (Ice) for utility, March 7th for defensive support, Natasha for healing. Focus on Physical damage optimization and sustain during those extended Aventurine encounters.
Energy management becomes critical in budget compositions – 4-star characters need frequent ultimate usage to compete. Asta’s energy generation and speed buffs provide essential acceleration that makes everything else possible.
Event light cones like ‘The Forever Victual’ provide valuable alternatives to limited 5-star options. Don’t overlook these.
For efficient roster enhancement, Honkai Star Rail Top Up services provide convenient Stellar Jade access for strategic character and light cone acquisition.
Proven 30-Star Clear Routes (These Actually Work)
Route 1: The Hypercarry Approach
Concentrate resources into a single DPS with maximum support. Teams achieving 3.78-5.37 cycles with E1+ characters prove this works. Lightning hypercarry for first half with turbulence AoE multiplication. Physical hypercarry for second half, optimized for Champion duel mechanics and Aventurine phases.
Simple? Yes. Effective? Absolutely.
Route 2: DoT Team Magic
This leverages the turbulence’s skill-based trigger mechanism beautifully. Kafka’s rerun in version 3.5 Phase 1 provides accessible DoT entry – her detonation mechanics plus turbulence create devastating combinations. Silver Wolf’s rerun in Phase 2 offers weakness implantation and defense reduction.
Route 3: Break Effect Focus
Exploits weakness systems while incorporating turbulence benefits. Physical break teams excel in the second half due to natural weakness alignment. Break builds feature lower individual damage but higher consistency – ideal for reliable clear patterns.
Character Build Optimization (The Details That Matter)
DPS Build Priorities
ATK% main stats become more effective for turbulence exploitation since that 220% ATK AoE scales with base ATK. Traditional 1:2 crit ratios remain optimal, but remember – turbulence AoE can’t crit.
DPS characters need 134-142 speed for optimal positioning while maintaining damage priorities. Don’t sacrifice too much damage for speed, but don’t ignore it either.
Support Character Setups
Support optimization enables DPS performance while maintaining survivability. Energy regeneration becomes essential during critical moments like Svarog summons or Aventurine gambling phases.
Effect Hit Rate needs 67% base plus enemy resistance for minimum thresholds on reliable debuff application. ATK% gains increased value due to turbulence scaling. Speed boots remain essential for turn order optimization.
4-piece set bonuses provide guaranteed benefits but may sacrifice superior substats – evaluate case by case.
Advanced Combat Strategies (Beyond Button Mashing)
Speed Tuning That Works
Support acts before DPS for buffs/debuffs, but your DPS must act while turbulence marks are active. The 10-cycle limit demands efficient turn usage – every action counts.
Energy rope efficiency benefits characters requiring frequent ultimates. Plan your rotations around this.
Rotation Optimization
Maximize turbulence benefits while maintaining defensive coverage. Support buffs need to align with DPS skill usage during turbulence windows. AoE damage benefits from ATK buffs and amplification effects.
Practice recovery rotations for common failure scenarios. Trust me, you’ll need them.
Turbulence and Blessing Effects (The Game Changers)
Current Cycle Mechanics
‘Gambler’s Plight’ rewards active skill usage through Memory Imprint on elite enemies. That 220% ATK AoE triggers on skill usage, lasting until the next cycle. Requires careful skill point management and target prioritization for marked enemies.
Teams must balance exploitation opportunities with sustainable skill point economy. The AoE affects adjacent enemies, making positioning crucial. No selectable blessings this cycle emphasizes proper team building and character investment.
Common Mistakes (Learn From Others’ Pain)
Team Composition Disasters
That 34.88% reporting difficulty? They’re struggling with basic composition principles. Weakness coverage misalignment creates damage penalties – first half needs Lightning/Wind, second half needs Physical. Period.
Role distribution imbalance lacking sustain/energy/amplification creates cascading failures. Don’t be that player.
Timing and Rotation Failures
Improper ultimate timing during Svarog summons or Aventurine gambling creates unnecessary complications. Wasting turbulence benefits by using basic attacks instead of skills during marked phases. Incorrect turn order preventing optimal buff application.
Resource Allocation Mistakes
Spreading resources across too many characters instead of focused investment is the classic trap. Light cone refinement often outperforms new character acquisition – remember that.
Attempting perfect individual builds before baseline team functionality just delays progression.
For strategic resource acquisition, Buy Oneiric Shards enables focused character development and optimal team building.
Tools and Resources (Use What’s Available)
Damage Calculators
Champion’s 480,000 damage threshold requires accurate calculation. Turbulence’s 220% ATK AoE calculates separately without critical multiplication, making ATK% substats more valuable than usual.
Physical break damage becomes crucial for second-half success.
Community Resources
That 26,639 player analysis provides valuable insights beyond just numbers. Usage rates reveal meta shifts – 62.59% and 62.3% top limited character rates indicate strong effectiveness across the board.
Video guides highlight timing requirements and positioning strategies that text can’t fully capture.
For comprehensive development, HSR Top Up Online ensures access to resources for implementing advanced strategies through version transitions.
FAQ (The Questions Everyone’s Actually Asking)
What are the exact enemy lineups for MoC 12 in version 3.5-3.6? First half: Wave 1 with Howling Casket and Aurumaton Gatekeeper (plus Illumination Dragonfish), Wave 2 with Svarog and Howling Casket (plus Auxiliary Robot Arm). Second half: Wave 1 with Black Tide’s Corroded Daemon and Champion, Wave 2 with Aventurine (plus All or Nothing Dice). Weaknesses: Lightning/Wind first half, Physical second half.
Can F2P players achieve 30-star completion in MoC 12? Absolutely. Budget teams using Serval, Dan Heng, Asta, Lynx achieve successful clears through proper weakness exploitation and understanding mechanics like Svarog’s summon timing and Aventurine’s gambling. The key is focused investment in core characters rather than spreading resources thin.
How does the ‘Gambler’s Plight’ turbulence effect work? It applies ‘Memory Imprint’ Burn DoT to elite enemies at wave start. Skill attacks on marked enemies deal 220% ATK AoE damage to target and adjacent enemies. Lasts until next cycle, heavily favoring DoT teams and skill-focused DPS over basic attack builds.
What are the most critical mistakes to avoid in MoC 12? Improper elemental coverage (lacking Lightning/Wind first half or Physical second half), poor ultimate timing during Svarog summons, failing AoE attacks during Aventurine gambling, mismanaging turbulence by using basic attacks on marked enemies, and spreading resources across too many characters instead of focusing builds.
How do Version 3.6 characters affect MoC 12 strategy? Evernight (Ice/Remembrance) and Permansor Terrae (Physical/Preservation) launch September 23-24, providing new options. Permansor Terrae’s Physical kit directly addresses second-half requirements. Current budget compositions remain viable, with new ‘Anomaly Arbitration’ becoming the primary endgame challenge.
What speed and build requirements are needed for successful MoC 12 teams? DPS needs 134-142 speed for optimal positioning, ATK% gains extra value from turbulence scaling. Support requires 67% Effect Hit Rate plus enemy resistance for reliable debuffs. Energy regeneration becomes crucial during Svarog summons and Aventurine gambling phases – plan your builds around this.


