

Arlecchino Weapon Overview: 5-Star vs 4-Star Options
Here's the thing about Arlecchino – she's not your typical Pyro DPS. This 5-star Polearm wielder needs at least 30% Bond of Life (BoL) to unlock her Masque of the Red Death state. Without it? You're basically playing with half a character.
Her signature weapon – Crimson Moon's Semblance – packs 674 Base ATK and 22.1% CRIT Rate.

But the real kicker is that 36% DMG bonus when your BoL hits 30% Max HP. Plus, it hands you 25% Max HP as BoL every 14 seconds on Charged Attacks. Pretty neat synergy, honestly.
Dragon's Bane, on the other hand, takes a completely different approach.
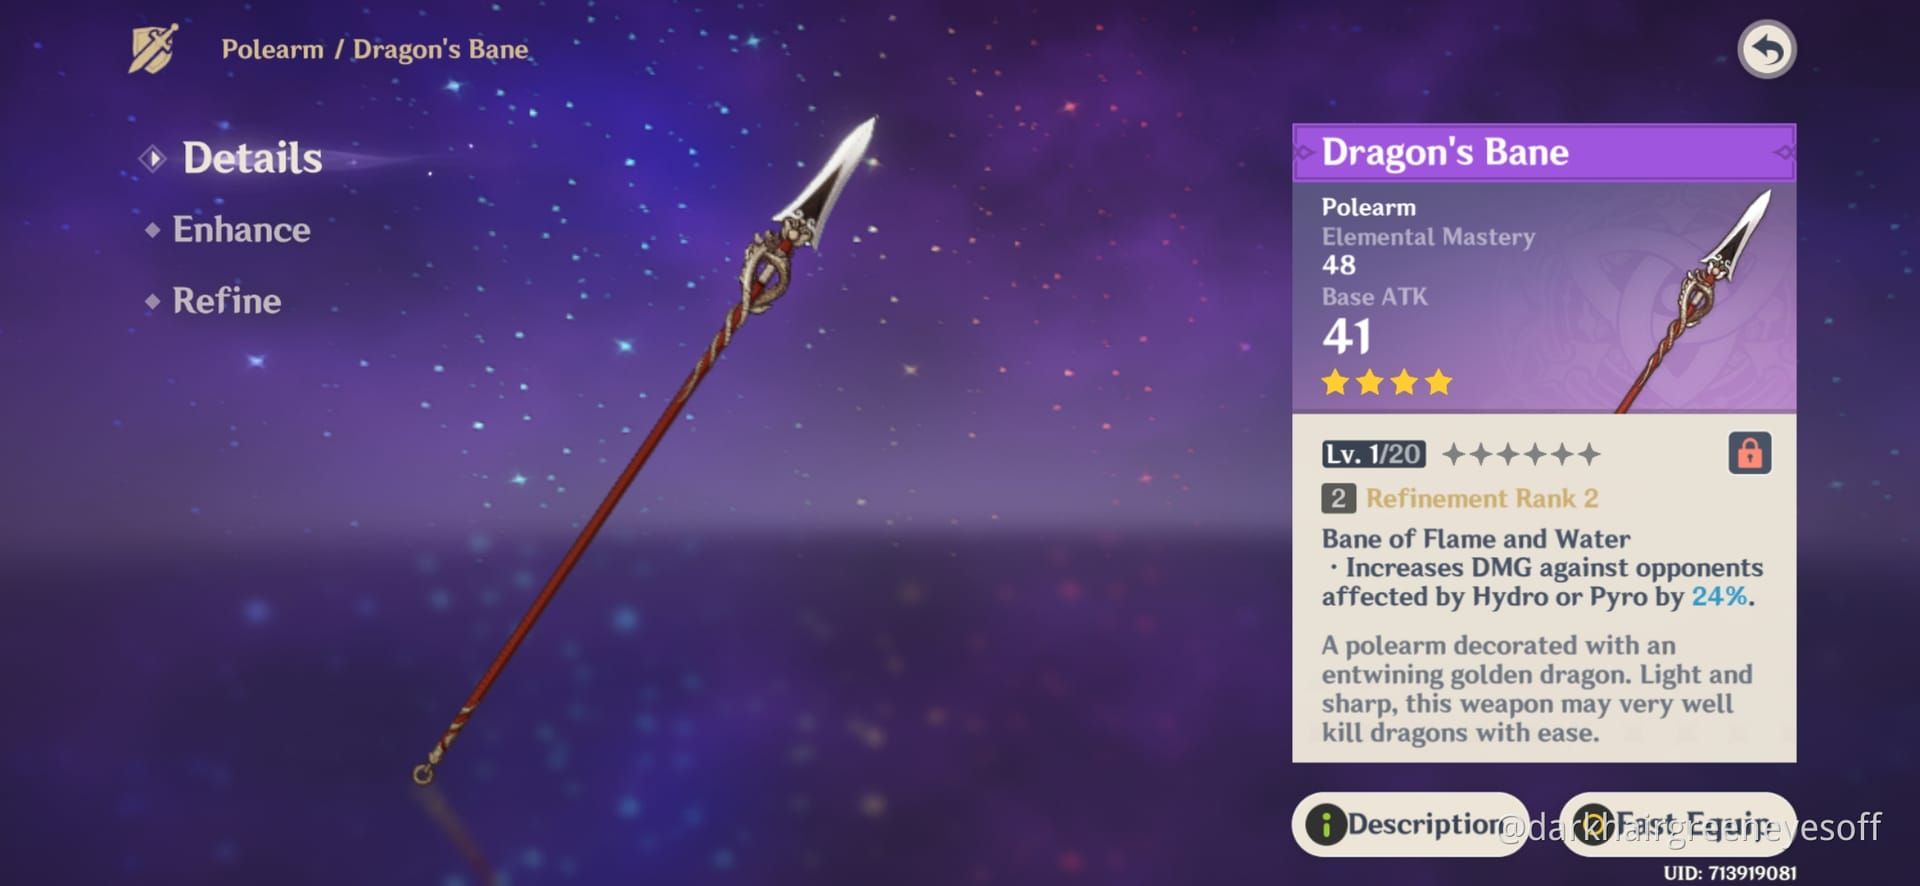
454 Base ATK might seem underwhelming, but that 221 EM? That's where the magic happens in Vaporize teams. The 20-36% damage boost against Hydro/Pyro-affected enemies is just icing on the cake.
For optimal weapon banner pulls, buy Genesis Crystals cheap through BitTopup's secure platform, offering competitive pricing and fast delivery for all your gacha needs.
What you're really aiming for: 70-80% CRIT Rate (non-negotiable), 160%+ CRIT DMG, around 2,000 total ATK, and 140-150% ER if you're running double Pyro. Dragon's Bane users? Bump that EM to 200+.
Crimson Moon's Semblance Complete Analysis
Let's be honest – this weapon was designed specifically for Arlecchino, and it shows. That 674 Base ATK and 22.1% CRIT Rate foundation is solid, but the passive is where things get interesting.
The weapon starts with a modest 12% DMG bonus, then jumps to 36% once you hit that 30% BoL threshold. But wait, there's more (I know, I sound like an infomercial). When your BoL exceeds 30% Max HP, you get +25% ATK. Hit your Elemental Skill to absorb that BoL? Another +25% ATK.
Here's what really matters: You can maintain 18 buffed Normal Attacks per Blood-Debt Directive cycle. That's a lot of enhanced damage windows.
In practice, I've seen this thing hit 200K+ Charged Attacks in proper Vaporize setups. Pair it with 4-piece Fragment of Harmonic Whimsy and you're looking at 54% total DMG bonus stacking. Not too shabby.
Dragon's Bane: The Underdog Champion
Don't sleep on this 4-star option. Sure, 454 Base ATK looks pathetic next to Crimson Moon's 674, but that 221 EM tells a different story entirely.
In Vaporize teams, that EM translates to serious reaction damage. We're talking 160-180K Charged Attacks – roughly 80-85% of Crimson Moon's performance. At R5, the damage bonus jumps to 36%, which honestly closes the gap more than you'd expect.
The trade-off? You'll need EM Sands instead of ATK%. But here's my take – if you're not whaling for signatures, this is probably your best bet. The cost efficiency is just too good to ignore.
For enhanced gaming experience, utilize Genshin Impact top up fast delivery services from BitTopup for quick access to weapon refinement resources.
Vaporize Team Composition Strategies
Building around Arlecchino means understanding her unique mechanics. She doesn't play like other Pyro DPS units.
Hydro applicators are your bread and butter. Yelan's my personal favorite

– her single-target application is clean, and that DMG% ramping synergizes beautifully. Xingqiu works too, especially if you need that damage reduction. Got C6 Candace? She's surprisingly effective for AoE scenarios.
Bennett is non-negotiable. That +1,000 ATK buff is massive, and here's the kicker – his healing doesn't mess with BoL mechanics like it does with other HP-scaling characters.
For the fourth slot, you've got options. Kazuha brings Elemental DMG% and grouping. Zhongli keeps you alive (important when you're managing BoL). Xilonen's RES shredding through 4-piece Scroll of the Hero of Cinder City is pretty spicy too.
Optimal Rotation Guides by Weapon
Crimson Moon Extended Rotation: (EQ) E > Yelan EQ N1 > Bennett EQ > Kazuha N1 hEP > Arlecchino C 6[N3D]
Breaking this down:
- Start with Arlecchino's Elemental Skill for those Blood-Debt Directives
- Yelan Skill/Burst – wait 2 seconds for gauge stability (trust me on this)
- Bennett Skill tap, then Burst for ATK snapshot
- Kazuha tap Skill, hold Burst for VV shred
- Back to Arlecchino – Charged Attack once you hit 30%+ BoL, then 6 Normal Attacks with N3D cancels
Dragon's Bane is simpler: Skill > Charged > Infusion > NA x3 > Dash cancel. The key difference? Use EM Sands and focus on those N3D combo strings. You're aiming for consistent Vaporize triggers rather than raw ATK scaling.
Critical timing note: Wait at least 5 seconds for Blood-Debt Directives to upgrade to Dues. The BoL gain jumps from 65% to 130% per mark. It's worth the wait.
Damage Calculations and DPS Comparisons
Let's talk numbers. Crimson Moon consistently hits 200K+ Charged Attacks with proper setup. That 54% DMG bonus from weapon + Fragment synergy is no joke. You're looking at a 20-30% DPS advantage over 4-star alternatives.

Dragon's Bane? 160-180K Charged Attacks with that +20% damage against Hydro-affected enemies. The 221 EM provides substantial Vaporize multiplier enhancement. It's about 80-85% of signature weapon effectiveness, which is honestly impressive for a 4-star.
Spiral Abyss reality check: Both weapons clear Floor 12 at C0. Crimson Moon gives you faster clear times, but Dragon's Bane offers exceptional value. R5 Dragon's Bane with that 36% damage bonus? It's closer than you'd think.
Artifact Synergies and Build Optimization
Crimson Moon builds want 4-piece Fragment of Harmonic Whimsy.

That +18% ATK and maximum 54% DMG bonus is perfect synergy. 4-piece Echoes works too if you've got low ping. Otherwise, 2-piece ATK% + 2-piece Pyro DMG% is your interim option.
Dragon's Bane optimization is different. 4-piece Gilded Dreams for that EM/ATK% scaling, or 4-piece Crimson Witch for the +15% Pyro DMG and +7.5% per Vaporize. More flexible, honestly.
Main stats are straightforward: ATK% Sands for Crimson Moon, EM Sands for Dragon's Bane. Pyro DMG% Goblet always. CRIT Rate/DMG Circlet depending on your ratio needs.
Target that 1:2 CRIT ratio, 140-150% ER in double Pyro, and 200+ EM for Dragon's Bane builds.
Advanced Tips and Common Mistakes
Don't use Elemental Burst mid-combo. Seriously. It clears BoL and desyncs your cooldowns. I see this mistake constantly.
Wait those 5+ seconds for Directive upgrades in scenarios with fewer than 3 targets. The BoL gain per mark doubles from 65% to 130%. Patience pays off.
Animation optimization matters. Master those N3D and N5D strings. Dash-cancel after the 3rd or 5th Normal Attack to maintain DPS while keeping mobility. It's all about stamina efficiency.
Investment planning: R5 Dragon's Bane often outperforms R1 premium 4-stars in reaction comps. Worth considering before you pull. Crimson Moon reruns typically align with Arlecchino banners – next expected window is Version 6.1 Phase 2: November 11 - December 2, 2025.
FAQ
Which weapon provides highest DPS for Arlecchino Vaporize teams? Crimson Moon's Semblance takes the crown with 20-30% higher personal DPS. That 36% DMG bonus and superior Base ATK are hard to beat. Dragon's Bane hits about 80-85% effectiveness but costs significantly less.
Is Dragon's Bane better for reaction damage than Crimson Moon's Semblance? Dragon's Bane excels in reaction scaling – 221 EM plus +20% damage against Hydro-affected enemies is solid. But Crimson Moon's overall damage output still wins due to superior Base ATK and CRIT Rate.
What's the optimal rotation timing for maximum Vaporize triggers? Extended rotation works best: Setup supports → Hydro application (wait 2 seconds) → Arlecchino Charged Attack for BoL → N3D strings. This maintains consistent Hydro auras for 15-18 Normal Attacks per cycle.
Should I use EM Sands or ATK% Sands with Dragon's Bane? EM Sands with Dragon's Bane in Vaporize teams, no question. Only use ATK% Sands if your EM from substats and team buffs already exceeds 200.
How much Energy Recharge does Arlecchino need? Target 140-150% ER in double Pyro, 150%+ in solo Pyro teams. Reduce by 10-15% per Favonius weapon user and 35-40% with C4 constellation.
How does Dockhand's Assistant benefit Arlecchino teams? Dockhand's Assistant on supports like Bennett provides up to +120 EM and +6 Energy through healing-triggered passive. That's a 10-15% team Vaporize DPS increase – not bad for a 3-star weapon.


