

Getting Started with Delta Force 2025: Core Fundamentals
Game Overview and Key Features
Look, I'll be straight with you—Delta Force 2025 isn't your typical run-and-gun shooter. We're talking massive 24v24 and 32v32 team battles through Havoc Warfare mode, where unlimited respawns meet ticket-based victory conditions across sprawling maps that seamlessly blend land, sea, and air combat. Cross-platform compatibility? Check. PC, PlayStation, Xbox—they're all here, and honestly, the beginner-friendly bot lobbies are a godsend for getting your bearings before diving into the competitive deep end.
Season 6: War Ablaze dropped on September 23, 2025, and it's been a game-changer. New weapon balances, Raptor operator, plus maps like Layali Grove with those intense dynamic forest fires that'll have you questioning every tactical decision. Speaking of tactical decisions—if you're looking to fast-track your progression, Delta Force credits top up through BitTopup offers instant premium content access. Competitive pricing, secure transactions, 24/7 support. Just saying.

System Requirements and Setup
Here's where most guides get boring with technical specs, but let's focus on what actually matters for your performance. Set that FOV to 100—it's the sweet spot between peripheral vision and target clarity. Mouse sensitivity? Keep it low for precision aiming. Trust me on this one.
Graphics optimization is where you can gain a real edge. Native resolution is non-negotiable, but those shadows and particle effects? Dial them down to maintain 120+ FPS. Your competitive advantage depends on smooth frames, not pretty lighting.
Audio configuration—this is crucial. Headphones mode with high effects volume and low music. You need to hear those footsteps, not the soundtrack. Control customization includes ADS multiplier between 0.8-1.0 (personal preference here), tap-to-interact bindings, and for the love of all that's tactical, use a wired connection. Keep that network latency under 50ms.
Interface and Controls Basics
The progression system runs seven ranks from Private (0-299 RP) all the way up to General of the Army (7200+ RP). You'll earn points through kills, assists, objectives, and victories—pretty standard stuff, but objectives matter more than you think.
Vehicle spawning? That's where things get interesting. You need 5,000 points, then hold that 5 key for the radial wheel. Tanks, assault vehicles, transport options—they're all there. Pro tip from someone who's spent way too many hours fighting for vehicles: spam spacebar plus left mouse button. Success rates improve dramatically with low ping connections, and new players get those helpful bot lobbies with full cross-platform progression support.
Essential Weapon Guide for Beginners
Weapon Categories and Types
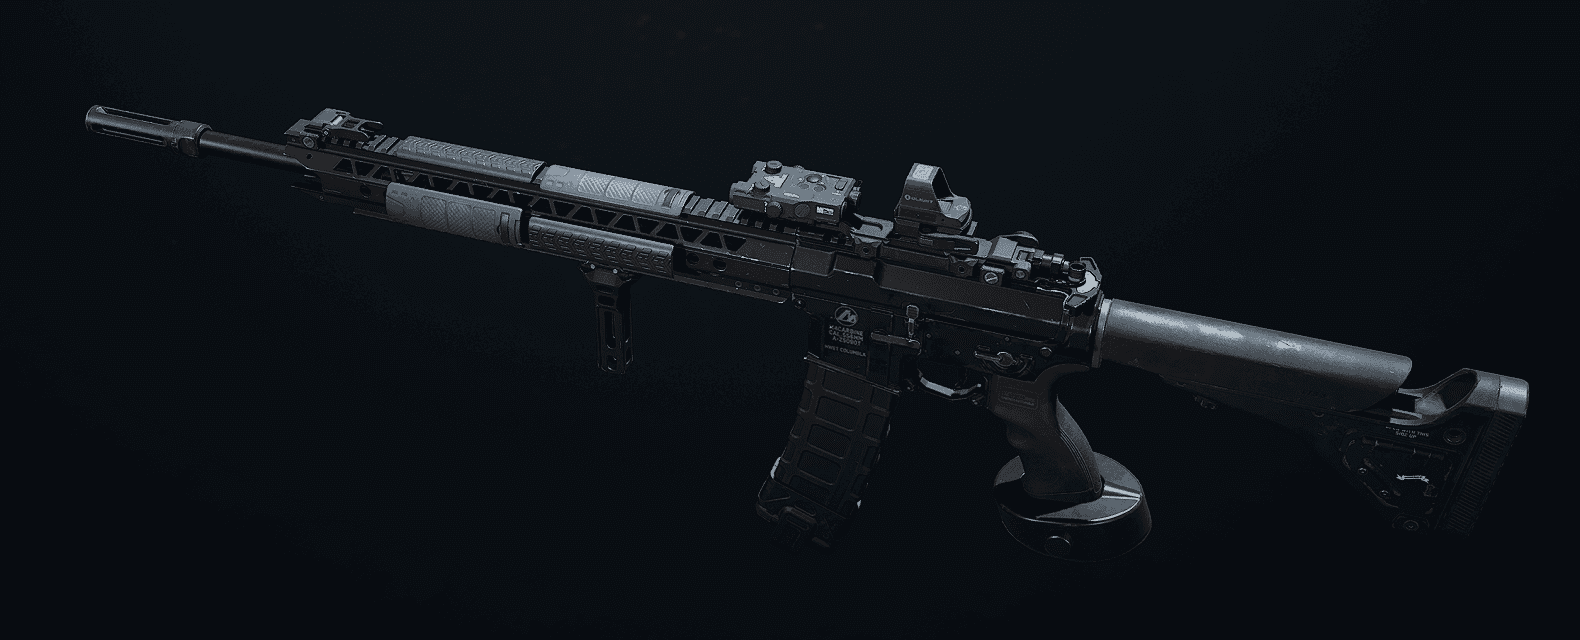
Let's talk S+ Tier assault rifles because that's where you'll live and breathe in this game. SG552, CAR-15, M4A1 (sitting pretty at 10.1% pick rate), and CI-19 (8.5% pick rate)—these aren't just numbers, they're your lifeline. Superior damage, manageable recoil, mid-range versatility. The S Tier SMG-45 (6.1% pick rate) brings a 40-round magazine and blistering fire rate for when things get up close and personal.
Now, the AWM sniper rifle—this thing's a monster. 100 damage at 200-meter range, 23 accuracy rating, one-shot chest elimination up to 30 meters. Compare that to the SV-98 and there's really no contest for long-range work.
Top 5 Beginner-Friendly Weapons
M4A1 Assault Rifle is your bread and butter. 25 damage per round, 672 RPM fire rate, and that exceptional recoil control that makes it so popular (hence the 10.1% pick rate). Attachment priority? Sandstorm Vertical Compensator for recoil management.
This rifle rewards consistency over flashiness.
CI-19 Assault Rifle brings something special to the table—60-round drum magazine and 55-meter effective range with the New Leviathan Barrel. High accuracy and stopping power, but you'll need to master that recoil pattern. Worth the effort.
SMG-45 Submachine Gun absolutely dominates close-quarters. Rapid time-to-kill, 40-round magazine capacity, and with the Fission Barrel attachment, it's optimized for urban warfare and building clearance. When you need to clear rooms fast, this is your tool.
M250 Light Machine Gun serves Engineer roles with 550 RPM, 125-round magazine, 55 damage at 40-meter range. Recommended attachments include Resonant MKII and Sandstorm components. Deploy that bipod for area suppression—sometimes you need to control space, not just eliminate targets.
93R Pistol might seem like an afterthought, but this burst-fire secondary has saved my bacon more times than I can count. Solid time-to-kill and multi-elimination potential make it reliable backup firepower.
Weapon Attachments and Customization
Here's the attachment hierarchy that actually works: recoil control components first (Sandstorm Vertical Compensator), then optics selection (Cobra for mid-range, OSIGHT for close-quarters), extended magazines, and DBAL-X2 laser for Tactical Stance control.
Optimal M4A1 long-range configuration—and I've tested this extensively—Resonant Grip, Invasion Rear Grip, AR Gabriel Barrel, Sandstorm Compensator, UR Stock, Recon 1.5/5 Scope, 45-Round Magazine, DBAL-X2 Laser. The build code? 6FINC4G0CQTV1IBVCBQVT. Test everything in Hot Zone mode before taking it into Warfare. Trust me on this.
Vehicle Mastery: Types and Tactical Usage
Ground Vehicles Overview
M1A4 Battle Tank dominates the battlefield with substantial damage output, but here's what most guides won't tell you—it requires a full crew for maximum effectiveness. These things survive only 30 seconds without defensive support. You'll need those 5,000 points for spawning through the radial wheel system, and competition is fierce.
LAV-G1 Infantry Fighting Vehicle offers an 8-wheeled high-mobility platform with cannon options and active defense systems. Crew coordination requires F key interactions for driver and gunner positions—communication is everything here.
Assault Vehicle provides light armored transport with top-mounted weaponry and tactical respawn beacon deployment. Perfect for rapid allied placement during those intense 24v24 pushes where every second counts.
Air Support and Helicopters
AH-1035D Attack Helicopter delivers heavy ground attack with serious anti-vehicle capabilities. Flight controls take practice: W accelerates/tilts, S descends, Shift pitches up, CTRL leans back, Q/E counter over-tilt. It's not intuitive at first.
Survival tactics? Immediate smoke deployment when you hear anti-aircraft alerts. Evasive maneuvering to break missile locks isn't just recommended—it's mandatory. Switch between third-person navigation and first-person targeting for optimal combat effectiveness.
Vehicle Combat Strategies
Vehicle acquisition requires strategic timing and—I can't stress this enough—spam that spacebar and left mouse button at spawn points. Low ping under 50ms significantly improves your success rates during high-demand periods. It's not just about being fast; it's about being consistently fast.
For enhanced vehicle unlocks, buy Delta Force in-game credits via BitTopup's reliable platform offering instant delivery and competitive rates. Tanks excel in frontline advances but absolutely require infantry support against anti-vehicle specialists. Don't go it alone.
24v24 Warfare Mode: Complete Strategy Guide
Game Mode Mechanics
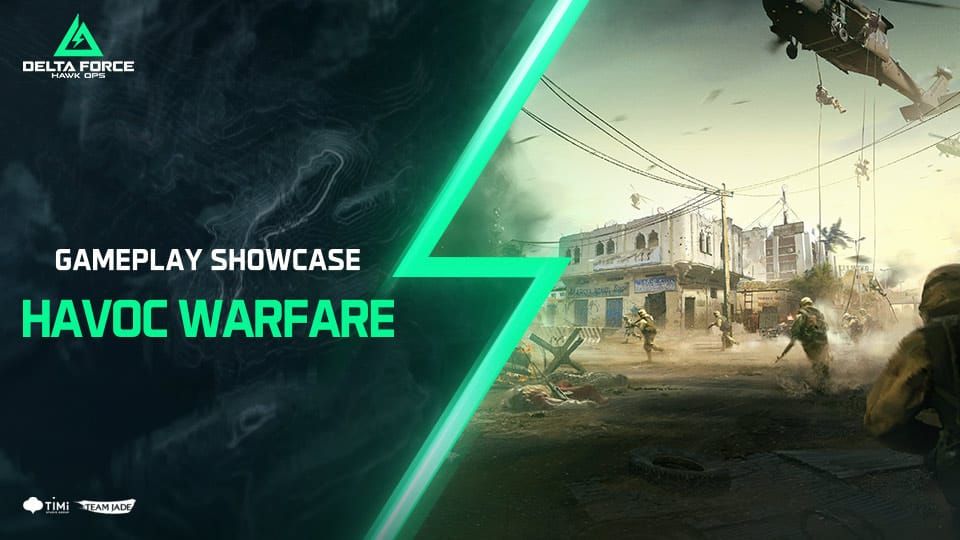
Havoc Warfare supports 24v24 or 32v32 configurations with unlimited respawns and ticket-based victory conditions. Map varieties include Urban Warfare with those dense layouts that'll test your close-quarters skills, Desert Operations with open terrain favoring long-range engagements, and Dam maps offering crucial elevation advantages.
Wildfire Events are something else entirely—visibility drops to 30-40 meters through fog effects. Suddenly your shotgun and SMG loadouts become gold, and audio cue recognition becomes absolutely critical for tactical awareness.
Team Roles and Responsibilities
Optimal 4-player composition breaks down like this: 1 Recon (Luna/Raptor), 1 Support (Stinger), 1 Engineer (Shepherd), 1 Assault (D-Wolf). Luna (SS-Tier) provides detection arrows and that game-changing 5x ping Ultimate ability for enhanced team awareness. She's not just good—she's essential.

Stinger (S-Tier) delivers rapid healing, ammunition replenishment, and non-squad ally revival with smoke screen deployment. D-Wolf (A-Tier) focuses on mobility enhancement and grenade deployment for objective pushes. Each role matters, but balance is everything.
Objective-Based Gameplay
Here's what separates good players from great ones: victory emphasizes objective control over elimination counts. Teams that master smoke grenades and flashbangs for engagement advantage during contested point captures consistently outperform those focused purely on K/D ratios.
Formation tactics prevent clustering vulnerabilities—spread out, but stay coordinated. Communication requires concise callouts using directional pings, map landmarks, and location shorthand for rapid information sharing during those chaotic battlefield moments.
Optimal Loadouts for New Players
Assault Class Setup
Premier M4A1 long-range loadout—this is my go-to recommendation for beginners: Resonant Grip, Invasion Rear Grip, AR Gabriel Barrel, Sandstorm Compensator, UR Stock, Recon 1.5/5 Scope, 45-Round Magazine, DBAL-X2 Laser (code 6FINC4G0CQTV1IBVCBQVT). Secondary: 93R pistol and TAC Dagger with Anti-Personnel Launcher.
D-Wolf operator provides high mobility for objective control with a ★★★★☆ difficulty rating. The grenade capabilities shine in close-quarters combat scenarios where positioning matters most.
Support Role Configuration
SMG-45 CQC build for when things get messy: Secret Order Foregrip, AR Heavy Rear Grip, Fission Barrel, Echo Suppressor, UR Stock, OSIGHT Red Dot, 40-Round Magazine, PEQ-2 Laser (code 6HLOBLC09MFFCME3G7LT2). Gadgets should prioritize Medical Crates for team sustain—your squad will thank you.
Stinger operator provides S-Tier Support with rapid healing, ammunition replenishment, and strategic revive operations during aggressive engagements. Sometimes being the hero means keeping everyone else alive.
Sniper and Reconnaissance Builds
AWM configuration delivers that satisfying 100 damage at 200-meter range with Skyline Barrel and 8X Scope (code 6F50VEC0CH8TK2MI8PG7U). Luna operator pairing provides footprint detection and enhanced team awareness during those visibility-reducing fog events.
Reconnaissance prioritizes elevation control on Dam maps for mountain advantages while maintaining long-range engagement capabilities. Overwatch support isn't glamorous, but it wins matches.
Map Awareness and Positioning
Reading the Battlefield
Urban Warfare features dense city layouts with multiple entry points—I recommend offline study for choke point identification before jumping into live matches. Desert Operations emphasizes open terrain favoring long-range engagements and vehicle dominance. Know your maps, know your advantages.
Mountain Outposts prioritize elevation control for strategic advantages, particularly benefiting sniper roles with superior sight lines and defensive positioning. Height equals might in this game.
Cover and Movement Tactics
Advanced movement includes sprint-slide-crouch transitions for enhanced mobility during Phase 2 mastery (weeks 3-4 of your learning curve). Light loadout configurations using MP5 or SMG-45 provide mobility advantages while preventing those frustrating gear overload penalties.
Pre-aiming positions and situational awareness require consistent practice. Focus on 2-3 specialized weapons rather than constantly switching classes—mastery beats variety every time.
High-Value Position Control
Strategic positioning prioritizes objective control utilizing tactical equipment deployment for engagement advantage. Formation maintenance prevents clustering vulnerabilities with point man advancement, support coverage, and rear guard protection.
Audio cue recognition through headphones enables footstep detection and directional shot identification. High effects volume with low music settings provides competitive audio advantages that can mean the difference between victory and respawn.
Team Communication and Coordination
Voice Chat Best Practices
Effective communication requires concise callouts combining directional pings, map landmarks, and location shorthand. Practice unanimous decision-making for extraction timing and contingency planning during enemy pressure situations—panic kills teams faster than bullets.
Hot Zone warm-up rounds before Warfare deployment allow communication testing and tactical coordination practice in low-stakes environments. Use them.
Callout Systems
Standardized callouts utilize map-specific landmarks and directional references for precise enemy location communication. Resource sharing protocols include ammunition and medical supply distribution based on role assignments—don't hoard supplies when your team needs them.
Audio cue recognition training enables team-wide threat identification through shared footstep detection and weapon discharge directional analysis. Your ears are as important as your eyes.
Squad-Based Tactics
Optimal team composition balances reconnaissance, support, engineering, and assault capabilities. Luna-D-Wolf synergy combines intelligence gathering with mobility advantages, consistently outperforming unbalanced configurations in my experience.
Phase 3 mastery (weeks 5-6) emphasizes callout learning, coordinated play practice, and Discord community engagement for 24v24 practice sessions. Find your squad and stick with them.
Common Beginner Mistakes to Avoid
Weapon Selection Errors
Premature class switching prevents skill mastery—it's the biggest mistake I see new players make. Focus on one operator for 2-3 week periods, practicing in Hot Zone before advancing to Warfare engagements. Attachment stacking creates diminishing returns without meaningful performance improvement.
Weapon testing should occur in training grounds before purchase decisions. Master those recoil patterns through sustained fire practice before committing resources to specific configurations. Your wallet will thank you.
Positioning Mistakes
Solo aggression leads to rapid elimination and tactical disadvantage. Period. Maintain formation discipline utilizing light loadouts for mobility while avoiding overloading penalties that'll get you killed.
Ammunition conservation requires strategic reload timing. Practice precision aiming and semi-automatic fire while sharing resources through role-based distribution systems. Running out of ammo mid-firefight is embarrassing and avoidable.
Team Play Issues
Unbalanced team compositions lacking support or engineering reduce effectiveness dramatically. Include healing, anti-vehicle, and reconnaissance capabilities rather than focusing exclusively on assault operators—four assault players don't make a team.
Formation clustering creates vulnerability to area denial weapons. Maintain tactical spacing while preserving communication range for coordinated responses. Spread out, but stay connected.
Advanced Tips for Rapid Improvement
Practice Routines
Phase 1 (weeks 1-2): tutorial completion, 15-minute daily aim practice, basic map learning, 1-2 weapon class testing with M4A1 fundamentals. Offline map study identifies choke points without live combat pressure—use this time wisely.
Phase 2 (weeks 3-4): movement mechanics including sprint-slide-crouch transitions, pre-aiming practice, and situational awareness enhancement. Specialize in 2-3 weapons with dedicated recoil training. Quality over quantity.
Training ground utilization focuses on sustained fire pattern recognition and recoil control mastery. Lighter configurations boost movement speed—find your balance between firepower and mobility.
Performance Analysis
Killcam review provides positioning error identification and tactical improvement opportunities. Focus on incremental progress including pre-aiming accuracy and pixel-perfect angle mastery. Small improvements compound over time.
Metric tracking includes kill-death ratio, accuracy percentages, and extraction success rates. Review post-match statistics to identify improvement areas and tactical adjustments—data doesn't lie.
Competitive Preparation
Network optimization ensures stable low-ping connections for vehicle acquisition success. Wired connections prevent packet loss affecting competitive performance during large-scale engagements. WiFi warriors rarely win wars.
Settings optimization prioritizes performance: native resolution with reduced shadows and particle effects for 120+ FPS. Competitive audio emphasizes tactical sound recognition over atmospheric immersion. Pretty graphics don't win matches—smooth performance does.
FAQ
What are the best weapons for Delta Force beginners? M4A1 assault rifle (10.1% pick rate) with 25 damage per round, 672 RPM, and excellent recoil control. Pair with 93R pistol and use long-range build code 6FINC4G0CQTV1IBVCBQVT. Start here, master this, then branch out.
How do I spawn vehicles in 24v24 Warfare mode? Accumulate 5,000 points, hold 5 key for radial wheel, spam spacebar and left mouse button. Low ping under 50ms improves success rates significantly—connection quality matters more than reflexes here.
Which operators should new players choose? Luna (SS-Tier Recon) for intelligence gathering with footprint detection and 5x ping Ultimate, or Stinger (S-Tier Support) for team healing and rapid revives. Both offer high impact with manageable learning curves.
What's the optimal team composition for 24v24 battles? 1 Recon (Luna/Raptor), 1 Support (Stinger), 1 Engineer (Shepherd), 1 Assault (D-Wolf) for balanced intelligence, healing, anti-vehicle, and mobility capabilities. Balance wins battles.
How can I improve my aim and movement quickly? Practice 15 minutes daily in training grounds, use FOV 100 with low sensitivity, master sprint-slide-crouch transitions, and focus on one weapon class for 2-3 weeks. Consistency beats intensity.
What are the most common beginner mistakes to avoid? Solo aggression breaking formation, frequent operator switching, ammunition waste through poor reload timing, and heavy loadouts reducing mobility. Practice in Hot Zone before Warfare matches—preparation prevents poor performance.


