Raid Mechanics Essentials
Raid Extreme demands 200 kills per run with wave-based enemy encounters where squad composition directly impacts survival. Teams must balance offensive firepower with defensive sustainability. Delta Force top up from BitTopup provides fast, secure currency delivery for immediate loadout upgrades.
Optimal Squad Composition
2 Stinger + 1 Uluru/Vyron maximizes resource sustainability and damage output.

Stinger (Roy Smee, Support):
- Combat Stim: Emergency healing
- Ammo Resupply: Eliminates ammunition scarcity
Dual Stingers ensure continuous resource availability. When one enters cooldown, the second maintains team sustainability.
Uluru (David Feller, Engineer):
- Landmine Grid: Controls enemy approach vectors
- Fortify: Establishes defensive positions
Vyron (Wang Yuhao, Assault):
- Overdrive: Increases team damage output
- Shattering Strike: Breaks enemy formations
Choose Uluru for defensive play or Vyron for aggressive damage acceleration.
Meta Weapon Loadouts
CI-19 Aggressive Entry (92% Win Rate)
Code: 6HEQHRS08M3TET99CEP38

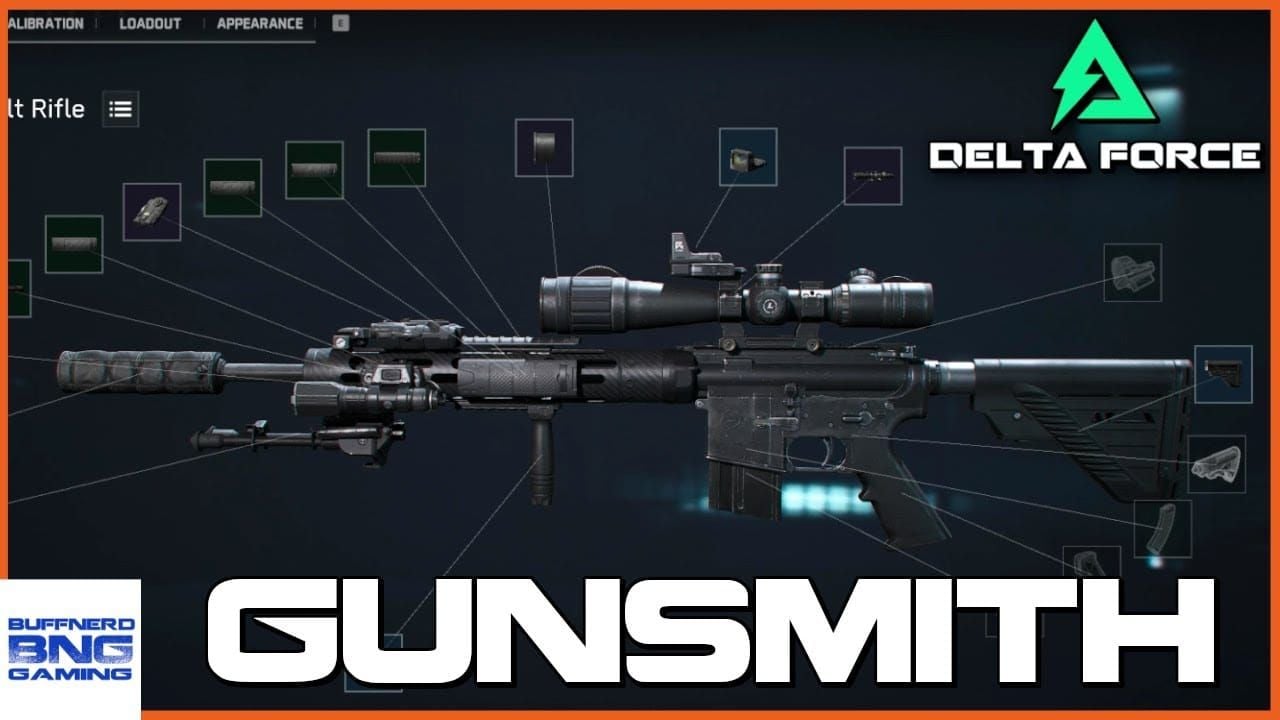
- Muzzle: Sandstorm Vertical Compensator
- Barrel: New Leviathan Tactical Long Barrel
- Right Rail: DBAL-X2 Purple Laser-Light Combo
- Foregrip: Secret Order Bevel Foregrip (15% horizontal deviation reduction)
- Magazine: 5.8 Newtype 60-Round Drum Mag (50% reload frequency reduction)
60-round capacity with reduced reload frequency maintains sustained fire during multi-enemy engagements.
M4A1 Balanced Build
Code: 6F3U0QS08EVAS5MG88P0S
672 RPM, 25 damage per round:
- Muzzle: Sandstorm Vertical Compensator
- Barrel: AR Gabriel Long Barrel Combo (22% damage falloff increase)
- Magazine: M4 45-Round Extended Mag
- Stock: M16A4 Stable Stock
- Optic: Panoramic Red Dot Sight
- Secondary: 93R burst pistol
K416 High-RPM Pressure
Code: 6FNPLSO06L5PA4U76HE30
880 RPM fire rate:
- Muzzle: Poseidon Flash Hider (35% muzzle flash reduction)
- Barrel: K416 A8 Long Barrel Combo
- Magazine: M4 45-Round Extended Mag
- Stock: 416 Light Stock
- Optic: Hydra Riser + Micro Sight Riser + Panoramic Red Dot
- Secondary: Desert Eagle
M250 LMG Suppression
Code: 6FIAPRS06L5PA4U76HE30
150+ round capacity enables sustained suppressive fire without reload interruptions and area denial.
VSS Stealth Option
- Barrel: VSS Tsunami Long Barrel Combo
- Upper Rail: PEQ-2 Red Laser-Light Combo
- Magazine: VSS 30-Round Mag
Integrated suppressor maintains stealth during initial engagements.
Importing Loadouts

- Open Gun Customization Station
- Select target weapon
- Click Preset > Import Preset
- Paste import code exactly
- Confirm import
Role-Specific Tactics
Support (Stinger)
Combat Stim Priority:
- Deploy when teammates drop below 50% health
- Reserve one charge for emergency revives
- Stagger ability usage with second Stinger
Ammo Resupply Timing:
- Monitor teammate magazine counts
- Deploy before critical engagements
- Position near cover, never in open
Positioning:
- Maintain mid-range distance from frontline
- Establish sightlines to all teammates
- Avoid clustering with other support
Equip M4A1 or K416 for balanced engagement capability.
Engineer/Assault (Uluru/Vyron)
Uluru Defensive:
- Deploy Landmine Grid at choke points before enemy waves
- Create overlapping coverage with 2-3 meter spacing
- Fortify positions covering multiple approach angles
Vyron Aggressive:
- Trigger Overdrive before high-value targets
- Coordinate with DPS for synchronized damage
- Use Shattering Strike to break armored formations
Run CI-19 or K416 for frontline pressure.
DPS Optimization
Close-Range: SR-3M SMG, P90 SMG, AS VAL AR Medium-Range: CI-19 AR, M4A1 AR, K416 AR Long-Range: AWM SR, SCAR-H AR, AUG AR
Target 60%+ accuracy and 70+ kills per raid.
Buy Delta Force top up online through BitTopup for instant currency delivery.
Advanced Squad Coordination
Communication Protocols
Enemy Callouts: Direction, distance, threat level Resource Callouts: Ammo/health status, ability cooldowns Tactical Callouts: Movement intentions, target focus, danger warnings
Movement Formations
Standard Advance:
- Point operator leads 5 meters ahead

- DPS flanks 3 meters left/right
- Support trails 5 meters behind center
Defensive Hold:
- 120-degree coverage sectors
- Overlapping fields of fire with 2-meter gaps
- Support positioned centrally
Retreat:
- Leapfrog withdrawal with alternating cover
- Rear operator provides suppressive fire
Engagement Initiation
- Confirm all operators ready
- Establish fallback positions
- Designate primary targets
- Synchronized opening on countdown
Common Mistakes
Mistake: Prioritizing damage over recoil control Fix: Recoil attachments enable higher damage-per-magazine through improved hit rates
Mistake: Neglecting magazine capacity Fix: 60-round mags prevent vulnerability during reloads
Mistake: Running three DPS without support Fix: 2 Stinger + 1 Uluru/Vyron composition prevents ammunition/health depletion
Mistake: Single support operator Fix: One Stinger can't maintain ability uptime; cooldowns create fatal resource gaps
Mistake: Support pushing frontlines Fix: Maintain 10+ meter distance to preserve team sustainability
Mistake: Clustering in confined spaces Fix: Maintain 3+ meter spacing to prevent multi-operator casualties
Gear Progression
Upgrade Priority
Support: Extended mags > Recoil control > Optics > Secondary weapons Engineer/Assault: Barrel upgrades > High-capacity mags > Foregrips > Muzzle devices DPS: Weapon unlocks > Damage barrels > Max capacity mags > Precision optics
Currency Optimization
Raid rewards scale with:
- Kill count: 200+ maximizes base rewards
- Completion time: Sub-20 minutes earns bonuses
- Survival rate: Zero-death completions provide multipliers
Focus on consistent 18-minute clears over risky speed runs.
BitTopup offers competitive rates with secure transactions and 24/7 support for faster progression.
Advanced Tactics
Terrain Adaptations
Urban: Close-range weapons, Landmine Grid at entrances, vertical positioning Open Areas: Long-range weapons, Vyron's Overdrive, 5+ meter spacing Mixed: Balanced loadouts, swap point positions, central support
Counter-Strategies
Enemy Suppression: Disengage and flank while suppressed operator holds attention Enemy Flanking: Landmine Grid on flank routes, rear security, formation rotation Enemy Armor: Shattering Strike, focused fire, AWM headshots
Performance Metrics
Individual: 60%+ accuracy, 15+ kills per death, ability cooldown utilization Squad: Sub-20 minute completion, 0-2 deaths, minimal resource waste
AI Adaptation
Aggressive AI: Defensive formations, Landmine Grid killzones, rear support positioning Passive AI: Vyron's abilities force engagements, DPS push with Overdrive Mixed: Eliminate enemy support first, maintain formation discipline
FAQ
Best squad composition? 2 Stinger + 1 Uluru/Vyron. Dual Stingers provide continuous ammo/healing while Uluru offers defense or Vyron provides damage amplification.
Meta weapons? M250 LMG, SR-3M SMG, K416 AR, AS VAL AR, SCAR-H AR, M4A1 AR, AUG AR, P90 SMG, AWM SR, CI-19 AR. CI-19 code 6HEQHRS08M3TET99CEP38 achieves 92% win rates.
How to import loadouts? Gun Customization Station > Select weapon > Preset > Import Preset > Paste code > Confirm.
Role responsibilities? Support manages Combat Stim/Ammo Resupply at mid-range. Engineer deploys Landmine Grid/Fortify defensively. Assault activates Overdrive/Shattering Strike. DPS maintains 60%+ accuracy for 70+ kills.
Raid Extreme differences? 200 kills required with intensified waves and reduced resources. Demands extended mags (M250's 150+ rounds) and recoil attachments (Sandstorm Vertical Compensator).
Common wipe causes? Premature engagement, clustering within 3 meters, insufficient support (fewer than 2 Stingers), support pushing frontlines, neglecting magazine capacity.
Dominate Messenger Squad Raids! Get Delta Force currency instantly at BitTopup – secure transactions, competitive rates, fast delivery, 24/7 support. Access premium weapons and meta operators now!


