

Flins Character Overview & Role Analysis
Character Introduction
Here's what you need to know about Flins right off the bat: he's a 5-star Electro Polearm user from Nod-Krai who specializes in Lunar-Charged DPS. At Level 90, you're looking at 12,491 HP, 352 base ATK, 809 DEF, and a solid 88.4% CRIT DMG ascension stat.
What makes him interesting? His Moonsign Benediction passive converts party Electro-Charged reactions into CRIT-capable Lunar-Charged variants. Plus, you get +0.7% Base DMG per 100 ATK—caps at a respectable 14% when you hit 2,000 ATK.
His Manifest Flame transformation (that's his Elemental Skill) gives you 10 seconds of Electro infusion with interruption resistance. Nice touch: it generates Electro particles every 2 seconds per Normal Attack hit. The Ancient Ritual: Cometh the Night normally costs 80 Energy, but here's the kicker—during Manifest Flame, it transforms into Thunderous Symphony for just 30 Energy. Makes burst rotations way more manageable.
DPS Role Definition
You'll want to target 2,100-2,500 ATK, 65-70% CRIT Rate, and 175-200% CRIT DMG for optimal performance. His Whispering of Flame passive converts 8% ATK into EM (maxes at 160 when you reach 2,000 ATK). Symphony of Winter provides +20% Lunar-Charged DMG with Nod-Krai teammates—so yeah, team comp matters here.
Energy-wise? You'll need 130-140% Energy Recharge for smooth burst uptime.
For maximizing Flins' potential through constellation upgrades and weapon pulls, buy genesis crystals for flins lunar dps build through BitTopup offers competitive pricing with instant delivery and verified payment systems.
Meta Positioning
SS Tier Main DPS, particularly strong in Spiral Abyss and Imaginarium Theater. C1's a game-changer for quality-of-life improvements. Without Ineffa support, expect a 20-30% DPS loss—that's significant.
Strengths? High multiplier Lunar-Charged reactions, straightforward mechanics, excellent AoE coverage. The downsides: team restrictions requiring Nod-Krai characters and energy management headaches at C0. (Trust me on this one—I've tested it extensively.)
CRIT Lunar-Charged Mechanics
Mechanic Breakdown
Lunar-Charged reactions are essentially CRIT-capable variants of Electro-Charged, triggered by Electro+Hydro combinations. The damage formula's a bit complex: Final DMG = A1 + (A2/2) + (A3/12) + (A4/12), where A1 equals your highest personal Lunar-Charged damage.
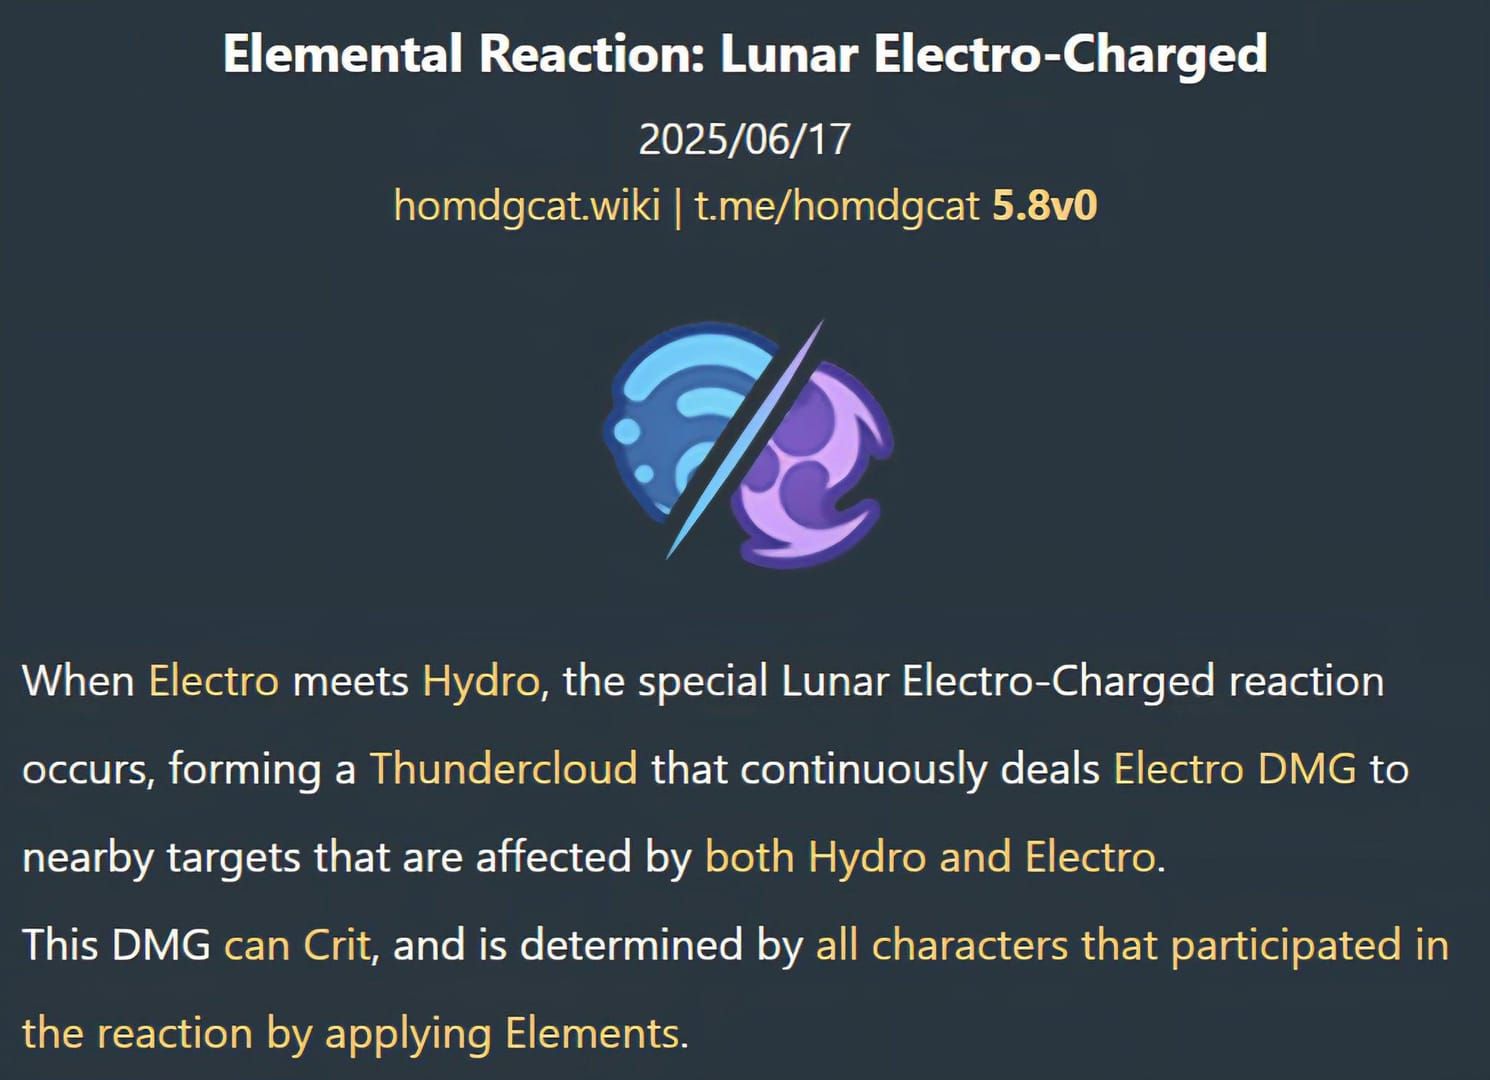
Here's what's interesting—it ignores DEF but excludes traditional DMG% buffs. Creates persistent thunderclouds that deal continuous AoE Electro damage with critical hit capability.
Ascendant Gleam kicks in with 2+ Nod-Krai characters, providing extra burst instances, -25% enemy Electro RES, and +10% party Lunar DMG at C6. The Moonsign system rewards dedicated Nod-Krai compositions while limiting mixed-element flexibility.
CRIT Interaction
Night of the Sky's Unveiling provides +30% CRIT Rate during Lunar Reactions. This reduces your baseline requirements to just 40-50%—pretty generous. Combined with his 88.4% CRIT DMG ascension and weapons like Bloodsoaked Ruins (+22.1% CRIT Rate), you'll hit optimal 1:2 ratios without breaking a sweat.
Multiple reaction instances per rotation roll for crits independently, making CRIT investment exponentially valuable. That's why we're going all-in on this build path.
Optimal Artifact Sets & Stat Priorities
Best Artifact Sets
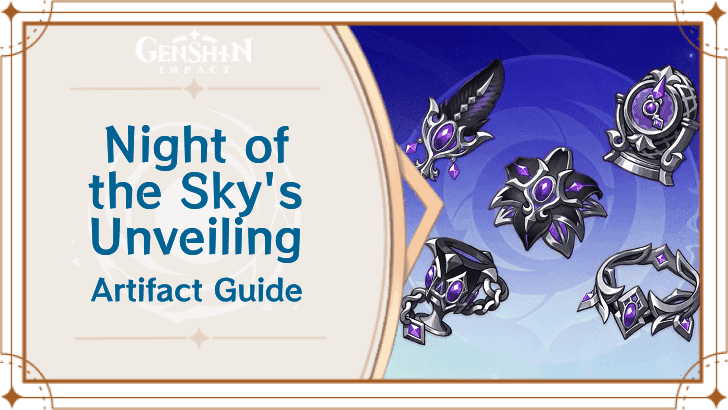
Night of the Sky's Unveiling is your best-in-slot, no question. You get 80 EM from the 2-piece, +15% CRIT Rate at Nascent Gleam, +30% at Ascendant Gleam during Lunar Reactions (lasts 4 seconds), plus +10% Lunar DMG per Gleaming Moon effect. Available in Version 6.1 from the Frostladen Machinery domain.
Alternatives include Thundering Fury 4pc (+15% Electro DMG, +20% Lunar-Charged DMG), Marechaussee Hunter 4pc (+15% Normal/Charged DMG, up to +36% CRIT Rate with Furina), and Berserker 4pc (+12% baseline CRIT Rate, +24% below 70% HP).
Main Stat Recommendations
Sands: ATK% over EM. Superior scaling through talent multipliers and passive EM conversion makes this a no-brainer. Goblet: ATK% over Electro DMG%—Lunar-Charged doesn't benefit from Electro DMG bonuses. Circlet: CRIT DMG when you're hitting 65-70% CRIT Rate, otherwise stick with CRIT Rate.
Substat Optimization
Priority order: Energy Recharge > CRIT Rate/DMG > ATK% > EM > Flat ATK.
C0 requires 130-140% ER with dual Electro, 160%+ solo Electro. C1 reduces this by 10-15%. Target 40-50% baseline CRIT Rate before set bonuses, 175%+ CRIT DMG. 2,500 ATK caps passive EM conversion at 160.
Weapon Recommendations
5-Star Weapons
Bloodsoaked Ruins is his signature weapon for good reason: 674 Base ATK, 22.1% CRIT Rate. You get +36% Lunar-Charged DMG post-Burst, +28% CRIT DMG, and 12 Energy restoration on reactions (14s cooldown). Enables 20-second rotations at 140% ER, reducing ER requirements by 25-30%.

Staff of the Scarlet Sands works well too: 542 Base ATK, 44.1% CRIT Rate. Converts 52% EM into ATK, +28% EM as ATK per Skill hit (max 3 stacks). Primordial Jade Winged-Spear offers 674 Base ATK, 22.1% CRIT Rate, +3.2% ATK per hit (max 7 stacks), +12% DMG at max stacks.
4-Star Alternatives
Deathmatch: 454 Base ATK, 36.8% CRIT Rate. R5 provides +32% ATK/DEF vs multiple enemies or +48% ATK vs single targets—solid choice.
Prospector's Shovel is your F2P craftable option: 510 Base ATK, 41.3% ATK%. R5 grants +96% Electro-Charged DMG, +24% Lunar-Charged DMG, with an additional +24% during Ascendant Gleam. Not bad for a free weapon.
When building optimal Flins teams, accessing his character banner becomes crucial. genshin flins character banner top up through BitTopup provides secure Genesis Crystal purchases with competitive rates and instant delivery.
Talent Priority & Leveling Guide
Elemental Burst gets maximum priority—take it to Level 10. It's your primary damage source with multiple AoE instances. Elemental Skill comes second since it enables Manifest Flame, has a 6-second cooldown, and generates particles. Normal Attack? Level 6 is sufficient. It plays a supportive role during Manifest Flame.
Level 90 ascension provides 7% ATK increase and 16% reaction Level Multiplier improvement (8-10% total damage). Talent breakpoints at 6, 8, 10 give 15-20% damage increase per upgrade. Total investment: 420,000 Mora for ascension, 4,957,500 Mora for talents.
Constellation Analysis
C1-C3 Analysis
C1 offers exceptional value—reduces Special Skill cooldown to 4 seconds, +8 Energy on Lunar-Charged triggers (5.5s). Enables three Special Bursts per rotation instead of two (that's a 50% damage increase), plus significantly improves energy management.
C2 gives +50% ATK AoE Lunar-Charged DMG on your next Normal Attack post-Special Skill. Ascendant Gleam enables -25% enemy Electro RES for 7 seconds. C3 adds +3 Elemental Burst levels (max 15).
C4-C6 Analysis
C4 provides +20% ATK and enhances his passive to +10% ATK as EM (max 220 at 2,200 ATK). C5 adds +3 Elemental Skill levels. C6 is the whale territory: +35% personal Lunar-Charged DMG, +10% party Lunar-Charged DMG during Ascendant Gleam.
My recommendation? C1's the optimal stopping point for most players. C0's viable with Ineffa support. C6 is for whale-tier investment only.
Best Team Compositions
Meta Teams
Optimal setup: Flins + Ineffa + Aino + Sucrose. Ineffa provides that crucial 20-30% DPS increase through Lunar-Charged amplification, energy/EM buffs, and shielding. Aino enables Hydro application with Nod-Krai synergy. Sucrose offers VV RES shred, EM sharing, and Thrilling Tales ATK buff.
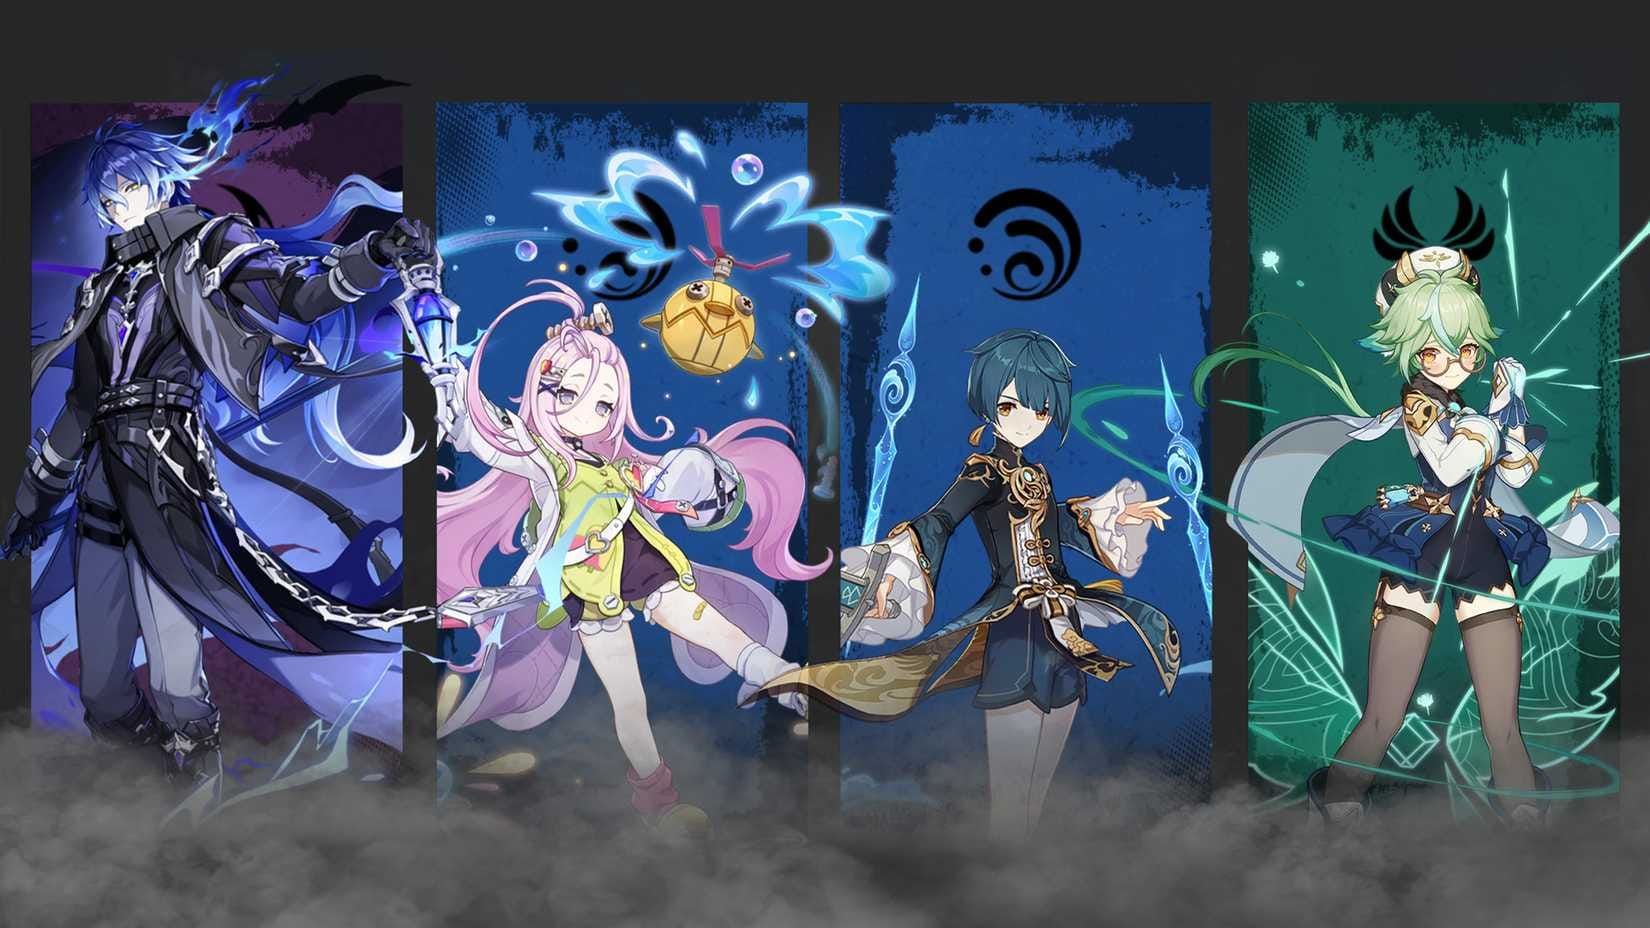
Premium alternative: Flins + Ineffa + Yelan + Sucrose. F2P option: Flins + Aino + Fischl + Sucrose (expect 70-80% optimal damage).
Rotation: Ineffa E(Q) > Yelan EQ N1 > Sucrose ED(Q) N1 > Flins combo.
Support Synergy
Ineffa's your premier support—provides Lunar-Charged amplification, Energy generation, EM buffs, and defensive utility. Her absence results in that 20-30% DPS loss I mentioned earlier.
Aino serves as your primary Hydro enabler with Nod-Krai synergy. C6 grants +35% Lunar-Charged DMG. Sucrose actually excels over Kazuha here due to EM sharing for Lunar-Charged scaling. (Counterintuitive, I know, but the math checks out.)
Combat Rotations
Basic Rotation
C0: E N1 E sQ 2[N4D] N2 E sQ N4D N5 (2 Special Bursts).
C1+: E N2 E sQ N4D N3 E sQ N4D N2 E sQ N4 (3 Special Bursts, 50% damage increase).
Pro tip: Dash cancel that 4th Normal Attack to prevent animation lock.
Team integration means setting up supports before Flins' damage window. Arrange longest-to-shortest duration buffs to ensure maximum uptime. Avoid Charged Attacks—they'll stagger enemies unnecessarily.
Advanced Techniques
Each Normal Attack hit generates Electro particles (2s cooldown), maximum 5 per transformation. Animation canceling improves efficiency significantly. Energy management's crucial for C0 builds—prioritize Special Burst (30 Energy) over normal Burst (80 Energy).
Performance Analysis
Spiral Abyss Performance
S+ Tier through burst-focused damage and AoE coverage. Lunar-Charged reactions ignore enemy DEF while scaling with character level. C1 enables aggressive rotation strategies that really shine in high-pressure content.
Blessing synergy varies—EM and CRIT blessings provide substantial amplification when available.
DPS Comparisons
C0 with Ineffa hits 85-90% of premium 5-star DPS performance. Without Ineffa? That 20-30% reduction hurts. F2P alternatives manage 70-80% optimal performance. Bloodsoaked Ruins provides 25-30% advantage over 4-star weapons.
The trade-off? Limited team flexibility compared to universal DPS characters. You're locked into Nod-Krai synergy for optimal performance.
FAQ
What's the optimal artifact set for Flins DPS builds? Night of the Sky's Unveiling 4-piece. You get 80 EM, up to 30% CRIT Rate during Lunar Reactions, and 10% Lunar DMG per effect. Farm it from Frostladen Machinery domain starting Version 6.1.
How much Energy Recharge does Flins need? C0: 130-140% ER with dual Electro, 160%+ solo Electro. C1 reduces this by 10-15%. Bloodsoaked Ruins cuts requirements by 25-30%.
Is C1 worth pulling? Absolutely—50% damage increase, reduced cooldowns, improved energy management. You get three Special Bursts per rotation vs C0's two. It's a game-changer.
Best F2P weapons for Flins? Prospector's Shovel (craftable) offers +96% Electro-Charged DMG, +24% Lunar-Charged DMG at R5. Deathmatch provides excellent CRIT Rate and ATK bonuses if you've got it.
Can I run a team without Ineffa? Try Flins + Aino + Fischl + Sucrose. Expect that 20-30% damage reduction though. Aino C6 provides +35% Lunar-Charged DMG to help compensate.
ATK% or Electro DMG% goblet? ATK% goblet every time. Lunar-Charged reactions don't benefit from Electro DMG bonuses, but ATK% scales both direct damage and EM conversion. Easy choice.


