Nod-Krai Region Overview: Local Specialties and What They’re Actually For
The Complete Specialty Breakdown (Because Nobody Wants Surprises)
Here’s the deal with Nod-Krai’s exclusive local specialties—they’re absolutely essential for character ascension, and there’s no getting around it. Frostcup Flowers are Flins’ bread and butter for ascension, while Moonlit Flora keeps Lauma happy.
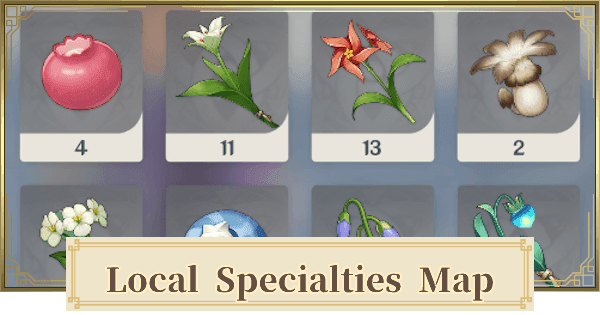
Each character demands exactly 168 local specialties to hit Level 90. Yeah, that’s a lot.
The breakdown goes like this: 3, 10, 20, 30, 45, and 60 across six ascension phases. Do the math—it adds up fast. Crystallized Moonbeams boost weapon progression (finally, something useful), Ancient Runes make artifact enhancement less painful, and Nod-Krai Crystals work as regional currency. Pretty standard stuff, honestly.
For players who want to keep their farming sessions running smoothly without interruption, securing adequate Genesis Crystals through Genshin Top Up Online ensures you’re not scrambling for banner pulls when new Nod-Krai characters drop.
Respawn Mechanics (The Waiting Game We All Know)
Local specialties stick to the standard 48-hour respawn cycle. Nothing fancy here. But here’s where it gets interesting—three Nod-Krai characters have passive talents that display nearby specialty locations on your mini-map: Lauma (Prayers for the Forest), Flins (A Light in the Dark), and Aino (Miniaturized Detection Sensor).
Having any of these in your active party transforms farming from blind wandering into systematic collection. Game changer? Absolutely.
Region Layout (And Why Geography Matters)
Lempo Isle houses Nasha Town, Blue Amber Lake, and Starsand Shoal—think concentrated specialty clusters near water sources.
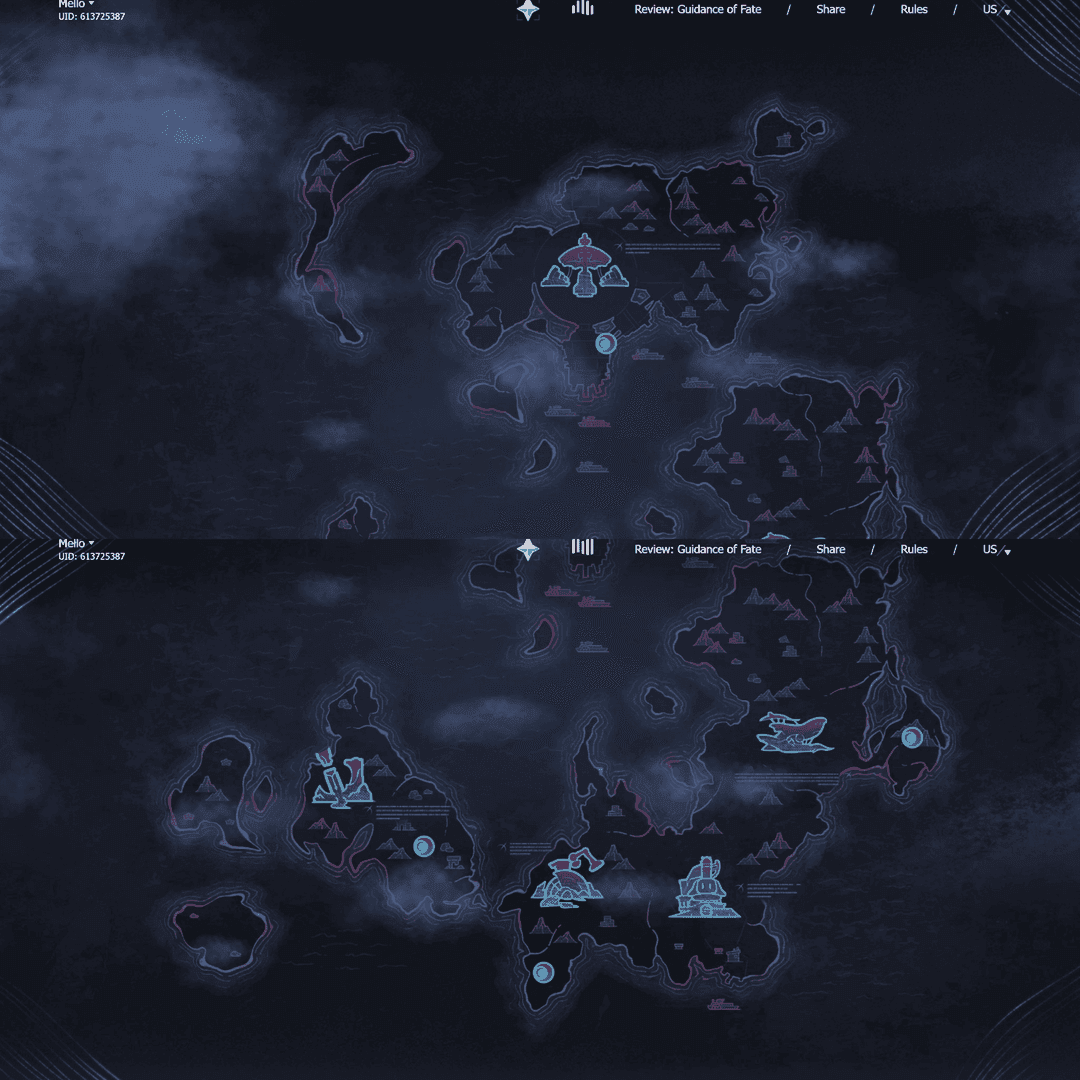
Paha Isle is where the Fatui set up their Kuuvahki Experimental Design Bureau and Final Night Cemetery. Industrial vibes with mechanical enemy drops that actually matter. Hiisi Island encompasses Frostmoon Scions territory and the Frostmoon Enclave. Ancient artifacts and mystical materials galore.
Each area has its personality, and honestly? That affects your farming strategy more than you’d think.
The Ultimate 30-Minute Nod-Krai Daily Route
Northern Route: Starting Strong at Lempo Isle
Kick things off at Nasha Town’s waypoint on Lempo Isle. Blue Amber Lake’s perimeter is pure gold—approximately 12-15 Moonlit Flora nodes packed into a compact area. No wasted movement here.
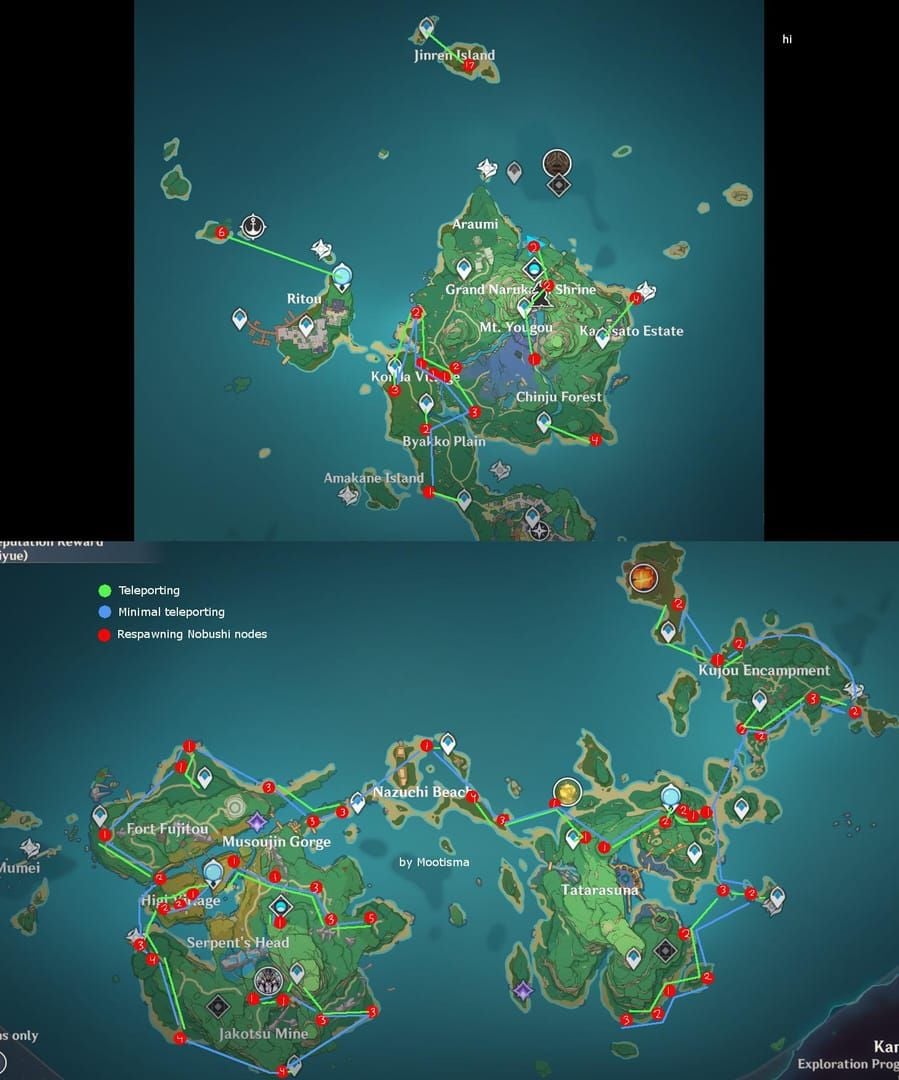
From Blue Amber Lake, head northeast toward Starsand Shoal. You’ll find scattered Frostcup Flowers along rocky outcroppings and cliff faces. Pro tip: Lauma’s half-deer transformation isn’t just for show—it’s perfect for efficient vertical navigation. The northern route typically nets you 25-30 local specialties within 10 minutes when you’re using detection passives properly.
Central Route: Where Density Meets Efficiency
Time to transition to Paha Isle via the central waypoint network. Focus on the Kuuvahki Experimental Design Bureau area—this industrial zone is packed with both local specialties and valuable enemy drops from mechanical units. Two birds, one stone.
Paha Isle’s Final Night Cemetery offers unique specialty variants that grow in shadowed areas. Here’s the catch—some specialties only appear during specific in-game time periods. Timing matters. The central route really shines when you combine specialty collection with enemy farming, since mechanical enemies respawn daily anyway.
Southern Route: Wrapping Up at Hiisi Island
Complete your circuit on Hiisi Island, targeting the Frostmoon Scions’ territory for ancient materials and remaining specialty types. Hiisi Island’s Frostmoon Enclave contains the highest concentration of Ancient Runes and faction-specific materials. Essential stuff for artifact enhancement and special crafting recipes.
The enclave’s circular layout is perfect for efficient loop-based collection patterns. Smart design, honestly. Players can Buy Genesis Crystals to ensure adequate resin reserves for world boss challenges after completing specialty farming routes.
Route Optimization Strategies (Because Time Is Money)
Time-Based Modifications That Actually Work
Peak efficiency farming isn’t just about knowing where to go—it’s about when to go. Morning sessions (6-8 AM) provide optimal specialty visibility due to lighting conditions. Evening farming (6-8 PM) benefits from reduced server load, which matters more than people realize.
Weekend farming sessions? That’s when you can extend to 45-60 minute routes and incorporate co-op opportunities. Effectively doubles your specialty acquisition rates. For those rushed weekday mornings, condensed 15-minute express routes focus exclusively on highest-density specialty clusters. You’ll get 40-50% of full route rewards in half the time investment.
Character-Specific Farming (Playing to Strengths)
Flins-focused farming emphasizes Frostcup Flower locations across Paha Isle’s rocky terrain. His A Light in the Dark passive proves particularly effective in shadowed areas where flowers blend with environmental textures—which happens more often than you’d expect.
Lauma’s material requirements center on Blue Amber Lake’s Moonlit Flora concentrations. Her unique animal interaction abilities provide supplementary resource gathering through peaceful wildlife encounters. Aino’s Miniaturized Detection Sensor passive excels in technological areas of Paha Isle, where her inventor background provides thematic synergy with mechanical specialty types.
Makes sense when you think about it.
Seasonal and Event Adaptations
Version 6.0’s anniversary celebrations introduce temporary specialty bonuses and enhanced spawn rates during specific event periods. The 5th Anniversary rewards include 1,600 Primogems and 10 Intertwined Fates—nice supplement to farming efforts with direct character acquisition opportunities.
Lunar-themed events may provide doubled Moonlit Flora spawn rates or reduced respawn timers. Special Moonsign Chests appear during certain events, requiring Nod-Krai characters in active parties for access. Event timing can make or break your farming efficiency.
Essential Tools and Resources (Your Farming Arsenal)
Interactive Map Setup That Makes Sense
The upgraded Treasure Compass system in Version 6.0 provides enhanced tracking capabilities for Oculi, treasures, and specialty clusters throughout the region. Custom map marking systems enable personalized route optimization: blue markers for Moonlit Flora, red for Frostcup Flowers, yellow for mixed specialty areas.
Map integration with real-time respawn tracking prevents wasted effort on unavailable nodes. Advanced players maintain detailed spreadsheets correlating map markers with last collection timestamps. Sounds obsessive? Maybe. Effective? Absolutely.
Mobile Apps for Tracking and Reminders
Third-party tracking applications provide automated reminder systems for specialty respawn timing. They’ll send notifications 48 hours after recorded collection times—no more guesswork. Mobile-specific optimization requires adjusted route planning emphasizing linear pathways over complex vertical movements.
Battery conservation strategies include reduced graphics settings and airplane mode activation between farming areas. Your phone will thank you.
Progress Tracking and Goal Setting
Systematic progress tracking enables data-driven farming optimization. Maintain detailed logs recording daily specialty yields, route completion times, and efficiency metrics. Character ascension calculators help establish specific farming targets based on current roster priorities.
Players can Genshin Impact Top Up strategically to support both farming efficiency and character acquisition timing.
Common Farming Mistakes (Learn From Others’ Pain)
Route Planning Errors That Kill Efficiency
Inefficient waypoint utilization represents the most common farming mistake—often doubling completion times through unnecessary backtracking. I’ve seen players attempt to collect every visible specialty rather than following optimized linear routes. Don’t be that person.
Overestimating collection capacity leads to inventory management issues mid-route. Ignoring terrain-specific challenges causes significant time losses, particularly on Hiisi Island’s vertical landscapes. Plan accordingly.
Time Management Pitfalls
Perfectionist farming approaches often extend 30-minute routes to 60+ minutes through excessive thoroughness. Combining farming with unrelated activities like quest completion dilutes specialty collection focus.
Inadequate Energy Recharge management for key characters creates mid-route ability gaps. Support characters like Ineffa require minimum 140% ER, while Lauma needs 160% ER for consistent ability uptime. Learn these numbers.
Inventory and Storage Nightmares
Mora management failures severely impact farming sustainability. Character ascension demands millions of Mora for complete development—maintain minimum 2 million Mora reserves before beginning intensive farming periods.
Artifact farming prioritization errors waste valuable resin on RNG-dependent improvements before securing guaranteed character progression. Inadequate Elemental Mastery targeting for reaction-focused characters like Lauma reduces combat effectiveness. Aim for minimum 800 EM on Lauma to maximize Lunar-Bloom damage output.
Advanced Techniques: Maximizing Your Daily Returns
Multi-Character Farming Strategies
Advanced farming leverages multiple detection passive characters through strategic team rotation. Begin with Lauma for Blue Amber Lake efficiency, switch to Flins for Paha Isle rocky terrain, utilize Aino for technological area specialties.
Lauma’s unique animal interaction abilities provide exclusive resource gathering opportunities from Rimehorn Deer and other creatures. Team composition optimization incorporates Nod-Krai Resonance mechanics, which increase Lunar Reaction damage by up to 36% when non-Nod-Krai characters use abilities.
Integration with Other Daily Activities
Efficient players combine specialty farming with daily commission routes when commissions occur in Nod-Krai territory. World boss farming coordination enables resin-efficient character development: Knuckle Duckle drops Precision Kuuvahki Stamping D-uck-ie for Flins and Aino. Radiant Moonfly provides Lightbearing Wings for Lauma.
Weekly boss material planning incorporates Nod-Krai character talent requirements. Each character needs 18 weekly boss materials for triple-crown talent development—plan accordingly.
Co-op Farming Coordination
Cooperative farming multiplies specialty acquisition through world-sharing arrangements with other players. After clearing personal world specialties, visit friends’ worlds to access additional respawned materials. Effectively doubles daily collection potential.
Etiquette protocols include requesting permission before collection, offering reciprocal access to personal worlds, and respecting host preferences. Time zone coordination enables 24-hour farming cycles when working with international players. Global gaming at its finest.
Character Ascension Planning with Nod-Krai Materials
Priority Character Identification
Version 6.0 introduces three new playable characters: Lauma (5-star Dendro Catalyst), Flins (5-star Electro Polearm), and Aino (4-star Hydro Claymore). Banner scheduling places Lauma with Nahida rerun in Phase 1, followed by Flins with Yelan rerun in Phase 2. Aino becomes freely obtainable through Archon Quest progression.
Meta impact analysis? Lauma provides the highest priority due to her revolutionary Bloom reaction enhancements with critical hit capabilities for Lunar-Bloom conversion. Game-changing stuff.
Material Requirement Calculations (The Real Numbers)
Complete character development demands substantial resource investment beyond local specialties. Flins requires approximately 7.1 million Mora for Level 90 and 10/10/10 talents: 420,000 for ascension, 4.9 million for talents, and 1.7 million for experience levels.
Resin cost analysis indicates 2,500+ Original Resin for complete character development, excluding artifact farming. Weekly boss material acquisition for talent upgrades requires approximately 18 weeks for triple-crown completion, assuming one relevant drop per week. Plan your life accordingly.
Long-term Farming Schedules
Efficient ascension planning begins 2-3 weeks before character release to accumulate necessary specialty quantities. With 168 specialties required per character and 48-hour respawn cycles, you need minimum 8-10 farming sessions for single character preparation.
Multiple character preparation requires extended planning horizons, particularly when targeting both Lauma and Flins simultaneously. Future-proofing strategies consider upcoming character releases and potential specialty requirements for unannounced Nod-Krai characters.
Platform-Specific Tips: Mobile vs PC Farming
Mobile Optimization Techniques
Mobile farming requires adjusted route planning emphasizing simplified navigation and reduced precision movement demands. Touch-screen controls perform better with linear pathways and obvious landmark-based navigation.
Battery conservation becomes critical during extended mobile farming sessions. Reduced graphics settings, lowered frame rates, and airplane mode activation help. Screen size limitations affect specialty visibility—increase UI scale settings and utilize maximum brightness for optimal specialty identification.
PC Shortcuts and Efficiency Gains
PC players benefit from enhanced camera control and precision movement capabilities enabling complex vertical routes impossible on mobile platforms. Mouse and keyboard inputs provide superior navigation accuracy for challenging terrain like Hiisi Island’s cliff faces.
Hotkey optimization accelerates character switching and ability usage during farming encounters. Multiple monitor setups enable simultaneous interactive map reference and gameplay, eliminating alt-tab delays for route verification. Quality of life improvements that matter.
Cross-Platform Progress Tracking
Account synchronization across platforms enables flexible farming scheduling based on device availability and optimal gaming conditions. Cloud-based tracking tools ensure progress continuity regardless of platform choice for individual farming sessions.
Performance optimization varies significantly between platforms, affecting route timing and efficiency metrics. Require platform-specific benchmarks for realistic goal setting.
Community Strategies and Player Case Studies
Top Player Farming Techniques
High-efficiency farmers achieve 60+ specialty collection within 25-minute timeframes through optimized team compositions and route memorization. These players utilize frame-perfect character switching and movement techniques minimizing transition delays.
Advanced techniques include animation canceling during specialty collection and optimal stamina management for sustained mobility. Competitive farming communities establish leaderboards tracking collection efficiency and route optimization innovations. Because everything becomes competitive eventually.
Community-Discovered Route Improvements
Player-discovered specialty clusters often exceed official documentation. Community mapping projects identify 15-20% more collection points than initial estimates. These discoveries typically occur in transitional areas between major landmarks or elevated positions requiring specific traversal techniques.
Crowd-sourced route optimization produces multiple viable alternatives accommodating different playstyles and character availability. Seasonal route adaptations emerge from community observation of event-specific specialty behavior and temporary bonus conditions.
Success Stories and Results Tracking
Dedicated farmers report 90%+ specialty collection efficiency within 6 weeks of implementing systematic daily routes. Long-term tracking data shows diminishing returns beyond 35-40 minute farming sessions, validating the 30-minute route optimization target.
Extended sessions typically yield only 10-15% additional materials while doubling time investment. Community case studies highlight the importance of Genshin Impact Top Up services for maintaining farming motivation through guaranteed character acquisition.
FAQ
How long does it take to collect enough specialties for one character ascension? With optimized daily routes, collecting 168 specialties requires 8-10 farming sessions over 16-20 days due to the 48-hour respawn cycle. Each 30-minute session typically yields 15-25 specialties depending on route efficiency and character detection abilities. Not exactly instant gratification, but manageable.
Which Nod-Krai characters should I prioritize for farming efficiency? Lauma provides the highest farming priority due to her detection passive, enhanced mobility through deer transformation, and unique animal interaction abilities. Flins offers secondary value with his A Light in the Dark passive, particularly effective in shadowed rocky areas. Pretty straightforward priority system.
Can I farm Nod-Krai specialties before Version 6.0 releases? No, Nod-Krai specialties become available only after Version 6.0 launches on September 10, 2025. Pre-farming should focus on universal materials like Mora, EXP books, and talent materials. Standard pre-release preparation stuff.
What’s the most efficient way to track specialty respawn times? Maintain a simple spreadsheet or mobile app noting collection timestamps for each specialty cluster. Since respawn occurs exactly 48 hours after collection, automated reminder systems prevent wasted farming attempts. Technology making life easier—imagine that.
How do co-op farming arrangements work for Nod-Krai specialties? Co-op farming requires joining other players’ worlds with permission to collect their respawned specialties. Establish reciprocal arrangements offering access to your world in exchange. This approach can double daily specialty acquisition. Social gaming with tangible benefits.
Are there any resin-free alternatives to specialty farming? Beyond standard collection routes, Lauma’s animal interaction abilities provide bonus materials through peaceful wildlife encounters. Some merchants may sell limited quantities of specialties, though current farming relies primarily on world collection and co-op arrangements. No shortcuts here, unfortunately.


