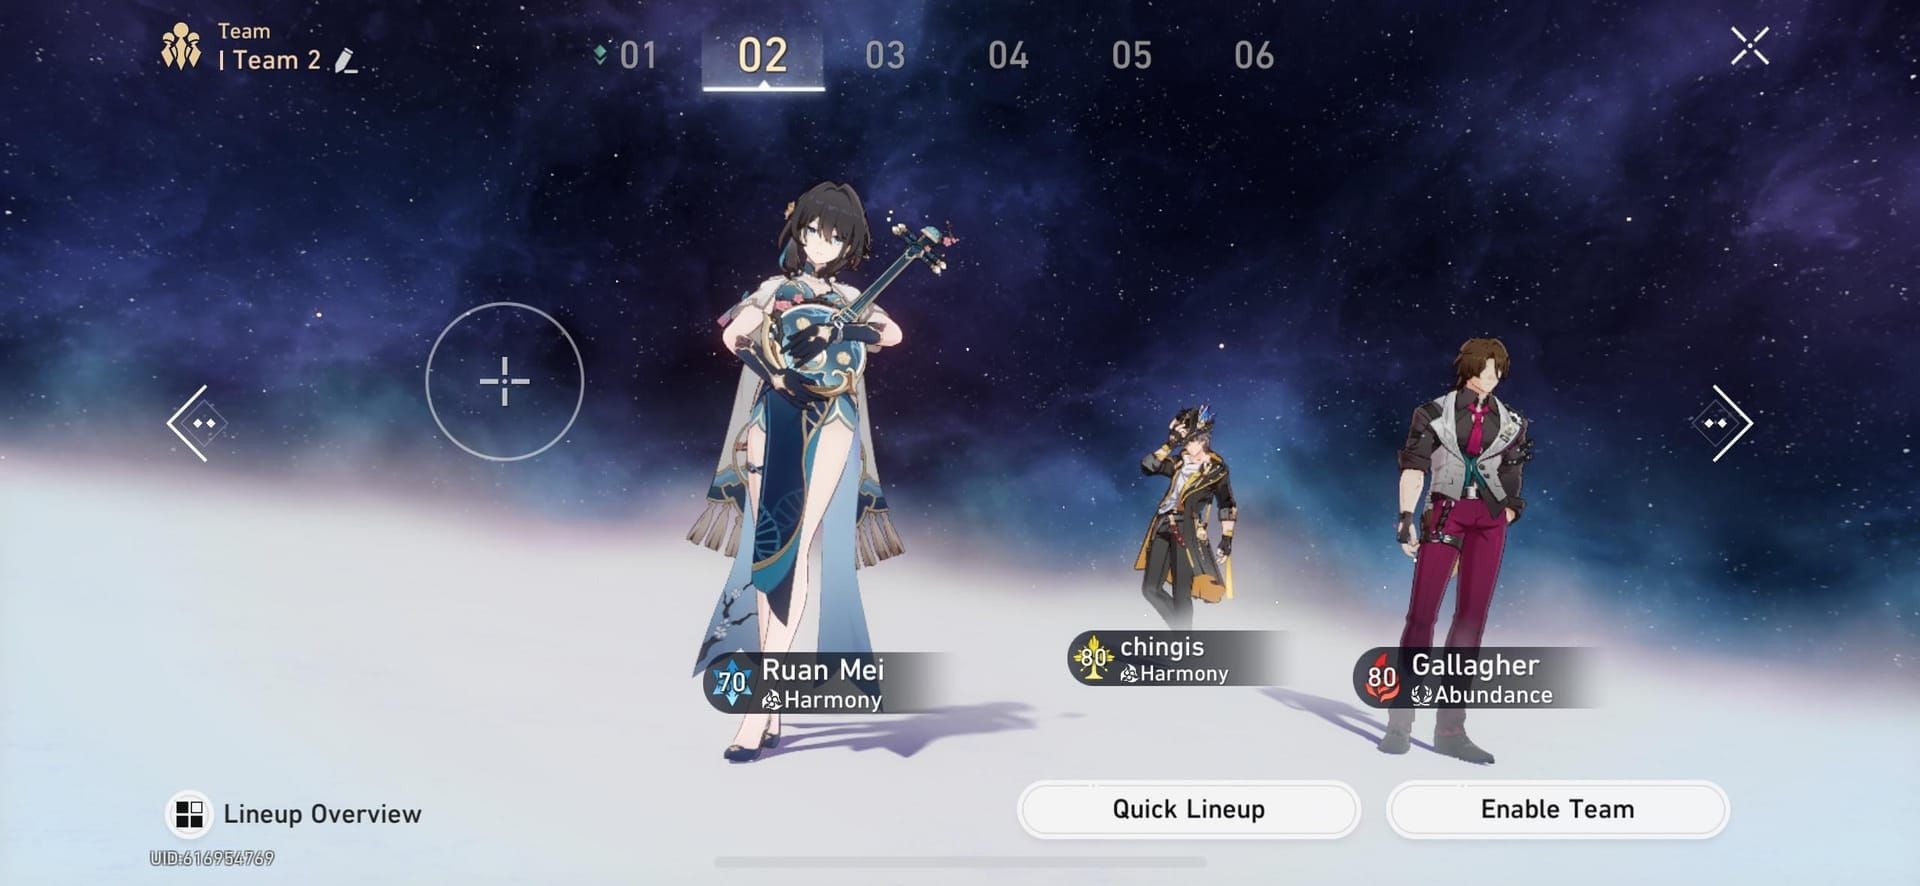
HSR 3.8 Anomaly Arbitration Overview
Runs December 17, 2026 (11:00 GMT+8) to February 13, 2026 (06:00 GMT+8), resetting every six weeks from December 16, 2026 (4:00 Server Time). Three Knight stages (level 95 enemies) plus King in Check (level 100 enemies) require separate teams.
Knight Stage Mechanics:
- Knight I (Inversion): 2% Max HP loss per attack
- Knight II (Tempering): CRIT DMG reduced 3% per 1% HP lost
- Knight III (Taunting): Enemy acts immediately after receiving 6 attacks
6-cycle maximum per stage. Unlike Memory of Chaos, stage-specific debuffs fundamentally alter team-building. Honkai Star Rail top up via BitTopup offers competitive pricing for Oneiric Shards without requiring limited sustains.
Enemy Lineups:
- Knight I: 2 Cyclonic Swarm Mothers, 2 The Ascended, Mirage Fizzle Kids
- Knight II: Noontide Gryphon, Moonlit Pegasus, Swarm True Sting, Meteoric Eagles
- Knight III: Automaton Direwolf, Sweet Gorilla, Ichor Memosprite Judge
King in Check Boss
Harmonious Choir The Great Septimus features:
- Resilient Armor+: 3 stacks × 15% DMG reduction (resets per phase, removed by Toughness Break)
- Depowered: -50% Energy and Energy Regen Rate for 2 turns
- Unending Refinement: Up to 10 stacks (2% DMG taken reduction + 4% CRIT DMG taken reduction per stack)
Rewards: 1 Self-Modeling Resin at 3/6/9 total Knight stars, 100 Lone Stardust per clear. Unlocks Stage 12 Memory of Chaos, Stage 4 Pure Fiction, Apocalyptic Shadow Difficulty 4, plus Interference Key for relic crafting.
Why Budget Sustains Work
Three-team requirement makes multiple budget sustains more efficient than single premium units. Gallagher's break-focused healing synergizes with Toughness depletion emphasis, generating heals through enemy actions without constant skill points. 60% Break Effect from Arbitral Quadrant No Break No Rise buff amplifies his value.
Investment Comparison:
- E6 Gallagher: 0 limited pulls, 80-90% of Luocha's sustain in break teams

- Hyacine E0: Functions with 3-star light cones, 40% less relic investment
- Three budget sustains vs. one premium: Saves 75-160 pulls for limited DPS
Trailblazer Remembrance provides free shielding and crowd control. Hyacine delivers consistent healing with minimal investment, ideal for simultaneous team building.
Budget Team Compositions
Knight I: Remembrance Foundation
Core Team: Cyrene, Evernight Trailblazer (Remembrance), Hyacine
Remembrance Trailblazer shields counter 2% Max HP Inversion loss. Cyrene provides consistent damage against Swarm Mothers and The Ascended. Hyacine maintains HP with 3,500+ HP threshold, positioned at 134 speed for two actions per cycle.
Alternative: The Herta (E0S1), Anaxa (E0S1), Tribbie (E1S0), Dan Heng IL. AoE Erudition damage for Swarm enemies, Dan Heng for single-target burst. Tribbie E1 energy regen obtainable through events.
Knight II: Break-Focused Firefly
Core Team: Firefly, Rappa, The Dahlia, Fugue, Trailblazer (Harmony)

Tempering's CRIT DMG penalty makes break damage superior. Firefly's break scaling ignores penalty entirely. Rappa adds Imaginary coverage for Noontide Gryphon. The Dahlia buffs break efficiency, Fugue amplifies damage windows.
Alternative: Hysilens (E0S1), Kafka, Tribbie (E1S0), Gallagher. DoT bypasses Tempering (no CRIT DMG calculation). Gallagher provides Fire coverage and break-focused healing.
Knight III: Remembrance Repeat
Same as Knight I: Cyrene, Evernight Trailblazer (Remembrance), Hyacine
Taunting's immediate enemy action after 6 attacks makes shields critical. Interference applies 5-10% action delay—adjust speed tuning accordingly. Focus Automaton Direwolf first (highest Taunting threat).
Position team at 120-140 speed to control attack distribution, preventing single character from reaching 6 attacks before shield refresh. Requires +15 speed substats on DPS, +25 on Hyacine.
King in Check Budget Strategy
Team: Firefly (E0S1), The Dahlia, Fugue (E0S1), Trailblazer (Harmony)
Resilient Armor+ resets each phase with 3 stacks. Breaking Toughness removes one stack—first break per phase critical. Coordinate Firefly enhanced basics with Fugue buffs for 2-3 action breaks.
Depowered applies post-phase transition. Reserve Trailblazer (Harmony) ultimate for post-Depowered recovery. The Dahlia's skill provides energy particles offsetting penalties.
Buff Management
Arbitral Quadrant Buffs:
- No Break No Rise: +60% Break Effect, +15% Break DMG taken per stack (max 4)
- Impassioned Spirits: +40% ATK flat
- Horizon's Echo From Afar: +20% ATK stacks
- Seize the Moment: +40% DMG during Resilient Armor+ downtime
Coordinate with Firefly ultimate windows. Budget teams achieve 5-6 cycles initially, optimizing to 4 cycles through speed tuning and buff timing.
Critical Mechanics Mastery
Action Value Formula: Actions per cycle = (Speed × 150) / 10000
134 speed = 2.01 actions per cycle (guarantees two turns). Budget sustains need this minimum for healing uptime.
Speed Tuning:
- Sustains 10-15 speed faster than DPS for shields/heals before damage
- Break enablers 5-10 speed faster than primary DPS for Toughness depletion timing
Toughness Management
Toughness regenerates between King in Check phases. Reserve one ultimate for immediate post-phase breaks, preventing extended Resilient Armor+ uptime. Firefly enhanced basics deplete ~30% Toughness (3-4 actions for complete break).
Weakness Break provides 2-3 actions of enemy vulnerability. Coordinate team bursts with The Dahlia buffs and Fugue amplification simultaneously.
Element Coverage: King in Check has Fire, Physical, Imaginary weaknesses. Budget teams need minimum two elements—Firefly (Fire) + Trailblazer (Harmony) flexible matching.
Energy Management
Budget light cones generate 30-40% less energy than signatures. Compensate through strategic skill usage prioritizing energy generation. Gallagher's basic generates more energy than skill when healing unnecessary.
Time ultimates with phase transitions and Resilient Armor+ breaks, not immediate availability. Well-timed ultimate during Weakness Break = 2-3× effective value.
Energy Regen Rate substats become premium. Prioritize body/rope slots with ERR main stats on supports, accepting lower healing for frequent ultimates. 20% ERR increase = ~1 additional ultimate per 8 cycles.
Character Builds
Gallagher
Relics: Thief of Shooting Meteor 4pc

Main Stats: Break Effect body, Speed boots, HP% rope, Fire DMG sphere Targets: 180% Break Effect minimum (64.8% body + 38.8% rope + 75% substats), 134 speed (boots + 15-20 substats), 4,500 HP
Light Cones:
- Post-Op Conversation (4★): +8% ERR, +12% healing (best value)
- Quid Pro Quo (4★): 8 Energy to random ally after ultimate
- Multiplication (3★): +12% healing
Hyacine
Relics: Passerby of Wandering Cloud 4pc Main Stats: HP% body, Speed boots, HP% rope, HP% sphere Targets: 5,000 HP minimum, 134 speed
Healing scales with Max HP—prioritize HP% substats over healing bonus.
Light Cones:
- Multiplication (3★): +12% healing (simplest optimization)
- Mesh (3★): Defense boost after healing
- Shared Feeling (4★): +10% healing, 2 Energy per heal
Remembrance Trailblazer
Relics: Knight of Purity Palace 4pc Main Stats: Defense% body, Speed boots, Defense% rope, Defense% sphere Targets: 1,800 shield strength minimum, 125-130 speed
Lower speed than pure sustains allows DPS to benefit from shields immediately.
Light Cones:
- Day One of My New Life (4★): +18% DEF, damage resistance (best)
- Memories of the Past (4★): Break Effect, shield strength
- Landau's Choice (4★): Taunt, damage reduction
Advanced Troubleshooting
Phase 2 Deaths: Insufficient healing uptime or poor ultimate timing. Increase sustain speed by 10-15 points, even sacrificing other stats temporarily.
Emergency Tactics: Hold DPS ultimates for defensive purposes. Firefly ultimate provides invulnerability during animation. The Dahlia skill can emergency heal with HP% substats.
Speed Tuning Iteration:
- Sustain acts too frequently before DPS → Reduce sustain speed 5 points
- DPS acts before shields → Increase sustain speed 5 points
Alternative Substitutions
Missing Firefly:
- Himeko: Fire AoE break damage (more cycles)
- Sushang: Physical break damage
Missing Kafka:
- Sampo: Wind DoT (60-70% effectiveness)
- Luka: Physical DoT
- Guinaifen: Fire DoT
Missing Tribbie:
- Asta: Speed buffs, Fire coverage
- Tingyun: ATK buffs, energy regen
RNG Management
Reset when sustain receives disproportionate focus in first two cycles. Budget teams have narrow error margins—early resets more efficient than recovery attempts.
Critical RNG Factors:
- Toughness break timing variations
- Depowered application before planned ultimates
- CRIT misses during Weakness Break windows (CRIT-based teams)
Resource Acquisition
Stellar Jade: 8,000-10,000 monthly through dailies, Simulated Universe, events = 50-60 pulls for standard Eidolons or strategic limited investments.
Relic Farming: Focus domains offering multiple useful sets. Farm Thief + Passerby from same domain. Allocate 240 Trailblaze Power daily to relics, remainder for ascension/traces.
Light Cones: Standard banner, Herta's Store (Herta Bonds), event rewards. Prioritize 4★ selection boxes for Post-Op Conversation or Day One. Never use Stellar Jade for light cone banners as F2P.
Investment Framework
Formula: Character Impact = (Damage Increase × Usage Frequency) / Resource Cost
Budget sustains score high on Usage Frequency (all three Knight teams) despite moderate Damage Increase. Eidolons beyond E2-E4 provide diminishing returns—prioritize E0 copies of multiple sustains over high Eidolon single character.
Relic good enough threshold: Correct main stats + 50% optimal substats = 85-90% effectiveness vs. perfect builds. Allocate saved Power toward additional characters, not marginal improvements.
FAQ
Can you clear HSR 3.8 Dissonance Knight without limited 5-star sustains?
Yes. Gallagher, Hyacine, and Remembrance Trailblazer achieve 6-cycle clears with proper speed tuning. Three-team requirement favors distributed investment over single premium units.
What are the best F2P sustains for Anomaly Arbitration 3.8?
Gallagher (break teams), Remembrance Trailblazer (Inversion/Taunting shields), Hyacine (consistent HP-scaling heals). All function at E0-E2 with 3★/4★ light cones.
How does Dissonance Knight mechanics work?
Knight I Inversion: 2% Max HP loss per attack. Knight II Tempering: -3% CRIT DMG per 1% HP lost. Knight III Taunting: Enemy acts after 6 attacks received. King in Check: Resilient Armor+ (3 stacks × 15% DMG reduction), Depowered (-50% Energy for 2 turns). 4-cycle clears with zero deaths for max stars.
Which 4-star healer is best for Dissonance Knight?
Gallagher for break teams (synergy with No Break No Rise). Hyacine for sustained damage teams (consistent uptime). Remembrance Trailblazer for counter-attack stages (Taunting). Choice depends on composition, not universal superiority.
What relics for Natasha in Anomaly Arbitration?
Passerby of Wandering Cloud 4pc: HP% body, Speed boots, HP% rope, HP% sphere. Target 5,000 HP, 134 speed. ERR substats for ultimate availability.
How many cycles to clear with budget teams?
5-6 cycles initially, optimizing to 4 cycles after refinement. Knight stages max 6 cycles (4 for max stars). King in Check averages 5-6 cycles budget vs. 3-4 premium. Total 18-24 cycles across all stages.
Building your budget Dissonance Knight team? Top up Oneiric Shards safely at BitTopup for essential Eidolons and Light Cones. Get exclusive bonuses, best rates, and 24/7 support—maximize your F2P potential now!


