

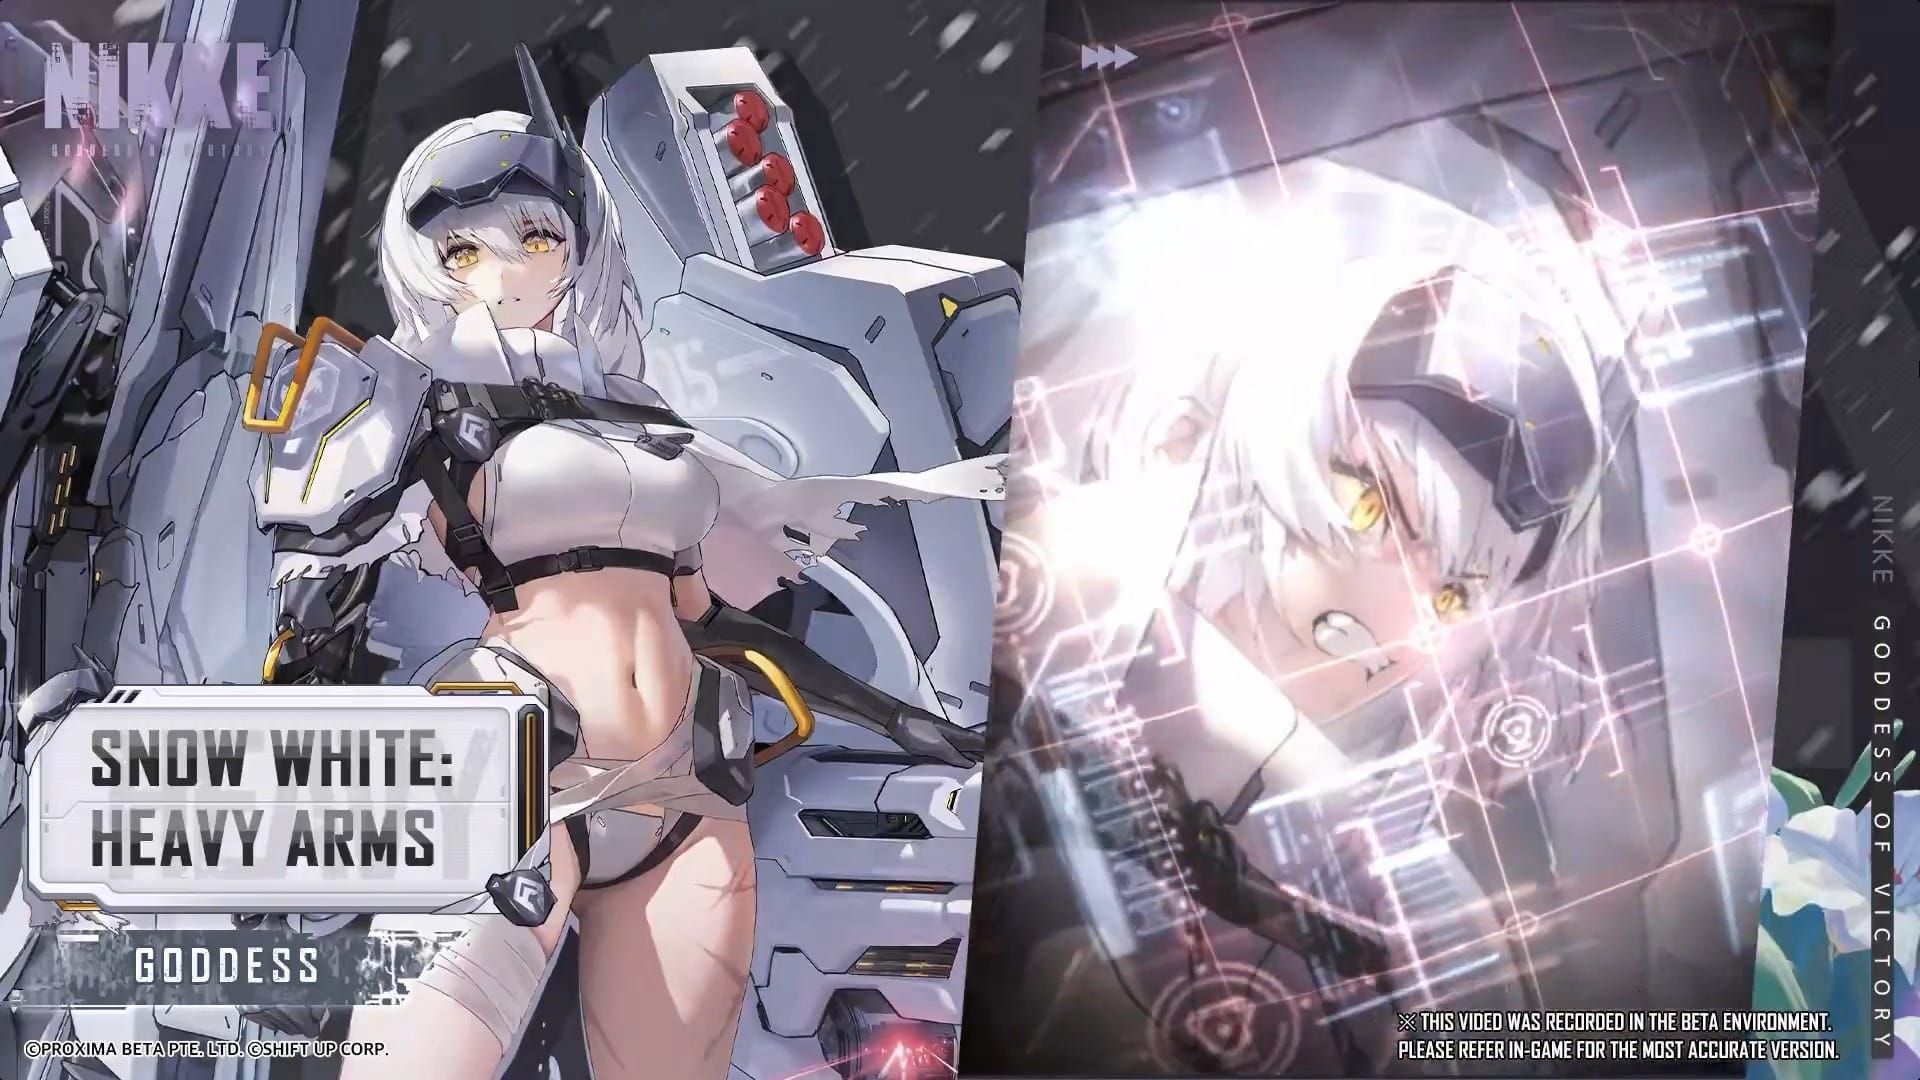
What Makes This Variant Special
Snow White: Heavy Arms operates as Burst III Pilgrim with fundamentally different mechanics. Her Seven Dwarves system activates every 0.2 seconds while charging, locking 5 targets simultaneously while providing continuous 42.24% DEF increase at max level. Each locked target receives 105.59% final ATK damage vs 41.9% for non-locked targets—a 2.5x differential rewarding precise targeting.
For banner pulls, NIKKE gems top up through BitTopup ensures fast delivery and competitive pricing.
Key Mechanical Advantages:
- Pierce capability ignores formations, hits multiple parts for 5 seconds after Skill 2
- Fixed 1.2s charge time (3.2s during Burst) eliminates reload downtime
- Scalable lock-on expands from 5 to 15 targets during Burst, max ammo increases from 6 to 15 rounds
Base weapon delivers 69.04% ATK per shot. Full charge multiplies damage by 250% and deals 200% to core weak points.
Meta Position
Current endgame favors units maintaining damage during boss invulnerability and targeting multiple parts. Snow White addresses both through lock-on and pierce. Against bosses like Mother Whale with multiple parts, her 15-target lock-on creates opportunities single-target attackers can't match.
Effectiveness scales with boss complexity. Simple encounters favor traditional burst dealers, while multi-phase bosses with destructible projectiles (41.9% final ATK to projectiles) and multiple weak points showcase her potential. 84.48% Attack damage increase for 10 seconds during Burst provides extended windows rather than instant spikes.
Complete Skill Breakdown
Skill 1: Seven Dwarves V + VI
Passive system with three components. Activates every 0.2 seconds during charge, building lock-on stacks and defensive buffs. Max level locks 5 targets and provides 42.24% DEF continuously.
Auto Fire Ready loads 5 max ammo automatically, applies 4.2% Damage Taken increase to enemies for 4 seconds. Each activation reduces Seven Dwarves Fully Active uses by 1.
Damage splits: 41.9% final ATK to standard targets vs 105.59% to locked targets. This 2.5x multiplier makes target selection critical during vulnerability windows.
Skill 2: Shades of White
Fixes charge time at 1.2 seconds continuously, eliminating reload delays.
5-second buffs:
- Pierce capability
- 46.84% ATK increase
- 62.64% Damage to Parts increase
10-second buffs:
- 73.92% ATK increase
- 528% Charge damage increase (1 round)
- 158.4% Sequential attack damage increase (1 round)
The 528% charge multiplier represents peak single-hit damage amplification. First charged shot after activation is her highest damage moment.
Burst Skill: Seven Dwarves Fully Active
40-second cooldown, 2 uses per encounter. Provides 84.48% Attack damage increase for 10 seconds, fixes charge time at 3.2 seconds.
Lock-on targets increase by 10 (5→15 total), max ammo increases by 10 (6→15 rounds). Transforms single-target damage into area suppression.
Deals 41.9% final ATK to destructible projectiles—counters bosses like Nihilister relying on projectile attacks.
Skill Priority: 4/4/4 → 10/10/7

Stage 1 (4/4/4 → 7/7/7): Distribute evenly. Costs ~150 skill manuals. Establishes baseline functionality for mid-tier content.
Stage 2 (7/7/7 → 10/10/7): Prioritize Skill 1 and Burst to 10, keep Skill 2 at 7. Skill 1's lock-on damage scaling and Burst's attack multiplier provide greater DPS per level than Skill 2's utility buffs. 42.24% DEF improves survival.
Stage 3 (Optional 10/10/7 → 10/10/10): Luxury investment. Diminishing returns compared to investing in other team members.
Resource Strategy
Full 10/10/10 consumes ~450 skill manuals—enough for 2-3 other SSRs at 7/7/7. The 10/10/7 stopping point offers 95% max potential at 70% resource cost.
Skill Level Breakpoints:
- Skill 1 Level 7: Unlocks 4+ lock-on, 35%+ DEF
- Skill 1 Level 10: Maxes 5 targets, 42.24% DEF
- Burst Level 7: Reaches 70%+ Attack damage
- Burst Level 10: Caps 84.48% Attack damage
- Skill 2 Level 7: Provides 40%+ ATK, 450%+ Charge damage (sufficient)
Priority order: Skill 1 to 10 → Burst to 10 → Skill 2 stays at 7.
Best Team Builds
Core Framework
All optimal comps follow three-burst structure maximizing damage through coordinated buff stacking.
Standard Boss Team:
- Liter (Burst I): ATK buffs, burst generation
- Crown (Burst II): General damage amplification
- Snow White: Heavy Arms (Burst III): Primary DPS
Universal performance across boss types without elemental requirements.
Pierce-Focused Team:
- Liter (Burst I)
- Naga (Burst II): Pierce damage amplification
- Snow White: Heavy Arms (Burst III)
Naga's pierce buffs create multiplicative scaling with Skill 2 pierce and 62.64% Damage to Parts. 20-30% better against multi-part/armored bosses.
Water-Optimized Team:
- Liter (Burst I)
- Dorothy/Blanc (Burst II): Elemental amplification
- Snow White: Heavy Arms (Burst III)
Requires Water-weak boss confirmation. 25-35% damage increase vs neutral matchups, but inferior against resistant bosses.
For premium team compositions, buy NIKKE recharge at BitTopup for reliable service and secure payments.
Burst Rotation
Optimal sequence:
- Liter Burst → Wait 2 seconds
- Crown/Naga/Blanc Burst → Wait 2 seconds
- Snow White Burst → Buffs snapshot, damage window begins
Critical timing: Snow White's Burst must activate while Burst II buffs are active to capture full multiplicative scaling. During burst window, manually charge shots to full. 250% full charge multiplier + 528% Charge damage buff creates highest damage moments.
Event Boss Strategy
Attack Patterns and Windows
Event bosses telegraph major attacks through red part blinking, animation wind-ups, or audio warnings. These create 2-4 second windows where locking and destroying blinking parts interrupts attacks. Snow White's lock-on excels at targeting these.
Core exposure phases = peak damage. When bosses expose cores, Snow White's 200% core damage on full charge + lock-on delivers concentrated burst damage.
Phase 1: Opening
Don't burst immediately—most bosses have damage reduction during opening animations.
Optimal execution:
- Build burst energy during invulnerability
- Wait for first vulnerability window (15-20 seconds)
- Execute Liter → Crown/Naga → Snow White sequence
- Lock destructible parts if present
- Manual full charge shots throughout
Phase 2-3: Mid-Encounter
When bosses summon adds, prioritize locking boss parts rather than adds. 105.59% final ATK to locked targets + pierce often eliminates adds through collateral damage.
Phase 3 desperation mechanics: Time second Burst for projectile-based attacks. 41.9% final ATK to projectiles provides defensive utility.
Common Wipe Mechanics
Burst Timing Failures: Activating during invulnerability wastes primary damage. Track phase timers, predict vulnerability windows 5-10 seconds ahead.
Lock-On Mismanagement: Locking non-critical targets reduces damage. Manually verify lock-on before burst—0.2s activation delay can miss opportunities.
Defensive Neglect: 42.24% DEF helps but isn't enough alone. Include healer/shielder in remaining slots.
Synergy Analysis
Top Supporters
Liter: ATK buffs snapshot onto Snow White's damage, creating multiplicative scaling with her 73.92% ATK from Skill 2. Burst generation accelerates rotation cycles.
Crown: General damage amplification without restrictions. Applies to lock-on, pierce, and core damage. Default Burst II choice.
Blanc: Elemental amplification for Water units. 25-35% damage vs Water-weak bosses, but liability against resistant ones. Requires boss confirmation.
Multi-DPS Rotations
Snow White + Modernia:
- Modernia: Single high-value target phases
- Snow White: Multi-target phases, destructible parts
- Alternate to maintain consistent damage
Snow White + Scarlet:
- Scarlet: Stationary bosses
- Snow White: Mobile bosses, frequent invulnerability
- Stagger bursts to cover cooldowns
Key principle: Don't overlap Burst III activations. Staggering maintains 60%+ damage uptime vs high peaks followed by valleys.
Investment Beyond Skills
Optimal Cubes (PvE)
Primary setup:
- Resilience: Reduces damage, synergizes with 42.24% DEF
- Bastion: Additional survivability
- Destruction (Piercing): Amplifies pierce, multiplicative with 62.64% Damage to Parts
Alternative: Replace Bastion with Assault for higher damage ceiling but lower survival.
Gear Optimization
Primary Stats (4 pieces each):
- 4× Elemental DMG (Water): Multiplicative scaling
- 4× ATK: Base damage increase
Secondary Stats:
- 1× Max Ammo: Extends burst from 6 to 7+ rounds
- 3-4× Crit Rate: Reach 50-60% threshold
- 2-4× Crit DMG: Amplifies crits
Elemental DMG > ATK due to multiplicative application with her multiple damage multipliers (528% Charge, 84.48% Attack, 250% full charge).
Target OLv20 with Level 200+ cores for endgame. Functional performance starts at OLv10-15 with Level 100+ cores.
Doll Allocation
Burst III Dolls (equipped by Snow White):
- ATK primary
- CRT secondary (reach 50%+ crit)
Character Dolls:
- HP primary
- DEF secondary (synergizes with Skill 1 DEF buff)
Balances offense with sustainability.
Common Mistakes
Skill Investment Errors
Over-leveling Skill 2 before maxing Skill 1 and Burst. Skill 1 from 7→10 provides ~15% overall DPS increase. Skill 2 from 7→10 provides ~8% DPS increase. Same resource cost makes Skill 1 superior.
Neglecting Burst investment. Burst's 84.48% Attack damage applies to all damage during 10-second window—more valuable than passive skills beyond level 7.
Team Composition Errors
Multiple Burst III units without rotation planning creates overlap waste. Stagger activations across boss phases instead of concentrating in one phase.
Forcing Snow White into manufacturer teams sacrifices optimal supports (Liter, Crown, Naga). Her Pilgrim status makes her manufacturer-agnostic—build around role synergy.
Burst Timing
Premature activation before Liter/Crown buffs are active loses 30-40% damage. Buff snapshot captures all active buffs at activation moment.
Manual charge timing separates optimal from average. Rapid-fire uncharged shots = 60% potential damage. Manual full charge = 100% potential damage.
Advanced Strategies
DPS Ceiling
Max theoretical DPS with OLv20 gear, Level 200 cores, 10/10/10 skills, perfect rotation, full charge against locked cores:
Single full charge shot during burst:
- Base: 69.04% ATK × 250% = 172.6% ATK
- Lock-on: 172.6% × 2.52 = 434.95% ATK
- Core: 434.95% × 200% = 869.9% ATK
- Skill 2 Charge: 869.9% × 6.28 = 5,463.37% ATK
- Burst Attack: 5,463.37% × 1.8448 = 10,078.54% ATK per shot
15 rounds during burst = 151,178.1% ATK before team buffs (add 50-80% more from Liter/Crown).
Uncharged rapid-fire = ~30,000% ATK total. Perfect manual charging = 150,000%+ ATK. 5x damage multiplier from execution alone.
Use Cases
Campaign: Excels Chapters 20+ with multi-phase bosses. Underperforms in wave-based stages vs AoE specialists.
Tribe Tower: Boss-heavy floors (every 5th) = excellent. Sustained wave combat = underperforms.
Anomaly Interception: Optimal environment. Single high-HP bosses with multiple phases, destructible parts, extended duration.
PvP Viability
Skill priority: 4/4/4 → 7/7/7 evenly. PvP's burst-to-kill meta ends in 10-20 seconds. Snow White's sustained model requires extended encounters.
PvP Cubes:
- Quantum: Burst generation
- Tempering: Damage reduction
- Vigor: Sustain
Mid-tier performance. Beats defensive teams through sustained damage. Loses to offensive burst teams lacking immediate impact.
FAQ
What skill to upgrade first? Skill 1 to 10. Continuous 42.24% DEF + 5-target lock-on with 105.59% final ATK applies throughout every encounter. More valuable than Skill 2's conditional buffs or Burst's cooldown-limited activation.
Better than standard Snow White? Different mechanics, not direct upgrade. Heavy Arms specializes in sustained charge damage with pierce and multi-lock for boss encounters with multiple parts. Standard Snow White serves different applications.
Best event boss team? Liter (Burst I), Crown (Burst II), Snow White (Burst III) core. Fill remaining slots with healers/shielders. Against pierce-vulnerable bosses, replace Crown with Naga.
Max skill cost? 10/10/10 requires ~450 skill manuals, 60-90 days Core Dust farming. Recommended 10/10/7 costs ~315 manuals (70% cost) for 95% performance.
What cube? PvE: Resilience, Bastion, Destruction (Piercing). PvP: Quantum, Tempering, Vigor.
F2P viable? Yes. Minimum functional team needs Liter + any Burst II buffer—both obtainable through standard recruitment. F2P comps with proper rotation clear event bosses at 70-80% whale team efficiency.


