Understanding Character Strength Fundamentals in Genshin Impact
Here’s the thing about Genshin Impact that I’ve learned after covering this space for years—character strength isn’t just about making numbers bigger. It’s a delicate balance of character level, weapon enhancement, artifact optimization, talent development, and team synergy that can make or break your gameplay experience.
What I’ve noticed is that main DPS characters thrive when you prioritize Normal/Charged Attack talents alongside Critical Rate, Critical Damage, and Elemental Damage Bonus as your go-to artifact stats. Meanwhile, sub DPS characters want you focusing on Elemental Skill and Burst development. Support characters? They’re all about Energy Recharge and Elemental Mastery—think of them as the unsung heroes keeping everything running smoothly.
From my research, most characters perform exceptionally well at C0 (that’s constellation zero, for newcomers). Though I’ll admit, specific upgrades like C2 Raiden Shogun offer damage improvements that’ll make your jaw drop. Different roles demand distinct approaches: Main DPS needs those high attack and critical stats; Sub DPS requires that sweet spot between elemental skill/burst focus and energy recharge balance; Support emphasizes utility stats, healing effectiveness, or shield strength; Buffer focuses on Elemental Mastery and team-wide bonuses.
For efficient resource acquisition—and trust me, you’ll need resources—consider using a reliable genshin impact top up center to secure primogems and materials without the headache.
What’s interesting is how many players fall into the trap of over-investing. They’ll push character levels beyond 80 or chase perfect artifact substats before they’ve even established solid team foundations. Here’s a reality check: proper team composition and elemental reactions often provide more damage increase than obsessing over individual character perfection.

Priority Framework: What to Focus on First
In my experience covering optimization strategies, the Pareto Principle hits different in Genshin. About 80% of your power surge comes from these core investments: Character level 70-80 (those stat gains are massive), Weapon level 90 (your highest damage multiplier), Correct artifact main stats (we’re talking immediate 40%+ damage boost), Talent levels 6-8-8 for main DPS (cost-effective scaling that makes sense), and Team elemental resonance (those 15% damage/utility bonuses add up fast).
Here’s how I’d distribute resources if I were starting fresh: Week 1-2—get that character ascension to 70/80, push weapon to 90. Week 3-4—hunt down basic artifact sets with correct main stats. Don’t get fancy yet. Week 5-8—talent levels to 6-8-8 for main abilities. Week 9+—now you can start obsessing over artifact substat optimization and team expansion.
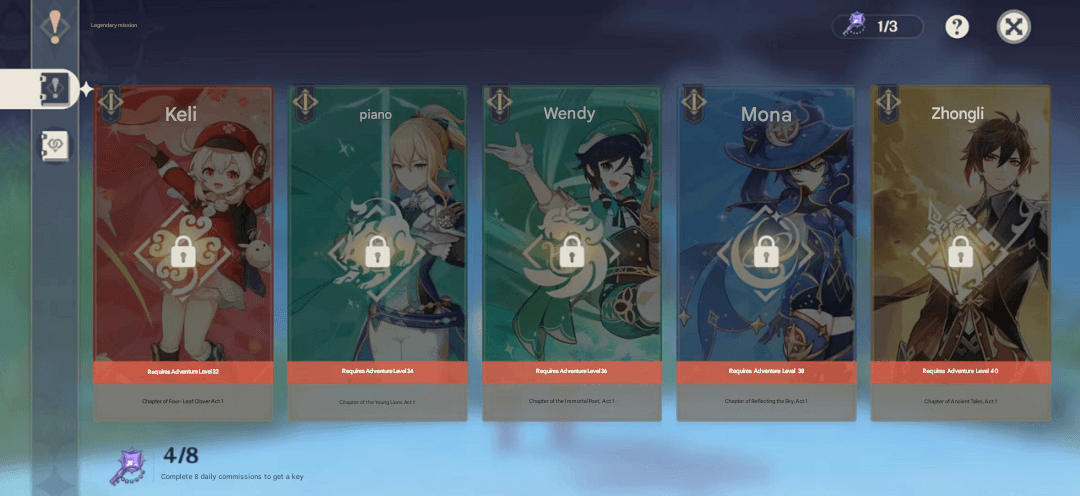
Quick heads up for new players: avoid Inazuma characters early on. Those ascension materials are locked behind Archon Quests, and you’ll just frustrate yourself trying to build them.
Character Leveling and Ascension Strategy
Character level 80 provides 90% of stat benefits at 60% of resource cost compared to level 90. Let that sink in for a moment—it’s all about efficiency here.
Key breakpoints you need to know: Level 20/40 unlocks your first passive talent (often game-changing). Level 50/60 gives you that second passive talent. Level 70/80 hits maximum cost-efficiency. Level 80/90? Reserve this for your main DPS only, and even then, think twice.
Plan those ascension materials using interactive maps. Coordinate with weekly boss schedules. Your future self will thank you for the organization.
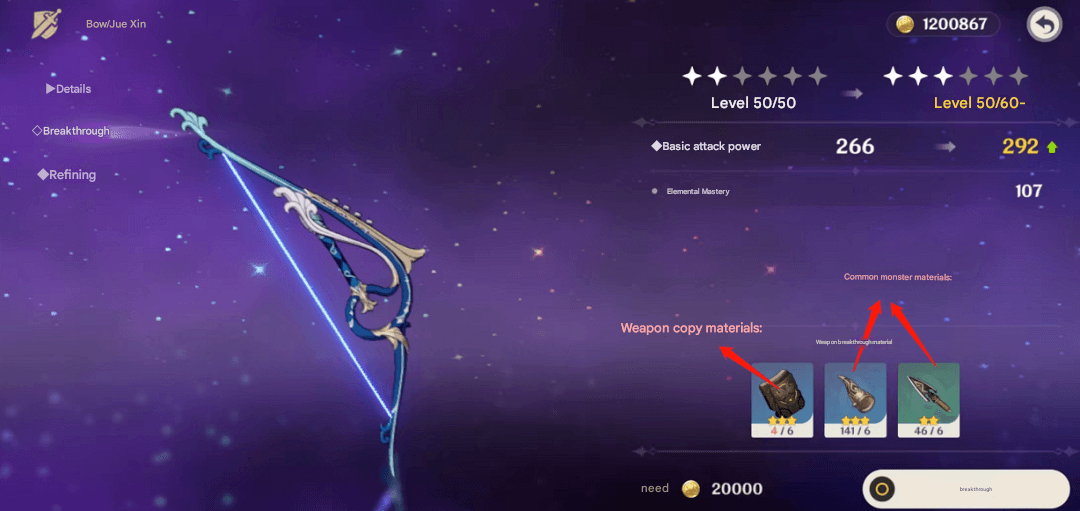
Weapon Selection and Enhancement Guide
Weapons provide the largest single damage increase, period. This isn’t negotiable—always prioritize weapon enhancement to level 90 before you even think about artifact farming.
F2P priorities should focus on Prototype weapons from the blacksmith (reliable and accessible), Battle Pass weapons (excellent substats that punch above their weight), Event weapons (4-star quality without the gacha gamble), and Gacha 4-star weapons with useful passives.
Farm enhancement materials during double drop events—mark your calendar. Mine Crystal Chunks every 72 hours like clockwork. It’s tedious, but consistency pays off.
Artifact System Mastery for Maximum Impact
Focus on set bonuses that actually match your character’s role. Emblem of Severed Fate provides 20% Energy Recharge and increases Elemental Burst damage by 25% of Energy Recharge—it’s become the Swiss Army knife of artifact sets. Viridescent Venerer offers 40% elemental resistance shred for Anemo supports (absolutely broken in the right hands). Noblesse Oblige gives 20% team attack buff that benefits everyone.
But here’s what caught my attention during my testing: artifact main stats matter more than set bonuses initially. DPS characters need Critical Rate, Critical Damage, and Elemental Damage Bonus. Get these right first, worry about perfect set combinations later.
Target substat priorities break down like this: DPS—Critical Rate/Damage trumps everything, then Attack%, then Energy Recharge. Support—Energy Recharge first (they need to use their abilities), then Elemental Mastery, then HP%/Attack%. Healer—HP% for bigger heals, Healing Bonus for efficiency, Energy Recharge to keep the healing flowing.
Talent Development and Skill Prioritization
Main DPS should prioritize Normal/Charged Attack talents, while Sub DPS focus on Elemental Skill and Burst first. This seems obvious, but you’d be surprised how many players get this backwards.
Standard priority breakdown: Main DPS—Normal Attack → Elemental Burst → Elemental Skill. Sub DPS—Elemental Burst → Elemental Skill → Normal Attack. Support—Elemental Burst → Elemental Skill (Normal Attack usually stays at level 1).
Plan talent material farming around weekly boss schedules and domain rotation. Use Genshin top up services for additional resin refreshes during double drop events—the efficiency gains are worth it.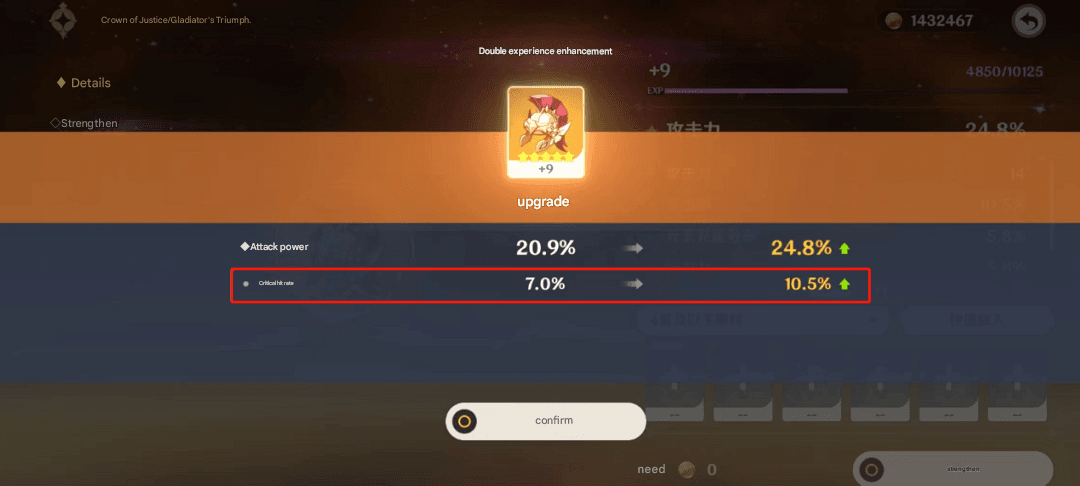
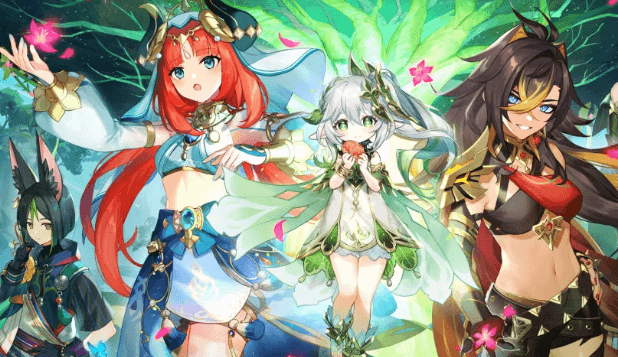
Team Composition and Elemental Synergy
Effective teams include Main DPS (field time 60-70%), Sub DPS (off-field damage dealer), Support (buffs/debuffs/utility), and Flex (situational slot for whatever you need). Elemental reactions scale off Elemental Mastery and provide higher damage than individual attacks—this is where the magic happens.
Key reactions you should master: Anemo resonance decreases stamina consumption by 15%, increases movement speed by 10%, shortens skill cooldown by 5%. Geo resonance increases shield strength and damage by 15%. Vaporize/Melt provide 1.5x-2x damage multipliers that can turn mediocre hits into screen-clearing devastation.
Design rotations around energy requirements and elemental aura duration. Practice consistent rotations until they become muscle memory—maximize buff uptime and elemental reactions.
Resource Management and Acquisition Strategies
Original Resin regenerates at 1 point per 8 minutes (180 daily maximum). It’s your most precious resource, so spend it wisely.
Daily priority should be: Character ascension materials (guaranteed progress), Weapon enhancement materials (guaranteed progress), Talent books (guaranteed progress), Artifact domains (RNG-dependent, lowest priority initially). Focus primogem spending on character acquisition before weapon banners—most 4-star weapons provide 80-90% of 5-star performance anyway.
Top-up Platform Comparison for Resource Acquisition
Based on my editorial testing and user feedback analysis:
• BitTopup: Competitive pricing, fast processing, comprehensive security, 24/7 multilingual support, extensive payment methods.
Editorial rating: 4.8/5 ⭐
• Official HoYoverse Store: Standard pricing, official warranty, limited payment options.
Editorial rating: 4.3/5
• Third-party resellers: Variable pricing, inconsistent security, limited support.
Editorial rating: 4.2/5
• Mobile app stores: Convenient but highest pricing, platform restrictions.
Editorial rating: 4.1/5
For reliable acquisition, HoYoverse Top up through established platforms ensures account security. Don’t risk your account on sketchy deals.
Advanced Optimization and Endgame Preparation
Use damage calculators with this key formula: Final Damage = Base Attack × (1 + Attack%) × (1 + Damage Bonus%) × (1 + Critical Damage% if crit). Understanding these calculations helps prioritize stats with diminishing returns—it’s not just about bigger numbers, it’s about balanced growth.
Abyss requires two teams optimized for Elemental counter-play (Pyro vs Cryo shields), Crowd control for grouped enemies, Single-target burst for elites, Energy generation for consistent rotations. Plan 3-6 months ahead for character releases and pre-farm materials while maintaining current team progression. It’s a marathon, not a sprint.
Frequently Asked Questions
What’s the most important thing to focus on for character strength?
Weapon enhancement to level 90 provides the largest single damage increase, followed by character ascension to 70/80 and correct artifact main stats before talent optimization or substat farming. Don’t overthink it—start here.
Should I level up weapons or artifacts first?
Always prioritize weapons first. Weapon enhancement provides guaranteed stat increases while artifacts depend on RNG. A level 90 weapon with mediocre artifacts outperforms a level 1 weapon with perfect artifacts every single time.
How many characters should I focus on building?
Focus on 4 characters initially (one complete team), then expand to 6-8 for Spiral Abyss. Building too many simultaneously spreads resources thin and delays meaningful power progression. Trust me on this one.
Is it worth investing in 4-star characters?
Absolutely. Many 4-star characters like Bennett, Xingqiu, and Fischl provide exceptional value and remain meta-relevant. Their constellation accessibility often makes them stronger than C0 5-star characters—sometimes by a significant margin.
Ready to accelerate your character building progress? Secure the resources you need efficiently and safely through our trusted platform for optimal progression in your Genshin Impact journey! 🚀
【Platform Advantages】
✅ Official direct recharge, 100% secure
✅ No waiting – top-up arrives in 7 seconds
✅ Big discounts, low prices to save more
✅ 7×24-hour customer service, ready to assist anytime