

Understanding Fontaine’s Underwater Puzzle Fundamentals
Let’s be honest—Fontaine’s underwater puzzles threw most of us for a loop when they first dropped. The learning curve? Steep. But once you get the hang of these mechanics, they’re actually pretty satisfying to solve.
Pneuma vs Ousia Energy System
Here’s where things get interesting. The Arkhe system revolves around two opposing energies: Pneuma (that golden/yellow glow) and Ousia (purple/dark blue). Think of it like a cosmic game of rock-paper-scissors—when objects aligned with one energy get hit by the opposite energy, boom. ‘Annihilation’ reactions that’ll activate mechanisms or crack open those stubborn puzzles.

Your Hydro Traveler? They’re packing Pneuma alignment. Lynette brings the Ousia energy to the party. And here’s a neat trick—you can actually absorb those Environmental Pneuma or Ousia Blocks scattered around to temporarily infuse your attacks with that energy type. Game-changer for solo exploration.
For enhanced Fontaine exploration, BitTopup offers secure Genesis Crystal top-ups with instant delivery and competitive pricing. Their trusted platform ensures you have resources for character pulls and weapon upgrades. Learn more about how to top up Genshin Impact through their 24/7 customer support system.
Basic Swimming and Diving Controls
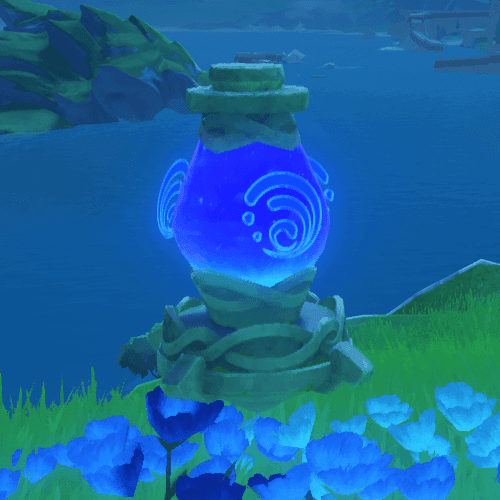
First things first—grab ‘Fontaine’s Blessing’ from any Statue of the Seven in Fontaine. The closest one’s at Romaritime Harbor if you’re just starting out. This blessing is your golden ticket to unlimited underwater diving. No more frantically swimming to the surface gasping for air like some kind of desperate fish.
Your yellow stamina bar transforms into this blue ‘Aquatic Stamina’ that’s exclusively for underwater sprinting. Run out? You’ll swim slower, but you won’t drown. Those glowing Recovery Orbs with three yellow fish swimming around them? They’re your best friends down there—they’ll top off both your HP and Aquatic Stamina.
Puzzle Difficulty Tiers
I’ve been categorizing these puzzles into three main tiers based on complexity (and frustration level, if we’re being honest):
Basic puzzles are your bread and butter—Pneumousia Storage Boxes that just need the right opposing Arkhe energy. Golden boxes want Ousia attacks, purple boxes crave Pneuma. Simple enough.
Intermediate puzzles introduce those Pneumousia Transmission Poles. These things change states when you hit them with opposing energies, and you need to get all poles balanced. It’s like solving a Rubik’s cube underwater.
Advanced puzzles like the Meteoric Lance Orthant? They’re multi-stage nightmares that combine bow targeting, Ball Octopus abilities, and Energy Flow manipulation across multiple underwater sections. Bring snacks.
Essential Mechanics Every Player Must Know
Arkhe Energy Interactions
The visual indicators are pretty straightforward once you know what to look for. Golden glowing boxes scream hit me with Ousia energy! while purple glowing boxes are begging for Pneuma attacks. The Annihilation reactions happen instantly—no waiting around wondering if it worked.
Those Pneumousia Transmission Poles are trickier. They exist in Pneuma, Ousia, or neutral states, and you’ll need to think strategically about your energy application sequences. It’s not just about hitting them—it’s about hitting them in the right order.
Underwater Combat Basics
Xenochromatic creatures are your underwater Swiss Army knife. Each one brings something unique to the table:
Armored Crab grants shields that’ll laugh at High-Pressure Water Vents and bounce projectiles right back where they came from. Plus, their attacks can shatter those blue-glowing rocks that regular attacks just tickle.
Hunter’s Ray fires these wicked sharp Hydro blades—great for general combat and slicing through seagrass that’s got you tangled up.
Jellyfish (added in Version 4.1) are your underwater demolition experts. First skill press drops bombs, second press detonates them. Perfect for timed explosions when you need precise timing.
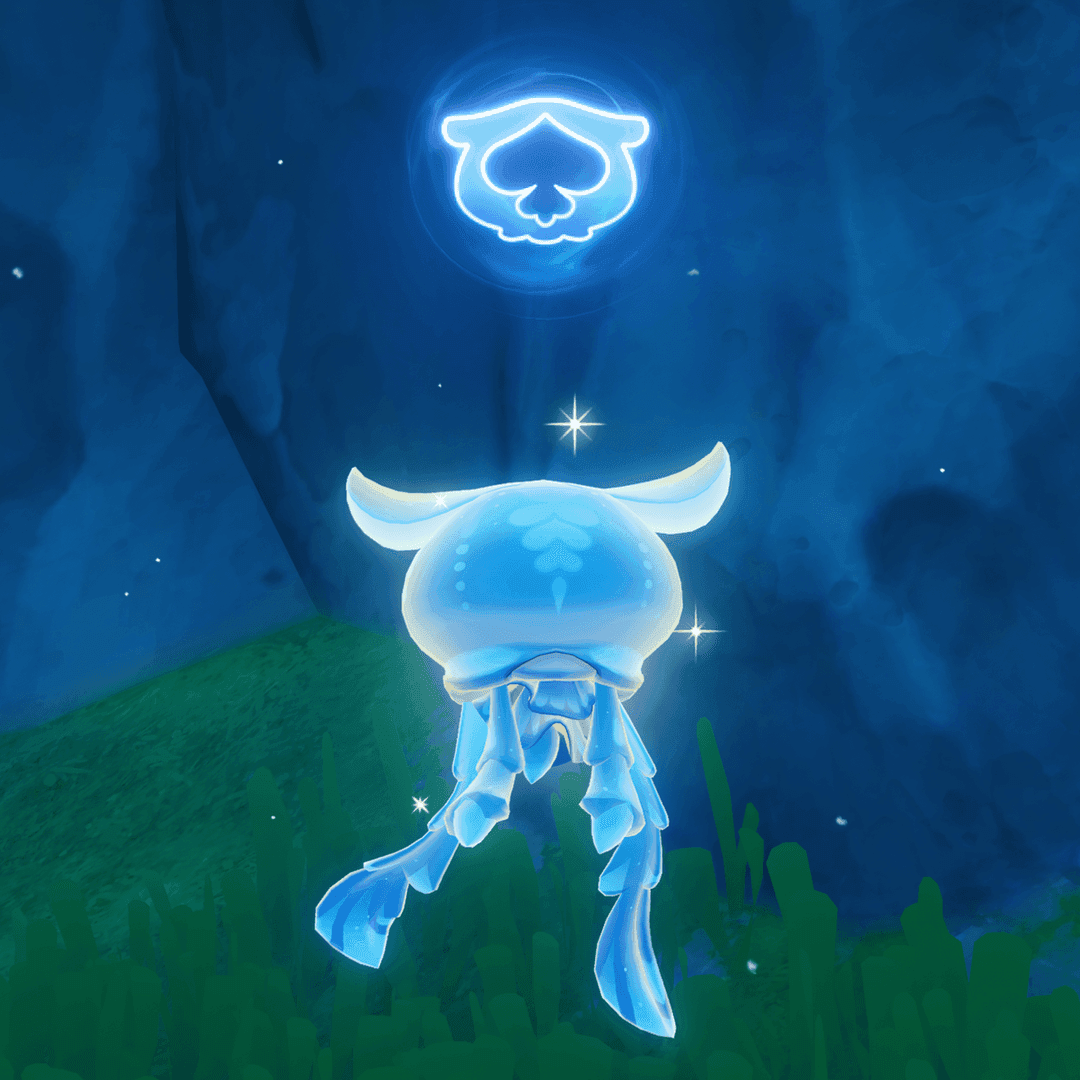
Ball Octopus (Version 4.2) specializes in moving Dew Bubbles around and charging puzzle mechanisms. They’re basically underwater movers and shakers.
High-Pressure Water Vents create these continuous currents that’ll push you and puzzle objects like Fantastical Floating Balls around. Underwater Currents work similarly to Anemo Rings—they’ll shoot you forward at high speed, but your directional control is pretty limited once you’re in the flow.
Complete Guide to Pneuma Puzzle Types
Pressure Plate Mechanisms
Water Volume Detection Crystals are all about that Hydro element presence. You can trigger them through character attacks or by strategically placing Hydro Cores. Creating Hydro Cores is an art form—collect three Hydrograna or hold one Hydrogranum while getting yourself Hydro-afflicted by touching water.
Pro tip: Position Hydro Cores between multiple crystals for simultaneous activation during those nail-biting timed sequences. Trust me, you’ll thank me later.
Energy Conduit Puzzles
The Boiling Lake puzzle is a perfect example of how these systems interconnect. You’ll need to hunt down three Water Volume Detection Crystals scattered around the lake—one’s locked behind some crab-smashing, another requires Pneuma/Ousia solving, and the third needs you to burn through some thorns.
Once you’ve moved all crystals to the central island and activated them with Miraculous Hydrograna, you’ll unlock the cave entrance. The cave section involves placing three Hydro Cores on pedestals to unlock a Hydro Pillar, which floods the cave and creates new currents past the Iron Viscount boss. It’s like underwater urban planning.
Xenochromatic Creature Interactions
Ball Octopus ability is your ticket to moving Dew Bubbles, charging mechanisms, and cleansing those nasty Bacterial Mats in Morte Region and Erinnyes Forest puzzles. The Blubberbeast ability releases soundwave streams when you hold the skill button—these activate Sonar Resonance Points that are otherwise completely useless.
Echoing Conches amplify this effect beautifully, releasing visible sound waves that reveal invisible objects pulsing with white-blue light. It’s like having underwater echolocation.
BitTopup’s platform provides excellent value for Fontaine exploration with competitive pricing and instant delivery. Their secure step-by-step Genesis Crystal purchase process ensures safe transactions perfect for character development needs.
Mastering Ousia Puzzle Mechanics
Crystal Resonance Puzzles
That Underwater Dome in Elton Trench? It demands precise Ousia energy application. Start by using the nearby Echoing Conch to reveal all the components—including that sneaky yellow Pneuma Block on the slope left of the dome.
Attack the purple Ousia Mechanism on the entrance’s right side first, then hunt down the purple Ousia Block sitting atop that green lotus plant. Use it to attack the yellow Pneuma Mechanism on the entrance’s left side. Each dome’s packed with Treasure Chests, Hydroculus, and Phonographs that’ll net you the hidden achievement ‘These Are a Few of My…!’
Underwater Current Redirects
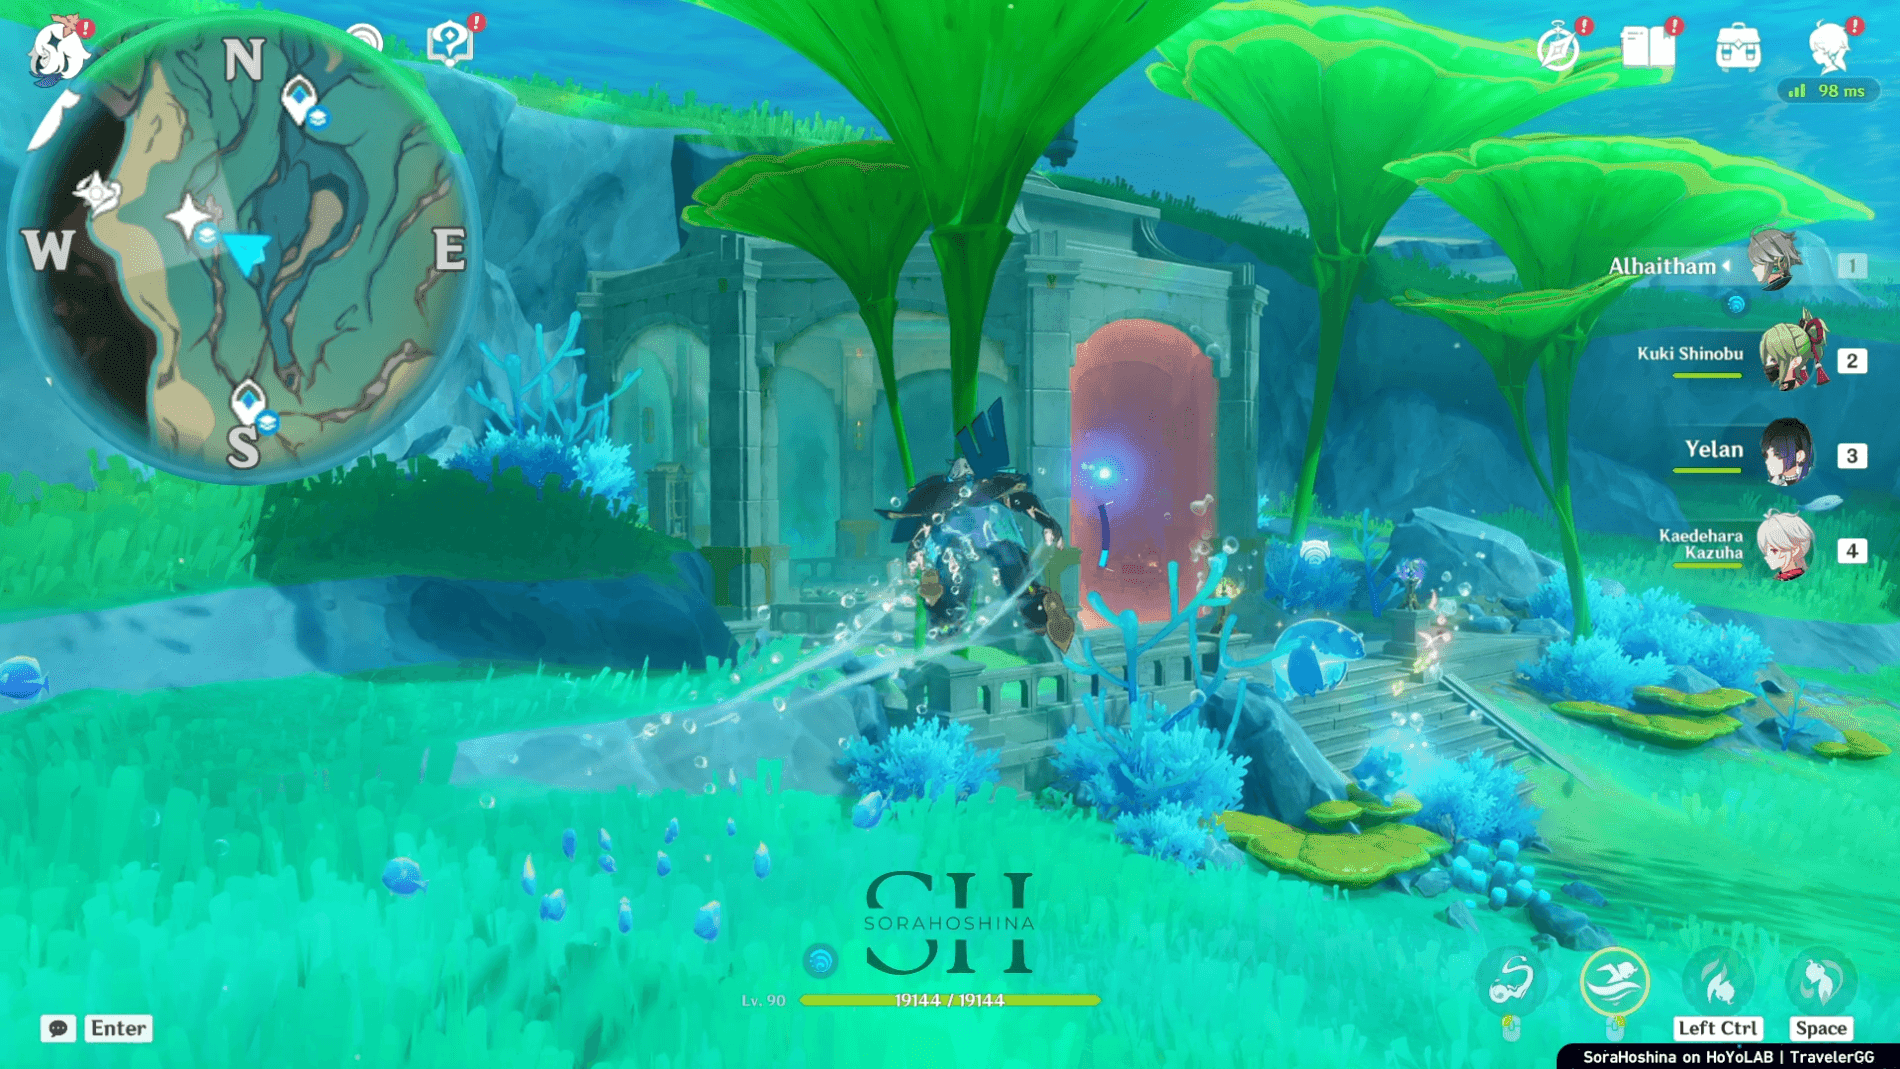
Fantastical Floating Ball puzzles are where Ousia energy meets environmental manipulation. The Salacia Plains dome requires you to borrow the Xenochromatic Armored Crab skill from the crab chilling atop the dome.
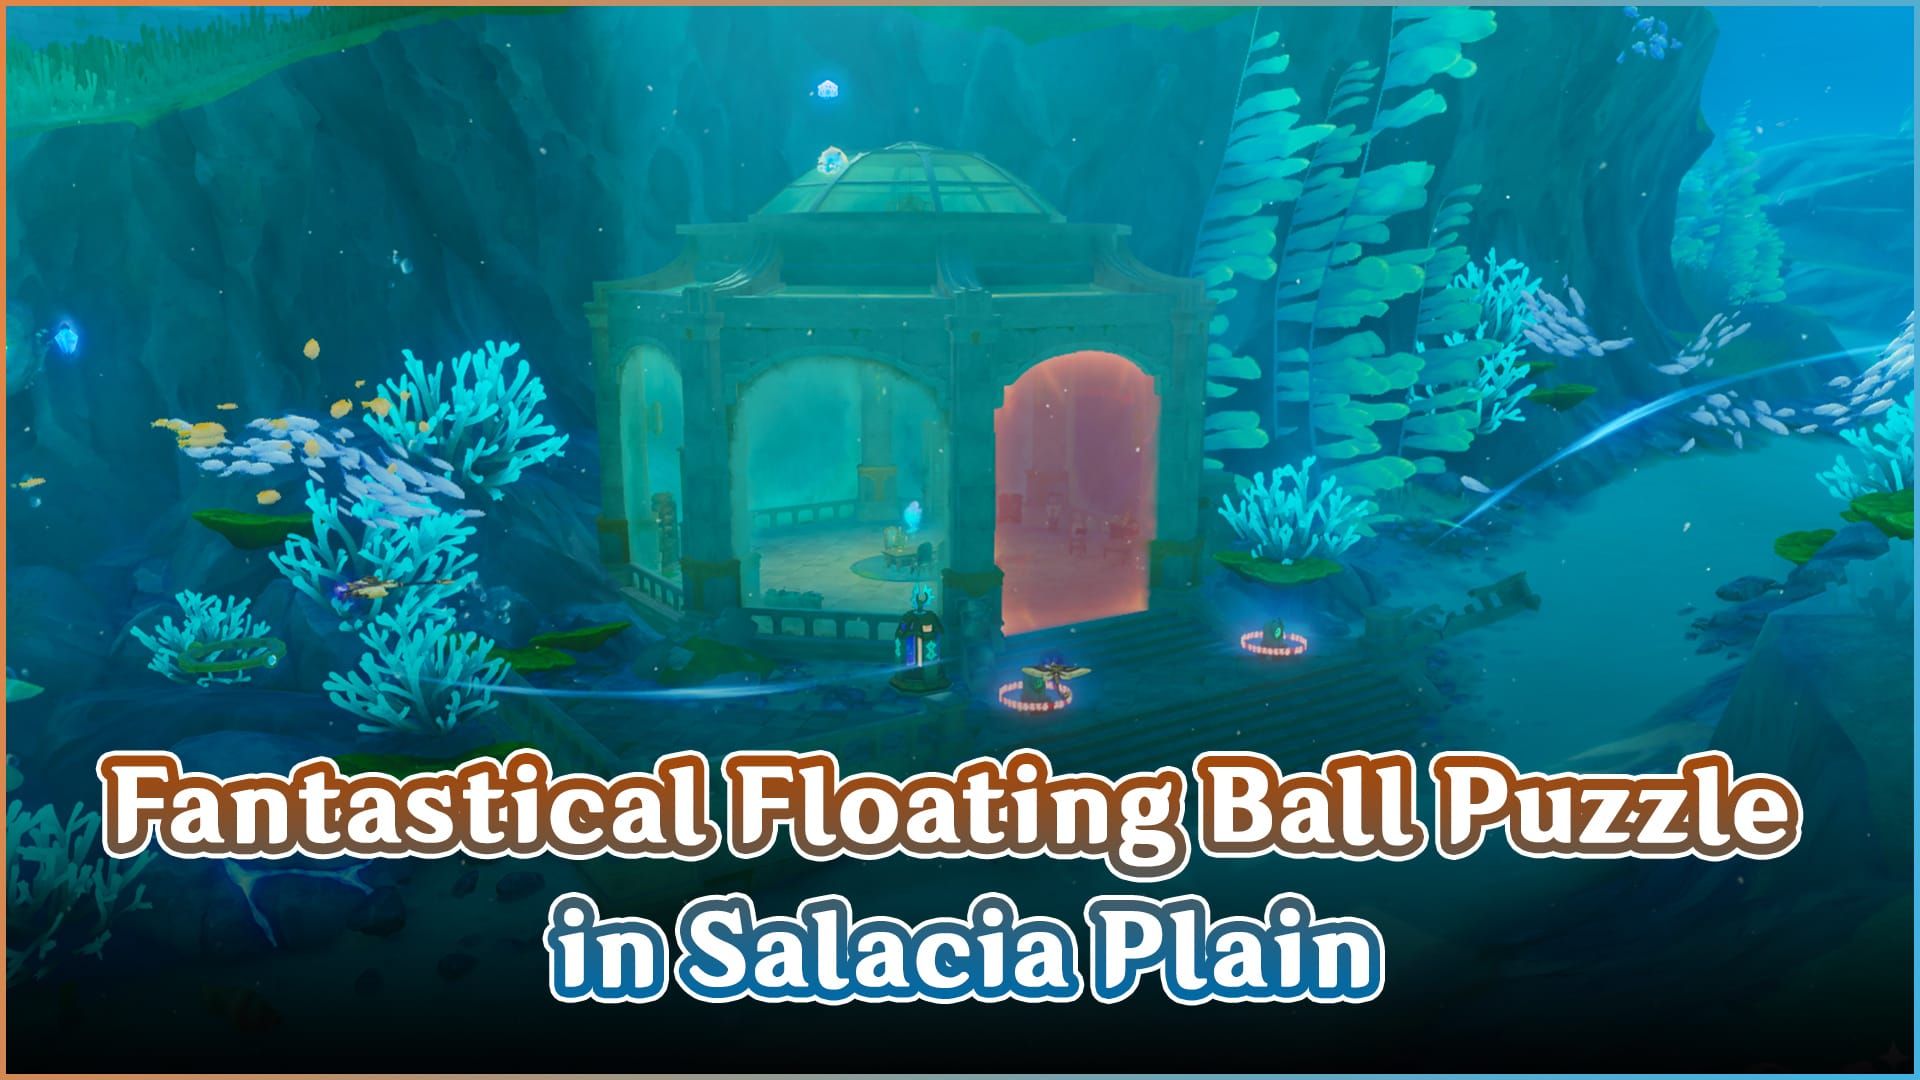
Use that skill on the wall-mounted crystal device to get the ball moving, then deploy the shield ability to block the High-Pressure Water Vent at the nearby ruins. This blockage changes the water flow pattern, allowing the Floating Ball to actually reach its target ring. It’s physics, but make it fantasy.
Bubble Sequence Challenges
Red Meanies are particularly annoying—they require simultaneous destruction of all group members. Area-of-effect attacks work best, though rapid sequential targeting can work if you’re quick enough.
There’s this Triple Seelie puzzle southeast of Court of Fontaine that perfectly demonstrates layered puzzle mechanics. You’ll need a purple Ousia block to hit the golden Pneuma totem for the first Seelie, Armored Crab ability to destroy concealing rocks for the second, and some serious exploration skills to find the third Seelie floating above that destroyed ship northwest of the central location.
Step-by-Step Solutions for Common Puzzle Patterns
Sequential Activation Puzzles
Bullet Barnacle elimination is all about timing and positioning. Borrow that Xenochromatic Armored Crab ability, hold the skill button to raise your shield, wait for projectile contact, then release while aiming back at the barnacle. The reflected shot should destroy it in one go.
The Opera Epiclese pool puzzle requires systematic destruction of all breakable pots. Use Elemental Sight to highlight destructible objects—they’ll glow differently than regular environmental objects. The Armored Crab ability provides the destruction force you need.
Timed Challenge Solutions
The new update introduces the "Power of the Ancient Symphony" skill in the Sea of Ancient Ages. Honestly, it's a game-changer. You can freeze moving objects with "Pause Sound Wave" and revive them with "Play Sound Wave." Mr. Oss grants this skill after obtaining the Auto-Harmony Music Box during the "Ode to Harmony" world quest.
Lost Grimoires puzzles showcase this beautifully—use ‘Pause Soundwave’ to stop those floating phantom books for collection, submit them to glowing blue bookshelves, then ‘Play Soundwave’ to reanimate everything and reveal hidden paths. It’s like being a conductor of reality itself.
Multi-Stage Mechanism Guides
The Meteoric Lance Orthant puzzle in Fort Charybdis Ruins is probably the most complex puzzle sequence in Fontaine. You’ll need a bow character for targeting crystals through doorways, Ball Octopus ability for Lifting Column manipulation, and a solid understanding of Energy Flow mechanics involving Feather Valve rotation.
Lower sections demand Hunter’s Ray ability for Mek defeat and seagrass cutting. The final stages complete energy circuits that power this massive machine, rewarding you with a Luxurious chest. Worth every minute of frustration.
Character and Team Recommendations
Best Hydro Characters for Puzzles
Traveler (Hydro) is your MVP here—dual benefits with Pneuma alignment and Hydro element access make them ideal for mixed puzzle types. Their wide-area Hydro application can trigger multiple crystals simultaneously, which is incredibly satisfying when it works.
Neuvillette excels with extended Hydro application range and serious underwater combat capabilities. His charged attacks are precise enough for distant crystal targeting, and let’s be honest—he makes underwater exploration feel effortless.
Utility Characters for Exploration
Bow characters are absolutely essential for ranged crystal activation through doorways or barriers. Fischl, Amber, or really any bow user can trigger distant mechanisms in those specific activation sequences that would otherwise be impossible.
Anemo characters like Venti or Wanderer provide enhanced mobility for reaching elevated puzzle components. Sometimes you need that extra vertical reach or optimal positioning for Xenochromatic creature ability acquisition.
F2P Friendly Team Compositions
Your F2P cornerstone should be Traveler (Hydro)—they provide both Pneuma energy and Hydro element application. Pair them with Amber for bow targeting, Lisa for Electro mechanisms, and Barbara for additional Hydro support and healing.
This composition covers all essential puzzle-solving elements: Arkhe energy requirements, elemental applications, ranged targeting, and sustained exploration through healing support. No five-star characters required.
Common Mistakes and How to Avoid Them
Energy Type Confusion
This trips up everyone initially. Remember: Pneuma (golden) mechanisms require Ousia (purple) energy, and vice versa. Golden glows need purple energy blocks, purple glows need golden energy blocks. When environmental blocks aren’t immediately visible, use those Echoing Conches to reveal hidden components with white-blue pulsing effects.
Swimming Stamina Management
Here’s something that confused me for weeks—Aquatic Stamina depletion prevents efficient movement but doesn’t cause drowning. Plan your routes around Recovery Orb locations to maintain optimal swimming speed. Avoid unnecessary sprinting during puzzle-solving; save that Aquatic Stamina for long distances or combat escapes.
Puzzle Reset Triggers
This one’s particularly frustrating. Teleporting away from puzzle areas often resets mechanism states, forcing you to start completely over. Complete sequences in single sessions when possible.
For Auric Anglerfish puzzles, getting detected by that front light creates a temporary lockout that prevents ‘Pause Soundwave’ application. Always approach from behind, avoiding that light cone entirely.
Reward Optimization and Treasure Hunting
High-Value Puzzle Locations
Fontaine contains 413 total treasure chests as of Version6.0: 208 Exquisite, 85 Precious, and 44 Luxurious. The highest-value puzzles reward Luxurious Chests in major landmarks like Boiling Lake, underwater domes, and those complex multi-stage locations that make you question your life choices.
The Berrypuff feeding sequence provides a unique Luxurious Chest reward—you’ll need to feed the Blubberbeast five times over several days with hour-long cooldowns between feedings. It’s like having an underwater pet.
Chest Rarity Identification
Luxurious Chests require complex multi-mechanic solutions or extended quest sequences, providing the highest Primogem rewards and rare materials. Precious Chests involve intermediate puzzles combining 2-3 mechanics. Those underwater dome puzzles consistently provide Precious or Luxurious Chests plus Hydroculus and achievement-granting Phonographs.
Primogem Farming Routes
Mora containers throughout Fontaine’s underwater areas contain significantly larger quantities than previous regions—a nice quality-of-life improvement. Systematic routes prioritizing Luxurious and Precious Chest locations maximize Primogem efficiency.
The Sea of Bygone Eras provides concentrated high-value puzzle density, but requires ‘Canticles of Harmony’ World Quest progression first.
Advanced Tips and Speedrun Strategies
Efficient Exploration Paths
Plan your routes around Recovery Orb locations for optimal movement speed during extended sessions. Map out Xenochromatic creature positions before tackling complex puzzles—this minimizes backtracking and saves significant time.
Use Echoing Conches strategically to reveal multiple components simultaneously rather than manually searching every nook and cranny.
Quick Solution Techniques
For Fantastical Floating Ball puzzles, position yourself at High-Pressure Water Vents before activating the ball mechanism. This allows immediate current blocking with the Armored Crab shield—no scrambling around trying to catch up.
Master that Bullet Barnacle reflection timing—release the shield immediately after projectile contact while maintaining your aim for one-shot eliminations. It takes practice, but it’s incredibly satisfying once you nail it.
Time-Saving Shortcuts
Memorize underwater current entry points and destinations for rapid transportation between puzzle areas. Some currents activate through Scylla interaction in the Sea of Bygone Eras—these can cut travel time dramatically.
For multi-stage puzzles like Meteoric Lance Orthant, prepare all required abilities beforehand. Have your bow characters, Hydro characters, and healing support ready before entering to prevent mid-puzzle team changes that reset your progress.
Frequently Asked Questions
How do Pneuma and Ousia energies work in Fontaine puzzles? Pneuma (golden) and Ousia (purple) create annihilation reactions when opposing types interact. Golden mechanisms need purple energy, purple mechanisms need golden energy. You can access these through Fontaine characters like Traveler (Pneuma) and Lynette (Ousia), or by absorbing environmental energy blocks.
What are the most common underwater puzzle types? You’ll encounter Pneumousia Storage Boxes requiring opposing energy attacks, Fantastical Floating Ball puzzles using water current manipulation, Bullet Barnacle reflection with Armored Crab abilities, and Water Volume Detection Crystals needing Hydro element application most frequently.
Which characters are best for solving puzzles? Traveler (Hydro) provides optimal capabilities with Pneuma alignment and Hydro access. Any bow character enables ranged crystal activation. Really, any Hydro character can trigger Water Volume Detection Crystals. Lynette offers Ousia energy alignment when you need it.
What rewards do underwater puzzles give? You’re looking at 413 total treasure chests including 44 Luxurious Chests from complex puzzles. Rewards include Primogems, Mora, artifacts, character materials, Hydroculus for statue upgrades, and hidden achievements that completionists will love.
How do you activate underwater mechanisms? Arkhe mechanisms require opposing energy attacks, Water Volume Detection Crystals need Hydro application, Xenochromatic abilities activate through borrowed creature powers, and environmental mechanisms like Water Vents can be blocked with Armored Crab shields.
Are there time limits on puzzles? Most don’t have strict limits, but Auric Anglerfish detection creates temporary lockouts, multi-stage puzzles may reset if you teleport away, and Berrypuff feeding requires real-time waiting periods between feedings across multiple days. Patience is key for some of these.


