

Why Play Poppo Live on PC: Advantages Over Mobile
Let’s be honest—mobile streaming is fine until your phone starts heating up like a pocket warmer during those marathon sessions. PC gaming through Android emulators completely changes the game here.
You get massive screens that make stream viewing and chat interactions actually enjoyable (no more squinting at tiny text). Keyboard and mouse controls? Game changer for rapid-fire chat responses and precise navigation. Your battery stays happy, your data plan doesn’t get demolished, and those annoying phone calls won’t interrupt your streaming flow.
For content creators, this is where things get really interesting. PC setup enables OBS Studio integration—that’s professional-grade streaming software for those new to the scene. Plus, you can top up Poppo Live coins on PC through BitTopup’s platform, which honestly offers better pricing and faster delivery than most mobile payment methods.
The Multi-Instance Manager feature deserves special mention. Running multiple accounts simultaneously? That’s power-user territory right there. Full keymapping lets you customize controls for PK Battles and Online Party interactions with surgical precision.
System Requirements for Poppo Live PC Gaming
Windows Minimum: Any Intel or AMD processor, Windows 7 or newer, 2GB RAM, 5GB storage space. Hardware Virtualization Technology (VT) isn’t mandatory but trust me—enable it if you want smooth performance.
Mac Requirements: Here’s where it gets tricky. macOS 11+ for emulators, but if you’ve got Apple Silicon, you need macOS 12+ for the native iOS version. Apple’s M1/M2 chips absolutely demolish emulated Android performance, so that’s your best bet.
What I actually recommend: Windows 7+, 4GB RAM minimum, 10GB storage, and Administrator privileges. That 4GB RAM threshold isn’t arbitrary—it’s the sweet spot for multitasking while running broadcasting tools without stuttering.
Top 3 Safe Emulators for Poppo Live (2025 Comparison)
After testing dozens of emulators (some questionable, others brilliant), these three consistently deliver:

BlueStacks 5: The heavyweight champion. Most streamers use this for good reason—rock-solid Poppo Live compatibility, multi-instance support that actually works, and keymapping that doesn’t randomly break. It’s optimized specifically for social and streaming apps.
MEmu Play: The customization king. Want to tweak every performance setting? This is your emulator. Flexible Android version support with granular CPU/RAM allocation. Perfect for users who like tinkering under the hood.
LDPlayer: Gaming-focused powerhouse. Optimized specifically for competitive features like PK Battles and Online Party modes. Built-in screen recording, real-time performance monitoring, and superior frame rate stability during intense interactions.
Step-by-Step Installation Guide for Windows
Download your chosen emulator from official websites only—BlueStacks, MEmu Play, or LDPlayer. Seriously, avoid those modified versions floating around forums. They’re security nightmares waiting to happen.
Run the installer with Administrator privileges. Installation typically takes 5-10 minutes depending on your system specs (older machines might need coffee break timing).
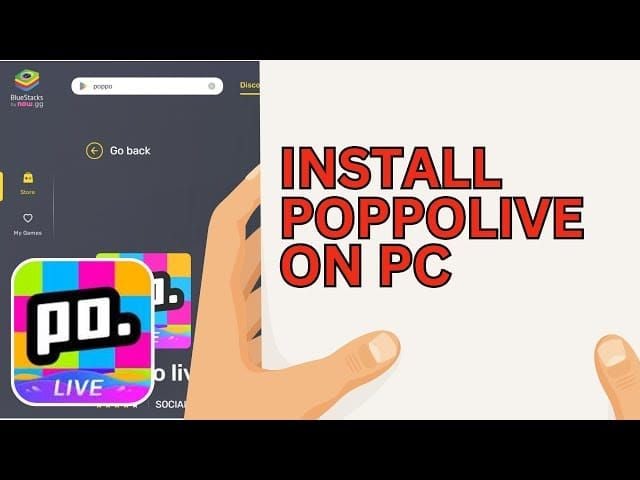
Launch the emulator, open Google Play Store, sign in with your Gmail account. Search Poppo live by developer Vshow PTE. LTD—verify that developer name to avoid knockoffs. Click Install. The app requires Android 5.0+, which every modern emulator supports without issues.

Mac Installation Guide and Considerations
Apple Silicon Macs: You’ve got options here. Download Poppo Live directly from the Mac App Store as a native application—requires macOS 12.0+ and M1+ chip. Performance is genuinely superior with better battery efficiency versus emulated versions.
For buy Poppo Live coins online, BitTopup works seamlessly with both emulated and native Mac installations, which is surprisingly rare in this space.
Intel Macs: You’re stuck with emulator installation like Windows users. BlueStacks needs macOS 11+ with the same procedure: download, install, configure Google Play Store. Allocate 4GB+ RAM for optimal performance and definitely enable Hardware Acceleration in settings—Intel Macs need every performance boost they can get.
60 FPS Optimization: Graphics and Performance Settings
Here’s where most guides get technical and boring. Let me break this down practically:
Configure your emulator with 2-4 CPU cores and 2-8GB RAM allocation based on what your system can actually handle. Enable Hardware Acceleration and OpenGL rendering—these aren’t optional if you want smooth streaming performance.
Update your graphics drivers. I mean it. NVIDIA, AMD, Intel—whatever you’ve got, update to the latest versions with Android emulation optimizations. Set Windows Power Options to High Performance to prevent CPU throttling during intensive sessions.
Enable Virtualization Technology (VT-x for Intel, AMD-V for AMD) in your BIOS. This single setting can double your emulator performance.
Safety and Security Best Practices
Use official emulator versions exclusively. Those gaming-optimized versions from random websites? They’re often packed with malware or crypto miners.
Maintain consistent login patterns and avoid rapid account switching—that behavior triggers automated detection systems.
Configure emulator privacy settings to limit data collection. Use dedicated Google accounts for emulator access rather than your primary personal accounts. It’s basic security compartmentalization.
Advanced Features and Customization
Custom keyboard shortcuts transform the experience entirely. Configure shortcuts for gift sending, chat responses, and stream navigation using the drag-and-drop keymapping interfaces. Set up mouse gestures for swipe actions like stream switching—it’s surprisingly intuitive once configured.

Multi-Instance Manager creates separate instances for different accounts. Configure synchronization for coordinating actions across multiple streams. Connect emulator output to OBS Studio for professional streaming with proper audio routing (this requires some technical setup, but the results are worth it).

Troubleshooting Common Issues
Installation Problems: Verify internet stability first—sounds obvious, but unstable connections cause corrupted downloads. Clear emulator cache through settings menu to remove corrupted temporary files.
Performance Issues: Close background applications and browser extensions. Try Incognito mode for web-based emulator interfaces to isolate compatibility issues. Sometimes it’s that simple.
Connection Problems: Getting 404 Not Found errors? Verify URL accuracy and check official social media for maintenance announcements. Clear browser cache and cookies for persistent login issues. Contact support at official@poppolive.com or ios.official@poppolive.com for problems that won’t resolve.
Frequently Asked Questions
Is it safe to play Poppo Live on PC emulator? Absolutely, when using official emulators from BlueStacks, MEmu Play, or LDPlayer. These create legitimate Android environments. Just avoid those sketchy modified versions.
Which emulator performs best for Poppo Live? BlueStacks 5 for comprehensive features and reliability, MEmu Play for extensive customization options, LDPlayer for gaming optimization and competitive features. Choose based on your priorities.
What are the real minimum PC requirements? Windows 7+, 2GB RAM, 5GB storage gets you running. But honestly? Go for 4GB RAM and 10GB storage for a smooth experience. Mac users need macOS 11+ for emulators or macOS 12+ with Apple Silicon.
How do I actually achieve 60 FPS? Enable Hardware Acceleration, allocate 4GB+ RAM, update graphics drivers, set High Performance mode, enable BIOS Virtualization Technology. Use dedicated graphics cards if available—integrated graphics struggle with sustained performance.
Can I manage multiple accounts on PC? Yes, multi-instance features allow simultaneous operation with separate settings. Just maintain distinct usage patterns to avoid triggering automated detection systems.
How do I fix emulator lag issues? Increase RAM allocation to 4GB+, enable Hardware Acceleration, close background programs, update drivers, clear cache regularly, ensure stable internet connection, and configure dedicated graphics card usage. Usually it’s a combination of these factors rather than a single culprit.


