

Blood Strike's 2025 Meta: What Actually Matters Now
Here's the thing about Blood Strike in 2025 – it's not the same game you might've watched streamers play last year. The meta has shifted hard toward placement and smart positioning over flashy kill montages. You're facing up to 40 other players per match, and those zone rotations? They're coming every 30-40 seconds like clockwork.
The EVO Squad Fight kicks in after round 3, always at map centers. That's when things get spicy. Oh, and that May 2025 update? It reduced AK-47 recoil significantly – we're talking about a 20% adoption boost among competitive players. Makes sense when you feel how much smoother it handles now.
Victory conditions are pretty straightforward but worth clarifying: Solo means you eliminate everyone else (obviously), but team modes focus heavily on closing rifts and keeping your squad breathing. Those airdrops everyone's always debating? They'll cost you $4K-$10K depending on what you're after – UAV intel, vehicles, or custom loadouts.
Quick note from my experience covering this space: if you're serious about progression, Blood Strike golds recharge for new players through BitTopup gives you instant access to premium content. Their pricing stays competitive, transactions are secure, and their 24/7 support actually responds – I've tested it.
Safe Drop Spots That Won't Get You Deleted Immediately
Deserted Valley is your best friend as a beginner. Lowest player traffic, excellent sniping positions, and here's what most guides won't tell you – higher XP gains through extended survival time.

It prioritizes long-range engagements over that chaotic close-quarters madness that'll get you sent back to lobby faster than you can say third-party.
Port offers serious edge advantages. Multiple warehouses, four supply posts, and premium loot scattered everywhere. The peripheral positioning lets you rotate safely while maintaining access to high-quality gear and those crucial cash-to-weapon exchanges.
Rocket Base features clustered buildings with premium chests and four supply posts for rapid mid-game prep. The concentrated loot spawns mean you can gear up efficiently – weapons, bandages, grenades – before those zone rotations start breathing down your neck.
Now, here's where I'll save you some pain: avoid Shutter Island like the plague. It's melee-focused chaos that requires vertical building control skills you probably don't have yet. Missile Basement? Same deal – attracts way too much traffic and demands advanced combat skills that'll take months to develop.
Loot Path Planning That Actually Works
Loot hierarchy is simple: weapons first (assault rifles or SMGs), then ammunition, healing items, and utility grenades. Those supply posts scattered around? They convert your elimination cash to essential equipment. Think of them as your trading waypoints.
Phase 1: Hit those low-traffic areas like Port edges. You've got 60 seconds to secure basic weapons, then systematically clear nearby buildings while staying mobile. Standing still too long? That's how you get third-partied.
Phase 2: Route through those four supply posts available on most maps. Trade your loot cash for premium weapons, ammo, and grenades.
Pro tip – use natural cover during transactions. I've seen too many players get picked off while shopping.
Phase 3: Balance resource acquisition with rotation timing. Start moving 30-40 seconds before zone expiration, secure high ground with escape routes planned. For faster progression, safe Blood Strike gold top up global through BitTopup ensures reliable Strike Pass rewards with global coverage and instant delivery.
Pro Settings That'll Give You an Edge
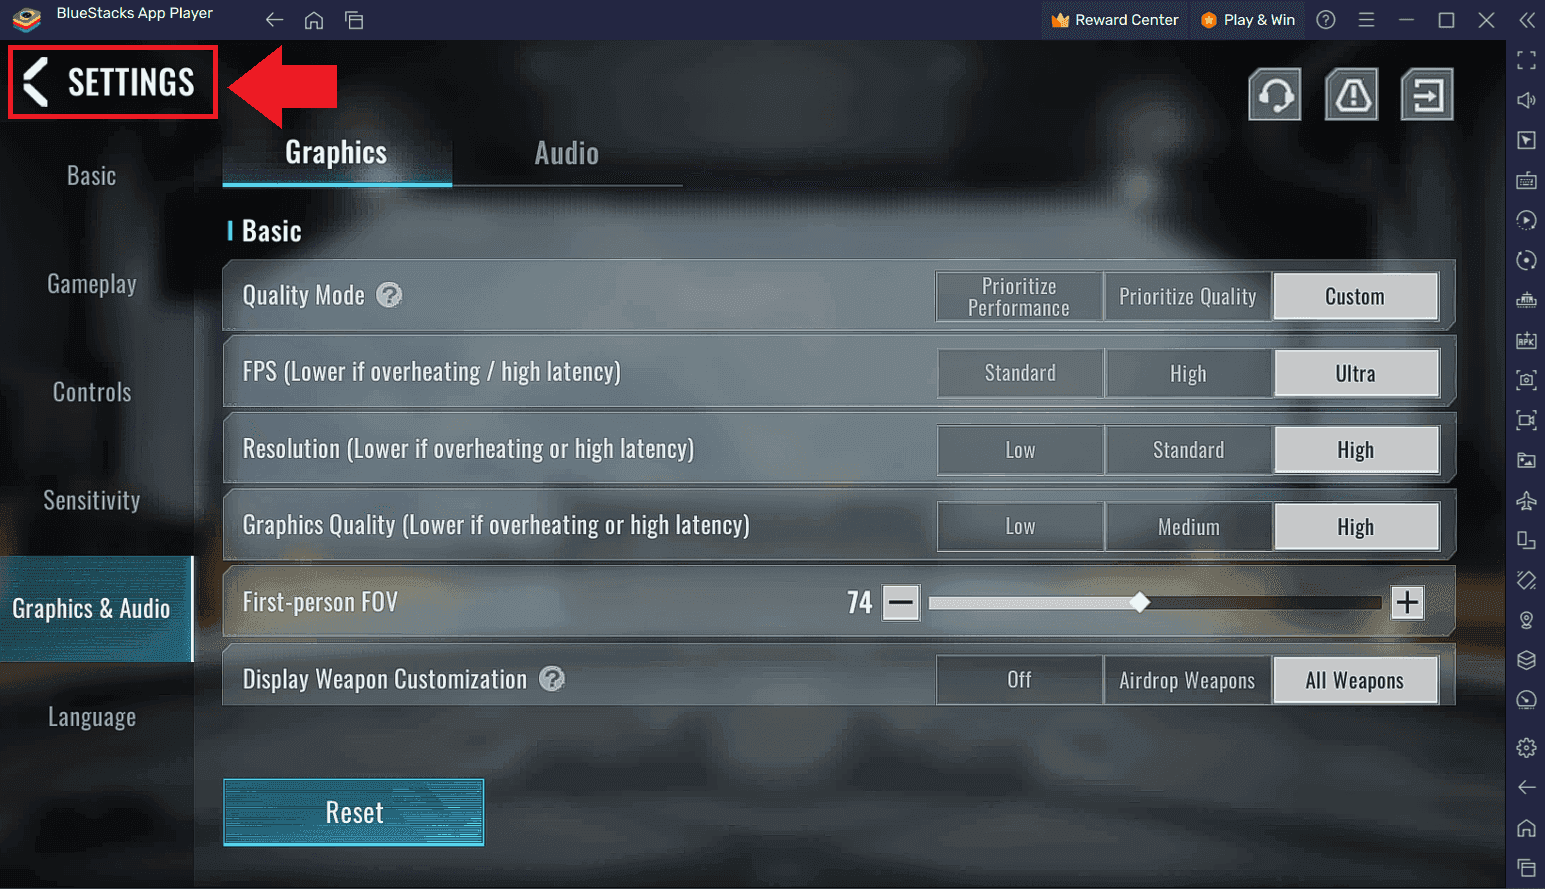
Graphics: 1280x720 resolution for 60+ FPS – this achieves a 50% GPU load reduction. Disable shadows and reflections (they're just visual noise anyway), use low textures, maintain brightness at 60-70% with contrast at 55-65%.

Minimum specs you'll need: Intel i3 8300 or AMD Ryzen 5 3100, 8GB RAM, GTX 960.
Audio: Master volume 80-90%, effects at 100% for footstep detection, music at 20%. Use stereo headphones with Windows stereo output rather than surround processing – trust me on this one.
Controls: eDPI 300-800 range (professionals typically use 400-600). Start with 60-80% in-game sensitivity, adjust in 5% increments until it feels right. Mouse DPI 800-1600, and disable auto-sprint for precise control.
Mobile: Camera sensitivity 60-80%, ADS 10-15% lower than camera, gyroscope 20-30% below camera settings. Customize that HUD – fire controls lower right, minimap 110-120% size upper left.
Early Game Survival: The First Five Minutes Matter Most
Land at your predetermined safe spots and secure weaponry within 60 seconds. Period. Prioritize assault rifles over specialized equipment – versatility wins early game. Mark valuable items for teammates using the in-game systems.
Resource priorities go like this: primary weapon, ammunition, healing items, secondary weapon, utility grenades. Monitor that mini-map for enemy indicators, and practice identifying footstep materials and weapon signatures. These audio cues will save your life more than any fancy scope.
Rotation timing is critical – move 30-40 seconds before timer expiration. Secure high ground with multiple escape routes, avoid chokepoints like they're radioactive. Team roles should be: entry fragger (P90), support (KAG-6), long-range specialist (Kala).
Map Knowledge and Smart Positioning
Key Landmarks: Deserted Valley emphasizes elevation for long-range engagements. Sakura Valley's central warehouses provide rapid loot but with increased risk. Port's peripheral buildings offer safer positioning with premium equipment access.
Rotation Strategies: Always prioritize high ground control and natural cover during transitions. Secure positions with multiple escape routes, monitor zone timers continuously. Central zones favor aggressive positioning; edge zones reward defensive gameplay.
Chokepoint Control: Position snipers at natural bottlenecks during rotations. Coordinate team positioning covering multiple angles, use smoke and stun grenades for sightline manipulation.
Weapon Tier List: What Actually Slaps in 2025
S-Tier Weapons: The KAG-6 assault rifle provides superior versatility with balanced performance across all ranges. P90 SMG excels in close-quarters with exceptional hip-fire accuracy – it's honestly broken in the right hands.

Kala sniper delivers 90% headshot lethality with superior recoil control. The FAL sees 70% professional inclusion at 705 RPM mid-burst rates.
Beginner Progression: Start with INP9 SMG for minimal recoil, advance to M4A1 for balanced versatility, then graduate to AK-47 or KAG-6 for advanced gameplay.
Optimal Combinations: AK-47 + M4A1 for damage and versatility, M4A1 + Vector for accuracy and close-quarters dominance, AK-47 + Kala for mid-to-long range control. Always prioritize compensators, extended grips, and red dot sights.
Beginner Mistakes That'll Keep You in Bronze
Over-Aggression: Stop taking solo engagements without teammate backup. Use methodical pushes with cover utilization rather than rushing exposed positions like some kind of action hero.
Poor Landing Selection: Avoid high-traffic areas like Missile Basement that require advanced combat skills you don't have yet. Prioritize safe drops for consistent survival.
Settings Neglect: Implement 1280x720 with disabled shadows for competitive advantage over visual appeal. Pretty graphics don't win matches.
Elimination Focus: The ranking system emphasizes survival and damage over elimination counts. Prioritize placement over kills.
Advanced Tips for Faster Improvement
Situational Awareness: Monitor audio for footstep patterns, weapon signatures, environmental cues. Practice surface material identification and distance estimation through sound intensity. This skill alone will boost your survival rate by 30%.
Movement Optimization: Strafe while shooting, combine jump-slides for accuracy disruption, practice cover-to-cover transitions with pre-aiming common angles.
Striker Selection: ETHAN provides 400 HP Protection Matrix barriers with 30-second duration (+10 seconds at level 3). E.M.T offers 10 HP/s healing in 5-meter radius (15 HP/s at level 3).

End Game Preparation: Optimize loadouts for final circles with close-quarters weapons like Origin-12. Maintain healing supplies and utility grenades for area denial.
FAQ
What are the safest drop spots for beginners? Deserted Valley offers lowest risk with excellent XP gains. Port provides edge safety with premium loot access. Rocket Base balances moderate risk with rapid gearing through four supply posts.
How should I configure settings for optimal performance? Use 1280x720 resolution, disabled shadows for 60+ FPS, eDPI 300-800, audio 80-90% master/100% effects, disable auto-sprint for precise control.
Which weapons should beginners prioritize? Start with INP9 SMG, progress to KAG-6 assault rifle, pair with P90 SMG. Avoid high-recoil weapons until you've mastered the fundamentals.
What's the most important survival strategy? Focus on placement over eliminations by rotating 30-40 seconds early, securing high ground with escape routes, avoiding over-aggressive engagements.
How do I optimize loot paths? Land at safe spots, prioritize weapons and ammunition, route through supply posts for trades, maintain zone awareness for timely rotations.
What are the biggest beginner mistakes? Over-aggression without support, poor landing selection, inadequate settings optimization, tunnel vision on kills, solo dependencies, delayed rotation timing.


