Why Chevreuse Changed Everything for Overload Teams
The Overload Revolution
Here’s the thing about Chevreuse – she didn’t just join the Overload meta, she completely rewrote it. Her Vanguard’s Coordinated Tactics passive delivers a massive 40% Pyro and Electro resistance shred, but there’s a catch. You need at least one Pyro and one Electro character on your team. No exceptions.

When Overload reactions start flying, you get those precious 6-second resistance reduction windows. But that’s just the appetizer. Her Vertical Force Coordination? That’s where things get spicy. We’re talking up to 40% ATK buffs that scale at 1% ATK per 1,000 HP when you trigger those Overcharged Balls through her Hold Skill.
This 30-second buff duration is honestly game-changing. I’ve seen it outperform Kazuha in dedicated Overload setups – and that’s saying something.
Breaking Down Her Kit (The Good Stuff)
Her Elemental Skill runs on a 15-second cooldown with two modes that couldn’t be more different. Press version? You get 115.2% AoE Pyro damage plus healing for 2.67% Max HP plus 256 over 12 seconds. Pretty standard support fare.
Hold version though – that’s where the magic happens. 172.8% damage shots normally, but when you’ve got Overcharged Balls available from team Overload reactions? We’re looking at 282.4% damage. The difference is night and day.
Her Elemental Burst costs 60 Energy (yeah, it’s expensive) but delivers 368.2% AoE Pyro damage with 49.1% secondary shells. Plus it generates roughly 4 energy orbs. Honestly, most of the time you’re using it just to activate Noblesse buffs, but hey – it gets the job done.
BitTopup offers competitive pricing and fast delivery for recharge Genesis Crystals, ensuring efficient material acquisition without delays.
Where She Stands in the Meta
Chevreuse carved out this incredibly specific niche as the premier Overload enabler. She’s not competing with every Anemo support out there – just the ones in Overload-focused teams. And here’s the kicker: at C6, she actually surpasses C0 Kazuha through that superior resistance shred, ATK buffs, healing, and those stacking 60% damage bonuses.
After the 5.1 Overload buffs? She’s sitting pretty at SS-tier with Raiden, Clorinde, and Yoimiya. Not bad for a 4-star.
Weapon Wars: Why Favonius Lance Wins (Usually)
The Energy Game
Look, Favonius Lance isn’t flashy. 30.6% Energy Recharge and 6 Energy particles on CRIT hits with a 60% chance every 12 seconds. But that battery effect? It’s what makes your entire team tick.
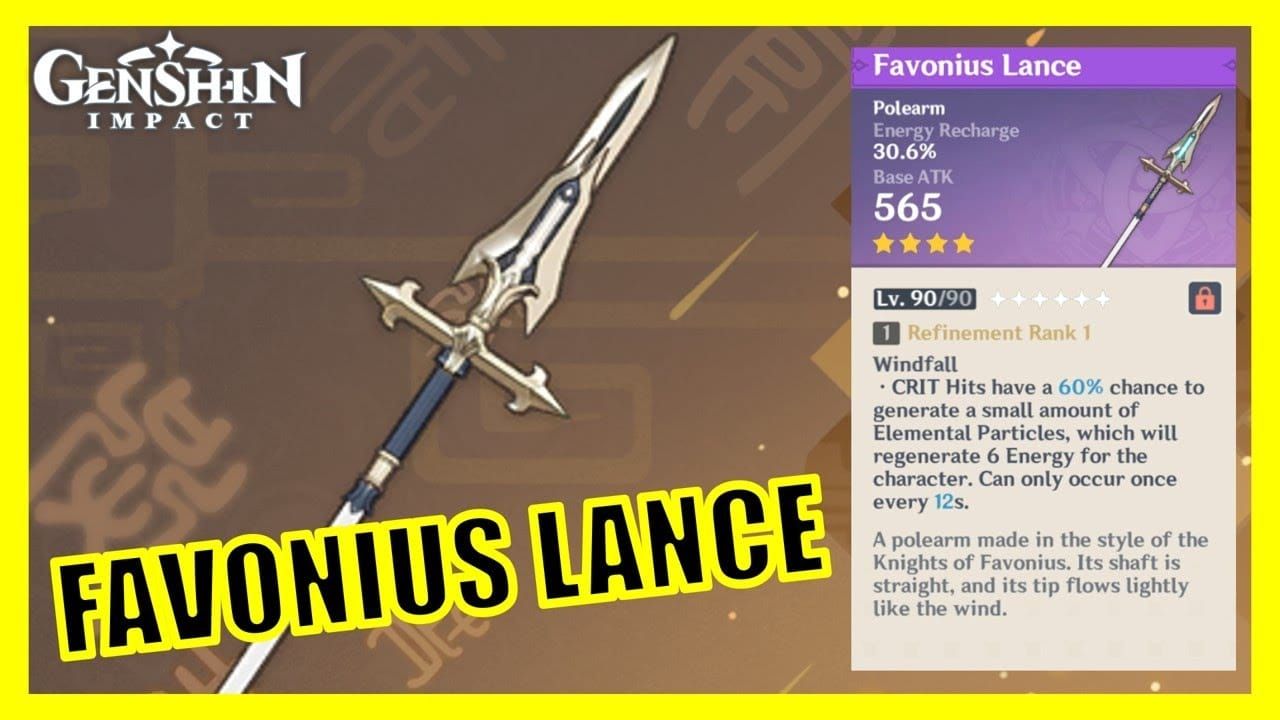
You’ll need 20-30% CRIT Rate from substats to make it work reliably, but once you do, you’re looking at consistent team ATK buffs through Noblesse without the energy headaches.
The Competition
Black Tassel gives you 46.9% HP for higher raw scaling, but good luck maintaining your Burst uptime. Rightful Reward splits the difference with 27.6% HP and 8 Energy restoration every 10 seconds when healing occurs – not terrible, but not optimal either.
The Catch provides 45% Energy Recharge and 16% Burst damage for F2P players, but you’re sacrificing HP scaling potential. Sometimes that trade-off makes sense, sometimes it doesn’t.
F2P Alternatives That Don’t Suck
Kitain Cross Spear offers craftable Energy Recharge with reaction cooldown reduction – solid choice if you’re working with limited options. Dialogues of the Desert Sages combines 41.3% HP with 8 ER every 10 seconds when healing. It’s actually an excellent middle ground for players who haven’t pulled Favonius Lance yet.
The 40,000 HP Sweet Spot
Why This Number Matters
40,000 Max HP isn’t just a nice round number – it’s the mathematical ceiling for her ATK buff scaling through Vertical Force Coordination. Hit this threshold and you’re looking at the maximum 40% ATK buff for your team.
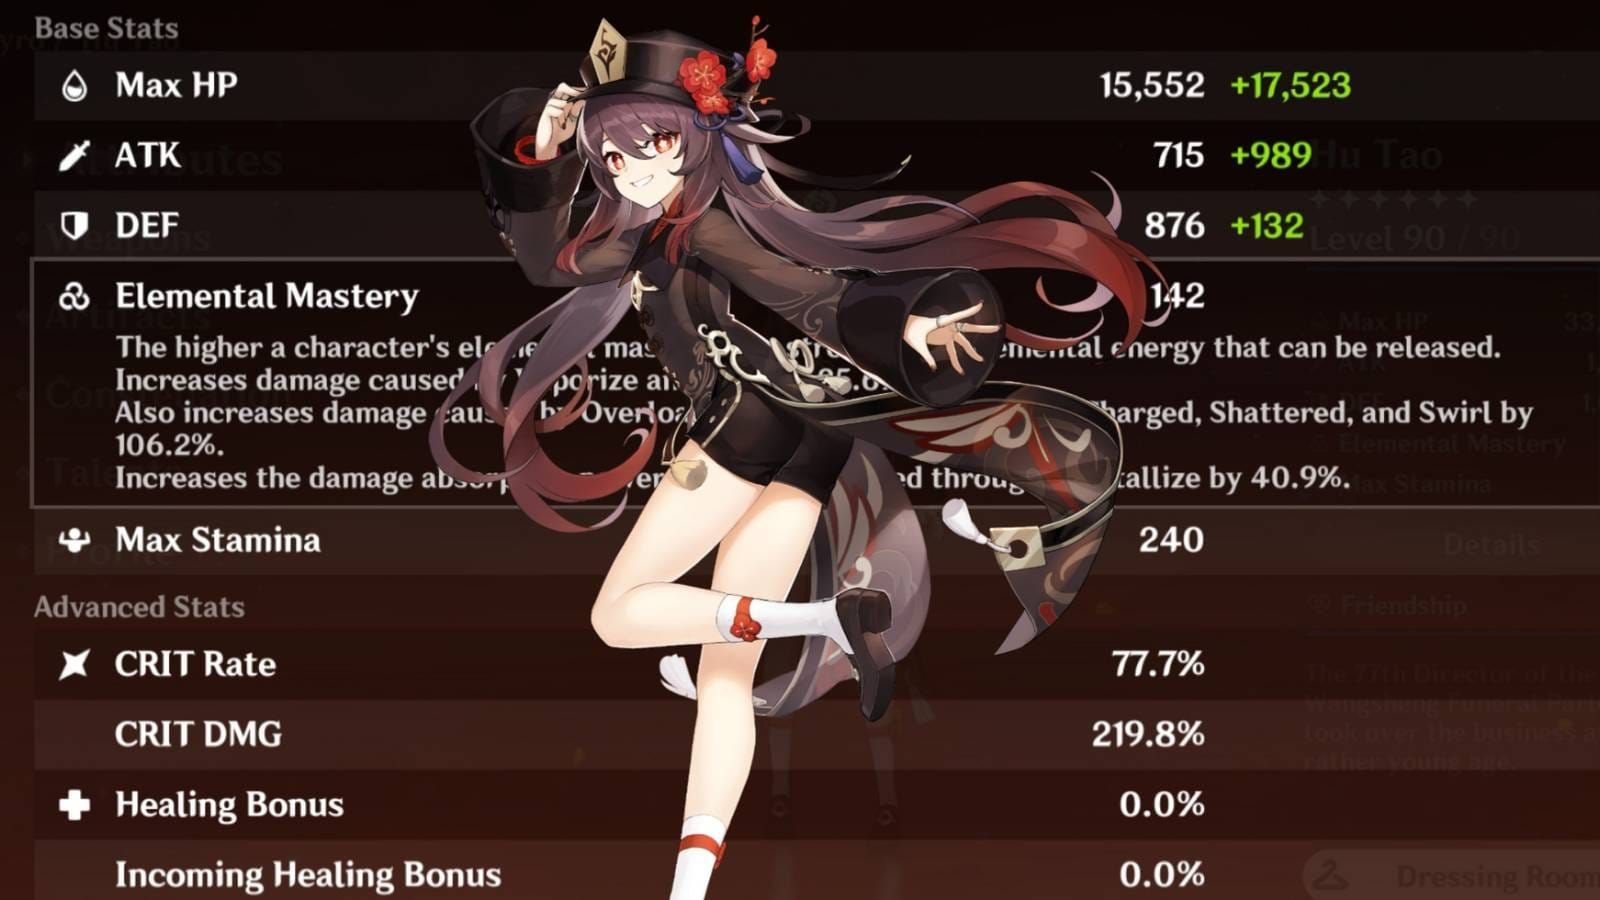
You’ll need HP% main stats on Sands, Goblet, and Circlet. There’s some flexibility with Energy Recharge Sands if you’re using HP weapons, but honestly? Stick with HP% unless your energy situation is desperate.
Her healing scales from 2.67% Max HP plus 256 to 5.67% Max HP plus 706 at level 10. Energy Recharge requirements typically fall between 160-200% depending on your weapon choice.
Substat Priority (In Order of Importance)
ER > HP% > Healing Bonus > CRIT Rate for Favonius users. Energy Recharge keeps that 60-cost Burst available when you need it. HP% gets you closer to that 40,000 HP goal. CRIT Rate? You need 25-35% for reliable Favonius passive triggers.
The Math Behind 40K HP
Chevreuse’s base 11,962 HP at level 90 with 24% ascension bonus means you need roughly 20,000 additional HP from substats and set bonuses. It sounds like a lot, but with focused artifact optimization, it’s totally achievable.
Artifact Sets: What Actually Works
4pc Noblesse Oblige (The Safe Choice)

20% Burst damage and 20% party ATK for 12 seconds after Elemental Burst. It synergizes perfectly with Chevreuse’s rotation role, stacking with those HP-based ATK buffs for serious team damage amplification.
The rotation’s simple: activate through that 60-cost Burst, then swap to your DPS characters. Clean and effective.
4pc Song of Days Past (The Healing Route)
15% healing effectiveness plus converting recorded healing into damage bonuses up to 40% for 10 seconds. If you’re maximizing healing potential while providing damage amplification, this is your set.
You need active healing to build those 5 stacks at 8% damage bonus each. More maintenance, but potentially higher ceiling.
BitTopup provides reliable Genshin Impact quick top up services with competitive rates and secure transactions for efficient artifact farming.
Mix and Match Options
2-piece Tenacity of the Millelith and Vourukasha’s Glow each give you 20% HP bonuses toward that 40,000 HP goal. Maiden Beloved 4-piece works as a 4-star alternative with 15% healing effectiveness and 20% team healing after Skill/Burst usage.
Sometimes the mixed sets just work better with your substat rolls. Don’t force a 4-piece if your 2+2 combination has better stats.
Team Building: Who Plays Nice
Electro DPS Powerhouses
Raiden Hypercarry teams (Chevreuse, Raiden, Xiangling, Bennett) are hitting SS-tier performance through optimal buff stacking. The rotation flows like this: Raiden Skill → Chevreuse Burst/Hold → Xiangling application → Bennett buffs. Smooth as butter.
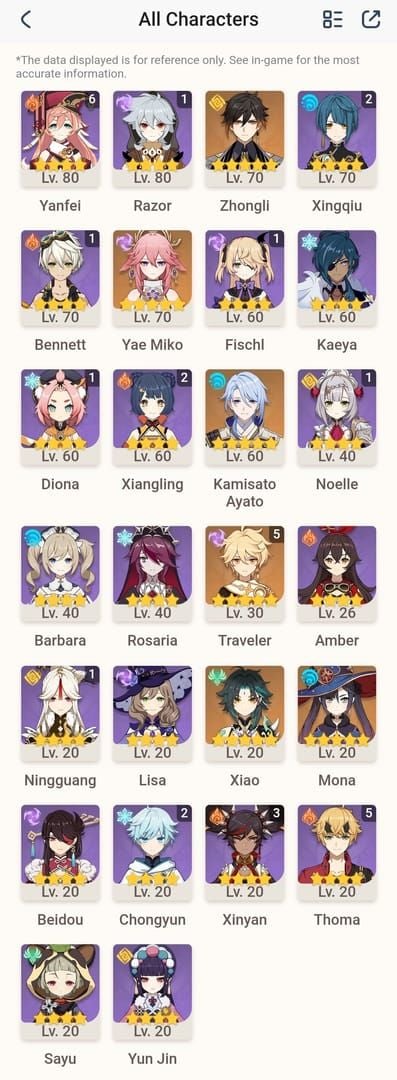
Clorinde Overload (Chevreuse, Clorinde, Fischl, Thoma) takes advantage of ranged capabilities, minimizing those annoying knockback issues. Cyno teams benefit from extended buff duration that actually matches his Burst windows – finally, someone who gets Cyno’s timing.
Pyro Enabler Excellence
Yoimiya Overload excels through ranged DPS that completely sidesteps knockback interference. Pair with Fischl and Bennett core for consistent results.
Arlecchino compositions leverage that resistance shred beautifully: Arlecchino Skill → Fischl Skill → Chevreuse Burst/Hold → Bennett Burst → DPS phase. The damage numbers get pretty wild.
Lyney teams can actually replace Anemo supports entirely for specialized Pyro/Electro synergy. Not something I expected to work as well as it does.
Flex Slot Strategy
Bennett brings healing, ATK buffs, and Pyro application with 1,000+ ATK buffs that stack multiplicatively. He’s almost always the right choice.
Fischl offers consistent off-field Electro through Oz with solid energy generation. Xiangling serves as your primary Pyro enabler through Pyronado, and she loves those Favonius particles.
Rotations That Actually Work
The Standard Flow
Off-field Electro/Pyro triggers Overload → Chevreuse Burst activation → Hold Skill for enhanced damage/buffs → swap to main DPS. You’re looking at 5-7 seconds of field time max while ensuring 40% resistance shred and ATK buff uptime.
Key point: you need those Overload reactions before the Hold Skill for Overcharged Ball availability. Mess up the timing and you lose a huge chunk of your support value.
Burst Rotation (C4 Users)
C4 enables multiple Hold Skills after Burst activation within 6 seconds. Extended sequence: Overload triggers → Chevreuse Burst for Noblesse → multiple Hold Skills → DPS phase. It’s overkill for most content, but maximizes support value in longer encounters.
Energy Funneling Mastery
Favonius optimization requires strategic CRIT timing for particle generation. Sequence: Chevreuse CRIT activation → immediate character swap → continued rotation. This is essential for maintaining Xiangling Burst uptime and other high-cost Elemental Bursts.
Miss the timing and your entire rotation falls apart. Practice this one.
Investment Guide: How Far Should You Go?
C0 vs C6 Reality Check
C0 provides core functionality through resistance shred and ATK buffs. It’s competitive F2P performance that’ll carry you through most content.
C6 transforms her into a premium support with party-wide healing and stacking damage bonuses. After 12 seconds of healing, your party recovers 10% Max HP while gaining 20% Pyro/Electro damage per stack (60% maximum). It’s a massive upgrade, but we’re talking serious primogem investment.
C4 is the sweet spot for most players – enables multiple Hold Skills after Burst, removing that 15-second cooldown for 2 uses within 6 seconds.
Talent Priorities (Don’t Waste Resources)
Elemental Skill first for healing scaling and Overcharged Ball damage. Level 9-10 provides substantial healing improvements that you’ll actually notice.
Elemental Burst second for Noblesse activation and energy generation. Normal Attacks? Completely irrelevant for support builds. Don’t waste the materials.
Resource Allocation Strategy
Level 90 ascension provides maximum HP scaling through that 24% HP bonus, directly contributing to ATK buff potency. It’s worth the investment.
Talent materials require 4,957,500 Mora for maximum levels – prioritize Skill, then Burst. Favonius Lance needs level 90 for maximum Energy Recharge and particle generation too.
Advanced Tips (For the Perfectionists)
Energy Math That Matters
60-cost Burst generates roughly 4 particles while Favonius contributes 6 additional particles every 12 seconds. C1 adds 6 Energy recovery on Overload reactions every 10 seconds. Factor in Electro resonance (80 Energy Recharge) and Pyro resonance (25% ATK buffs) for team building.
Timing Windows (Get These Right)
Overload trigger timing determines Overcharged Ball availability – precise application sequencing matters. Track those 30-second ATK buff windows and 6-second resistance shred periods.
Optimal rotations refresh effects before expiration while maintaining DPS field time. It’s a balancing act that takes practice to master.
Situational Adjustments
High-energy teams can reduce ER below 160% with multiple particle generators. Multi-target scenarios benefit from Overload’s AoE nature and knockback mechanics. Single-target optimization focuses on buff uptime and reaction consistency over AoE damage.
Common Mistakes (Learn From Others’ Pain)
Build Errors That Hurt
Insufficient Energy Recharge below 160% minimum results in poor Burst uptime. I see this constantly – don’t sacrifice ER for HP if it means your rotation breaks.
Neglecting 25-35% CRIT Rate with Favonius Lance reduces particle generation significantly. Over-investing HP beyond 40,000 provides diminishing returns for ATK buff scaling.
Rotation Disasters
Incorrect Overload timing prevents Overcharged Ball generation, eliminating ATK buff potential entirely. Extended field time beyond 5-7 seconds reduces team DPS. Poor energy funneling wastes Favonius particle generation through delayed character swaps.
Team Synergy Problems
Violating Pyro/Electro requirements disables passive abilities completely. Insufficient Overload triggers reduce buff uptime. Competing field time with other supports reduces overall efficiency through role overlap.
Performance Analysis: The Numbers Game
Damage Contribution Reality
40% resistance shred and 40% ATK buffs provide multiplicative damage increases that exceed direct damage contributions by a wide margin. Overload reaction damage receives minor EM scaling but remains secondary to buff capabilities.
Healing enables Song of Days Past bonuses and C6 party benefits – don’t underestimate the utility value.
Support Value Metrics
She surpasses C0 Kazuha in dedicated Overload teams through higher resistance shred and additional ATK buffs. Complements Bennett with different buff types that stack multiplicatively. Favonius value increases dramatically in energy-starved teams through team-wide particle benefits.
Meta Alternatives (And Why They Fall Short)
Anemo supports offer crowd control and VV shred but lack specialized Overload synergy. Traditional Pyro supports provide shields/resonance but lack resistance shred and scaling buffs. Electro supports offer damage/energy but lack dedicated support capabilities.
Chevreuse fills a very specific niche, and she fills it better than anyone else.
FAQ
Q: Is Favonius Lance really the best weapon for Chevreuse support? Yes, it provides optimal value through 30.6% ER and particle generation, reducing team energy requirements significantly. You’ll need 25-35% CRIT Rate, but the team support value is unmatched.
Q: How much HP should Chevreuse have for optimal support? Target 40,000 Max HP for maximum 40% ATK buff scaling. Requires HP% main stats on Sands, Goblet, and Circlet with supporting substats. It’s a hard target, but worth hitting.
Q: What artifacts work best for Overload Chevreuse builds? Noblesse Oblige 4pc for team ATK buffs with Burst rotations, Song of Days Past 4pc for healing effectiveness and damage bonuses. Both work – choose based on your team’s needs.
Q: Which characters pair best with Chevreuse in Overload teams? Raiden, Clorinde, Yoimiya as DPS options; Fischl for Electro application; Xiangling for Pyro enablement; Bennett for additional ATK buffs. The synergy with these characters is exceptional.
Q: How do you optimize Chevreuse’s energy recharge requirements? Aim for 160-200% ER depending on weapon choice. Favonius users can operate at lower values through particle generation, but don’t go below 160% unless you have multiple battery characters.
Q: What constellation level is recommended for Chevreuse support? C0 provides core functionality that’s perfectly viable. C4 enables multiple Hold Skills for enhanced support value. C6 delivers premium party-wide benefits but requires significant investment. C4 represents the optimal investment priority for most players.


