

Dan Heng • Permansor Terrae Tank Overview
Character Kit Analysis
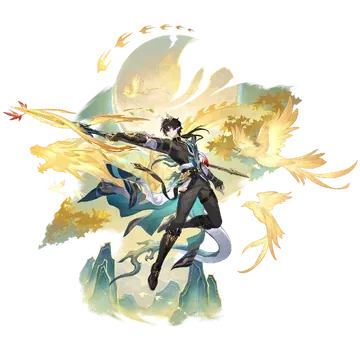
Here's where things get interesting – Dan Heng • Permansor Terrae breaks the traditional tank mold completely. As a 5-Star Physical Preservation character, he scales shields off ATK rather than the usual DEF/HP approach we're used to seeing. His Level 80 stats tell the story: 1047 HP, 582 ATK, 776 DEF (1st rank), 97 SPD. That ATK stat? It's your new best friend.
The kit's surprisingly elegant once you wrap your head around it. His Skill designates a Bondmate and summons that crucial Souldragon, providing team shields that scale at 20% ATK +400 for 3 turns – and here's the kicker, they stack up to 300%. Ultimate delivers a solid 300% ATK Physical AoE punch while refreshing those shields. The Talent auto-summons Souldragon (SPD 165) for debuff cleansing and applies additional 10% ATK +200 shields.
Editor's note: After testing extensively, that 165 SPD on Souldragon makes a massive difference in shield uptime – don't underestimate it.
For players looking to enhance their gaming experience, Honkai Star Rail Oneiric Shards buy options are available through BitTopup, offering competitive pricing and instant delivery for all your in-game currency needs.
Tank Viability Assessment
Let's cut to the chase – he's genuinely good. SS tier in Memory of Chaos, S+ in Pure Fiction, SS in Apocalyptic Shadow. Those aren't participation trophy ratings.
The ATK-scaling approach creates unique synergies with hypercarry teams that traditional tanks simply can't match. That Souldragon's 165 SPD provides consistent shield uptime and debuff cleansing without you having to micromanage everything. Key advantages include SP-positive gameplay (once you hit E1), permanent shield stacking mechanics, and surprisingly strong synergy with Sunday's kit.
Trace bonuses add up nicely: +28% ATK, +22.5% DEF, +10% HP. Nothing revolutionary, but solid foundation stats.
Essential Relic Sets for Tank Build
Early Game Relic Priorities
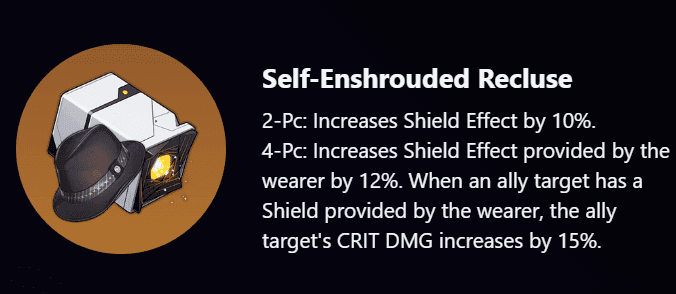
4-piece Self-Enshrouded Recluse is your gold standard here. The math's straightforward: +10% Shield Effect from 2-piece, then +12% Shield Effect plus +15% CRIT DMG to shielded allies from the 4-piece bonus.
Can't farm a full set yet? No problem. Mix 2-piece Self-Enshrouded with either 2-piece Messenger (for SPD) or Musketeer (for ATK%). Just remember – correct main stats matter more than set bonuses early on.
Main stats priority is non-negotiable: Body ATK%, Feet SPD, Sphere ATK%, Rope Energy Regen. Get these right first, optimize everything else later.
Stat Distribution Guide
Target benchmarks that actually work in practice: 3000+ ATK minimum, 134+ SPD for 2 actions per cycle, 120%+ Energy Regen Rate. Substat priorities follow a clear hierarchy: SPD (★★★), ATK% (★★), Flat ATK (★).
Here's the shield math that matters – at 3000 ATK, your base shields hit around 1000 value, scaling to 3000 with proper stacking. Maximum 300% stack limit means you're looking at 9000+ effective shielding when everything's managed correctly. That's not theoretical – that's real endgame protection.
Light Cone Recommendations by Budget
5-Star Premium Options
Though Worlds Apart (his signature) sets the standard with 529 base ATK, +24% ATK, +30% Shield Effect, and Ultimate healing at 10% ATK. S5 doubles most benefits to +48% ATK, +50% Shield Effect, 20% ATK healing. The real value? +36% team DMG post-Ultimate with summon synergies.
Personal take: The signature's expensive, but that team damage boost is where it really shines.
4-Star Alternatives
Journey, Forever Peaceful from Battle Pass delivers +12% Shield Effect and +12% ally damage boost – easily the strongest 4-star choice. She Already Shut Her Eyes offers Energy Regen and ATK scaling for sustained Ultimate usage, though it's less flashy.
F2P Accessible Choices
Landau's Choice provides taunt and damage reduction if you need basic functionality. But here's something most guides miss – high base ATK 4-star Light Cones like Thus Burns the Dawn (687 base ATK) can actually outperform specialized effects through raw stat contribution alone.
Stat Priority and Substats Guide
Main Stat Selection
Body: ATK% is mandatory for shield scaling. Feet: SPD targeting 134+ for that crucial 2 actions per cycle. Sphere: ATK% maximizes effectiveness across the board. Rope: Energy Regen Rate ensuring 120%+ total ERR.
Substat Optimization
Priority order that actually matters in practice: SPD > ATK% > Flat ATK > CRIT Rate/DMG > Effect RES.
SPD substats give you flexibility with main stat choices while maintaining action economy. Effect Resistance becomes valuable against debuff-heavy content – and trust me, there's plenty of that in endgame.
For players seeking convenient resource management, HSR Express Supply Pass purchase through BitTopup ensures seamless access to premium battle pass rewards and exclusive Light Cones, supporting optimal character development with secure transactions and instant delivery.
Breakpoint Calculations
Minimum thresholds: 2500+ ATK (1250 base shield), 134+ SPD (2 actions per cycle), 120%+ ERR. Optimal targets: 4000+ ATK (2000 base shield, 6000+ with stacking), 140+ SPD, 130%+ ERR.
These aren't suggestions – they're requirements if you want consistent performance.
Optimal Team Compositions
Core Team Synergies
Phainon Hypercarry: Phainon, Sunday, Cerydra, Dan Heng PT
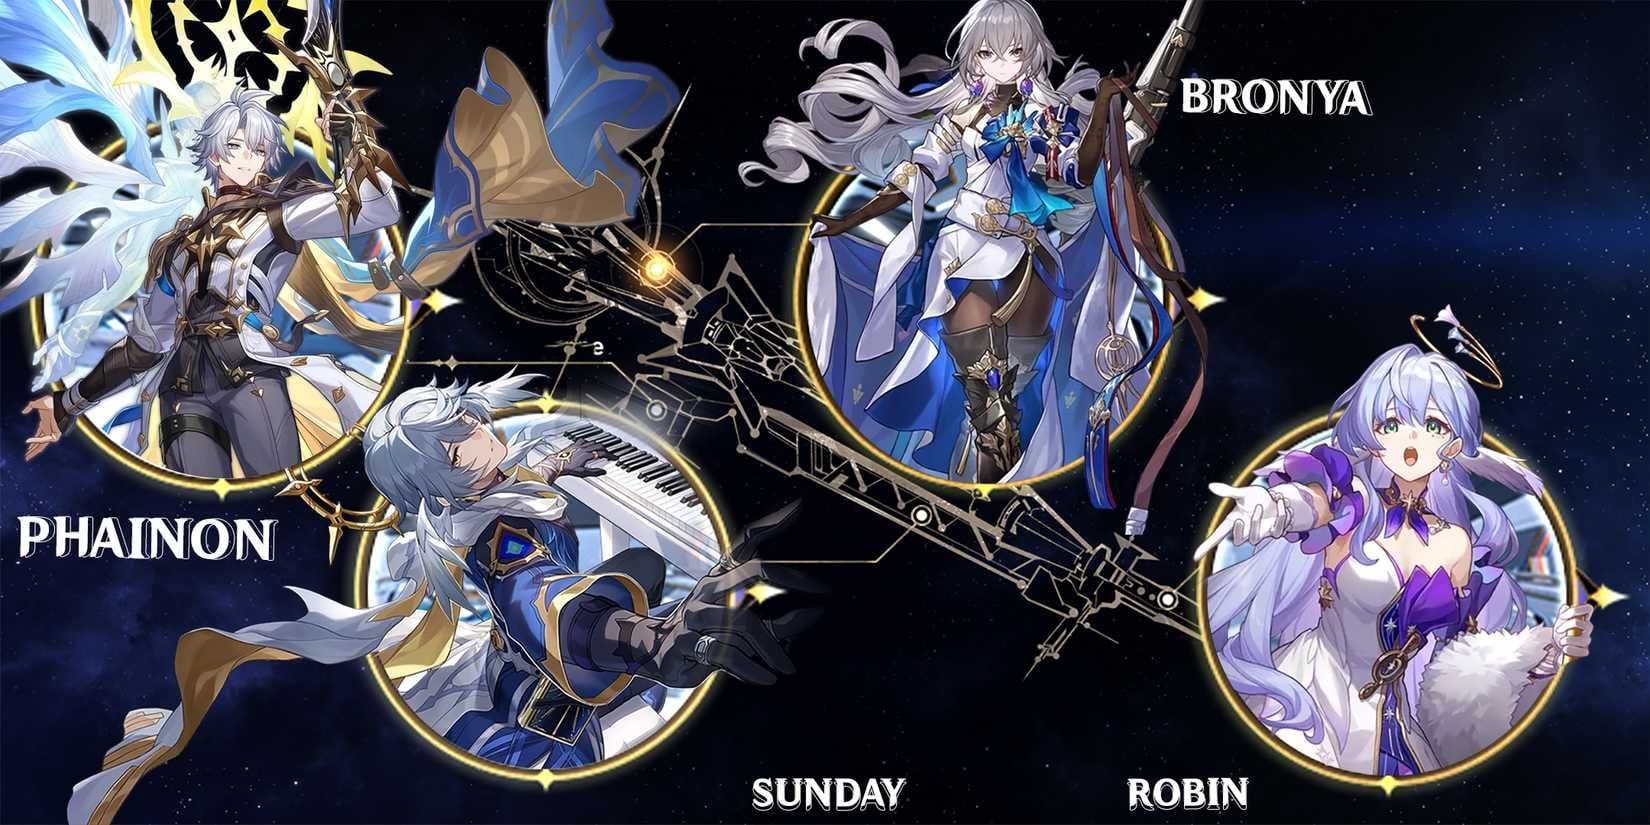
maximizes those ATK-scaling synergies beautifully. Sunday's summon buffs provide +45% DMG on shield/heal triggers, which procs constantly with proper rotation.
Anaxa Composition: Anaxa, Sunday, Cerydra, Dan Heng PT emphasizes burst damage with shield protection. Less sustained than Phainon setups, but the damage spikes are impressive.
Flexible Slot Options
Sunday's emerging as the premier support here – double summon advance, +80% DMG buffs that synergize perfectly with Souldragon mechanics. Cerydra provides action advance and damage amplification. Sparkle works as a Sunday alternative, though you lose some summon synergy.
F2P Setup worth trying: Dan Heng (Wind Hunt), Yukong, Asta, Dan Heng PT using entirely free characters. Yukong provides CRIT buffs, Asta contributes SPD and ATK scaling. It's not meta, but it works.
Skill and Trace Development
Leveling Priority Order
Maximum Priority: Skill and Ultimate for core shield scaling and AoE damage – these are non-negotiable. High Priority: Talent for Souldragon mechanics, bonus traces Sylvanity (+40% action advance, +6 Energy per Bondmate attack) and Empyreanity (+15% Bondmate ATK).
Material Requirements
Total investment gets expensive fast: 15 Fear-Stomped Flesh, 15 Courage-Torn Chest, 15 Glory-Aspersed Torso, 65 Invasive Clot, 308,000 Credits. Trace development adds another 3M Credits, 12 Daythunder Anamnesis, 8 Tracks of Destiny.
Grand total: 3,888,100 Credits. Plan accordingly.
Eidolon Investment Analysis
E1-E3 Value Assessment
E1 (★★★★☆): Ultimate recovers 1 SP, grants +18% RES PEN to Bondmate for 3 turns. This transforms him from SP-neutral to SP-positive – game-changing for team rotations.
E2 (★★★★★): +2 Souldragon actions, 100% action advance post-Ultimate, +200% additional DMG/shield scaling. Strongest single Eidolon by far.
Investment Recommendations
Smart stopping points: E0 gives complete tank functionality, E1 enables SP-positive gameplay, E2 provides substantial power spike, E6 is luxury territory. Priority order: E0S1 > E1S1 > E2S1 > E6S1.
Editor's perspective: E2 is where he really comes alive, but E0 is perfectly functional for most content.
Planar Ornament Selection
Best Ornament Sets
Lushaka, the Sunken Seas: +5% Energy Regen, +12% ATK to first position unit. This addresses both energy management and shield scaling – optimal choice for most builds.
Space Sealing Station: +24% ATK at 120+ SPD for substantial offensive scaling. Higher damage ceiling, but energy management becomes trickier.
Farming locations: Lushaka through Simulated Universe World 6, Space Sealing through World 3. Remember – correct main stats (Sphere ATK%, Rope Energy Regen) before chasing set bonuses.
Combat Strategies and Rotations
Skill Rotation Guide
Opening sequence: Use Technique for Daze and automatic Skill entry, establishing Bondmate and initial shields immediately. Standard rotation: Skill for Bondmate designation, Ultimate when energy permits
for AoE damage and Souldragon enhancement.
Energy Management: Target 120%+ ERR for Ultimate every 2-3 turns. Bondmate attacks generate +6 energy through Sylvanity trace, so designate high-frequency attackers as Bondmates for optimal generation.
The rotation's more flexible than most tanks – you're not locked into rigid patterns.
Common Mistakes and Optimization Tips
Build Pitfalls to Avoid
Stat Misallocation: Don't fall into the DEF%/HP% trap – his mechanics ignore traditional tank scaling entirely. Energy Neglect: Insufficient ERR leads to inconsistent Ultimate usage. Target 120%+ through Rope main stat and Lushaka set. Team Composition Errors: Avoid HP-scaling DPS that reduce Bondmate synergy effectiveness.
Performance Troubleshooting
Shield Inconsistency? Ensure you understand proper stacking mechanics and Souldragon frequency. E2 significantly improves uptime if you're struggling. SP Problems? E1 transforms the economy to positive – consider the investment. Energy Shortfalls? Verify Bondmate attack frequency, consider Sunday for additional energy support.
FAQ
Is Dan Heng • Permansor Terrae viable as main tank in endgame content? Absolutely. Those SS tier ratings in Memory of Chaos and Apocalyptic Shadow aren't inflated – ATK-scaling shields and Souldragon mechanics provide excellent protection while contributing meaningful damage.
What's minimum investment for effective tank performance? E0 with signature Light Cone or Journey Forever Peaceful works fine. Target 3000+ ATK, 134+ SPD, 120%+ ERR with 4-piece Self-Enshrouded Recluse and you're set for most content.
Should I prioritize signature Light Cone or E1? Signature Light Cone generally offers better value through team damage amplification and healing. E1's priority if you need SP-positive gameplay for specific team compositions.
Which team compositions work best? ATK-scaling hypercarry teams with Sunday support shine brightest. Phainon, Anaxa, Feixiao make excellent Bondmate options. Avoid HP-scaling DPS like Blade – the synergy just isn't there.
How do I manage energy requirements effectively? Equip Energy Regen Rope and Lushaka ornament for that +5% ERR boost. Designate frequent attackers as Bondmates for +6 energy per attack through Sylvanity trace. Sunday helps tremendously here.
Can F2P players build him effectively? Yes, though it requires more planning. Free E0 copy with Journey Forever Peaceful or Landau's Choice provides solid performance. Use 4-piece Self-Enshrouded with ATK%/SPD main stats and you'll handle most content just fine.


