

The Mobile Meta Landscape - What Actually Works
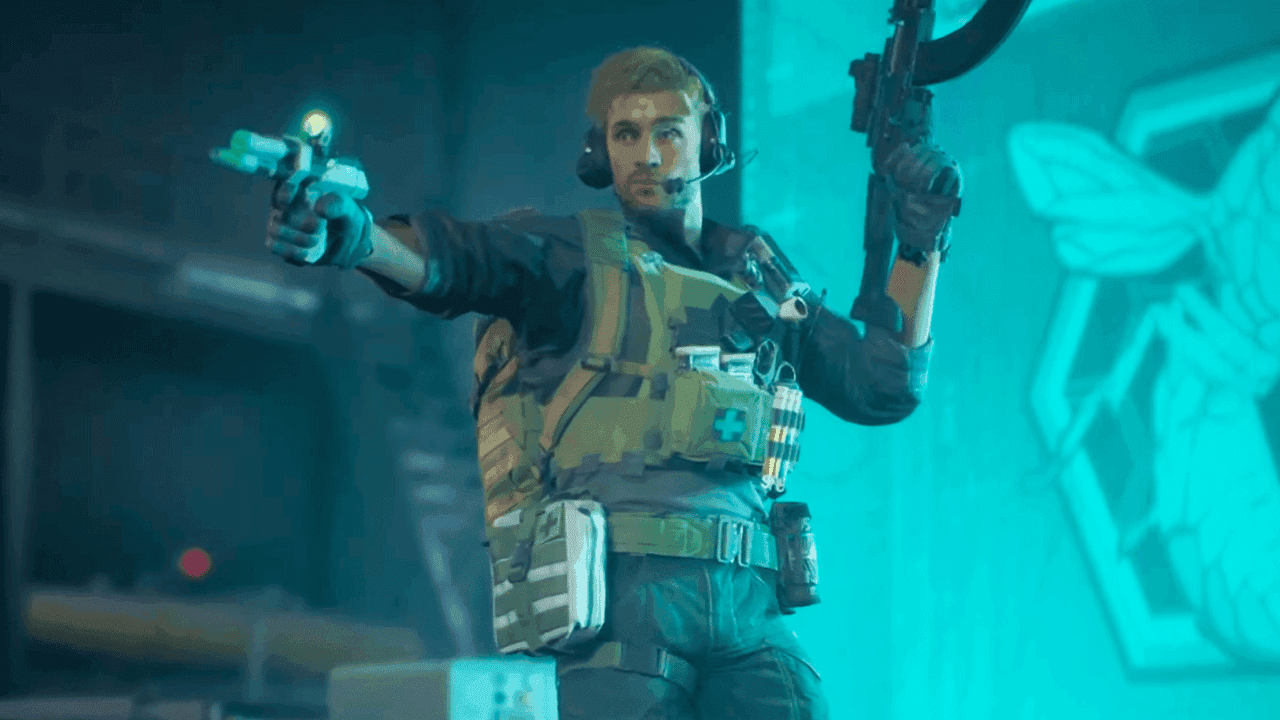
Here's the thing about Delta Force Hawk Ops on mobile - it's not just a straight port of the PC experience. The four operator classes (Assault, Recon, Support, and Engineer) each bring distinct advantages, but mobile controls completely reshape their viability.
Assault operators excel at front-line DPS with faster Aiming Down Sights (ADS) speeds. Recon handles intel gathering through radio access and those crucial respawn beacons. Support keeps your squad alive with healing and debuff removal - plus they rescue downed allies significantly faster. Engineers? They're your fortress builders and vehicle destroyers.
But here's where it gets interesting: Operations mode heavily favors extraction-focused abilities, while Havoc Warfare rewards sustained combat effectiveness. The catch? Skill-shot dependent characters take a serious hit on touch screens, while operators with straightforward, high-impact abilities maintain their strength across platforms.
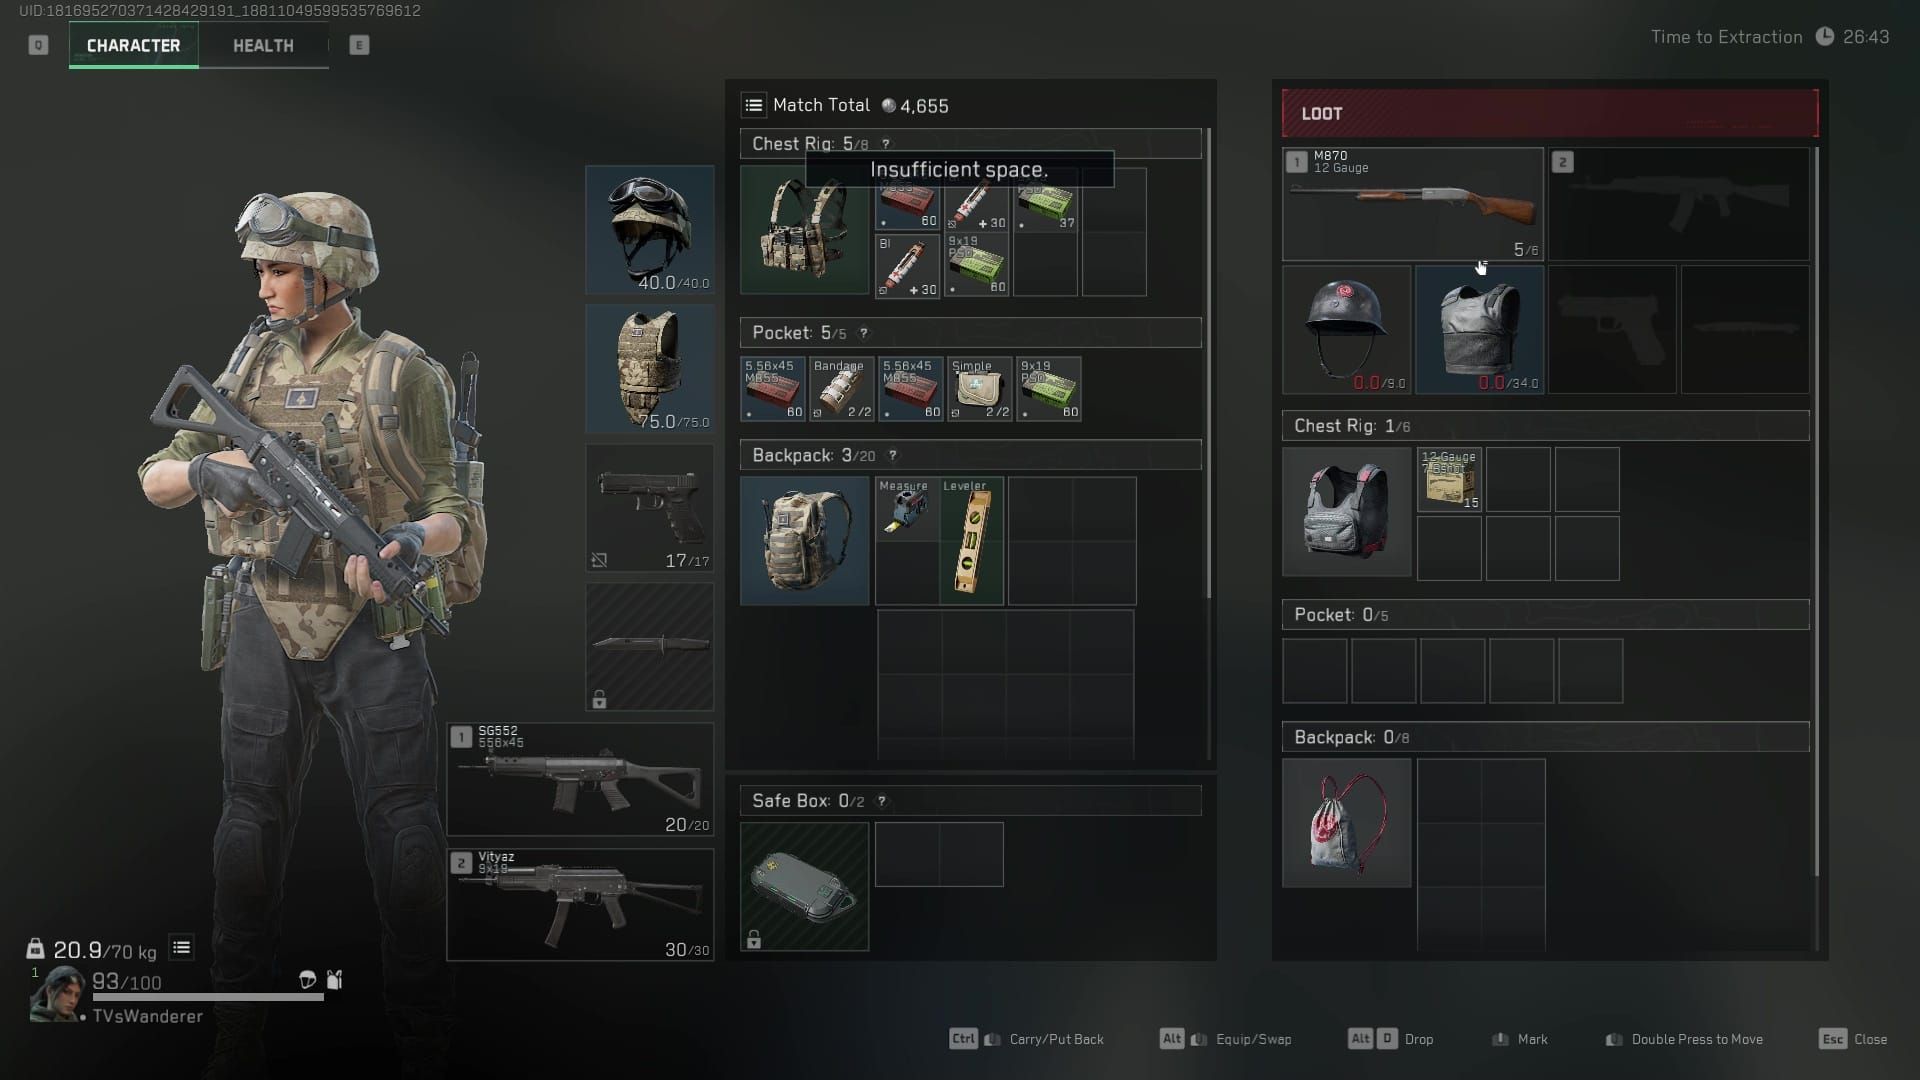
Quick note for players looking to unlock premium operators: Delta Force Mobile top up services through BitTopup provide secure and instant currency delivery with competitive pricing and 24/7 customer support. Trust me, having the right operators makes all the difference.
SS-Tier: The Untouchables
Luna (Recon) - The Intel Queen
Luna absolutely dominates the meta right now. SS-Tier in Operations, S-Tier in Havoc - and for good reason.

Her arrow ping system is borderline overpowered. We're talking enemy detection through walls with damage-over-time effects that actually matter. The Volt Arrow delivers electric shocks that immobilize targets, while her marking system increases damage intake for tagged enemies by 15-20%. That's huge in coordinated play.
The respawn beacon secures strategic positions, and honestly? The arrow system works beautifully with mobile touch controls. No complex aiming required - just point, shoot, and watch the intel flow.
Luna shines brightest on maps like Ascension where her detection range provides maximum value against vehicle threats. Just remember: close-range arrow usage reveals your position. Stay in cover, engage at mid-range, and let your team capitalize on the intel you're feeding them.
Stinger (Support) - The Squad Savior
If Luna's the intel queen, Stinger's the lifeline everyone depends on. SS-Tier in Warfare through absolutely unmatched healing capabilities.
That Stim Pistol? It's not just rapid healing - it's heal-over-time effects while removing debuffs like blurred vision and mobility loss. Game-changing stuff. Dual smoke deployment creates vision barriers, quick recharge ensures consistent team support, and she can revive squad externals at increased speed.
Her strength lies in enclosed areas where smoke walls provide maximum cover. Open areas? That's where she struggles. The SCAR-H primary weapon delivers solid damage, though you'll need to grind extensively for proper attachments.
S-Tier: The Reliable Powerhouses
Raptor (Recon) - The Gadget Killer
Fresh from Season 6 (September 23, 2025), Raptor brings something completely new to the table. EMP capabilities that disable enemy lasers, optics, and deployables within 8-10 meters.

His Ultimate Trace Scanner provides five simultaneous enemy pings - basically temporary wallhacks. The passive Trace Tracker reveals enemy footprints, boosting survival rates 15-20% in fog conditions. That's not just useful; it's meta-defining.
Raptor excels in that sweet 30-40 meter engagement range where EMP grenades counter sniper positions effectively. Pair him with Luna for comprehensive intel coverage - honestly, he's the ideal second unlock for Recon players.
D-Wolf (Assault) - Speed Demon
D-Wolf maintains S-Tier through exceptional mobility and objective access. The Motorized Exoskeleton provides speed boosts and HP recovery on knockdowns while ignoring injury effects during dashes.
Triple Blaster fires sticky grenades for chokepoint control. Slide mobility enables quick repositioning for loot collection and flanking maneuvers. Versatile AR selection supports multiple engagement ranges.
Some beginner guides rank him A-Tier due to the learning curve, but experienced players leverage that speed advantage for aggressive objective pushes. Once you master the movement mechanics, he's unstoppable.
A-Tier: Situational Specialists Worth Mastering
Vyron (Assault) - The Aerial Menace
A-Tier in Operations, S-Tier in Havoc. Vyron's all about dynamic propulsion abilities that catch enemies off-guard.
Compressed air knockdowns force enemy positioning disadvantages - imagine knocking someone off a roof mid-firefight. Dynamic Propulsion enables short flights for evasion, while Magnetic Bombs stick to vehicles dealing massive AoE damage. Fall damage reduction ensures safe landings.
He excels in aggressive AR pushes where forced knockdowns create finishing opportunities. Indoor effectiveness with time bombs proves valuable for objective clearing, though open-area vulnerability requires careful positioning.
Hackclaw (Recon) - The Silent Assassin
Consistent A-Tier performance through 60-meter enemy detection and device hacking capabilities. Data Knight reveals armor intel during reconnaissance, quieter movement enables silent NPC takedowns.
Flash drone guarantees close-range wins despite visibility limitations and steep learning curves. Excels in coordinated team pushes where detection pings guide Assault positioning.
Fair warning: requires significant practice investment. But skilled players get rewarded with consistent information advantages that win matches.
B-Tier: The Underrated Workhorses
Shepherd (Engineer) - Area Denial Master
B-Tier in Warfare, S-Tier in Operations. That ranking jump tells you everything about his extraction value.
Sonic mine deployment and drone-based area denial define his playstyle. Sonic Paralysis suppresses enemy fire rates while slowing movement, explosive resistance reduces incoming damage. Offensive drone counters enemy reconnaissance while securing pathways.
Vehicle destruction specialization proves valuable against helicopter and tank threats. Pairs excellently with Uluru for fortress-style defensive setups that can lock down entire areas.
Uluru (Engineer) - The Barrier Builder
B-Tier in Operations, S-Tier in Havoc. Versatile cover creation through Quickset Cover - high, wide barriers that block doorways and provide instant protection.
Loitering missiles deal 30 armor damage plus explosion effects for vehicle destruction. Incendiary grenades deny areas and counter enemy barriers effectively. Controllable missiles flush chokepoints like nothing else.
When players need to buy Delta Force currency for unlocking premium Engineers like Uluru, BitTopup offers instant delivery ensuring seamless access to meta operators.
Mode-Specific Meta Breakdown
Operations: Extraction is Everything
Operations prioritizes extraction success over eliminations. Quiet movement and revival capabilities reign supreme here.
SS-Tier Luna and Toxik excel through scouting arrows and powerful debuffs that increase extraction chances. S-Tier includes Hackclaw for silent takedowns, Shepherd for area securing, Nox for flashbang utility, and Vyron for indoor explosive clearing.
Gear loss on mission failure emphasizes survival over aggression. Engineer barriers provide extraction point defense, while Recon intel prevents ambushes during loot collection phases.
Havoc Warfare: Conquest and Chaos
Unlimited respawn system shifts priorities toward objective control and vehicle destruction. SS-Tier Stinger and Luna dominate through squad revives and spawn point management.
S-Tier includes Uluru for missile vehicle destruction, Vyron for aggressive repositioning, and Shepherd for area denial around capture points. Vehicle destruction becomes critical - Engineer anti-vehicle tools gain massive importance.
Squad Synergy and Advanced Play
The Perfect Squad Composition
Most effective setup? One from each class: Luna (Recon) for intel, Stinger (Support) for healing, Shepherd or Uluru (Engineer) for barriers, D-Wolf (Assault) for mobility.
This balanced approach ensures role coverage while maximizing synergy potential. Team coordination requires pre-match role assignment and landmark-based callouts. Maintain formations with designated point, support, and rear positions while synergizing abilities - Luna pings followed by D-Wolf dashes, for example.
Mastering Your Main
Each class requires 2-3 weeks of focused practice for true mastery. Assault mastery involves slide-dash practice with D-Wolf, recoil control attachments on M4A1, and coordination with Support for sustained pushes.
Recon mastery emphasizes Luna arrow placement from cover, high-ground beacon deployment, and communication-focused intel sharing. Support mastery requires positioning 10-15 meters from objectives for quick revives, proactive smoke deployment for healing cover, and immediate debuff removal.
Engineer mastery? That's all about chokepoint barrier placement, mine and drone deployment for area denial, plus vehicle repair or fence cutting for tactical advantages.
Counter-Play and Advanced Strategies
Covering Operator Weaknesses
Luna's position reveal risk during close-range arrow usage requires mid-range engagement from cover positions. Practice peeking techniques in offline modes while pairing with smoke grenades for concealment.
Stinger's open-area struggles demand enclosed map selection and proactive smoke wall deployment. Master positioning with team coordination, utilize quick-recharge Stim Pistol for mobility compensation. Avoid solo revive attempts - favor coordinated team pushes.
Hackclaw's visible flash drone limitation requires deployment during coordinated team pushes rather than solo engagements. Use the drone as a last resort for guaranteed close-range wins while training in Hot Zone mode for penalty-free practice.
Looking Ahead: Season 7 Changes
Season 7 introduces Gizmo (November 18, 2025) bringing Crawler Nest spawning with three exploding spiders that apply Corrosion for increased bullet damage. Smoke Mines slow and reveal enemies, while Ultimate Hunting Spider webs disable and mark targets.
This shifts the area denial meta significantly. Cross-progression support across PC, PlayStation, and Xbox ensures operator unlocks transfer between systems. Practice in Raid mode against AI provides penalty-free skill development, while Hot Zone offers PvP experience without gear loss.
FAQ
Who's the best operator for beginners? Luna (SS-Tier Recon) offers straightforward arrow ping mechanics and high impact intel gathering. You'll provide immediate team value while learning map awareness fundamentals.
Which operators work best for solo queue? Stinger (Support) and D-Wolf (Assault) excel through self-sufficiency and team impact. Stinger provides healing independence while D-Wolf offers mobility for objective access without requiring coordination.
How do mobile controls affect tier rankings? Mobile controls favor simple, high-impact abilities over complex skill-shots. Luna's arrow system and Stinger's healing translate beautifully to touch controls, while precision-timing operators face reduced effectiveness.
What's the best squad composition for Operations? Luna (Recon), Stinger (Support), Shepherd (Engineer), and Nox (Assault) provide optimal extraction success through intel, healing, area denial, and stealth capabilities.
When should I prioritize Engineer operators? Engineers excel in defensive scenarios, vehicle-heavy maps, and chokepoint control. Use Uluru for barrier creation during extractions or Shepherd for mine-based area denial around key objectives.
How often do tier rankings change? Rankings update monthly with seasonal content and weapon balances. Major shifts occur with new operator releases like Raptor (Season 6) and Gizmo (Season 7), while minor adjustments follow weapon meta changes.


