

Core Mechanics Comparison
Rules of Engagement & Respawn Systems
Havoc Warfare? Pretty straightforward. You die, you respawn – rinse and repeat until your team runs out of tickets. The whole thing revolves around pushing through five checkpoints, grabbing two objectives at each stage. Attackers win by steamrolling through everything; defenders succeed by bleeding the enemy dry through smart positioning and ticket denial.

Now Tactical Turmoil – that's where things get spicy. No respawns. Period. When you go down, you're not just out of the fight; you're kissing goodbye to whatever gear you brought in. The extraction mechanics create this constant tension where every corner could be your last. And don't get me started on the Mandelbrick supply – sure, it's got the good stuff, but grabbing it basically paints a target on your back for every squad in the area.
Economy vs. Class Systems
The contrast here is night and day. Havoc Warfare keeps things simple with pre-built loadouts and unlimited ammo stations scattered around the map. Tactical Turmoil throws you into this whole survival economy where you're scrounging for resources, hitting up black sites to trade loot, and actually investing in gym upgrades (yes, really) to boost your stamina.
Progression works differently too. Havoc's all about racking up kills and objective points to call in support strikes. Turmoil? It's pure survival statistics and gear accumulation – much more methodical.
Best Loadouts for Havoc Warfare
The Aggressive Assault: M4A1 Meta Build
There's a reason the M4A1 sits at a 10.1% pick rate with S-Tier status. This thing just works. 25 damage per shot, 672 RPM, and recoil that's actually manageable once you get the attachments right.
Build Code: 6FINC4G0CQTV1IBVCBQVT
Key Attachments: The Sandstorm Vertical Compensator is non-negotiable (+9 recoil control – you'll feel the difference immediately). Elite Long Barrel Combo extends your effective range, while the Ranger Handguards x6 add another +6 control points. Slap on a Hydra Riser with Panoramic Red Dot for clean sight pictures, and that 45-round mag keeps you in fights longer than the competition.
This setup absolutely dominates under 40m, and with proper breath control, you can stretch effective range out to 50-100m. (Personal note: I've been running variations of this build since launch, and it's consistently reliable.)
The Vehicle Buster: Engineer Loadouts
Uluru brings S-Tier performance through pure area denial. When vehicles start rolling in, this is your answer.
Primary Weapon: SCAR-H Battle Rifle
Build Code: SCAR-H Battle Rifle-5620492356433220292-Havoc Warfare
Operator Abilities: TV cluster missiles that'll clear both infantry and vehicles, instant cover grenades for emergency positioning, incendiary grenades that burn through enemy cover, and those beautiful anti-vehicle rockets with dumb-fire capability when lock-on fails.
The SCAR-H hits for 40 damage per shot with surprisingly tight recoil patterns – perfect for those medium-to-long range engagements where the M4A1 starts to struggle.
The Long-Range Support: Sniper Dominance
AWM Sniper Rifle earned its S-Tier status the hard way. 100 damage output, 200m effective range, and the satisfaction of one-shot chest kills within 30m.
Build Code: 6F50VEC0CH8TK2MI8PG7U
Specifications: 750m/s muzzle velocity means minimal bullet drop calculations. The Resonant Suppressor keeps you off the minimap, while the AWM Skyline Long Barrel (Level 35 unlock – yeah, it's a grind) maximizes that damage potential.
Pair this with Luna for those detection arrow wall-hacks. Game-changing intel gathering.
Best Loadouts for Tactical Turmoil
The Budget Runner: SMG Efficiency
SMG-45 dominates close-quarters extraction with its 6.1% pick rate and S-Tier CQC performance. When you need to get in, grab loot, and get out – this is your tool.
Build Code: 6HLOBLC09MFFCME3G7LT2
Tactical Advantages: That 40-round magazine keeps you in room-clearing operations longer than you'd expect. SMG Echo Suppressor for stealth movement (crucial in Turmoil), high RPM for those oh-shit moments, and solid effectiveness up to 40m.
Run this with Stinger positioned 10-15m from objectives with pre-planned escape routes. Always have an exit strategy.
The Meta Powerhouse: CI-19 Long-Range Build
CI-19 Assault Rifle sits at 9.5% pick rate with S-Tier status for good reason – versatility in extraction scenarios where you can't predict engagement ranges.
Build Code: 6HLOANO09MFFCME3G7LT2
Performance Features: 60-round drum magazine for those extended firefights when extraction goes sideways. New Leviathan Barrel pushes effective range to 55m, CI-19 Newtype Stable Gas Block manages recoil beautifully, and Season 6 suppressor bonuses (+9% range, 15-20% survival improvement) make this build incredibly forgiving.
This configuration excels at medium-long range while maintaining the mobility you need for extraction phases.
The Stealth Specialist: Suppressed Operations
SR-3M SMG brings A-Tier stealth capabilities with integrated suppression that actually matters in Turmoil's audio-heavy gameplay.
Build Code: 6FFVV9O02IUUSDGSUS7DN
Stealth Advantages: PBS Russian Suppressor masks audio signatures effectively, VSS 45-round magazine capacity, 972 RPM for close engagements, and subsonic rounds that are genuinely difficult to pinpoint.
Perfect for vegetation-heavy maps like Forests where audio cues literally determine who lives and who loses their gear.
For players looking to enhance their Tactical Turmoil experience with premium operators and weapon unlocks, Delta Force game top up services through BitTopup offer secure payment processing and instant delivery. BitTopup maintains industry-leading security standards with competitive pricing across multiple payment methods.
Operator Selection Strategy
Optimal Team Composition Framework
Squad composition isn't just about picking your favorite operators – it's about covering essential roles that complement each other.
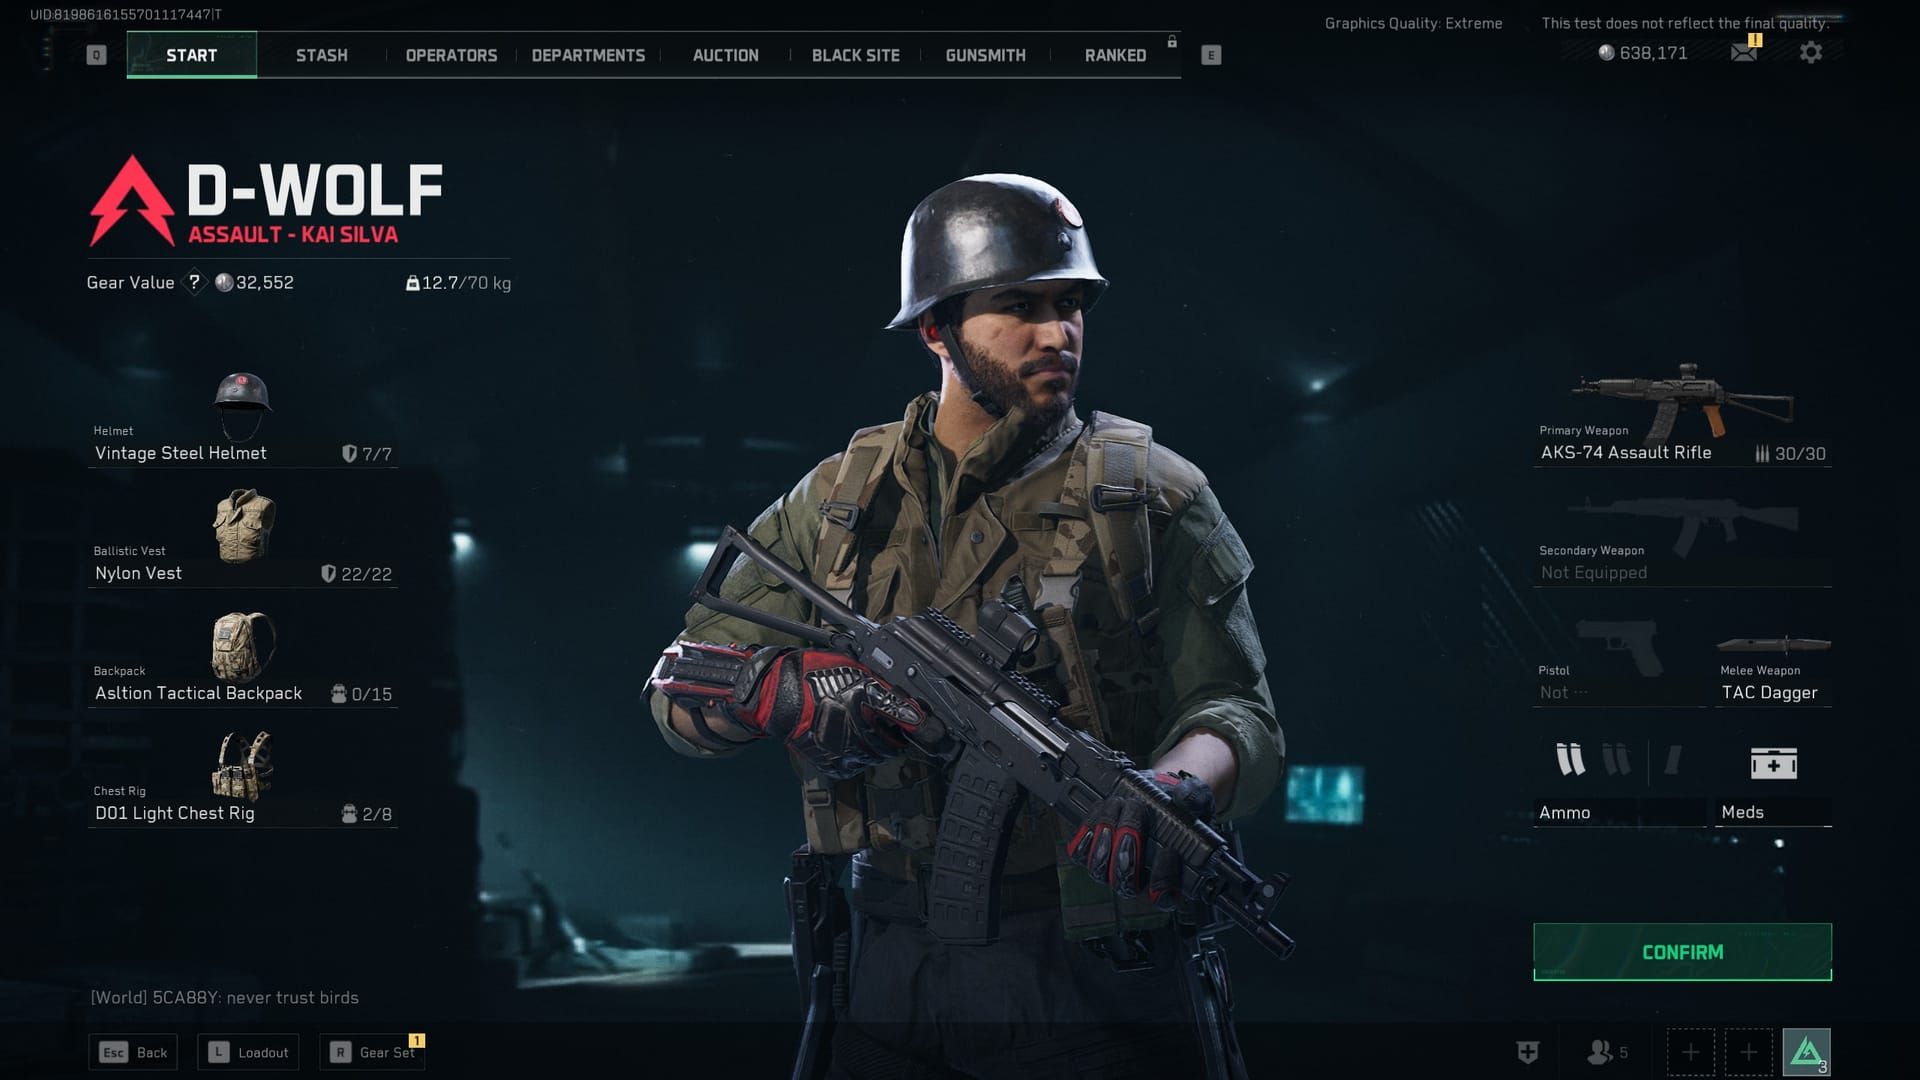
Recon (Luna): SS-Tier for intel gathering with those detection arrows that reveal enemy positions through walls. Support (Stinger): S-Tier in Turmoil for healing and revives without the usual health debuff. Engineer (Uluru/Shepard): S-Tier in Havoc for area denial and vehicle control. Assault (D-Wolf/Vyron): A-Tier for mobility and aggressive pushes.
Mode-Specific Operator Performance
Havoc Warfare Tier Rankings: Luna dominates with S-Tier performance on open maps where intel wins fights. Shepard brings S-Tier vehicle denial and area control. Uluru's barrier deployment and missile strikes earn S-Tier status. Vyron's dash resets and repositioning capabilities also hit S-Tier.
Tactical Turmoil Tier Rankings: Stinger's quick revives without health penalties make him S-Tier essential. Luna drops to A+ Tier but still valuable for movement detection and ambush setup. Hackclaw brings A-Tier path tracking and device disruption. D-Wolf's speed boosts and healing on kills earn A-Tier status.
Gunsmithing: Tuning for Mode Optimization
Attachment Priority System
Here's where the real customization depth shows up. Primary Considerations include recoil control (that Sandstorm Vertical Compensator +9 is gold standard), optics selection (Cobra for mid-range versatility, OSIGHT for close-quarters), magazine capacity (45-round for sustained engagements), and tactical devices (DBAL-X2 for movement accuracy).
Attachment weight and placement affect multiple stats simultaneously – it's not just plug-and-play. Heavy stocks improve recoil control but tank your ADS speed. You've got to balance based on your expected engagement ranges.
Import Process: Navigate to Gun Customization > Weapon > Preset, hit that Import function, paste the build code, confirm attachment compatibility, and save for quick access. Pro tip – avoid stacking similar attachment effects due to diminishing returns.
Mode-Specific Tuning
Havoc Warfare Focus: Prioritize recoil control for sustained automatic fire, extended magazines for those prolonged objective fights, range optimization for large map distances.
Tactical Turmoil Focus: Suppressor integration for stealth movement (can't stress this enough), handling improvements for quick target acquisition, weight reduction for extraction mobility when you're loaded down with loot.
Tactical Tips for Winning
Squad Communication Protocols
Effective callouts require concise landmark references and threat assessment. Use map-specific terminology for enemy positions, loot locations, and extraction routes. Maintain formation discipline with designated point, support, and rear security roles.
(Editor's note: I've seen too many squads fall apart because someone decided to go Rambo instead of sticking to their assigned role.)
Resource Management Strategies
Havoc Warfare: Utilize vehicle repair/reload stations strategically – they're not just convenience, they're tactical assets. Coordinate support call-ins (bombardment for area softening, guided missiles for high-value targets), and manage individual points from kills/objectives for optimal timing.
Tactical Turmoil: Conserve ammunition for extraction phases when things inevitably go sideways. Prioritize objectives and loot over unnecessary engagements – every fight you don't take is gear you don't risk. Plan unanimous extraction timing to avoid squad separation.
Counter-Meta Strategies
Against AWM Snipers: Deploy smoke grenades for vision denial, execute multi-angle pushes to overwhelm their positioning, use Raptor's EMP to disable optics temporarily.
Against SMG-45 Rushes: Maintain 10+ meter engagement distances where possible, employ M250 LMG suppression fire to control their movement, counter with SR-3M stealth flanking.
Common Loadout Mistakes to Avoid
Gear Optimization Errors
Overloading Equipment: Heavy loadouts create mobility penalties that'll get you killed. Prioritize essential gear like SMG-45 for movement speed over maximum armor configurations – dead players don't benefit from extra protection.
Attachment Stacking: Avoid redundant modifications. Diversify between recoil control, range extension, and handling improvements rather than focusing on single attributes. Diminishing returns are real.
Weapon Mismatching: Stick to proven low-recoil platforms like M4A1 instead of high-recoil alternatives like AKM until you've mastered recoil patterns. The AKM hits harder, but good luck staying on target.
Tactical Mistakes
Solo Aggression: Maintain squad formation integrity. Individual pushes result in elimination and gear loss in Turmoil or ticket waste in Havoc. Your team can't help you if you're three buildings away.
Ammunition Waste: Conservative firing preserves resources for critical extraction moments in Turmoil. Practice burst firing over full-automatic spray – your ammo count will thank you.
Map Awareness Neglect: Study offline modes for choke point identification, flanking routes, and optimal positioning before live deployment. Knowledge is literally survival in these modes.
For players seeking reliable game currency and premium content access, Delta Force recharge online through BitTopup provides secure transactions with competitive pricing and instant delivery. BitTopup's platform ensures safe account handling and 24/7 customer support for seamless gaming experiences.
Conclusion: Choosing Your Primary Mode
Havoc Warfare suits players seeking large-scale combat with vehicle warfare, destructible environments, and respawn-based progression. It's more forgiving, more chaotic, and honestly more immediately satisfying.
Tactical Turmoil appeals to extraction shooter enthusiasts who prefer high-stakes survival mechanics, gear progression, and tactical decision-making. Every choice matters more.
Both modes benefit from Season 6's suppressor rework providing +9% range bonuses and 15-20% survival rate improvements. Season 7 launches November 18, 2025, introducing new Engineer operators with crawler nests and explosive spider deployments – should be interesting.
My recommendation? Start with Havoc Warfare for FPS fundamentals, then transition to Turmoil's advanced mechanics once you've got the basics down.
FAQ
What is the main difference between Havoc Warfare and Tactical Turmoil? Havoc Warfare is a large-scale 32v32 respawn-based mode with vehicle combat, while Tactical Turmoil is an extraction shooter where death results in gear loss and mission failure.
Which weapons work best in both modes? M4A1 (code 6FINC4G0CQTV1IBVCBQVT) and SMG-45 (code 6HLOBLC09MFFCME3G7LT2) excel across both modes due to their versatile range capabilities and manageable recoil patterns.
What operators should beginners choose? Start with Luna (SS-Tier recon), Stinger (S-Tier support), and D-Wolf (A-Tier assault) for their forgiving abilities and strong performance across both modes.
How do I import weapon build codes? Navigate to Gun Customization > Weapon > Preset > Import, paste the build code, confirm attachments, and save the configuration for quick access.
Can you play Tactical Turmoil solo effectively? While possible, Tactical Turmoil heavily favors 3-person squad coordination. Solo play requires exceptional map knowledge, stealth tactics, and conservative engagement strategies.
What's the best way to practice before jumping into ranked matches? Complete tutorials, practice in Hot Zone (3v3v3 no-loss mode) for 15 minutes daily, master recoil patterns in firing range, then progress to full mode deployment with communication focus.


