

Furina Kit Overview & Team Role Analysis
Let's be real here — Furina's kit is deceptively complex for what looks like a straightforward support character.
Elemental Skill Mechanics
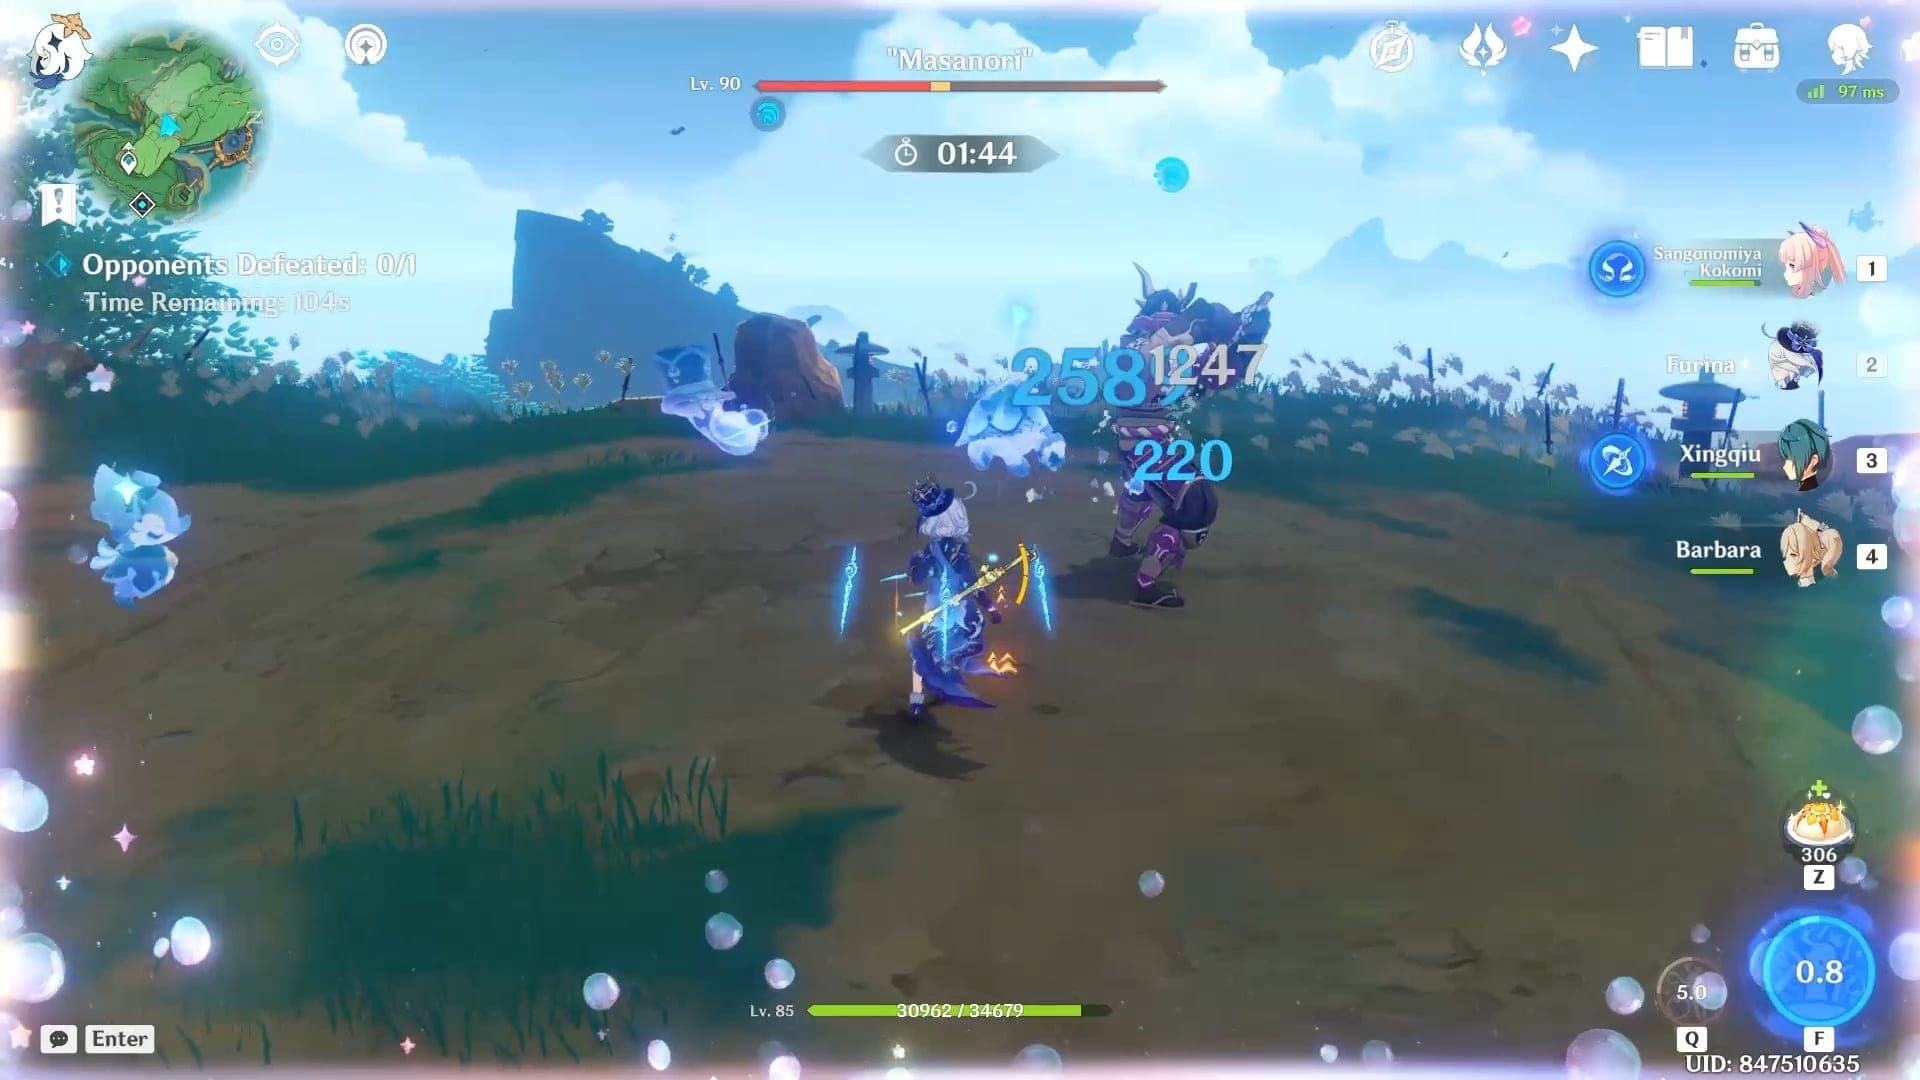
Her Salon Solitaire runs on a 20-second cooldown with 30-second duration, which creates this interesting overlap window that most players completely ignore. In Ousia mode, she summons three little damage dealers that hit for 3.23%-8.29% of her Max HP while draining 1.6-3.6% Max HP from teammates above 50% health. The damage scaling jumps dramatically — we're talking 110%-140% increases — based on how many qualifying teammates you've got.

Here's where it gets spicy: at 40,000 HP, her Ascension 4 passive boosts those Salon Member damage numbers by 28%. That's not a typo.
Pneuma mode flips the script entirely. Instead of damage, you get the Singer of Many Waters restoring 4.8% Max HP plus a flat 462 per tick. The healing interval actually speeds up by 0.4% for every 1,000 HP she has, maxing out at 16% acceleration when she hits that 40k threshold.
Burst Utility
Universal Revelry is where the magic happens — 60 energy cost, 15-second cooldown, and it creates the Fanfare system that makes Furina absolutely broken in the right hands. Every 1% Max HP change generates 1 Fanfare point, capping at 300 stacks (400 with C1). At maximum stacks and Talent Level 10? Your entire team gets 75% DMG Bonus and 30% Incoming Healing Bonus.
But here's the thing most guides won't tell you: Fanfare generation isn't just about having a healer. You need dedicated drain-heal cycles. Overhealing before HP drain literally halves your damage potential, while delaying healing 5-10 seconds post-drain can net you 150+ stack accumulation. C2 completely breaks this system with +250% Fanfare gain rate and converts excess into +0.35% Max HP (capping at 140%).
For maximizing Furina's potential through constellations, Genshin Impact Genesis Crystals top up through BitTopup offers competitive pricing and instant delivery for those crucial constellation pulls.
Neuvillette Hypercarry Teams with Furina
This is where Furina truly shines — and the numbers back it up.
Core Team Setup
The premier composition that's been dominating Spiral Abyss? Furina/Neuvillette/Kazuha/Xilonen, clocking in at 53.2% usage rates in Abyss 4.2. That's not just popular — that's meta-defining.
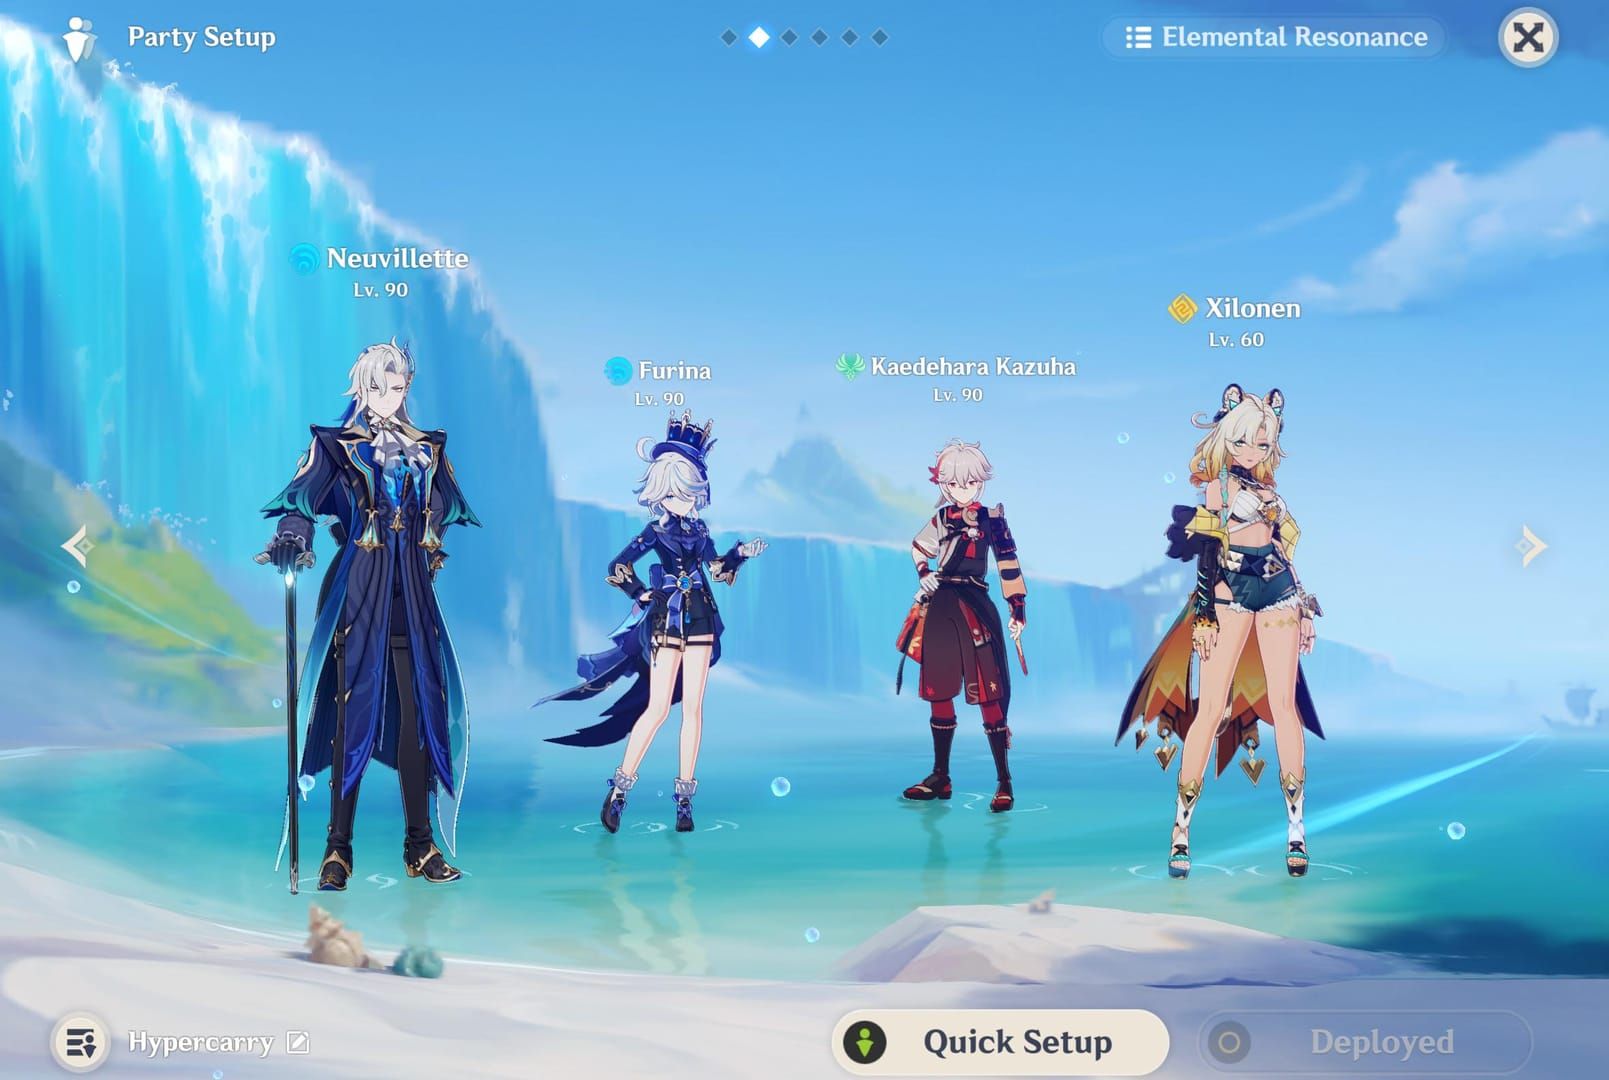
Hydro Resonance gives you +25% Max HP, which benefits both characters' HP scaling beautifully. Neuvillette's self-draining Charged Attacks naturally generate Fanfare stacks while keeping him above that crucial 50% HP threshold for Salon Member damage bonuses. It's synergy at its finest.
Equipment priorities are pretty straightforward: Neuvillette wants Tome of the Eternal Flow with 4-piece Marechaussee Hunter (HP% sands, Hydro DMG goblet, CRIT circlet). Furina gets Splendor of Tranquil Waters with 4-piece Golden Troupe — HP% sands and circlet, but prioritize CRIT Rate/DMG > HP% > ER on substats.
Rotation Sequence
Here's the 20-second rotation that'll maximize your Fanfare buildup:
- Furina Ousia Skill (0s) + immediate Burst (1s)
- Xilonen Skill + 2 Normal Attacks (2-3s)
- Kazuha Skill + Burst for VV shred (4-7s)
- Neuvillette DPS phase: Skill + Charged Attack spam (8-18s)
- Neuvillette Burst + 2 Charged Attacks for maximum damage
The burst-first strategy is crucial here. It enables full 18-second ramp-up versus getting stuck with less than 100 stacks if you cast late. That 15-second Burst cooldown aligns perfectly with 20-second Skill cycles when you manage it properly.
Damage Optimization
Target stats you should be hitting: HP 35,000-40,000, CRIT Rate 60-80%, CRIT DMG 160-200%, ER 180%+. Marechaussee Hunter provides +36% CRIT Rate from HP fluctuations alone — it's basically free stats.
Real-world outputs? Neuvillette Hyperbloom variants are hitting 83,849 DPS, while standard hypercarry maintains 75,000+ DPS consistently. That universal 75% damage bonus creates multiplicative scaling with Kazuha's EM sharing and Xilonen's resistance shredding. It's beautiful when it all comes together.
Furina Taser Team Compositions
Taser teams with Furina are criminally underrated, especially with the new Lunar-Charged mechanics.
Electro Unit Selection
The core composition I've been testing — Furina/Neuvillette/Ineffa/Xilonen — leverages those Lunar-Charged mechanics for enhanced Electro-Charged damage, achieving 35,000-45,000 DPS in AoE situations. Ineffa provides Lunar-Charged enhancement that transforms standard Electro-Charged into crit-capable reactions, which is honestly game-changing.
Alternatives include Ororon for similar Lunar-Charged benefits, or the tried-and-true Fischl/Beidou combo for consistent off-field Electro.
Energy management gets tricky here: Ineffa needs 160-180% ER, while Furina can get away with 140-160% in double Hydro setups. Electro Resonance helps through High Voltage passive every 5 seconds on Electro reactions.
Driver Options
Neuvillette serves as your primary driver, providing consistent Hydro application through Charged Attacks while maintaining those crucial HP fluctuations. His self-contained kit requires minimal support field time, which maximizes Furina's summon uptime.
For optimal taser performance requiring multiple Electro characters, Buy Genesis Crystals online through BitTopup's secure platform ensures you've got resources for complete roster building.
Elemental Mastery Scaling
Electro-Charged scales with the formula ((6 * EM) / (EM + 2000)) * 100%, reaching 96% bonus at 500 EM and 162% at 1000 EM. Lunar-Charged mechanics enhance this scaling through Ineffa's passives, creating multiplicative opportunities that exceed traditional limitations.
Artifact priorities shift here: EM/EM/EM Viridescent Venerer on Kazuha, HP focus on Furina for Fanfare generation and Salon Member scaling.
Double Hydro Setups & Synergies
Double Hydro isn't just about resonance — though that +25% Max HP is pretty sweet.
Hydro Resonance Benefits
That resonance bonus pushes Furina toward 40,000+ HP thresholds while enabling EM Sands on HP-scaling allies. It benefits both Neuvillette hypercarry setups where characters scale from HP while providing complementary application patterns. Energy management improves dramatically, reducing Furina's ER requirements from 220% (mono) to 180% (double) at C0-C3.
Partner Selection
Yelan provides the premier partnership with single-target Hydro application through Normal Attack mechanics and those ramping damage buffs. Alternatives include Kokomi for sustained healing and Thrilling Tales buffs, or Sigewinne for Skill damage amplification targeting Salon Members.
Some examples that work beautifully: Hu Tao/Furina/Yelan/Jean for Vaporize, Neuvillette/Furina/Yelan/Kazuha for pure Hydro dominance.
Energy Management
Double Hydro creates particle sharing opportunities, particularly with Favonius weapons. Favonius Sword on Furina provides 61.3% ER substat plus 60-100% chance for 6 Energy particles on CRIT hits. C4 constellation provides 16-20 Energy per rotation through +4 Energy every 5 seconds, enabling HP% Sands over ER% Sands.
Optimal Rotation Guides by Team Type
Getting rotations right separates good Furina players from great ones.
Hypercarry Rotations
Standard rotations prioritize Fanfare buildup through precise 20-second cycles. The sequence: Furina Ousia Skill (0s) + Burst (1s), Xilonen Skill + 2 Normal Attacks (2-4s), Kazuha Skill + Burst (5-8s), Neuvillette DPS phase (9-18s). Return to Furina at 18s for Skill refresh via dash-cancel, maintaining 100% summon uptime.
Advanced optimization includes dash-canceling Burst to prevent extended field time and pre-funneling energy during downtime for consistent 60-energy casts.
Taser Rotations
Here, emphasis shifts to reaction frequency: Furina Skill > Burst (1-2s), Xilonen Skill > 2 Normal Attacks (3-5s), Xilonen Burst (6s), Ineffa Skill > Burst (7-9s). Neuvillette creates Sourcewater Droplets through Skill > Burst (10-12s) + Charged Attack spam.
Critical timing aligns Ineffa's Lunar-Charged window with peak Fanfare stacks for enhanced reaction damage.
Double Hydro Rotations
Balance energy generation between your Hydro characters: Furina Skill > Burst (0-2s), second Hydro setup (3-6s). For Yelan: Skill > Burst for ramping buffs. Energy funneling multiplies here — Yelan's Skill generates particles for Furina, while Furina's extended duration provides return particles. Self-sustaining cycles at their finest.
Build Requirements & Stat Priorities
Artifact Sets
Golden Troupe 4-piece remains optimal for sub-DPS: +20% Elemental Skill DMG (2-piece) and +25% additional Skill DMG with +25% off-field bonus (4-piece). That combined 70% Skill amplification outweighs alternatives by a significant margin.

Alternatives worth considering: 4-piece Tenacity for pure support (+20% HP, +20% party ATK), or 2-piece combinations like Vourukasha's Glow + Tenacity (+40% HP total).
Main stats: HP% Sands (or ER% if energy-starved), HP% Goblet or Hydro DMG Goblet, CRIT Rate/DMG Circlet.
Weapon Recommendations
Splendor of Tranquil Waters remains her best-in-slot: 542 Base ATK, 88.2% CRIT DMG, +8% Skill DMG per HP change stack and +14% Max HP per ally HP change. You can achieve +24% Skill DMG and +28% Max HP through party fluctuations.
4-star alternatives that don't completely suck: Key of Khaj-Nisut (66.2% HP substat, +20% HP passive), Festering Desire (45.9% ER, +16% Skill DMG, +6% Skill CRIT Rate), Fleuve Cendre Ferryman (45.9% ER, +8% Skill CRIT Rate).
Favonius Sword provides team utility through 60-100% chance for 6 Energy particles on CRIT hits — underrated option, honestly.
Substats Priority
ER requirements first, then CRIT Rate/DMG in 1:2 ratio, HP%, flat HP. ER thresholds: 220% solo Hydro (C0-C3), 180% double Hydro (C0-C3), with C4 reducing requirements by roughly 40 points. HP targets of 35,000-40,000 unlock Ascension 4 passive maximum benefits (28% Salon Member damage boost).
Team Performance Analysis
Let's talk numbers — because that's what matters in the end.
DPS Comparisons
Neuvillette Hypercarry with Furina: 83,849 DPS (Hyperbloom variants), 79,509 DPS (Electro-Charged configurations). Taser teams clock in at 35,000-45,000 DPS multi-target with Lunar-Charged variants achieving higher peaks. Bloom Hypercarry with Furina/Baizhu hits 71,500 DPS.
That universal 75% damage bonus creates multiplicative returns on investment that are honestly ridiculous.
Spiral Abyss Clear Rates
Neuvillette hypercarry with Furina maintains 53.2% usage rates in Abyss 4.2. Excels on Floors 11-12 for sustained single-target, while Freeze variants dominate Floors 9-10 AoE scenarios. Version 6.1 introduces +375% enemy HP scaling, requiring sustained damage output through optimized rotations and Fanfare management.
Situational Strengths
Excels against multi-wave content through persistent summon damage and universal buffs. Effective Hydro shield breaking while applying simultaneous pressure across multiple enemies.
Weaknesses? Hydro-immune enemies (obviously) and HP drain complications in high-damage encounters without proper healer investment.
Character Substitutions & Alternatives
Not everyone has a perfect roster — let's work with what you've got.
F2P Options
Core F2P Freeze: Furina + Kaeya + Barbara + Anemo Traveler. National variant: Furina + Xiangling + Bennett + Sucrose replacing Xingqiu.
Weapons like Fleuve Cendre Ferryman (45.9% ER, Skill CRIT Rate) and Festering Desire (32% Skill DMG, 12% Skill CRIT Rate at R5) maintain 80-90% of signature weapon performance.
4-Star Alternatives
Kazuha replacements: Sucrose or Venti for Anemo support with reduced DPS output. Xilonen alternatives include Zhongli for shielding or Bennett for ATK buffs.
For Taser Electro options: Fischl (consistent damage/energy), Beidou (AoE damage/reduction), Ororon (Lunar-Charged benefits). Double Hydro partners: Xingqiu, Kokomi, Sigewinne — each shifts team priorities slightly.
Constellation Dependencies
C0 performs effectively with proper support. C1 provides +150 Fanfare on Burst plus +100 maximum capacity for faster ramp-up. C2 is the major spike: +250% Fanfare gain rate, excess conversion to +0.35% Max HP (maximum 140%).
C4 transforms energy management completely: +4 Energy every 5 seconds, reducing ER requirements by 40+ points. C6 enables on-field DPS but remains luxury territory.
Advanced Tips & Common Mistakes
Animation Cancels
Dash-cancel Burst prevents extended field time: Skill > Burst > dash > swap minimizes on-field duration to 2-3 seconds. Summon management requires 18-second refresh timing via dash-cancel (E > dash > swap) while maintaining duration inheritance.
Pro tip: Arkhe switching removes active summons — plan usage around team needs.
Energy Funneling
Pre-funnel energy during downtime for consistent 60-energy casts. Furina's Skill generates particles throughout that 30-second duration for energy-hungry teammates like Beidou (80 energy) or Yelan (70 energy). Favonius weapon synergy creates team-wide generation through CRIT hit particles. C4 provides 16-20 Energy per rotation, enabling damage-focused builds.
Positioning Tips
Salon Member ranges matter: Gentilhomme (close AoE), Chevalmarin (mid-range), Crabaletta (distant). Fanfare generation requires strategic timing — delay heals 5-10 seconds post-drain for 150+ stacks versus immediate overhealing that halves potential.
Endless Waltz passive requires proximity for 2% Max HP healing every 2 seconds from overflow sources.
FAQ
What are Furina's optimal Energy Recharge requirements? 220% ER mono Hydro, 180% double Hydro, 140-160% with C4. Requirements decrease significantly with Hydro teammates, Favonius weapons, or Electro Resonance.
How do you maximize Fanfare stack generation? Use Ousia Skill to drain team HP to 50-70%, then heal with Baizhu/Jean. The key is delaying healing 5-10 seconds post-drain for optimal accumulation. Never overheal before drain — it kills your damage.
Which healing partners work best for Fanfare uptime? Xilonen, Baizhu, Bennett, Jean, Xianyun provide optimal patterns. Charlotte and Baizhu excel at rapid building, Bennett offers tighter timing with stronger buffs. Avoid pure shielders like Zhongli — they don't trigger Fanfare.
Can Furina function without Neuvillette? Absolutely — she excels in Vaporize (Hu Tao), Taser (Fischl/Beidou), Freeze (Ayaka), Hyperbloom (Nahida). That universal 75% damage bonus benefits any composition that can manage HP drain mechanics properly.
What's optimal Skill and Burst timing? Always Burst before Skill: Burst (0s) > Skill (1s) > swap (2-3s). This enables full 18-second Fanfare buildup versus getting stuck with less than 100 stacks from late timing.
How does performance change between C0 and key constellations? C0 performs well with proper support. C1 adds +150 Fanfare for faster ramp-up. C2 provides +250% gain rate and HP conversion — this is the major spike. C4 reduces ER through energy generation. C6 enables on-field DPS but honestly? Unnecessary for most players.


