

Understanding Bloom Team Healing Requirements
Here's the thing about Bloom teams – they're absolutely brutal on your HP bar. But that's exactly what makes them so satisfying to master.
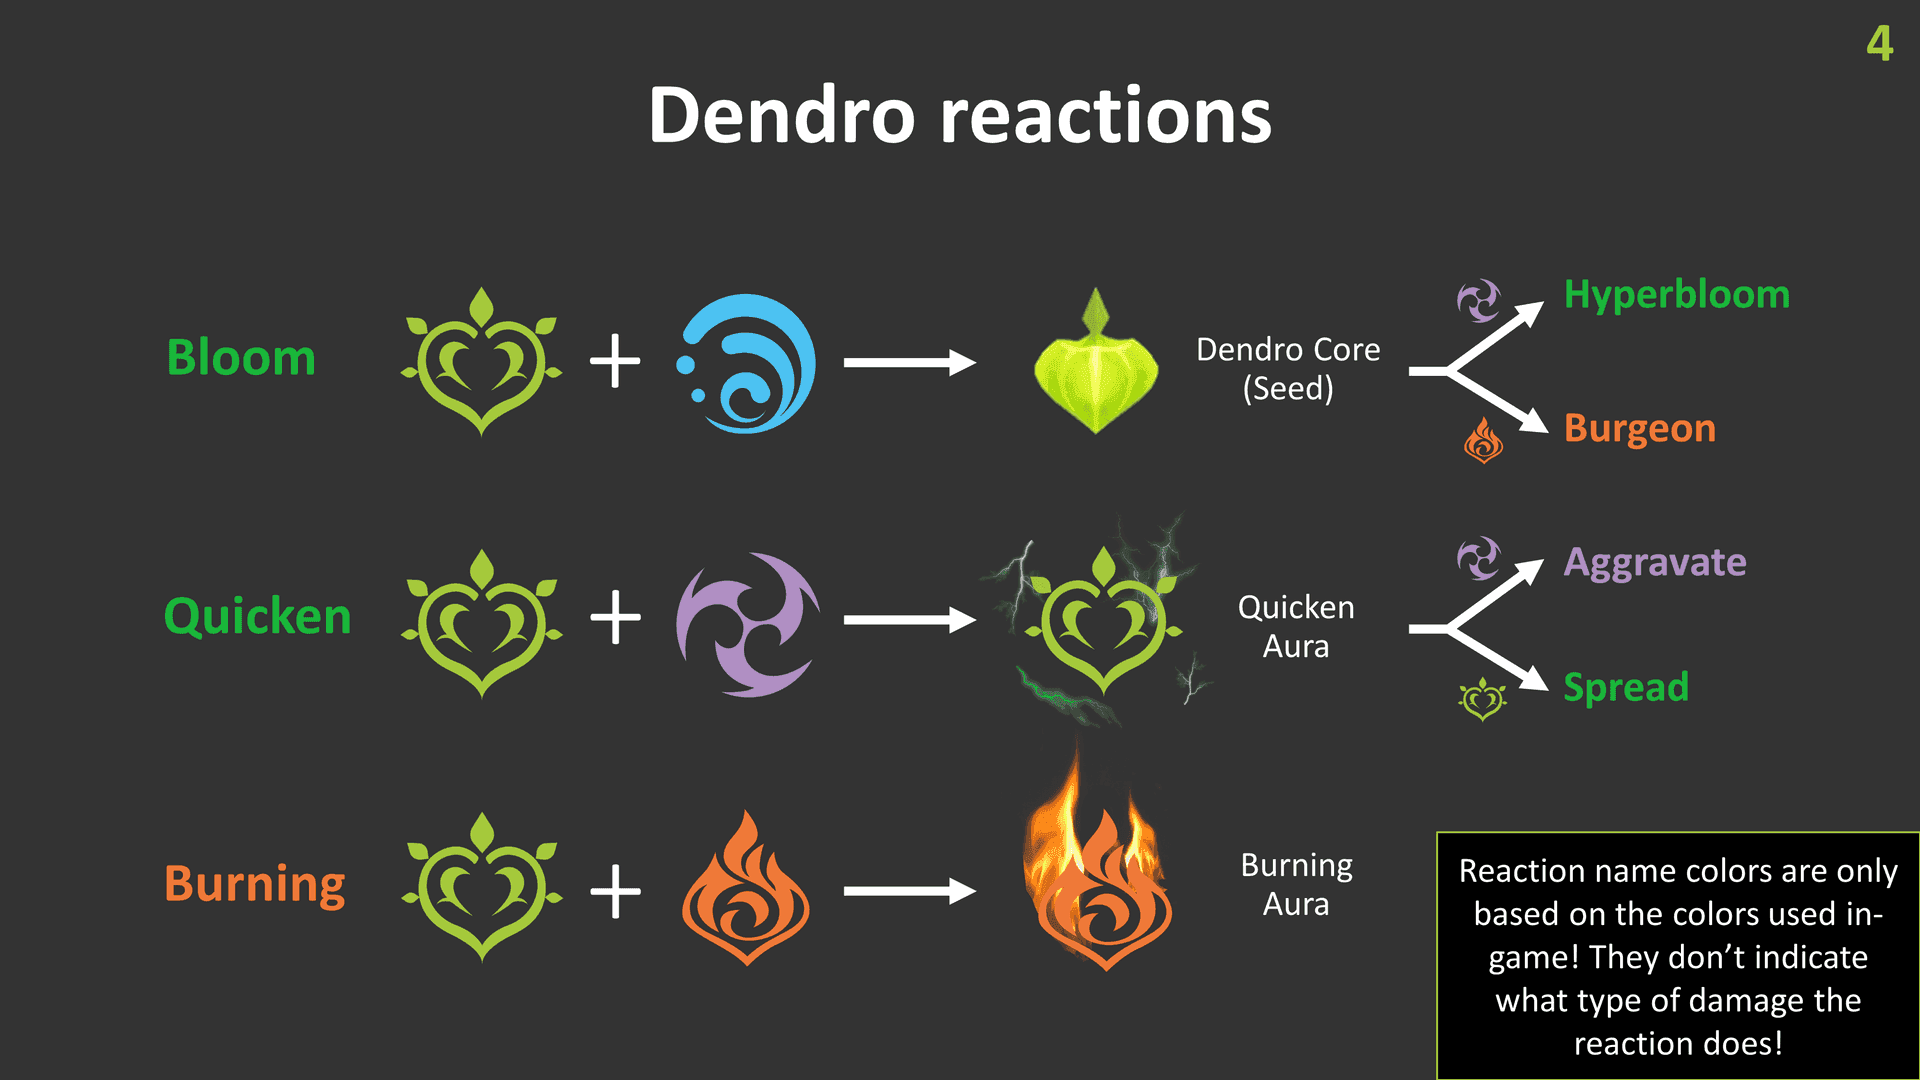
Bloom Reaction Damage Mechanics
Standard Bloom cores hit you for 1,600 self-damage per pop within that unforgiving 2-meter radius. But Lunar-Bloom cores? They're a different beast entirely. These bad boys scale with CRIT Rate, CRIT DMG, and DMG% bonuses instead of just EM stacking. The damage formula gets pretty spicy: [Base Core DMG + (Lauma's EM × 4.608)] × Resistance Multiplier × Level Multiplier.
With 1000 EM, you're looking at 10,240 base damage per core. That's not a typo.
Lunar Cores absolutely demolish standard Dendro Cores in every metric that matters. We're talking 1.2-second detonation timing (compared to a sluggish 2 seconds), 3.5-meter AoE coverage that'll catch you even when you think you're safe, and a hefty 1.7x base damage multiplier. The Moonsign buffs just pile on the pain – Nascent Gleam throws in 15% CRIT Rate and 100% CRIT DMG, while Ascendant Gleam adds another 10% CRIT Rate and 20% CRIT DMG to Lunar-Bloom reactions.
For optimal Bloom teams, having sufficient Primogems for character pulls becomes crucial. You can recharge Genshin Impact crystal balance through BitTopup's secure platform, offering competitive pricing and instant delivery for limited-time banners.
Self-Damage and Healing Requirements
Every single Bloom core explosion wants to delete your characters within that blast radius. And with Lunar-Bloom extending to that massive 3.5-meter area? Good luck dodging that consistently. Teams pumping out multiple cores simultaneously aren't just asking for healing support – they're demanding it.
The 6-second core duration sounds generous until you realize it just extends your suffering window. Sure, it enables some slick Hyperbloom/Burgeon timing, but it also means more opportunities for things to go sideways.
Your options boil down to two paths: consistent healing that scales with those chunky HP pools, or robust shielding with elemental absorption bonuses. The trick? Balancing that aggressive core generation with staying alive – especially when Spiral Abyss is breathing down your neck with those timer constraints.
Furina: The Fontaine Hydro Healer Analysis
Healing Mechanics and Fanfare System
Furina's basically the high-maintenance genius of Bloom healers. She operates as this Sub-DPS/Support hybrid where her healing is tied to Fanfare stacking – and boy, does she make you work for it. Her healing scales with Max HP, but here's the kicker: she needs active HP fluctuations to build those precious Fanfare points.
At maximum Fanfare (300 points), she's dishing out 21% DMG bonus plus 3% Healing Bonus. Fanfare builds through HP changes across your entire party, which makes Bloom teams perfect since you're constantly taking self-damage anyway. It's almost poetic, really.
But here's where it gets spicy – Furina simultaneously drains 2.4-3.6% HP per summon activation. Risk-reward at its finest. With proper 35,000-40,000 HP builds, her healing output hits 4.8% Max HP + 462 per interval. And that Burst? Up to 75% team damage amplification at maximum Fanfare stacks. Chef's kiss
Pneuma Mode and Build Optimization
Pneuma mode is where Furina really shines in Bloom compositions. The healing focus combined with consistent Hydro application creates this beautiful synergy where healing instances trigger Fanfare accumulation while keeping you alive through self-damage recovery. She pairs like a dream with Lauma and Aino in those premium Lunar-Bloom setups.
For artifacts, you've got choices. Golden Troupe 4-piece for that Skill DMG amplification, or Marechaussee Hunter 4-piece to capitalize on CRIT Rate from HP fluctuations (which you'll have plenty of). Splendor of Tranquil Waters brings that juicy 88.2% CRIT DMG substat with Skill DMG stacking.
Target stats: 35,000-40,000 HP, 180%+ Energy Recharge, and those sweet 60/120 CRIT ratios. C2 makes life significantly easier with +250% Fanfare gain rate – though honestly, she's perfectly functional at C0 if you know what you're doing.
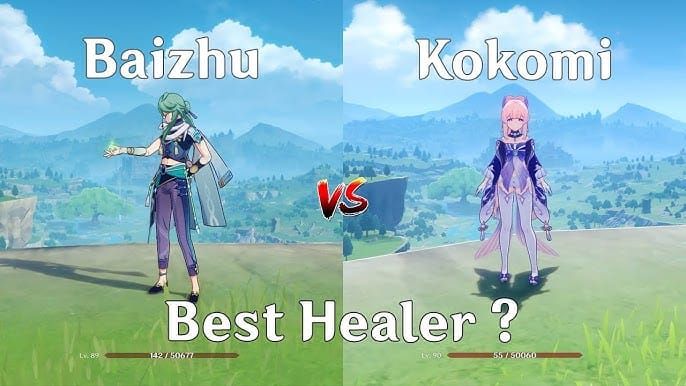
Baizhu: Dendro Healer and Shield Provider
Healing Output and Lunar-Bloom Amplification
Now this is where things get interesting. Baizhu isn't just the premier Dendro healer – he's literally amplifying your Lunar-Bloom damage while keeping you alive. His passive talent boosts Lunar-Bloom reactions by 0.7% per 1,000 Max HP. At 50,000 HP, that's 35% damage amplification. He's simultaneously your strongest healer AND damage amplifier for Dendro-focused teams.

His Burst delivers immediate team-wide healing at 5.2% Max HP + 500 per tick. The Skill creates shields that absorb 250% Dendro DMG with healing over time. At C2, he gains off-field Dendro application with automatic healing triggers – but honestly, even C0 Baizhu is a powerhouse. Shield absorption reaches 12,500 damage at 50,000 HP with that Dendro efficiency.
Dendro Resonance and Resistance Shred
Baizhu enables Dendro Resonance, bumping Elemental Mastery by 50 plus those reaction-based EM bonuses. Slap Deepwood Memories 4-piece on him for 30% Dendro RES shred lasting 8 seconds, and it stacks beautifully with Lauma's Hold Skill (25% Dendro/Hydro RES shred).
Energy requirements sit at 160-180% at C0-C3, dropping to a more comfortable 140-160% at C4+.
Optimal rotation flows like this: Baizhu E → Lauma Hold E→Q → Nilou E→Q → Aino → Baizhu Q. Stat priorities are straightforward: 50,000 HP for maximum Lunar-Bloom boost, 180% ER for Burst uptime. Jadefall's Splendor provides that gorgeous 49.6% HP substat and energy restoration.
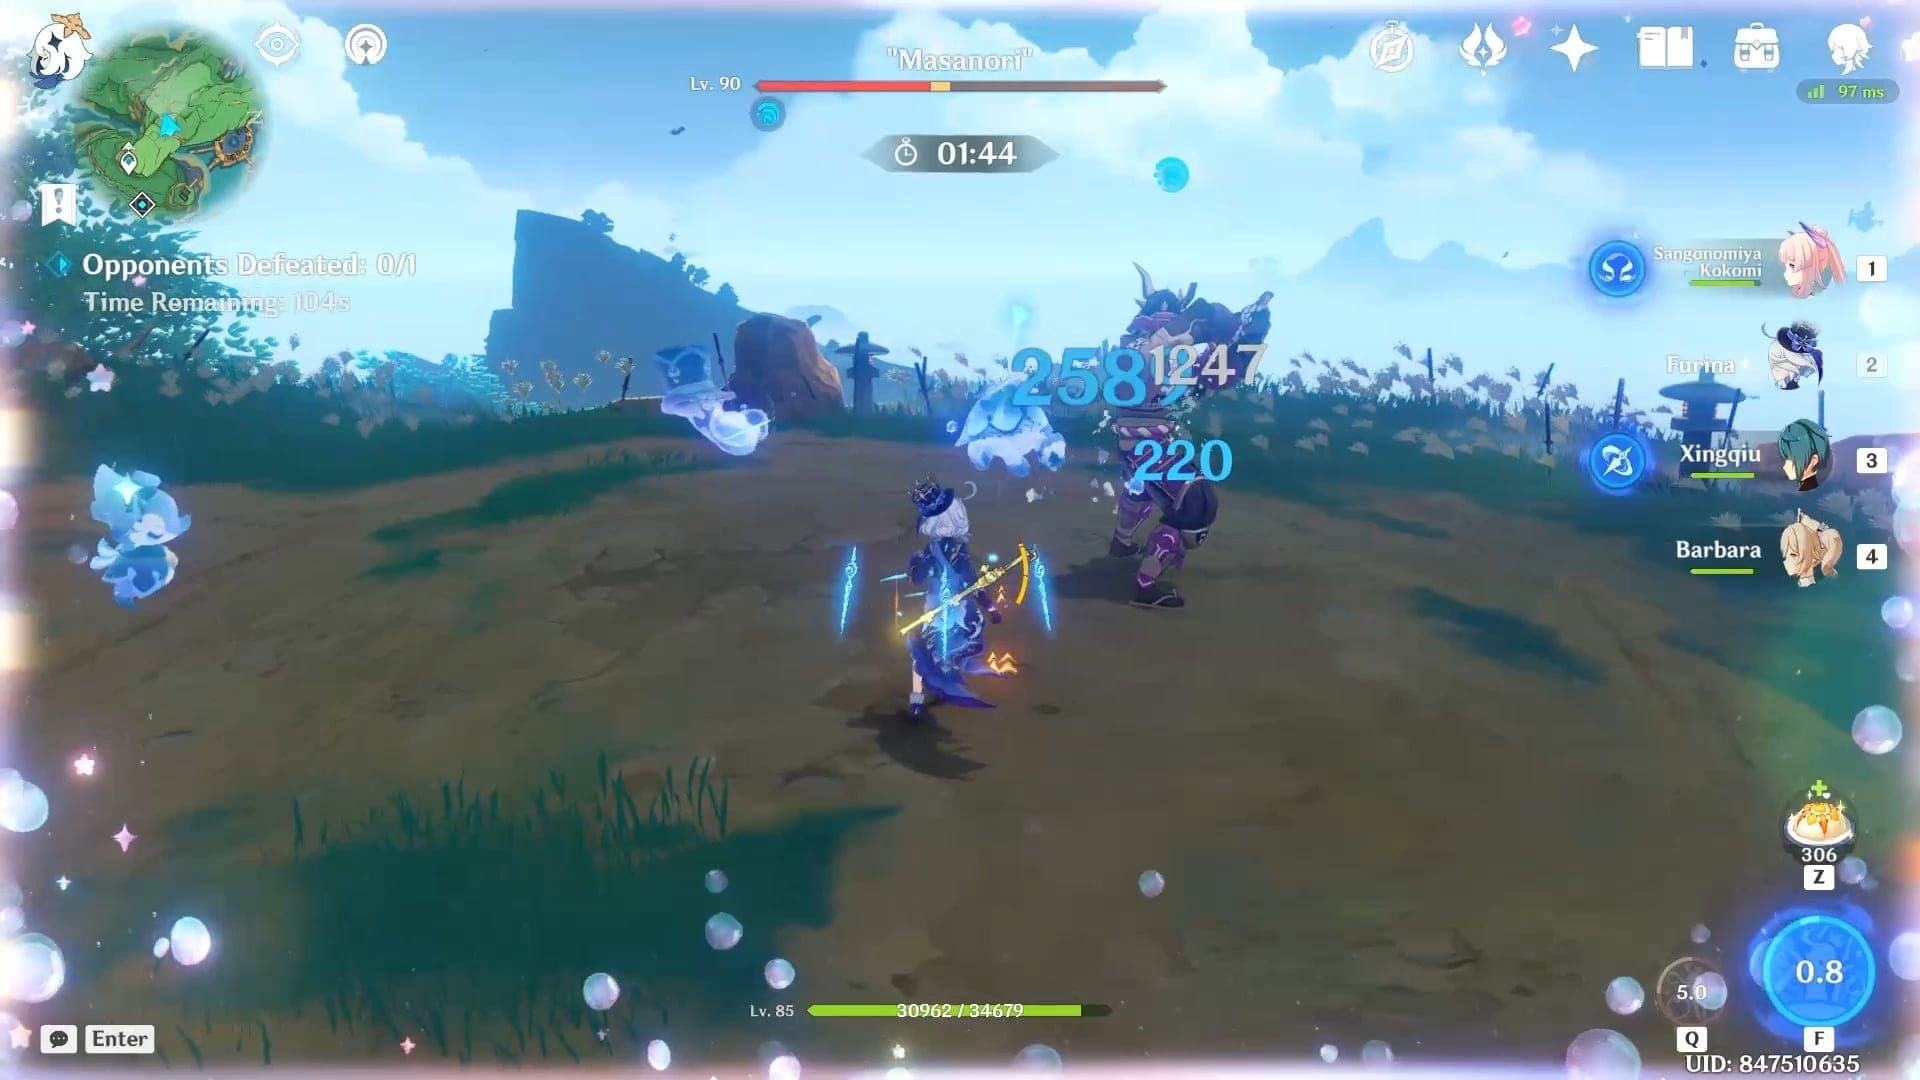
Kokomi: The Reliable Hydro Healer
Consistent Healing and Hydro Application
Sometimes you just want things to work without overthinking it. That's Kokomi. She delivers the most reliable healing with 100% uptime through her Jellyfish Skill – no gimmicks, no complex mechanics, just solid, dependable healing.
Healing scales with HP, providing 3,000-4,000 healing per pulse at 35,000-40,000 HP. That Jellyfish pulses every 2 seconds while applying 2U Hydro for Bloom triggers. The positioning flexibility lets you strategically place that Jellyfish for optimal core generation zones.
Her Burst transforms her into an on-field healer with enhanced damage and healing. Normal/Charged Attacks provide additional healing based on Max HP during Burst state. It's straightforward, effective, and honestly refreshing after dealing with Furina's complexity.
In premium compositions requiring multiple builds, you can purchase Primogems Genshin secure checkout through BitTopup's trusted platform for instant delivery and competitive rates.
Ocean-Hued Clam Synergy
Here's where Kokomi gets sneaky good. Ocean-Hued Clam converts up to 90% of healing into AoE damage every 3.5 seconds. She frequently hits that maximum bubble damage threshold, providing 27,000+ AoE damage alongside healing utility. That bubble damage triggers independently of Bloom reactions, adding a separate damage layer that's easy to overlook but adds up fast.
Optimal rotation: Nahida Burst → Lauma Skill → Kokomi Jellyfish → Nilou Burst → trigger DPS. She needs 150-180% ER for consistent performance. Everlasting Moonglow provides healing bonus and damage amplification, while Prototype Amber offers solid F2P energy support.
Head-to-Head Healer Comparison
Healing Output and Energy Requirements
Let's talk numbers. Kokomi provides the highest sustained healing at 1,200-1,500 HPS with near-100% uptime at 150-180% ER. Baizhu offers burst healing around 8,000-10,000 per activation with 80% uptime at similar ER investment. Furina delivers 1,000-1,200 HPS at maximum efficiency – but that maximum efficiency requires active HP management for reliability.
Energy costs tell their own story. Kokomi requires 80 energy with low cost enabling frequent Burst usage. Baizhu demands 80 energy but needs higher ER (160-180%) due to limited particle generation. Furina operates with 60 energy cost but requires 180%+ ER for optimal Sub-DPS uptime.
Elemental Application and Team Synergy
Kokomi leads with consistent 2U Hydro every 2 seconds through Jellyfish, completely bypassing ICD limitations. Baizhu provides 1U Dendro every 2.5 seconds with enhanced application at C2. Furina offers variable Hydro application based on summon positioning and mode selection.
But here's where it gets tactical: Baizhu enables Dendro Resonance and resistance shred while amplifying Lunar-Bloom damage. Kokomi excels with sustained Hydro application and Ocean-Hued Clam damage supplementation. Furina provides the highest damage amplification (75% DMG bonus) but requires careful HP management.
Situational Healer Selection Guide
When to Choose Each Healer
Furina: Premium teams prioritizing maximum damage with adequate healing support. She's optimal with Kazuha for grouping and VV shred. Essential for HP-fluctuation archetypes where Fanfare mechanics align with natural gameplay. Fair warning – she requires skilled execution for HP management.
Baizhu: Dendro-focused teams requiring healing and damage amplification. He's irreplaceable for that 35% Lunar-Bloom boost at 50,000 HP. Perfect for shield-heavy encounters favoring damage prevention. Essential for Dendro Resonance teams and resistance shred capabilities.
Kokomi: Sustained encounters requiring consistent healing over extended periods. Multi-wave content benefiting from reliable healing and energy efficiency. F2P scenarios needing straightforward build requirements and predictable performance scaling.
Artifact Sets and Weapon Recommendations
Optimal Equipment
Baizhu: Deepwood Memories 4-piece for that crucial 30% Dendro RES shred. Jadefall's Splendor for 49.6% HP substat, Prototype Amber for F2P energy support. Target stats: 50,000 HP, 180% ER.
Kokomi: Ocean-Hued Clam 4-piece for healing-to-damage conversion. Everlasting Moonglow for healing bonus, Prototype Amber for budget builds. Target stats: 35,000-40,000 HP, 150-180% ER.
Furina: Golden Troupe 4-piece for Skill DMG or Marechaussee Hunter for CRIT Rate from HP fluctuations. Splendor of Tranquil Waters for 88.2% CRIT DMG. Target stats: 35,000-40,000 HP, 60/120 CRIT ratios, 180%+ ER.
Advanced Strategies
Hyperbloom vs Burgeon Healing
Hyperbloom teams actually present reduced healing requirements since Electro-triggered cores target enemies rather than generating proximity explosions. It's almost relaxing compared to other variants. Burgeon compositions create the highest healing demands due to larger AoE explosions with increased self-damage potential.
Lunar-Bloom variants? They introduce intense healing pressure with that brutal 1.2-second detonation timing and 3.5-meter AoE. Baizhu's shields provide crucial damage prevention, while Kokomi's consistent healing handles sustained damage over rotations.
Spiral Abyss Optimization
Floor 12 encounters favor Kokomi's sustained healing for multi-wave scenarios, achieving 83.6% clear efficiency. Single-target bosses benefit from Baizhu's 35% Lunar-Bloom boost translating to 200-400% damage increases. Time-sensitive encounters may favor Furina's 75% DMG buffs despite healing complexity.
FAQ
Who is the best healer for Bloom teams? Depends on your focus. Baizhu for Dendro-focused Lunar-Bloom teams (35% damage amplification at 50,000 HP), Kokomi for sustained Hydro Bloom requiring consistent healing, Furina for highest damage buffs (75% at max Fanfare) with careful HP management.
Can Furina heal enough for Bloom survival? She provides 4.8% Max HP + 462 per interval at 35,000-40,000 HP, but that HP drain (2.4-3.6% per summon) requires pairing with shield supports like Baizhu for high self-damage scenarios.
What artifacts for Bloom healers? Deepwood Memories 4-piece on Baizhu (30% Dendro RES shred), Ocean-Hued Clam 4-piece on Kokomi (healing-to-damage conversion), Golden Troupe 4-piece on Furina (enhanced Skill DMG).
Energy Recharge requirements? Baizhu: 160-180% ER (140-160% at C4+), Kokomi: 150-180% ER, Furina: 180%+ ER. All benefit from Favonius weapons or Prototype Amber for energy support.
Kokomi or Baizhu for Nilou teams? Baizhu's preferred for Dendro synergy, 35% Lunar-Bloom damage boost, and shield protection against Bountiful Core self-damage. Kokomi's better for sustained Hydro application without Dendro amplification needs.
Required constellation levels? All function effectively at C0. Baizhu C2 adds off-field Dendro application, Furina C2 improves Fanfare generation by 250%, Kokomi C2 enhances low-HP healing. C0's sufficient for most content.


