

Understanding Lunar Reactions: Core Mechanics
What Makes These Reactions Actually Work
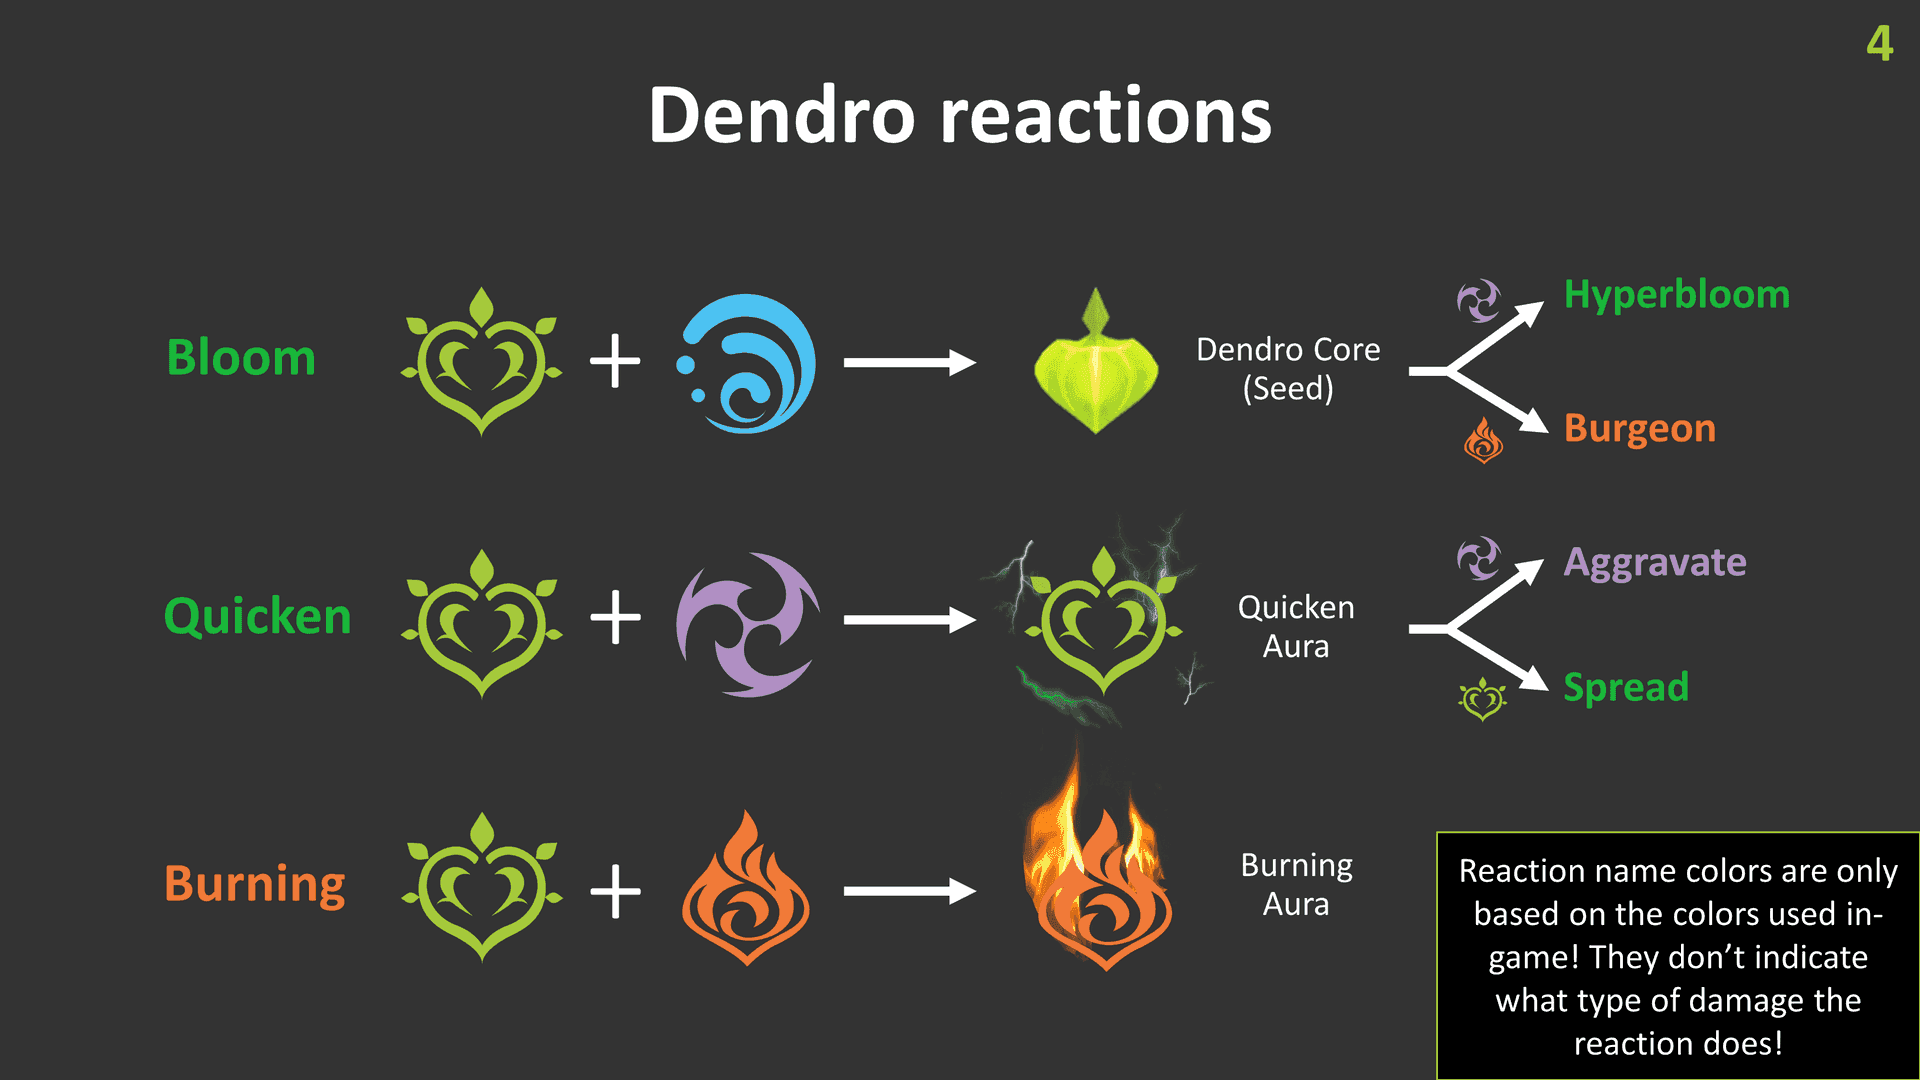
Here's the thing about Lunar Reactions – they're not just fancy versions of what we already have. They're genuinely game-changing. You need at least one Nod-Krai character on your team to trigger them, but that's where things get interesting. Unlike those old transformative reactions that couldn't crit (looking at you, standard Bloom), Lunar variants can actually land critical hits.
The Moonsign system works in tiers. Nascent Gleam kicks in with just one Nod-Krai character – think of it as your entry point. But Ascendant Gleam? That's where the magic happens, requiring two or more Nod-Krai characters for maximum effectiveness.

Take Lunar-Bloom, for instance. Lauma transforms those sluggish Bloom cores into something terrifying – they detonate in 1.2 seconds instead of the usual 2, hit a 3.5-meter area, and pack 1.7x the base damage. Plus, they generate these Verdant Dew stacks (capped at 3) and create Moon Eclipse fields that keep dealing Dendro damage over time.
Lunar-Charged is equally impressive through characters like Ineffa and Flins. Instead of that basic Electro-Charged tick damage, you get persistent Thunderclouds dropping AoE Electro damage every 2 seconds. It's like having a personal storm following your enemies around.
For those looking to secure these powerful Nod-Krai characters, BitTopup offers competitive rates and instant delivery when you buy Genshin Impact Primogems online. Trust me, you'll want these characters sooner rather than later.
How Elements Actually Interact (And Why It Matters)
The priority system here is surprisingly elegant. Nascent Gleam gives you the basics – Lauma enables CRIT on Bloom reactions with a modest 15% CRIT Rate and 100% CRIT Damage boost. Ineffa transforms Electro-Charged into its Lunar variant. Nothing groundbreaking yet.
But Ascendant Gleam? That's where your investment pays off. With two or more Nod-Krai characters, Flins gets an additional 20% Lunar-Charged damage bonus, while Lauma gains another 10% CRIT Rate plus 20% CRIT Damage. The numbers start getting serious here.
What's clever is how non-Nod-Krai characters contribute. It's not random – each element type provides specific bonuses based on their natural stat scaling:
- Pyro/Electro/Cryo characters contribute 0.9% damage per 100 ATK (maxing at 18% with 2000 ATK)
- Hydro characters offer 0.6% per 1000 HP (hitting 18% at 30,000 HP)
- Geo provides 1% per 100 DEF
- Anemo/Dendro give a generous 2.25% per 100 EM
This system rewards proper stat investment on your entire team, not just the Nod-Krai characters.
The Math Behind the Damage
Let's talk numbers – because that's what really matters in the Abyss. Lunar-Bloom damage follows this formula: [Base Core Damage + (Lauma's EM × 4.608)] × Resistance × Level Multiplier.
With 1000 EM, you're looking at 10,240 base damage before resistances and CRIT. A well-built Lauma with 1000 EM, 70% CRIT Rate, and 180% CRIT Damage hits for 68,812 damage per core on crits versus 24,576 non-critical. Compare that to standard Bloom's measly 6,000-8,000 damage, and you can see why everyone's scrambling to build these teams.
Lunar-Charged gets more complex with its multi-character calculations: 1.8 × Level Multiplier × (1 + Base Damage Bonus) × (1 + Reaction Damage + EM Bonus) × (1 + CRIT Damage) × Enemy Resistance.
A balanced build with 300 EM and 300 CRIT Value hits around 9,000 damage per tick. But if you're willing to go all-in with 1,500 EM and 440 CRIT Value? You're looking at 27,500 damage per tick. That's not a typo.
6.0 to 6.1 Meta Evolution
How We Got Here: Patch 6.0's Foundation
Version 6.0 Luna I dropped on September 10, 2025, and honestly? It felt like a soft launch. We got the Nod-Krai region, Lunar Reactions through Lauma and Aino, and the foundational artifact sets Night of the Sky's Unveiling and Silken Moon's Serenade. The Phase 1 banners (September 10-30) introduced Lauma as the premier Lunar-Bloom enabler alongside Ineffa for Lunar-Charged.
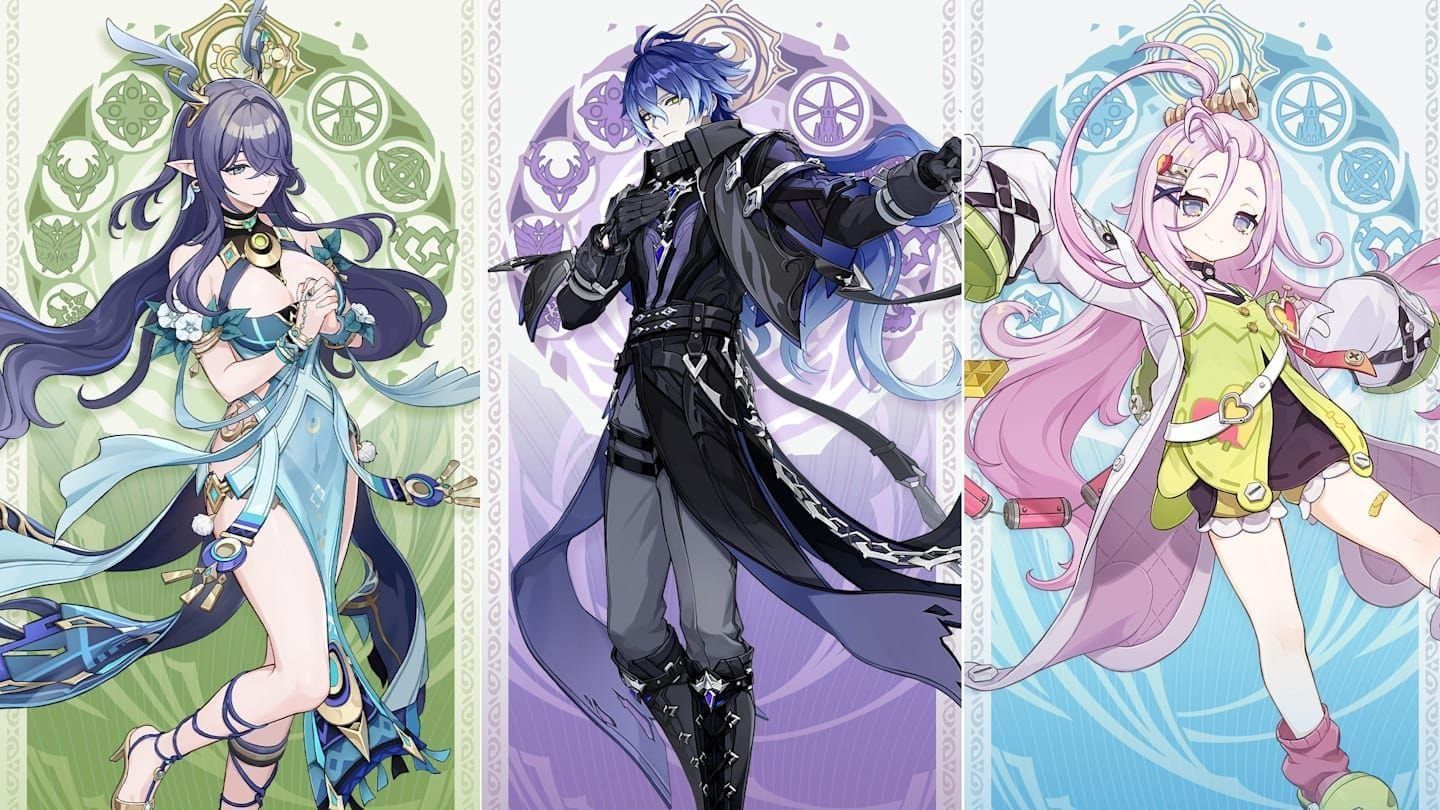
Aino became the free character through Archon Quest completion – a smart move by miHoYo to ensure everyone could at least experiment with Lunar mechanics without pulling.
6.1's Game-Changing Additions
Then October 22nd hit us with Version 6.1 Luna II, and everything shifted. Nefer arrived as the premier on-field Lunar-Bloom DPS, complete with those Hexenzirkel buffs that nobody saw coming.
Nefer's kit is genuinely revolutionary for Dendro DPS. Her Charged Attacks trigger Lunar-Bloom via Dendro cores against Seeds of Deceit under Ascendant Gleam – it sounds complicated, but in practice, it's devastatingly effective. Her SS-tier ranking isn't just hype; she genuinely rivals established DPS characters when properly supported by Lauma and Aino.
The catch? She demands specific stats: 200+ EM, 180-200% ER alongside your usual CRIT requirements. It's a steep investment, but the payoff is worth it.
Where We Stand Now
The current 6.1 meta heavily favors frontloaded damage and Lunar reactions over sustained consistency. (Personally, I think this shift was inevitable – the Abyss design has been pushing us toward burst damage for months now.)
Current SS-tier Main DPS includes Mavuika, Skirk, Varesa, Flins, and Nefer. Notice how Neuvillette and Arlecchino got bumped down to S-tier? That's the Lunar impact right there. Even more telling – Alhaitham and Navia dropped to A-tier, completely outscaled by Lunar-Bloom compositions in endgame content.
For maximizing your pulls during these limited banners, BitTopup provides reliable service to top up Primogems Genshin Impact accounts with competitive pricing and instant delivery. The meta waits for no one.
Character Tier Rankings for Lunar Reactions
The S-Tier Powerhouses
Lauma stands as the undisputed queen of Lunar-Bloom. Her Level 90 stats tell the story: 10,654 HP, 255 ATK, 669 DEF, with a +115 EM ascension bonus. Her Elemental Skill creates a 15-second sanctuary (12-second cooldown) that provides Dendro application and a hefty 25% Dendro/Hydro RES shred.
The 80-energy Burst adds EM-based bonuses with 277.76% scaling at talent level 1. C1 provides healing equal to 500% EM per Lunar-Bloom trigger – suddenly she's not just a DPS enabler, she's keeping your team alive too.
Optimal builds target 800-1000 EM, 60-70% CRIT Rate, and 140-180% CRIT Damage. Yes, it's stat-hungry, but the results speak for themselves.
Nefer represents the pinnacle of on-field Lunar-Bloom DPS. She utilizes Charged Attacks to trigger Lunar-Bloom via Dendro cores against Seeds of Deceit under Ascendant Gleam.
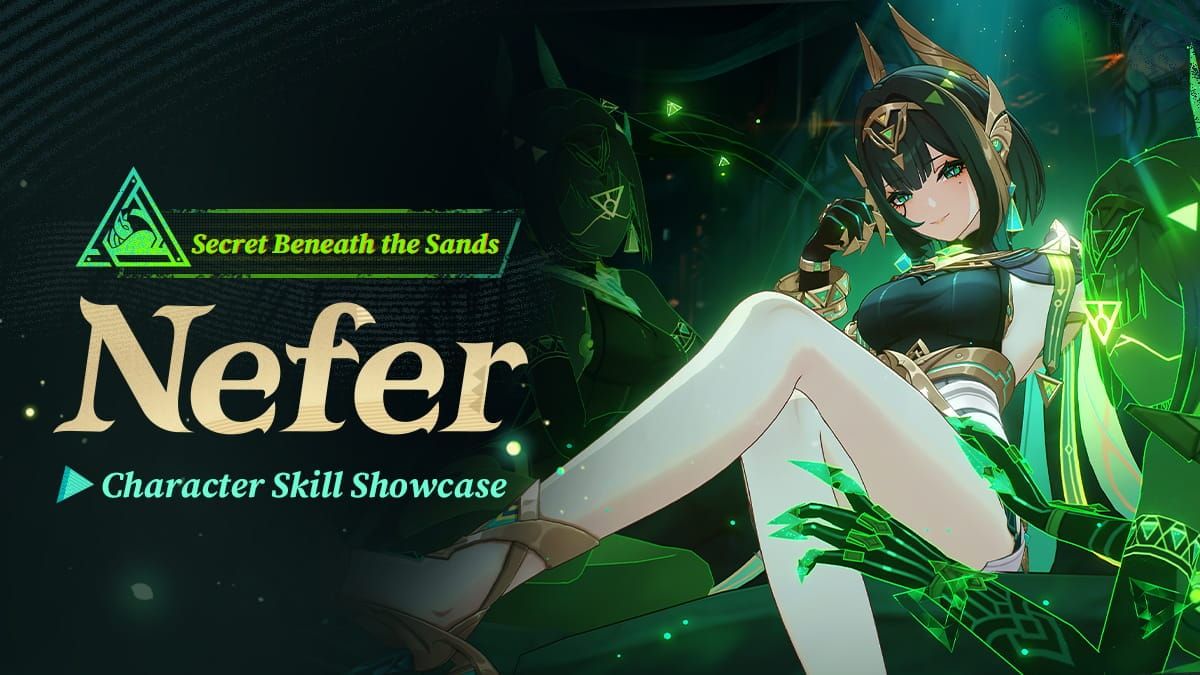
Her SS-tier ranking reflects damage comparable to established DPS when supported by Lauma and Aino. She demands specific team compositions, but rewards you with exceptional AoE damage in Spiral Abyss.
The A-Tier Solid Choices
Flins operates as on-field DPS for Lunar-Charged teams, benefiting from Ascendant Gleam's 20% personal damage bonus. His kit features Electro infusion and low-energy Burst spam for sustained rotations.
His signature weapon Bloodsoaked Ruins provides 36-84% Lunar-Charged damage post-Burst with 12-16 Energy restoration. Teams like Flins/Aino/Furina/Raiden can achieve the maximum 36% damage bonuses through strategic stat distribution.
Aino serves as the accessible Hydro enabler (free via Archon Quest). Her Hydro devices provide periodic damage and Ascendant Gleam benefits, with her Burst adding 60 EM to the party for 15 seconds. Her A-tier Support ranking reflects her accessibility for F2P Lunar compositions. Sacrificial Greatsword enhances uptime through skill reset potential.
Optimal Team Compositions and Synergies
The Premium Setup
The gold standard Lunar-Bloom composition is Lauma/Aino/Furina/Kazuha. This activates Ascendant Gleam while maximizing damage bonuses through multiple vectors.
Rotation goes like this: Kazuha E→Q (grouping/VV shred), Furina E (HP scaling bonus), Lauma Hold E→Q (Lunar-Bloom activation), Aino (sustained Hydro). This achieves 36% damage bonuses through Furina's HP scaling and Kazuha's EM contribution.
The F2P Alternative That Actually Works
Don't have all those limited 5-stars? Try Lauma/Aino/Kaveh/Xingqiu for accessible Lunar-Bloom damage. Kaveh serves as on-field driver with self-healing, while Xingqiu provides consistent off-field Hydro. You maintain Ascendant Gleam benefits while keeping things accessible.
Resonance Strategies
Lunar-Charged teams benefit significantly from Electro Resonance via Flins/Aino/Furina/Raiden. Double Electro reduces energy requirements to 140-160% ER while providing consistent particles. Raiden's 2000 ATK contributes 18% Lunar damage bonus while serving as battery/sub-DPS.
Hydro Resonance becomes valuable with multiple Hydro characters, enhancing Furina's HP scaling contribution. It's all about synergy.
Artifact Sets and Stat Priorities
The Best-in-Slot Reality
Silken Moon's Serenade is optimal for Lauma: 20% ER (2pc), Gleaming Moon: Devotion (4pc) granting 60 EM under Nascent Gleam or 120 EM under Ascendant Gleam to the party for 8 seconds.
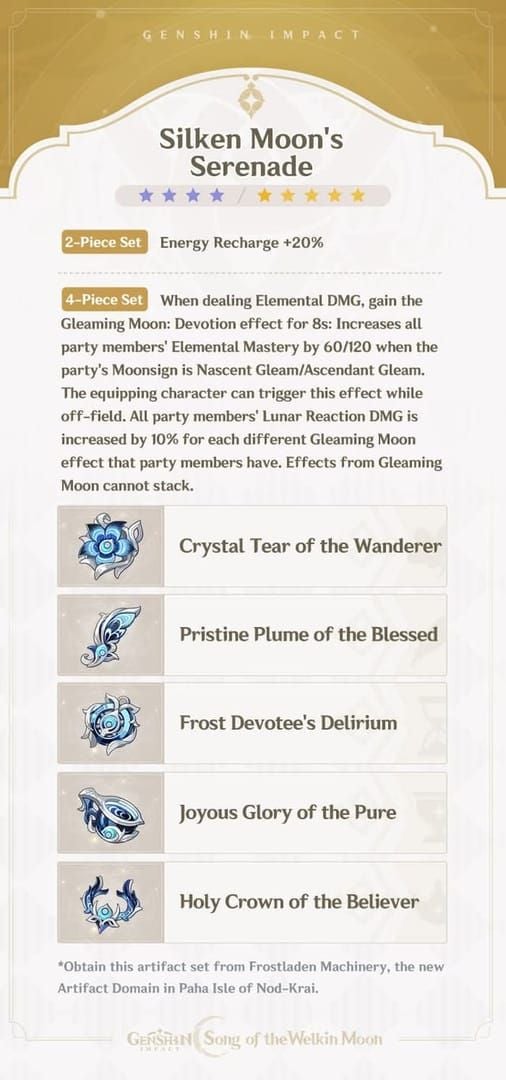
Combined with 10% Lunar Reaction damage bonus per different Gleaming Moon effect.
Night of the Sky's Unveiling is premier for on-field Lunar DPS (Flins/Nefer): 80 EM (2pc), Gleaming Moon: Intent (4pc) providing 15% CRIT Rate under Nascent Gleam or 30% under Ascendant Gleam for 4 seconds when nearby Lunar Reactions occur.
Stat Distribution That Actually Works
For Lauma, prioritize CRIT Rate/DMG > EM > ER. Target 800-1000 EM, 60-70% CRIT Rate, 140-180% CRIT Damage, 160-180% ER (C0-C3). The EM breakpoint at 800-1000 aligns with her A4 passive cap.
Flins requires ER (140-160% with double Electro) > CRIT Rate/DMG > ATK% ≥ EM with 2000+ ATK for passive synergies. It's a balancing act, but manageable with proper substats.
Weapon Selection and Investment Guide
5-Star Weapons Worth Your Primos
Nightweaver's Looking Glass (Lauma's signature): 542 ATK, 264.6 EM with 60 EM on Skill usage (4.5s duration) and during Lunar-Bloom triggers (10s duration). When both effects activate, you get 120% Bloom damage, 80% Hyperbloom/Burgeon damage, and 40% Lunar-Bloom damage bonuses. It's expensive, but transformative.
Bloodsoaked Ruins (Flins' signature): 36-84% Lunar-Charged damage post-Burst for 3.5 seconds, 28-56% CRIT Damage, 12-16 Energy restoration post-Lunar-Charged for 6 seconds (14s cooldown). Synergizes perfectly with his Burst-spam playstyle.
4-Star Options That Don't Suck
Blackmarrow Lantern (craftable) achieves roughly 90% of Nightweaver's performance at R5 for Lauma. It provides 96% Bloom damage and 48% Lunar-Bloom damage bonuses. Accessible for F2P while maintaining competitive output.
Sacrificial weapons gain significant value through skill reset mechanics. Sacrificial Fragments enables 100% RES shred uptime on Lauma, while Sacrificial Greatsword improves Aino's Hydro consistency.
Combat Rotations and Advanced Techniques
Rotations That Actually Flow
The optimal Lunar-Bloom sequence: Kazuha E→Q (grouping/VV shred), Furina E (HP bonuses), Lauma Hold E→Q (Lunar-Bloom activation), Aino (sustained Hydro). This 20-second cycle maximizes buff uptime with consistent reaction triggers.
Energy management requires particle funneling from non-Nod-Krai characters. Timing Hold E before Burst maximizes Verdant Dew stacks – get this wrong and you're leaving damage on the table.
Animation Cancels Worth Learning
Lauma's Hold E cancels directly into Burst animation, reducing rotation time while maintaining stack generation. It's not just about speed – it's about maintaining buff windows.
Dash canceling during Lunar-Bloom detonations allows positioning adjustments while avoiding self-damage. That 1.2-second detonation timer provides movement warning, while the 3.5-meter AoE requires strategic positioning for both safety and enemy coverage.
Spiral Abyss Applications
Floor-Specific Strategies
Floor 12 First Half benefits massively from Nilou-style AoE Bountiful Lunar Cores against grouped enemies. Enhanced AoE radius (3.5m vs 2m) and faster detonation (1.2s vs 2s) provide superior clear speed. Lauma teams achieve 200-400% damage increases over standard Bloom through CRIT scaling.
Floor 12 Second Half favors CRIT Hyperbloom variants against single-target bosses. The sustained damage output works better against high-HP targets.
Resistance Considerations
Lunar Reactions maintain transformative properties, ignoring DEF but remaining subject to elemental resistance. Standard 10% resistance becomes significant without proper shred. Lauma's built-in 25% Dendro/Hydro RES shred provides baseline mitigation, while VV support offers 40% reduction.
Common Mistakes and Optimization Tips
Timing Errors That Kill Your DPS
The most common mistake? Using Lauma's Burst before Hold E. This wastes Verdant Dew stacks and reduces damage significantly. Correct sequence: Hold E→Burst maximizes stack consumption while generating Moon Song stacks.
Application timing affects reaction consistency. That 15-second skill duration with 12-second cooldown requires precise timing to maintain uptime without gaps.
Investment Mistakes I See Constantly
ER underestimation leads to rotation failures. Lauma's 80-energy Burst requires substantial ER investment, particularly without strong particle generation. Don't neglect this stat.
Pure EM builds underperform hybrid EM/CRIT approaches. The 300 EM breakpoint guides your transition toward CRIT statistics. After that point, CRIT investment typically provides better returns.
ATK% neglect affects stat-based bonus contributors like Ineffa, who requires 2000 ATK for maximum passive contribution. Every stat matters in these teams.
FAQ
What are Lunar Reactions and how do they differ from standard reactions? Enhanced transformative reactions requiring at least one Nod-Krai character, capable of critical strikes while scaling with EM, CRIT, and ATK/HP/DEF based on element type. They maintain transformative properties (ignoring DEF) while adding CRIT capabilities.
Which characters are essential for Lunar teams? Lauma (premier Lunar-Bloom enabler), Flins/Ineffa (Lunar-Charged), Aino (free Hydro applicator), Nefer (top-tier on-field DPS). Non-Nod-Krai characters like Furina, Kazuha, Nahida provide substantial bonuses through high HP, EM, or ATK statistics.
How do I optimize stats for Lunar characters? Prioritize CRIT Rate/DMG > EM > ER targeting 800-1000 EM, 60-70% CRIT Rate, 140-180% CRIT Damage. After 300 EM, CRIT investment typically provides better returns than additional EM.
What artifacts work best for Lunar teams? Silken Moon's Serenade (4pc) optimal for Lauma providing ER and party EM buffs. Night of the Sky's Unveiling (4pc) suits on-field DPS with CRIT bonuses. Signature weapons provide substantial advantages, while craftable alternatives offer 90% performance for F2P.
How effective are Lunar Reactions in Spiral Abyss? Excel through enhanced AoE (3.5m vs 2m), faster detonation (1.2s vs 2s), and CRIT scaling achieving 200-400% damage increases over standard reactions. Favor frontloaded damage strategies aligning with current Abyss design.
What are common Lunar team building mistakes? Using Lauma's Burst before Hold E (wastes stacks), insufficient ER investment, pure EM builds instead of hybrid EM/CRIT, overloading with Nod-Krai characters without synergy. Optimal formula: 2 Nod-Krai + 2 non-Nod-Krai for maximum bonuses while maintaining functionality.


