

Understanding 2.5 Shiyu Defense Reset Changes
Version 2.5 overhauled Critical Node structure. Phase I ends January 9, 2026 at 03:59 server time—your deadline for current rewards.
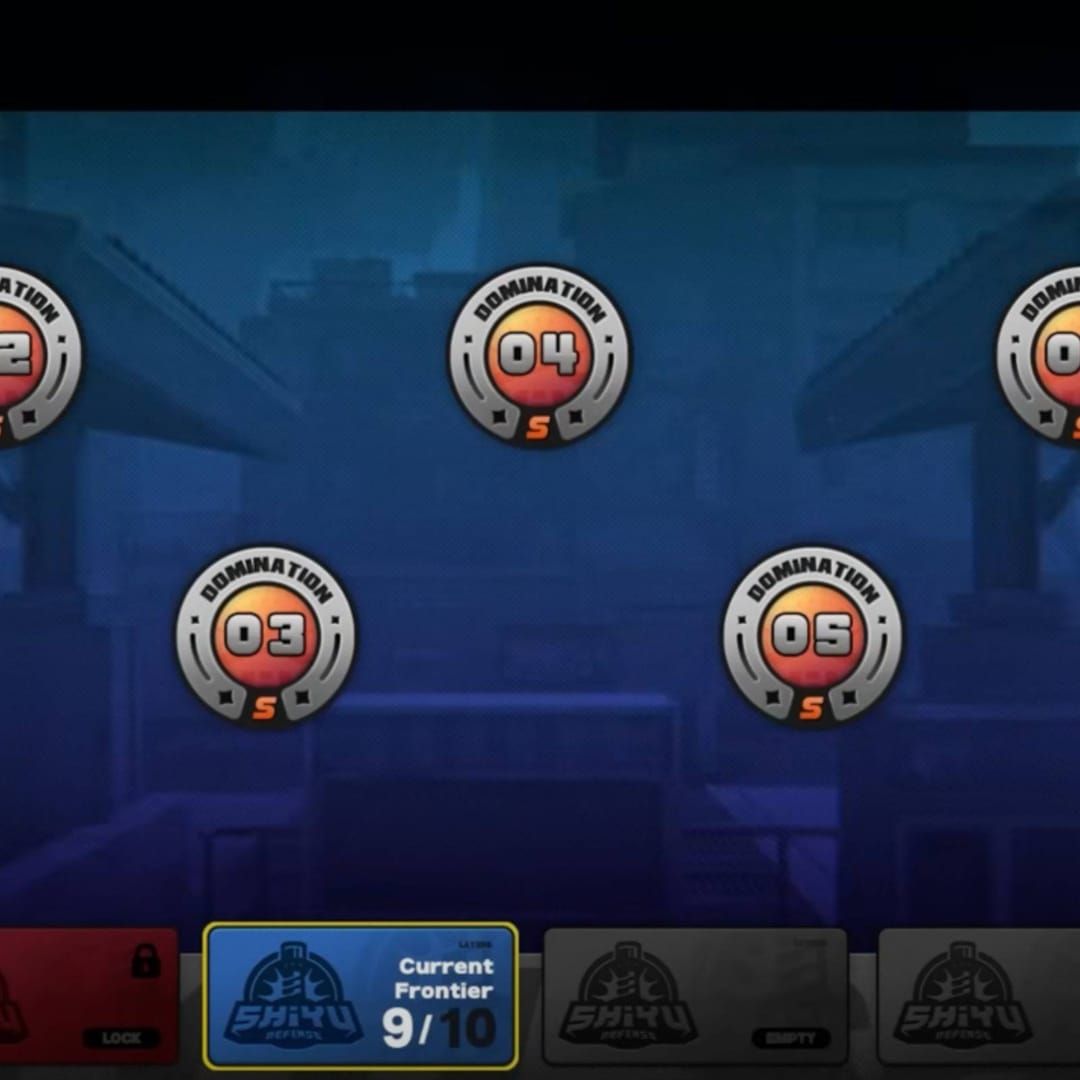
Critical Nodes feature five stages, with Stage 5 containing three rooms on a points-based system. Unlike standard Shiyu Defense, you'll need three separate team compositions for the fifth frontier. This multi-team requirement demands roster diversity over single hypercarry strategies.
Need to strengthen your roster before reset? Zenless Zone Zero top up through BitTopup provides fast, secure Polychrome access with competitive pricing.
Patch 2.5 Critical Node Changes
Three major stat buffs alter damage calculations:
- Agent ATK +30%
- CRIT DMG +15%
- Enemy Stun DMG Multiplier +20%
These buffs favor balanced teams over pure hypercarry compositions. The stun multiplier particularly rewards mastering Defensive Assist timing for faster clears.
January 9, 2026 Deadline Impact
Standard Critical Node rewards:
- 50 Polychrome
- 20,000 + 15,000 + 10,000 Denny
- 1 Hi-Fi Master Copy
Shiyu Defense 15 Critical Node rewards:
- 160 Investigation Merit
- 50,000 + 30,000 + 20,000 + 10,000 Denny
- 80 Polychrome
Missing this deadline forfeits these rewards entirely. New rotation brings different enemy compositions and resistance patterns.
Enemy Compositions and Resistances
Shiyu Defense 12 Critical Node:

- First half: Ice/Physical recommended, no resistances
- Second half: Electric recommended, Fire/Physical resistance
Bringing Fire or Physical damage to second half drastically reduces output and risks failed time requirements.
Critical Node 2.5.1 Mechanics
Ranking thresholds:
- S-rank: >300 seconds remaining
- A-rank: >180 seconds remaining
- B-rank: Defeat all enemies
Stage 5 scoring:
- Max 60,000 points per room
- S+ across all rooms: 90,000 total points
Shiyu Defense 15 scoring:
- 100,000 total score system
- Room S-ratings: 25,000 / 18,000 / 8,000 points
Critical vs. Standard Shiyu Defense
Critical Nodes implement stricter performance metrics with multi-room structure. Single poor performance disqualifies top-tier rewards even with perfect scores elsewhere.
Enemies feature enhanced interrupt resistance and aggressive AI. Defensive Assists become crucial for creating safe damage windows.
Scoring System
Clear time weighs most heavily. Maintaining >300 seconds achieves S-rank regardless of minor damage taken. Finishing with 180-300 seconds drops to A-rank.
This time-weighted system favors burst damage and stun efficiency over sustained DPS. Teams with rapid Daze meter breaking consistently outperform higher theoretical DPS but slower stun application.
Daze Meter Optimization
Daze meter depletes through specific attacks and Defensive Assists. Once depleted, enemies enter stunned state providing massive damage windows. The 20% Stun DMG Multiplier makes Daze depletion significantly faster.
Coordinate high-Daze-damage abilities with Defensive Assist windows. Characters like Qingyi and Lycaon trigger multiple stun windows per encounter with proper support.
S-Tier Team Compositions
Shiyu Defense 12 Critical Node:
- First half: Ye Shunguang, Dialyn, Zhao, Sprout (Ice/Physical coverage)
- Versatile: Miyabi, Yanagi, Zhao, Agent Gulliver (both halves)
Shiyu Defense 15 Critical Node:
- Yixuan, Ju Fufu, Pan Yinhu, Belion (consistent damage/stun cycling)
- Alice, Yuzuha, Vivian, Bangvolver (burst damage focus)
Buy ZZZ currency online through BitTopup for fast delivery and competitive rates before January 9 reset.
Premium Compositions
Evelyn, Dialyn, Astra, Snap: Peak Electric synergy for second half, avoids Fire/Physical resistance penalties. Maintains consistent Daze pressure with Chain Attack cycling.
Seed, Soldier 0, Anby, Astra Mercury: Exceptional flexibility with attribute coverage and reliable stun application. Excels in multi-wave scenarios.
F2P Teams
Corin, Ben, Zhao, Bagboo: Strong Physical damage for first-half. Achieves A-rank consistently, S-rank with optimal execution.
Billy, Anby, Nicole, Avocaboo: Premier Electric budget option. Billy's high multipliers + Anby's stun support + Nicole's defense shred performs admirably in second-half.
Team Balance Principles
Optimal distribution:
- 1 primary DPS
- 1 stun-focused character
- 1 support (buffs/debuffs)
- 1 Bangboo (attribute complement)
Single-DPS teams with dedicated support consistently outperform dual-DPS compositions sacrificing utility.
Enemy Weaknesses and Counter Strategies
Shiyu Defense 12 First Half:
- Wave 1: 3 Raiders—gather using positioning
- Wave 2: Bulky Intimidator—use Defensive Assist to interrupt high-damage attacks
- Wave 3: 2 Raiders + 2 Poachers—eliminate ranged threats first
- Wave 4: Bulky Enforcer—primary DPS check, use Defensive Assists for Daze damage
First Half Wave Details
Bulky Intimidator telegraphs dangerous attacks with distinct animations. Properly timed interrupts prevent damage and contribute significant Daze depletion.
Bulky Enforcer requires sustained pressure. High HP pool and moderate Daze resistance demand consistent damage while managing Defensive Assist cooldowns.
Second Half Patterns
Wave 1: 2 Patrol Jaegers + 2 Scout Jaegers—mobility challenge, use AoE abilities.
Wave 4: Guardian MK II + 2 Patrol Jaegers—focus Guardian MK II, use Defensive Assists to interrupt boss attacks. Eliminate Patrol Jaegers during Guardian stun windows.
Defensive Assist Timing
Master Defensive Assist timing for S-rank performance. Functions as defensive tool and offensive multiplier—properly executed interrupts contribute substantial Daze damage while preventing attacks.
Critical moments occur during boss wind-up animations. Interrupting provides extended damage windows while depleting significant Daze meter portions.
W-Engine and Drive Disc Optimization
DPS W-Engines: Signature options with CRIT Rate/CRIT DMG/ATK% main stats provide 20-30% damage increases. The 30% ATK buff makes percentage-based buffs more valuable than flat stats.
Support W-Engines: Energy Recharge or team-wide buffs optimal.
Drive Disc Sets by Role
DPS: 4-piece sets with CRIT Rate or attribute-specific damage bonuses. The 15% CRIT DMG buff makes CRIT Rate sets particularly valuable.
Support/Stun: 2-piece combinations with Energy Recharge + HP/DEF. Maintain high Ultimate uptime for consistent buff application.
Substats Priority
CRIT DPS: Target 60-70% CRIT Rate before CRIT DMG investments. Once CRIT Rate threshold met, prioritize CRIT DMG substats.
Anomaly: Anomaly Proficiency primary, ATK% and Penetration Rate secondary. The 30% ATK buff makes percentage-based ATK substats more valuable than flat rolls.
Skill Rotation and Combat Execution
Begin with support buff application before DPS windows. Open with Nicole's defense shred or Rina's damage buffs for peak DPS efficiency.
Time Chain Attacks with enemy stun windows for maximum damage multiplication. Activate immediately after Daze meter depletion.
Ultimate Coordination
Reserve Ultimates for optimal moments, not cooldown usage. Coordinate multiple Ultimates during single stun window for burst damage phases.
Balance Ultimate usage with Chain Attack availability. Maintain sufficient Decibel rating for critical Chain Attacks while not overcapping energy.
Defensive Assist Integration
Integrate Defensive Assists into damage rotations proactively. Deliberately position to bait specific attacks, creating controlled opportunities that contribute Daze damage while maintaining offensive momentum.
Interrupting mid-attack animation provides longer damage windows than waiting for natural completion.
Common Mistakes
Overvaluing rarity: Well-synergized standard banner teams outperform poorly constructed premium character teams.
Time management errors: Unnecessary restarts after minor mistakes waste time. Understand rank thresholds to prevent pointless resets.
Pure DPS Isn't Optimal
Dual-DPS compositions sacrifice support utility for marginal damage increases, resulting in slower clears due to reduced stun efficiency. The 20% Stun DMG Multiplier punishes teams lacking dedicated stun support.
Single-DPS teams with proper support achieve faster Daze depletion, more frequent stun windows, and higher vulnerability phase damage.
Investment Priority
Don't over-invest in DPS levels while neglecting support skill levels and W-Engine upgrades. Support skill levels directly impact buff magnitudes and uptime, often providing better returns.
W-Engine levels offer guaranteed stat increases compounding with character levels and Drive Disc substats. Balance investment across all team members.
Pre-Reset Preparation Checklist
Character priorities before January 9, 2026 at 03:59:
- DPS: Maximum Basic Attack and Special Attack levels
- Support: Maximum Ultimate and Assist skill levels
Material farming: Target Drive Disc domains matching optimal sets. Run targeted domains for properly main-stated pieces.
Leveling Roadmap
Level 60: Minimum viable for Shiyu Defense 15 Level 70: Recommended for consistent S-rank
Skill levels: 8-10 for primary damage abilities, 6-8 for secondary skills.
Support characters function at slightly lower levels than DPS, but skill levels remain equally important. Level 60 support with level 10 skills outperforms level 70 support with level 6 skills.
Testing and Iteration
Practice runs identify execution errors without consuming rewards. Test different rotation orders, Defensive Assist timings, and Chain Attack windows.
Record clear times and identify bottlenecks. If Wave 2 consumes excessive time, adjust strategy specifically for that encounter.
Maximizing Rewards
Score thresholds guide effort allocation. Players achieving A-rank should target S-rank thresholds rather than pursuing perfect clears with minimal additional rewards.
The 300-second S-rank threshold creates clear optimization targets. Teams clearing with 280 seconds need only 20 additional seconds through improved Defensive Assist timing or optimized rotations.
Time Attack Strategies
Aggressive positioning and proactive Defensive Assist usage shave critical seconds. Create windows through interrupts rather than waiting for safe opportunities.
Skip unnecessary animations through precise input timing. Cancel recovery frames and buffer inputs during stun animations to save 5-10 seconds per encounter.
When to Reset
Complete runs after minor 10-15 second mistakes if still on pace for S-rank. Restarting risks additional errors.
Only reset for critical failures: character deaths or missing entire stun windows on priority targets.
FAQ
What are the best teams for Shiyu Defense Critical Node 2.5.1?
Shiyu Defense 12: Ye Shunguang, Dialyn, Zhao, Sprout (first-half) or Miyabi, Yanagi, Zhao, Agent Gulliver (both halves). Shiyu Defense 15: Yixuan, Ju Fufu, Pan Yinhu, Belion. F2P: Corin, Ben, Zhao, Bagboo (first-half) or Billy, Anby, Nicole, Avocaboo (second-half).
When does Zenless Zone Zero 2.5 Shiyu Defense reset?
January 9, 2026 at 04:00 server time. Phase I ends January 9, 2026 at 03:59.
How do I achieve S-rank in Critical Node 2.5.1?
Maintain >300 seconds remaining. Focus rapid Daze meter depletion using Defensive Assists on Bulky Intimidator, Bulky Enforcer (first-half), and Guardian MK II (second-half). Use Ice/Physical for first-half, Electric for second-half.
What are the Critical Node buffs in Version 2.5?
Agent ATK +30%, CRIT DMG +15%, Enemy Stun DMG Multiplier +20%. These buffs make balanced teams with dedicated stun support more effective than pure DPS teams.
Which F2P teams can clear Shiyu Defense 15?
Corin, Ben, Zhao, Bagboo (Physical damage) or Billy, Anby, Nicole, Avocaboo (Electric damage). Both achieve A-rank consistently, S-rank with proper Drive Disc sets, W-Engine levels, and skill levels 8-10.
What rewards does Shiyu Defense Critical Node offer?
Standard: 50 Polychrome, 45,000 Denny total, 1 Hi-Fi Master Copy. Shiyu Defense 15: 160 Investigation Merit, 120,000 Denny total, 80 Polychrome.
Ready to dominate Shiyu Defense 2.5.1? Power up your teams with instant top-ups at BitTopup—get your Polychrome and Master Tapes fast, secure, and hassle-free. Maximize your pulls before the January 9 reset!


