

This 5-star Wind Harmony character launching in Version 3.5 isn’t just breaking the mold; she’s completely rewriting what support characters can do. Her signature trick? Something called ‘Military Merit’ that literally duplicates your DPS’s skills. Yeah, you read that right—double damage in a single turn.
But here’s where it gets interesting (and why you need to pay attention to the math): Cerydra scales entirely off ATK, with an optimal target of 4000 ATK. That’s not a typo. We’re talking about building a support character like a hypercarry DPS.
Understanding Cerydra’s Core Mechanics
The heart of Cerydra’s kit revolves around her Charge system—think of it as building up energy for a massive payoff. When your buffed allies hit 6 Charge points, ‘Military Merit’ evolves into ‘Peerage,’ triggering something called ‘Coup de Main.’
What does this actually mean in practice? Your DPS uses their skill, and it immediately duplicates before the original even fires. It’s essentially getting two skill rotations for the price of one action.
As someone who’s spent way too many hours optimizing rotations, this mechanic is genuinely game-changing.
Her traces tell the real story though:
‘Veni’ gives 18% Crit Damage for every 100 ATK above 2000 (maxing at 360% bonus Crit Damage at 4000 ATK)
‘Vidi’ locks her Crit Rate at 100%—no RNG, just guaranteed crits
‘Ave Imperator’ shares 18% of her ATK with buffed allies while dealing Additional Wind DMG
The math here is beautiful. At 4000 ATK, she’s essentially a Sub-DPS masquerading as a support.
Light Cone Recommendations
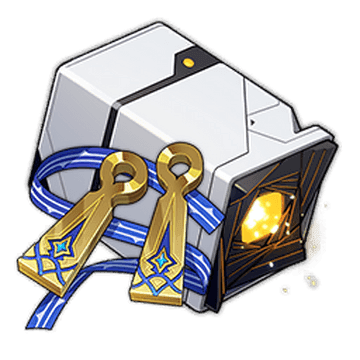
Epoch Etched in Golden Blood isn’t just best-in-slot—it’s practically mandatory. With 635 base ATK and a 64% ATK boost at S1, this light cone single-handedly gets you halfway to that 4000 ATK benchmark. The 54% Skill DMG boost for your target? Just icing on the cake.

Quick editor note: Yes, this light cone is expensive. But trust me when I say it provides more value than chasing early Eidolons.
But the Battle Isn’t Over works if you already have it, though you’ll struggle to hit optimal ATK numbers. Great for energy management, but you’re sacrificing her damage potential.
For 4-star options:
The Forever Victual gives decent ATK scaling (16% base, stacking to 32% at S5)
A Grounded Ascent offers energy plus stacking DMG buffs
F2P players should grab Memories of the Past for the ATK% main stat—it’s not glamorous, but it gets the job done.
Relic Strategy That Actually Works
Sacerdos’ Relieved Ordeal (4-piece) is your go-to set. The 6% SPD from 2-piece keeps her moving, while the 4-piece effect stacks 18% CRIT DMG per application, maxing at 36%. Two-turn duration means consistent uptime during damage windows.
Alternative builds include Eagle of Twilight Line for Wind DMG and action advancement, but honestly? Sacerdos synergizes too well with her kit to pass up.
Main stat priorities are straightforward:
Body: ATK% (obviously)
Feet: SPD or ATK% depending on your substats
Sphere: ATK% over Wind DMG%—yeah, I know it sounds backwards
Rope: Energy Regeneration Rate, then ATK%
Substat benchmarks to hit:
ATK: 4000 total (this is non-negotiable for optimal play)
SPD: 134+ for decent turn frequency
Effect RES: 30%+ if running Broken Keel
Planar Ornament Choices
Lushaka, the Sunken Seas is perfect for hypercarry comps—5% ERR plus 12% ATK for your first-slot DPS. Simple and effective.
Broken Keel works if you can hit 30% Effect RES, giving your whole team 10% CRIT DMG. Sprightly Vonwacq offers early action advancement if you can reach 120+ SPD.
Personal preference here: I lean toward Lushaka for most builds. The ATK boost directly benefits both Cerydra and your main DPS.
Skill Priority and Traces
Max Skill and Talent first—these are her bread and butter. The Military Merit system and ATK scaling live here, so this isn’t optional.
Ultimate comes next for the instant 2 Charge generation and AoE damage (144% ATK at Level 1). Basic ATK gets leveled last since you’ll rarely use it in optimal rotations.
Essential traces:
Veni (A2): The ATK-to-Crit DMG conversion that makes 4000 ATK viable
Vidi (A4): 100% Crit Rate plus Ultimate-based Charge generation
Vici (A6): 20% SPD boost and energy per buffed ally action
Team Compositions That Maximize Her Potential
Phainon Hypercarry (Phainon/Cerydra/Sunday/Bronya) represents her optimal usage. Skill duplication during Phainon’s Ultimate mode creates absolutely ridiculous damage windows.
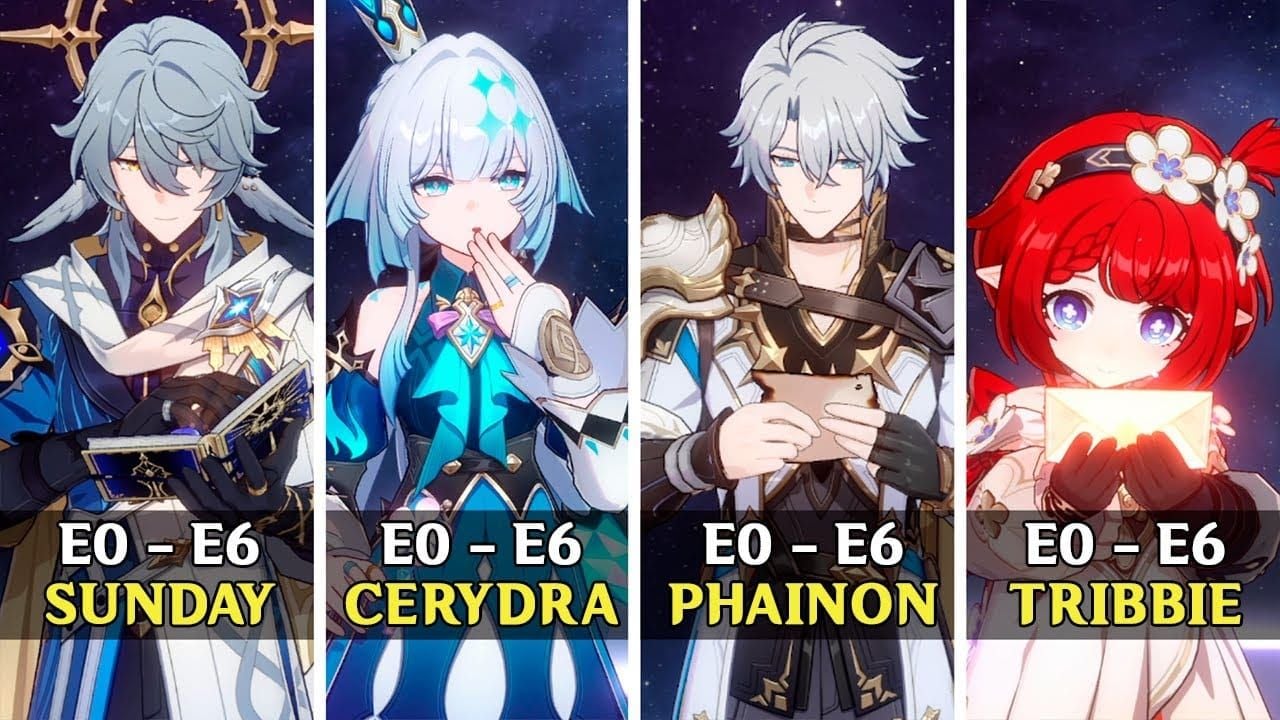
Anaxa Hypercarry (Anaxa/The Herta/Cerydra/Tribbie) turns Anaxa into a legitimate hypercarry through skill duplication—we’re talking up to 4 consecutive skill uses within buff windows.
Archer Hypercarry (Archer/Cerydra/Sparkle/Gallagher) works beautifully since Archer’s SP-free skills naturally generate Charges. E1 Archer makes this even smoother.
Combat Rotation Breakdown
Here’s the optimal sequence that took me way too many practice runs to perfect:
Cerydra Skill on DPS (Military Merit + 1 Charge)
DPS Basic/Skill (total: 2 Charges)
Cerydra Ultimate (total: 4 Charges)
DPS Skill (total: 5 Charges)
Cerydra Skill (total: 6 Charges → Peerage activated)
DPS Skill triggers Coup de Main for skill duplication
Charge generation is pretty straightforward:
Cerydra’s Skill gives +1, Ultimate gives +2
Buffed ally Basic/Skill gives +1 each
Buffed ally Ultimate gives +1 (once per battle only)
Eidolon Investment Guide
E1 adds 16%-36% DEF ignore plus 2 Energy on Skill use. Solid pickup for damage and energy management.
E2 is the sweet spot—40% damage increase for your buffed ally, 160% for Cerydra herself. This transforms her into a legitimate Sub-DPS threat.
E6 brings 20% RES ignore and a massive 300% Additional Damage multiplier increase. Only for dedicated mains.
Recommended investment path: E0S1 → E2S1 → E6S1 → E6S5
Editor’s take: Prioritize signature light cone over early Eidolons. That ATK contribution is essential for hitting 4000 ATK.
Material Requirements
Level 80 needs:
888,000 Credits (including EXP materials)
65 Charred Bud of Twilight
15 each of Ethereal Omen, Echoing Wail, Eternal Lament
Complete trace investment:
3,000,000 Credits
8 Tracks of Destiny
12 Daythunder Anamnesis (weekly boss drops)
69 Celestial Section, 139 Heavenly Melody
Farm Echo of War first for weekly materials, then Stagnant Shadow, then Calyx runs.
Quick FAQ
What makes Cerydra different from other Harmony units? Skill duplication. No other character can literally double your DPS’s damage output in a single turn while contributing significant personal damage.
Is her signature light cone mandatory? Pretty much, yeah. The 635 base ATK and 64% ATK bonus are crucial for hitting 4000 ATK. S1 provides more value than early Eidolons for most players.
How exactly does the 4000 ATK thing work? Her A2 trace gives 18% Crit Damage per 100 ATK above 2000, capping at 4000 ATK for 360% bonus Crit Damage. Combined with guaranteed 100% Crit Rate, it creates insane damage scaling.
Best team to use her with? Phainon hypercarry is optimal, but Anaxa hypercarry also works incredibly well. Both maximize the skill duplication mechanic.
Cerydra represents a fundamental shift in how we think about support characters. She’s not just enabling your DPS—she’s amplifying them while dealing substantial damage herself. The 4000 ATK benchmark might seem intimidating, but it’s what separates good Cerydra players from great ones.
For Memory of Chaos and Pure Fiction content, she’s going to be a cornerstone of the evolving meta. Just remember: signature light cone first, then optimize that ATK scaling.
✅ Official direct recharge, 100% secure
✅ No waiting – top-up arrives in 7 seconds
✅ Big discounts, low prices to save more
✅ 7×24-hour customer service, ready to assist anytime


