

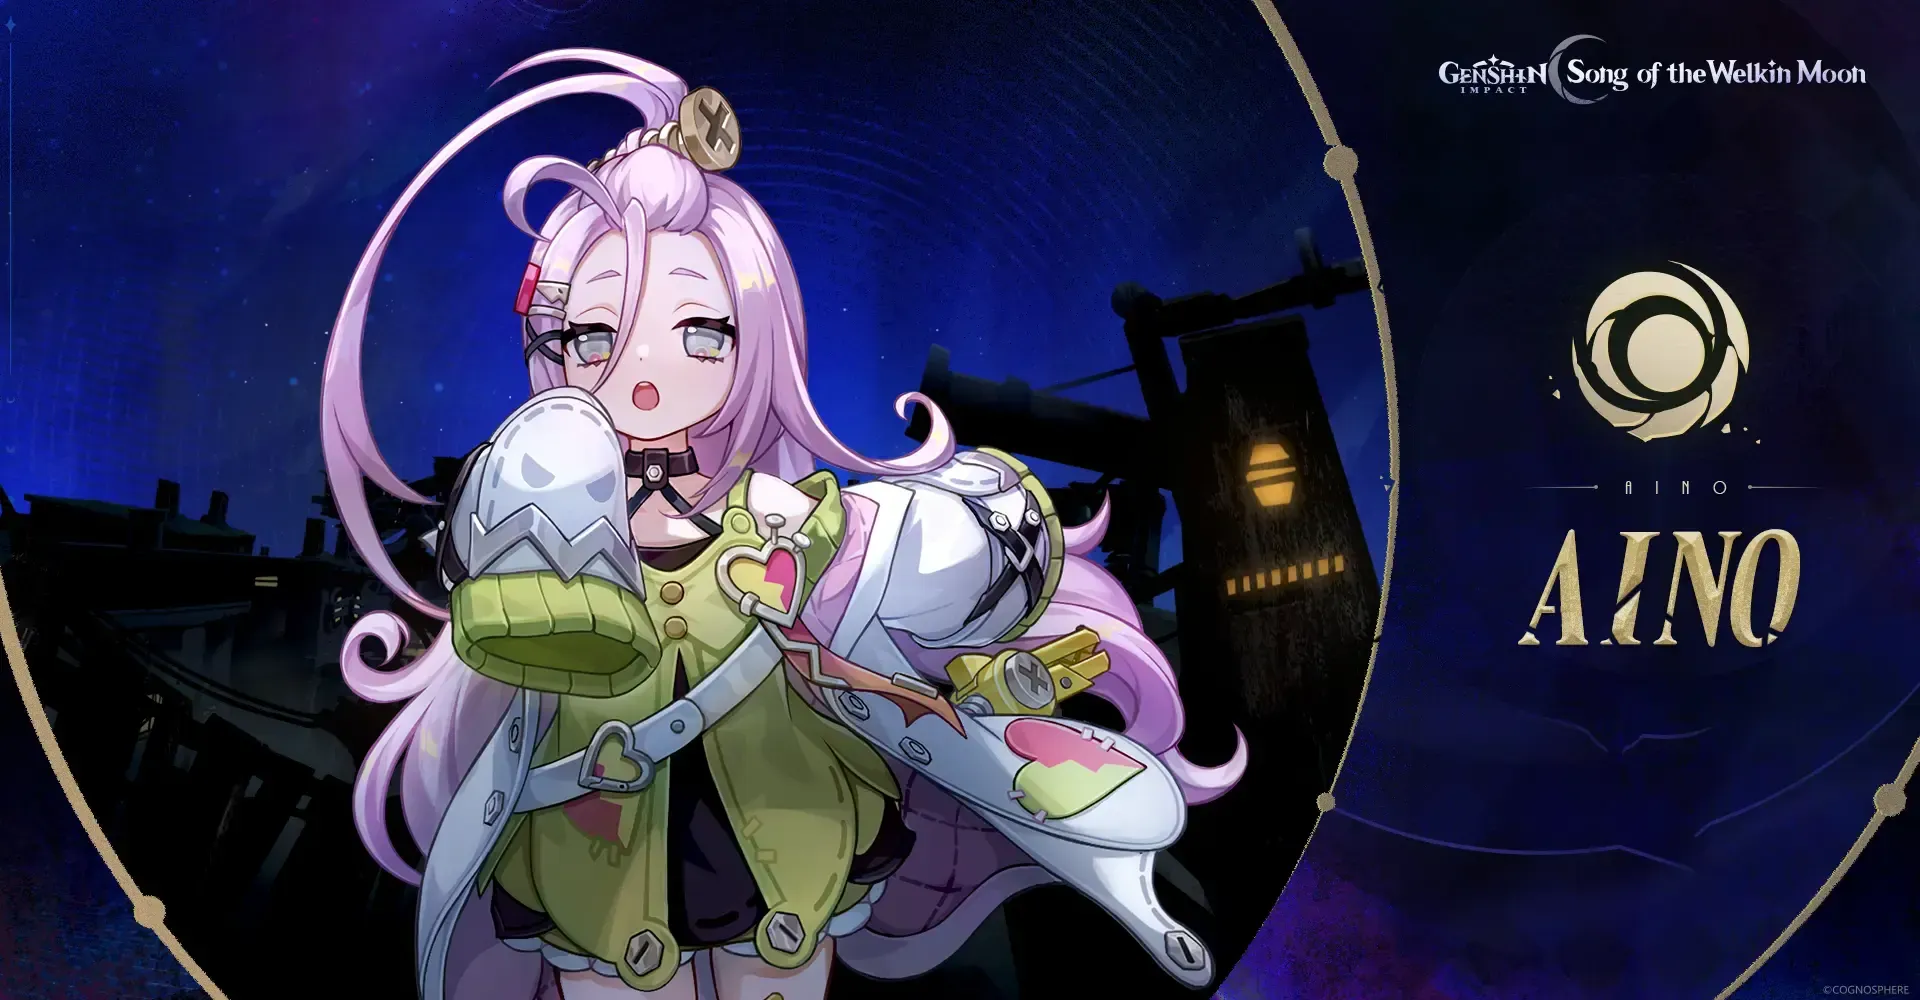
Getting to Know Aino: What Makes This Character Tick
The Numbers Game
Here’s what caught my attention immediately - Aino breaks the mold as our first Hydro Claymore user, and honestly? The stats tell an interesting story. At level 90, you’re looking at 11,201 base HP (pretty solid for a support), 242 ATK (nothing to write home about), and 607 DEF. But here’s the kicker - that 96 EM ascension stat is where things get spicy.
What really makes Aino unique is her Structured Power Booster passive. It converts 50% of her total EM directly into Elemental Burst damage. In my experience covering character releases, this kind of direct scaling usually signals a character designed for longevity in the meta.
The Modular Efficiency Protocol introduces something I haven’t seen before - Moonsign mechanics. Nascent Gleam kicks in with just one Nod-Krai character (increasing Burst frequency and AoE), while Ascendant Gleam requires two or more Nod-Krai characters but rewards you with 60 EM for nearby characters lasting 15 seconds after her Burst. Pretty clever design, actually.
How Her Kit Actually Works
Musecatcher Elemental Skill is… well, it’s different. She throws a device forward and gets dragged along for the ride, dealing Hydro damage on impact plus AoE when she stops. The hold version gives you directional control through Aiming Mode - think of it as Hydro mobility with damage attached.
Her Precision Hydronic Cooler Burst deploys what they’re calling the “Cool Your Jets Ducky” device. Yes, that’s the actual name. It creates a 14-second Focused Hydronic Cooling Zone that fires water projectiles scaling with ATK (36.2% at level 1) plus 50% of her total EM. The 50 energy cost isn’t terrible, but you’ll need to plan around it.

Where She Fits in Today’s Meta
Based on my analysis of current team compositions, Aino fills that crucial off-field Hydro enabler role we’ve been missing for multi-target scenarios. Her EM scaling positions her perfectly for Bloom, Hyperbloom, and Electro-Charged teams - and trust me, these reaction types aren’t going anywhere anytime soon. The fact that she’s a 4-star with guaranteed free availability? That’s what I call accessible meta-defining potential.
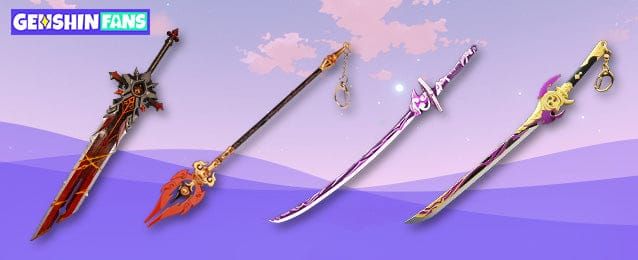
Weapon Tier List: What Actually Works
The 4-Star Champions
Favonius Greatsword takes the crown here, and it’s not even close. Energy Recharge plus team-wide colorless particle generation makes this best-in-slot for support builds. With her 50-energy Burst cost, you’ll thank me for this recommendation later.
Makhaira Aquamarine offers pure EM scaling with a passive that converts EM to ATK. It’s perfect when you want to balance personal damage with reaction support - something I’ve noticed works particularly well in mixed team compositions.
Now, Flame-Forged Insight is interesting. EM plus energy restoration after triggering Electro-Charged, Lunar-Charged, Bloom, or Lunar-Bloom reactions. It restores 12 energy and increases EM by 60 for 15 seconds (15-second cooldown, triggers off-field). The synergy potential here is obvious.
Rainslasher serves as your basic EM stat stick while increasing damage against Hydro/Electro-affected enemies. Particularly effective in Electro-Charged teams, though it’s more of a “if you have it” option.
Budget-Friendly Alternatives
Forest Regalia gives you Energy Recharge with an EM-boosting passive that’s tailor-made for Dendro reaction teams. Sacrificial Greatsword provides ER with that skill reset mechanic - double Skill usage means enhanced energy generation, which can be a lifesaver in energy-hungry rotations.
Team Building: Where Aino Shines Brightest
The Meta Contenders
Lunar-Charged Teams are where Aino really flexes. Aino + Flins (Electro) + Ineffa (Electro) + Sucrose maximizes those unique Lunar-Charged reactions while activating Ascendant Gleam Moonsign effects. Sucrose provides VV shredding, dual Electro ensures constant reactions. It’s elegant team building, honestly.
Bloom/Lunar Bloom Teams create what I call sustainable chaos. Aino + Lauma (Dendro) + Nilou (Hydro) + Baizhu (Dendro) gives you that perfect Bloom environment. Nilou converts Cores to Bountiful Cores, Baizhu handles the inevitable self-damage. It’s controlled destruction at its finest.
Reaction-Focused Compositions
Hyperbloom setups work beautifully with Aino + Nahida/Lauma (Dendro) + Fischl/Raiden (Electro) + flex healer/Anemo. Her AoE Hydro creates multiple simultaneous Cores while those EM buffs enhance Hyperbloom damage significantly.
Freeze Teams require a different approach entirely. Aino + Ganyu/Ayaka (Cryo DPS) + Anemo support shifts focus from EM to Energy Recharge and Hydro damage bonus since Freeze doesn’t scale with EM. Different beast altogether.
Artifacts: The Foundation of Success
Set Bonuses That Matter
Silken Moon’s Serenade (4-piece) is tailor-made for Aino. 20% ER from the 2-piece, but the real magic happens with “Gleaming Moon: Devotion” buff increasing party EM by 60 (Nascent) or 120 (Ascendant Gleam) for 8 seconds plus Moonglare reaction bonuses. Triggers off-field, which is exactly what you want.
Flower of Paradise Lost (4-piece) gives you 80 EM from the 2-piece plus increased Bloom damage from the 4-piece - perfect for Dendro reaction teams.
Gilded Dreams (4-piece) offers 80 EM from the 2-piece and additional EM based on party element diversity. Great for mixed reaction teams where you’re juggling multiple elements.
Main Stat Priorities (The Real Talk)
Sands: EM for maximum reaction damage when your energy needs are met. Switch to ER when you need 160-180% total ER for consistent Burst uptime.
Goblet: EM for reaction scaling and team support. Only go Hydro DMG for Freeze teams or if you’re somehow running her as on-field DPS (which… don’t).
Circlet: EM for reaction scaling. Only consider Crit Rate if you’re using Favonius Greatsword and need ~60% CR for reliable particle generation.
Target 850+ EM with 160-180% ER for endgame optimization. Trust me on these numbers.
Talents and Constellations: Investment Priorities
Leveling Order That Makes Sense
Elemental Burst first - it’s your primary off-field Hydro source and scales with both ATK and EM conversion
Elemental Skill second - mobility, energy, and additional Hydro application
Normal Attack last - she’s a support, not a main DPS
Constellation Analysis (The Honest Version)
C1 provides 80 EM to Aino plus nearby party members for 15 seconds after Skill/Burst. This is the most impactful constellation for team-wide reaction enhancement - if you’re going to stop anywhere, stop here.
C2 adds additional water ball attacks triggered by active character hits, dealing 100% EM + 300 damage while providing more Hydro application. Nice quality of life improvement.
C4 restores 10 energy when Skill hits opponents (10s cooldown). This basically eliminates energy management concerns entirely.
C6 increases damage for Electro-Charged, Bloom, Lunar-Charged, and Lunar-Bloom reactions by 15% for 15 seconds after Burst. With Ascendant Gleam, that jumps to 35% total bonus. Whale territory, but undeniably powerful.
Combat Rotations: Making It Work in Practice
Practical Rotation Patterns
Standard Support: Burst → Skill → swap to reaction triggers. That 14-second Burst duration gives you plenty of rotation time to work with.
Favonius Rotation: Skill first for particle generation → immediate Burst for energy efficiency. The particle timing matters here.
Energy-Starved: Double Skill usage via Sacrificial reset for maximum energy generation. Sometimes you need that extra juice.
Reaction Timing (Where Things Get Tricky)
Bloom Setup requires establishing Hydro aura early, then managing Dendro timing for optimal Core production without hitting field limits. It’s more art than science, honestly.
Hyperbloom demands precise Electro timing after Core creation, with EM buffs enhancing your Electro character’s damage. The timing windows are tight but manageable with practice.
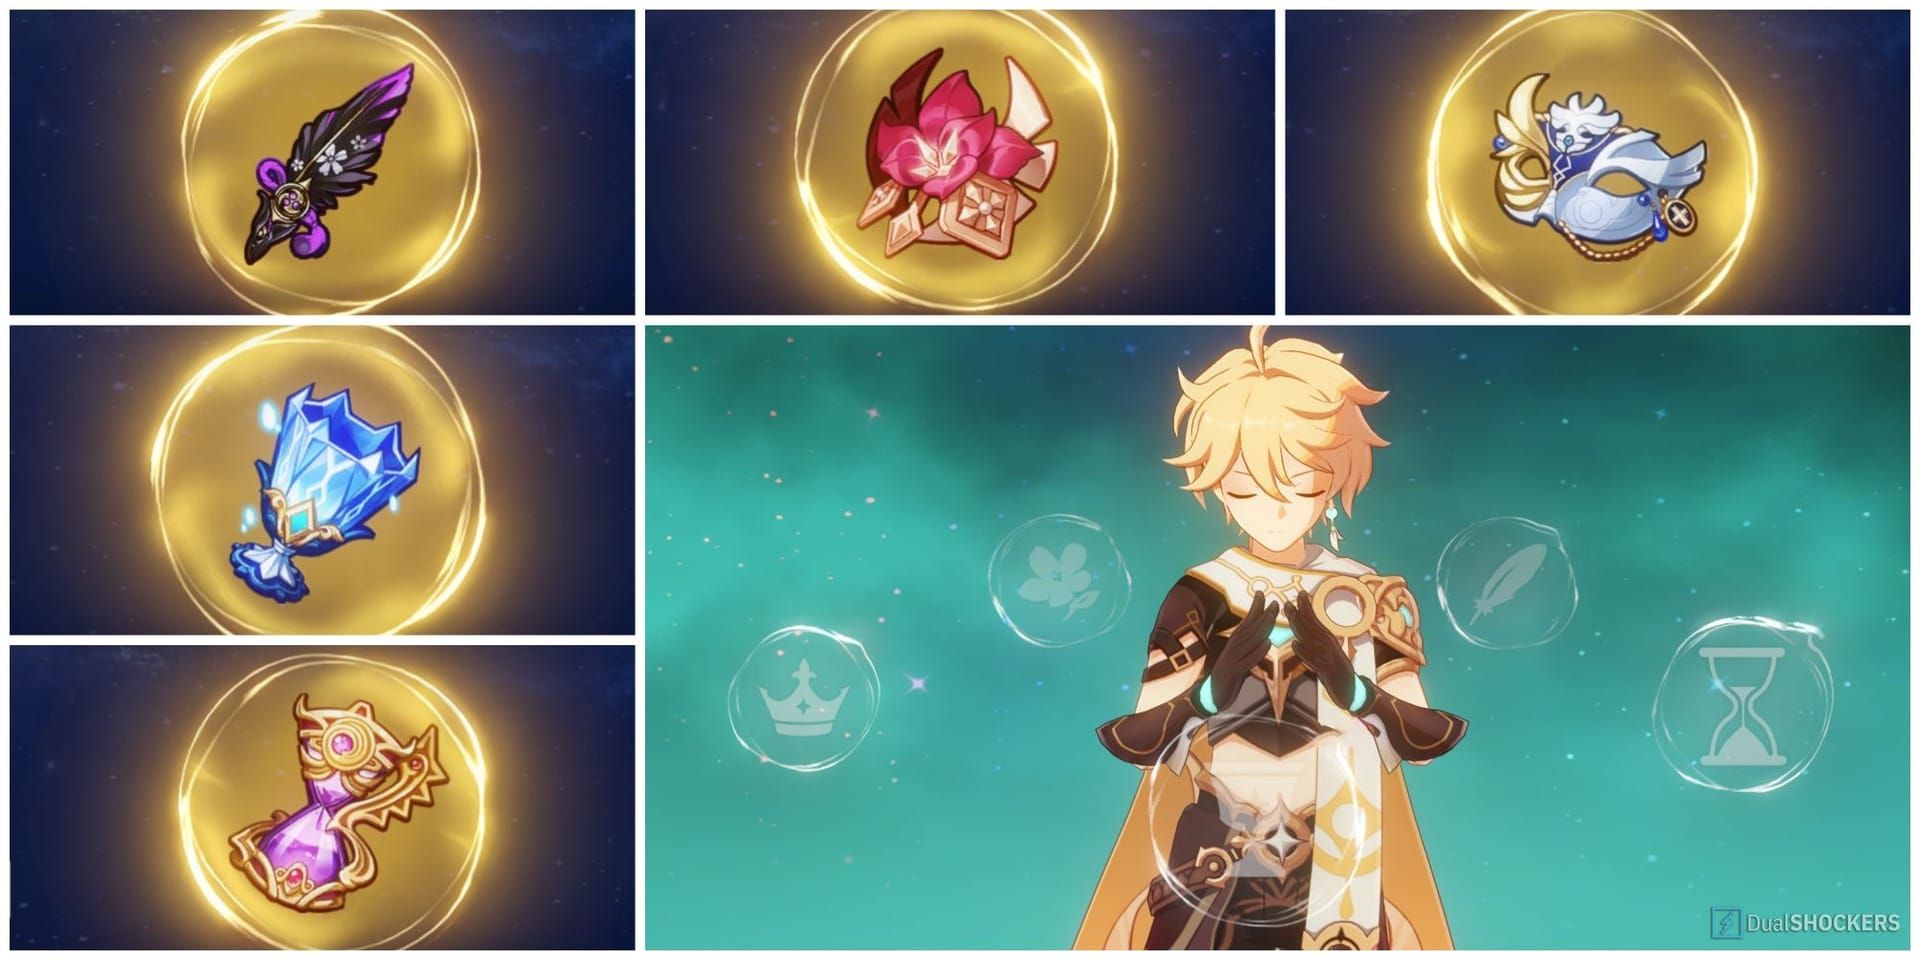
Resource Requirements: The Investment Reality
What You’re Actually Looking At
Character Ascension costs 420,000 Mora plus 1 Varunada Lazurite Sliver, 9 Fragments, 9 Chunks, 6 Gemstones. You’ll also need 46 Precision Kuuvahki Stamping D-uck-ie from the Knuckle Duckle boss, 168 Portable Bearing (Nod-Krai local specialty), and 18/30/36 Drive Shaft materials from Landcruiser enemies.
Complete Talent Investment requires 4,957,500 Mora, 3 Crown of Insight, 18 Silken Feather from “The Knave” weekly boss, plus talent books from either Tuesday/Friday/Sunday or Monday/Thursday/Sunday domain (my sources conflict on this one).
Total Investment: 7,050,100 Mora including 418 Hero’s Wit for level 90. Not cheap, but reasonable for a meta support.
Future-Proofing and Meta Predictions
Why She’ll Stay Relevant
The reaction meta keeps expanding, and Aino’s EM scaling plus team buffs position her perfectly for that evolution. Those Moonsign mechanics suggest future Nod-Krai characters will create powerful synergies - early investment looks smart from where I’m sitting.
Her Spiral Abyss applications favor consistent off-field damage and team support, which are evergreen needs in challenging content.
Long-term Value Proposition
4-star accessibility provides better constellation value than limited 5-stars. That unique Hydro Claymore plus Moonsign niche protects against powercreep better than you might expect. Team flexibility across Bloom, Hyperbloom, Electro-Charged, and Freeze ensures meta relevance regardless of how the game evolves.

Quick Answers to Common Questions
Is Aino worth pulling? Absolutely. Exceptional 4-star value with unique utility, she’s free during release, strong in multiple compositions, and achievable constellations make this a no-brainer.
Best team compositions? Lunar-Charged: Aino + Flins + Ineffa + Sucrose. Hyperbloom: Aino + Nahida + Fischl + healer. Moonsign mechanics reward multiple Nod-Krai characters, so plan accordingly.
Weapon priorities? Favonius Greatsword for team energy, Makhaira Aquamarine for personal damage, Flame-Forged Insight for reaction support, Forest Regalia for F2P builds. Avoid DPS-focused 5-stars - they’re overkill and miss the point.
Artifact focus? 4pc Silken Moon’s Serenade is optimal. Target 850+ EM with 160-180% ER. EM main stats except ER Sands when needed, Crit Rate only for Favonius users.
✅ Official direct recharge, 100% secure
✅ No waiting – top-up arrives in 7 seconds
✅ Big discounts, low prices to save more
✅ 7×24-hour customer service, ready to assist anytime


