

Let's figure out the details of this sickly sweet monster!
Where can I find it? How do I unlock it?
The Chocola Boss is hidden in specific event dungeons – this is important because I've seen many new players looking for it everywhere. You need to reach Adventure Rank 30 or higher to unlock it, and you also need to complete the prerequisite main story quests.
The challenge conditions are quite friendly: it costs 40 Original Resin per attempt, and you can challenge it 3 times a day. Interestingly, if you fail, you can immediately re-challenge without consuming extra attempts – I find this setting quite thoughtful, as everyone has moments of failure.

How tough is this guy?
According to my test data, the boss has 1.2 million HP. In terms of resistance, there's a clear weakness: Physical Resistance is as high as 50%, and Pyro Resistance is 30%, but Cryo and Electro Resistance are only 10%. This explains why Cryo and Electro teams are particularly effective against it.
It's especially important to note that when its HP drops below 30%, it enters a berserk state – its attack power significantly increases, so don't be careless at this point. Additionally, at 75%, 50%, and 25% HP, it triggers phase transitions, during which it has 2 seconds of invincibility and clears all negative status effects.
Want stronger characters to tackle the challenge? Consider recharging Genshin Impact to get Genesis Crystals and pull your favorite characters.
Core Mechanism Analysis – These Skills You Must Understand ⚔️
Five Deadly Skills
Let me analyze its skill patterns one by one:
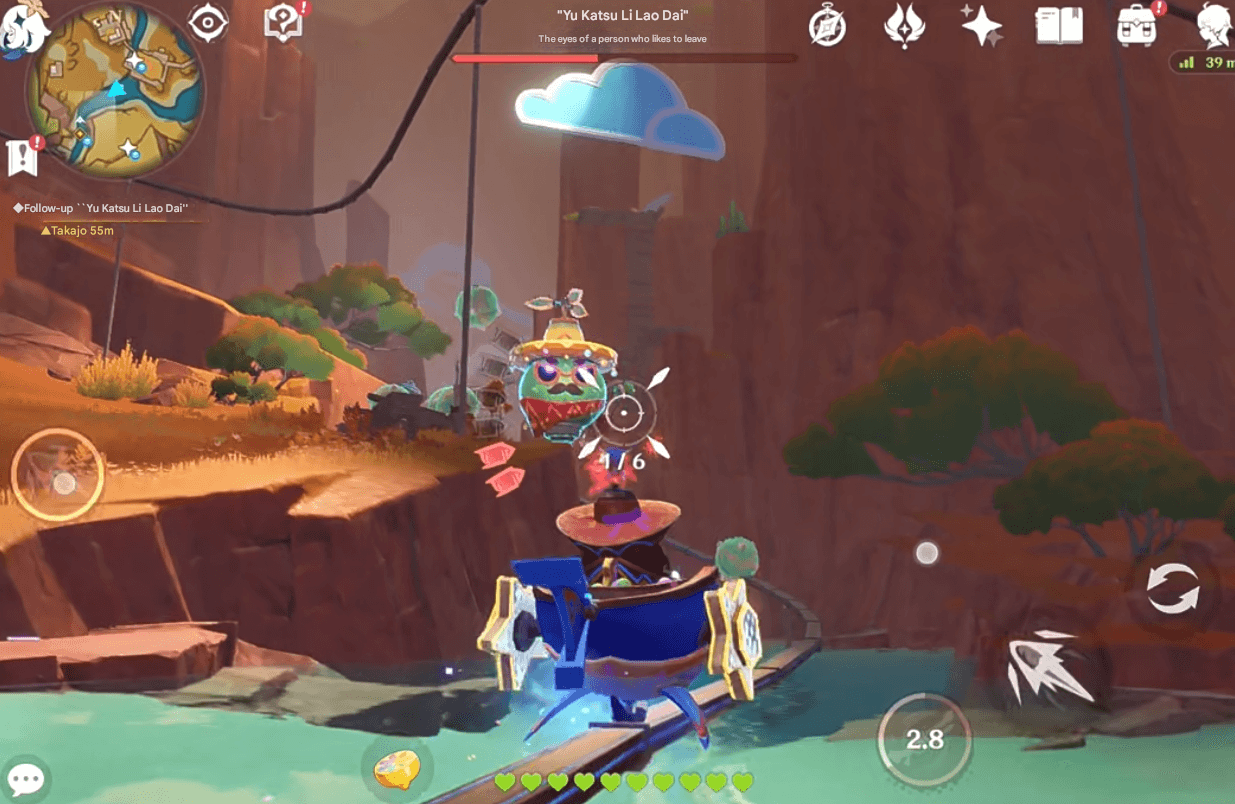
Sweet Explosion is the most dangerous. After a 3-second charge, it deals high damage across the entire screen. The boss will emit a golden glow as a warning – when you see this signal, don't hesitate, you must use a shield or utilize invincibility frames to dodge. I used to be greedy for damage at first and ended up getting blown up to the point of questioning my life.
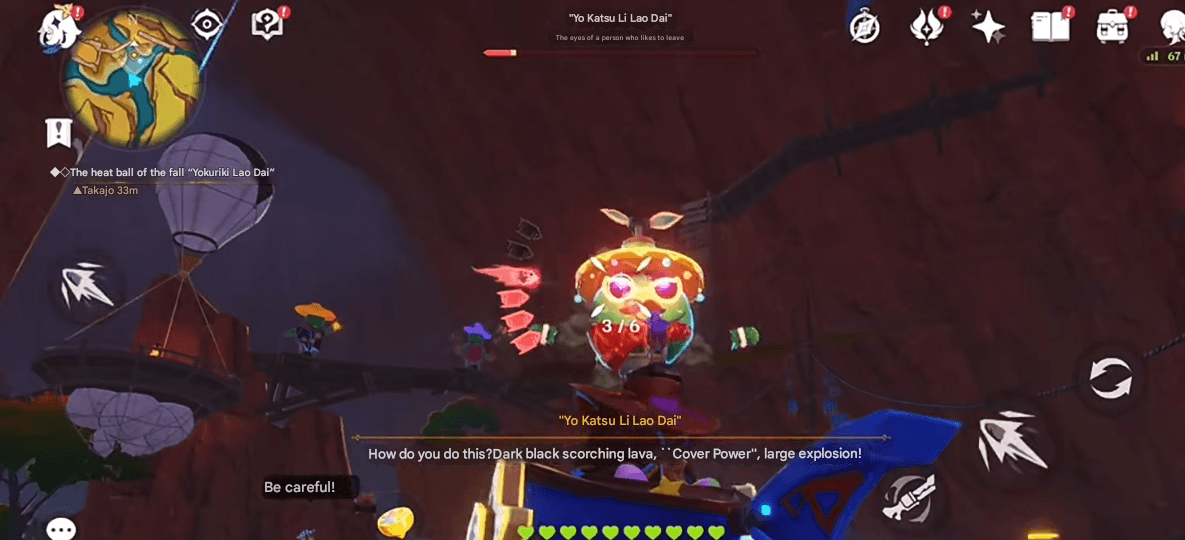
Chocolate Rain is a 5-second continuous area attack, thankfully, red markers appear on the ground as an early warning. Syrup Trap creates a brown area on the ground. Stepping on it reduces movement speed by 50% for 8 seconds. While not fatal, it's very annoying. Creamy Whirlwind is a melee attack within 5 meters around the boss, and the Caramel Shield** needs to be broken first for effective damage output.
Remember the Immunity Mechanism
Here's a pitfall: the boss is completely immune to the Frozen status, and knock-up effects are also ineffective. I tried to use Venti to group and control enemies before, but it turned out to be useless. Its resistance to crowd control skills is also relatively high, so don't expect to use a CC-focused playstyle.
The brief invincibility during phase transitions is particularly annoying – I recommend not using your Elemental Burst near HP thresholds, otherwise, it's a waste.
Team Composition – The Most Stable Way to Build a Team 🎯
Main DPS Selection Matters
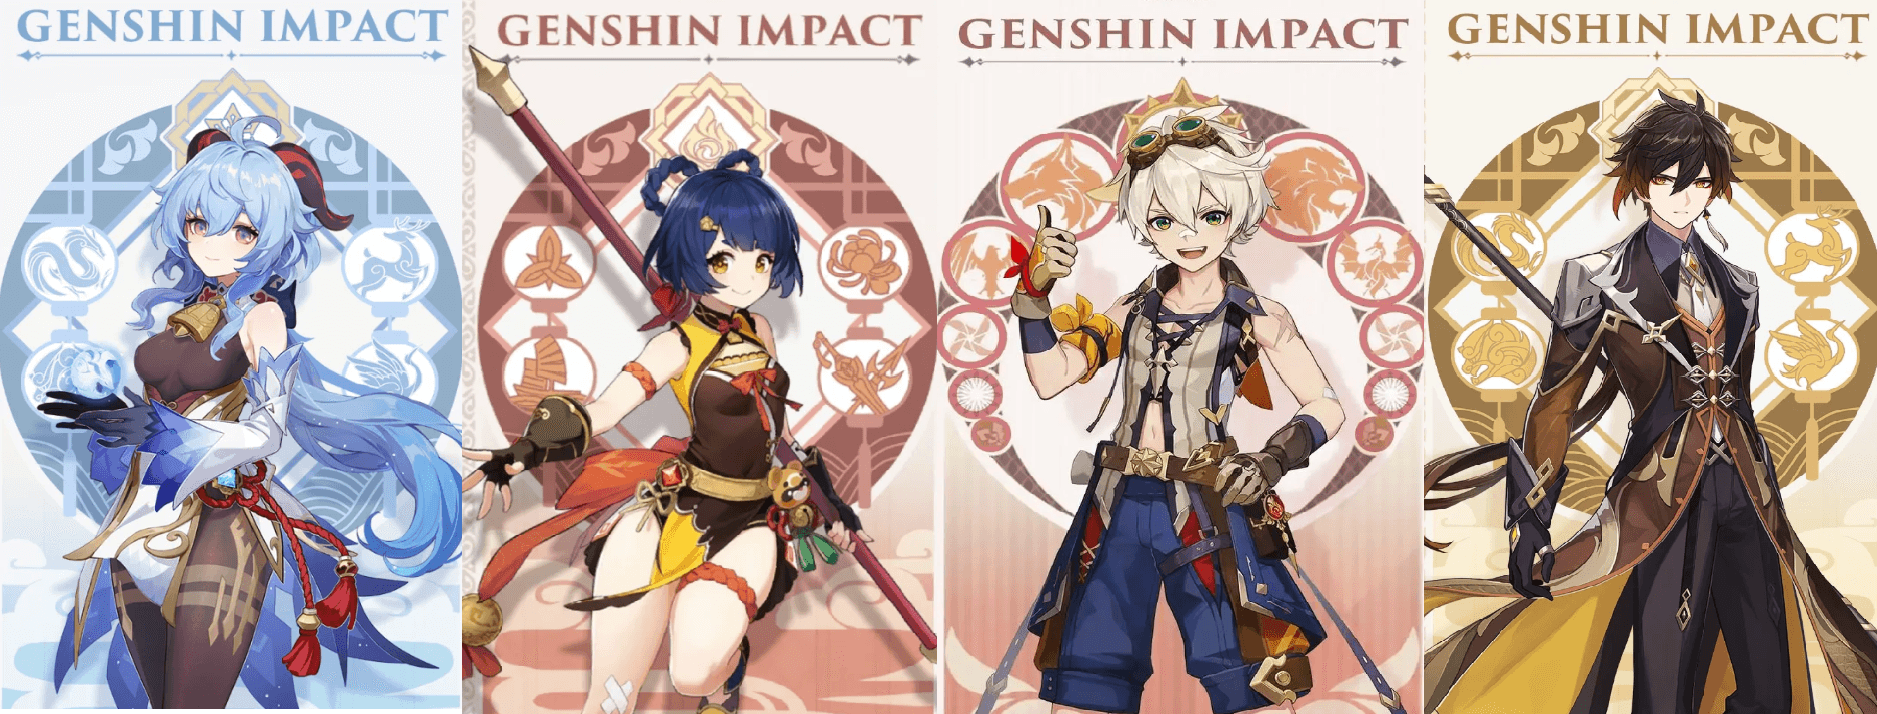
Based on elemental resistance analysis, I highly recommend these main DPS characters:
Ganyu As a Cryo bow user, her sustained damage output is incredibly strong, and ranged output is relatively safer. Ayaka's burst damage is ridiculously high, and she's even more effective with a Freeze team. Raiden Shogun** excels in both energy recharge and damage output, making her Elemental Burst rotation very smooth.
Interestingly, while Hu Tao has to overcome 30% Pyro Resistance, if your Hu Tao is well-built, her damage is still explosive. However, it requires higher operational skill.
Support Characters – Survival First
Based on my practical experience, these support characters are almost essential:
Zhongli is definitely the MVP – not only does he provide the strongest shield, but he also reduces enemy resistance. His shield can completely block the damage from Sweet Explosion, which is incredibly important. Bennett's healing and ATK buff are still unbeatable, and Venti or Kazuha are responsible for elemental dispersion, while Diona provides the dual protection of shield and healing.
Recommended Classic Combinations
I've tested several team compositions, and they all work well:
Melt Team : Ganyu + Xiangling + Bennett + Zhongli, stable damage and sustained output. Freeze Team : Ayaka + Mona + Diona + Kazuha, combines control and burst. Raiden National Team : Raiden Shogun + Xiangling + Bennett + Xingqiu, perfect energy rotation. Hu Tao Vaporize Team : Hu Tao + Xingqiu + Zhongli + Albedo, extremely high single-target damage.
For Elemental Resonance, the Crit Rate bonus from Cryo Resonance or the Energy Recharge boost from Electro Resonance are both very useful.
Combat Tips – Details Determine Success ✨
Lay a Good Foundation at the Start
Before the battle begins, ensure all characters' Elemental Bursts are fully charged. For positioning, I recommend the central-rear area of the arena, allowing for both offense and defense.
The standard combat flow is as follows: Zhongli holds E to create a shield → Bennett uses Q for an ATK buff → Main DPS unleashes Elemental Burst → continuous Normal Attacks and Elemental Skill output. Monitor shield status throughout and replenish it promptly.
Remember, maintaining a distance of 8 meters or more from the boss for ranged output is the safest approach.
Dodging Skills are Crucial
Although Chocolate Rain has a large AoE, ground markers appear 2 seconds in advance, giving you plenty of time to move and dodge. Once you step into the brown area of Syrup Trap, your movement speed will be reduced by 50%, so you must escape quickly.
Creamy Whirlwind's attack range is about 5 meters around the boss; maintaining a long distance allows for safe damage output. Immediately move when you see any red warnings, and make good use of dashing to cancel attack animations.
Analysis of Common Failure Reasons
I've seen all the typical mistakes
The most common mistake is being greedy for damage. Still furiously attacking during Sweet Explosion's wind-up, resulting in the main DPS being instantly killed – I've made this mistake myself. Another is wasting Elemental Bursts during phase transitions, casting skills when the boss is invincible.
Overly aggressive positioning is also a big no-no, as it can lead to being combo'd and defeated. Also, don't neglect energy recharge; skill downtime can be very dangerous.
Recognize Warning Signals
A golden glow means Sweet Explosion is about to be cast, a low growl indicates a phase transition is starting, and red ground markers are warnings for area attacks. You must be sensitive to these signals.
Emergency Handling Strategies
When the main DPS's HP is low, immediately switch to a healer and move away from the boss. If the shield character's skill is on cooldown, you can use the invincibility frame trick – switch characters at the exact moment Sweet Explosion's damage registers to gain brief invincibility.
If HP drops below 30%, immediately retreat to heal. After the shield breaks, prioritize replenishing it. Remember to keep revival food on hand, just in case.
Strategies for Different Difficulties
Normal Difficulty for Speed
At Normal difficulty, the boss's HP and attack power are relatively low. You can use a high-burst team composition to try and reduce more HP before phase transitions. Prioritize increasing your main DPS's Crit Damage, use offensive food, and make good use of elemental reaction multipliers. A single battle ideally takes 5-8 minutes.
Hard Difficulty for Stability
Hard difficulty requires dual healers or dual shields to ensure higher fault tolerance. The battle rhythm should be slowed down, prioritizing character survival. Dual survival guarantees, conservative positioning and output timing, and sufficient energy recharge – these are all more important than pure burst damage.
Extreme Challenge for Experts
Advanced players can attempt shieldless clears or time-limited challenges, but this requires a deep understanding of the boss's attack patterns and extremely high character cultivation. Perfectly mastering all attack pattern evasions, precisely controlling skill release timings, and optimizing damage output rotations – these are all basic requirements.
Character Cultivation Guide 💎
Artifacts Configuration
Cryo Main DPS : 4-piece Blizzard Strayer, Crit Rate Circlet/Cryo DMG Goblet/Crit DMG Circlet. Electro Main DPS : 4-piece Thundering Fury, ATK Circlet/Electro DMG Goblet/Crit DMG Circlet. Zhongli : 4-piece Tenacity of the Millelith, HP Circlet/Geo DMG Goblet/HP Circlet. Bennett : 4-piece Noblesse Oblige, HP Circlet/Pyro DMG Goblet/Healing Bonus Circlet.
Prioritize Crit Rate, Crit Damage, and ATK for sub-stats. I've tested this configuration many times, and it's indeed effective.
Weapon Selection Has Its Nuances
Ganyu : Amos' Bow > Polar Star > Rust > Blackcliff Warbow. Ayaka : Mistsplitter Reforged > Amenoma Kageuchi > The Black Sword > Descension. Raiden Shogun : Engulfing Lightning > Skyward Spine > The Catch > White Tassel. Zhongli : Staff of Homa > Skyward Spine > Black Tassel > White Tassel.
5-star weapons are, of course, the best choice, but 4-star weapons can also provide decent damage. Don't overthink it, just use what you have on hand.
Talent Upgrade Order
Prioritize upgrading the main DPS character's Normal Attack talent to level 8, then the main DPS character's Elemental Burst to level 8. For shield characters, Elemental Skill to level 6 is usually sufficient, and for healing characters, Elemental Burst to level 6 as well. Other talents can be gradually upgraded as needed.
Reasonable talent level allocation can significantly improve combat efficiency, something I've experienced firsthand.
Reward Analysis – Is It Worth Fighting? 💰
Decent Drops
Each defeat yields 80,000-120,000 Mora, 40-60 purple EXP books, 20-30 Mystic Enhancement Ores, and 2-4 advanced talent books, plus event-exclusive enhancement materials. The total value is equivalent to 60 Original Resin, which is indeed a good value for money.
I recommend completing all 3 challenges daily. These materials are in high demand for character cultivation in the later stages, and stocking up in advance can prevent resource shortages.
Excellent Input-Output Ratio
Compared to other bosses of the same level, the Chocola Boss offers richer rewards and a higher drop rate for rare materials. Spending 40 Original Resin to gain value equivalent to 60 Original Resin from a normal dungeon is a very cost-effective deal.
Do it 3 times daily, don't waste challenge attempts. Prioritize doing it when you have ample stamina, and challenging in a team can lower the difficulty.
Recharge Advice – Rational Spending for More Fun 🏆
Platform Choice is Important
Based on my actual experience, **BitTopup** performs really well – I'd give it a 4.8/5 rating. In terms of price, it offers the most favorable exchange rates and discounts in the industry, with an average transaction speed of 2-5 minutes. It's also staffed 24 hours a day. Security is also guaranteed, with multiple encryption protections and complete compliance qualifications.
It supports over 180 countries and regions worldwide, with 24/7 Chinese customer service that is prompt and professional. Compared to other platforms with higher prices and average delivery speeds, this is a more reliable choice.
Genesis Crystal Purchase Timing
I recommend stocking up on Genesis Crystals before major version updates, so you can acquire new characters as soon as they are released. The Blessing of the Welkin Moon and Battle Pass are the most cost-effective options, while direct Genesis Crystal purchases are suitable for players with clear gacha targets.
Recharge in advance after new character previews are released, and utilize platform discount events to reduce costs. Remember to avoid recharging during maintenance periods, and plan your spending rationally to avoid overconsumption.
Maximize Spending Efficiency
Rational consumption is key. Prioritize purchasing the Blessing of the Welkin Moon for daily Primogems, and decide whether to purchase the Battle Pass and direct Genesis Crystal top-ups based on actual needs.
For the Chocola Boss challenge, having 1-2 strong main DPS characters is more practical than aiming for max constellations. The Blessing of the Welkin Moon offers the best value, the Battle Pass provides a large amount of cultivation materials, and the first-time top-up bonus is indeed not to be missed. However, be rational about character constellation benefits and don't blindly pursue them.

Quick Q&A
Where can I challenge the Chocola Boss? In the limited-time event dungeon, requires Adventure Rank 30+ and completion of prerequisite quests. Can be challenged 3 times daily during the event.
What special mechanics should I pay attention to? Invincibility during HP thresholds, Sweet Explosion's 3-second charge for full-screen high damage, immunity to Freeze but sensitive to Cryo and Electro elements.
What characters are recommended? Cryo or Electro main DPS (Ganyu, Ayaka, Raiden Shogun) plus a strong shield (Zhongli) plus healing (Bennett) plus elemental support. Ensure both damage output and survival capabilities.
How are the rewards? Mora, EXP books, Mystic Enhancement Ores, advanced talent books, and event-exclusive materials, with a total value equivalent to 60 Original Resin.
Want to get stronger characters to easily tackle the Chocola Boss challenge? Head over to BitTopup now to recharge Genshin Impact Genesis Crystals and enjoy the best prices and fastest delivery service! 🔥


