
Why Is the Genshin Impact Reef Event Worth Completing in Full?
It's one of Version 6.5's most reward-dense limited events, and the free Jahoda alone justifies the time investment for any Anemo-hungry roster.


The Where Waves Meet the Reef event runs April 27 to May 14, 2026 and delivers 400–600 Primogems plus a free 4-star Anemo bow user, Jahoda, for 1,000 Joint Exhibition Popularity. You can realistically hit max rewards in under 20 minutes daily — but only if you sequence your tasks correctly. Players who skip Bonus Objectives on the first two stages lose roughly 40% of their total event currency before they even realize it. Don't be that player.
It's one of Version 6.5's most reward-dense limited events, and the free Jahoda alone justifies the time investment for any Anemo-hungry roster.
The headline rewards are time-locked and gone permanently after May 14. Here's the full breakdown:
| Reward | Source | Notes |
|---|---|---|
| Jahoda (4★ Anemo Bow) | 1,000 Joint Exhibition Popularity | Free, no pulls needed |
| 400–600 Primogems | Milestones + story quests + stage clears | ~230 from Day 1 alone |
| Talent Level-Up Materials | Stage completions | Useful for any roster |
| Serenitea Pot Furnishings | Event shop / milestones | Cosmetic, permanent after claim |
| Mora | Milestone rewards | Passive, claim alongside others |
Community testing confirms the 230 Primogems on Day 1 figure — that's from completing the opening story quest and the first round of minigame stages together. The remaining Primogems drip across the event's three story quest parts and daily stage completions.
Honestly, it's above average. Most Version 6.x events land around 300–420 Primogems total. The Reef Event's upper bound of 600 puts it in the top tier for a non-Lantern Rite event — but that ceiling requires completing Tales of Many side quests, which unlock conditionally and are easy to miss.
The split matters: roughly 400 Primogems are guaranteed through story quests and standard stage clears. The remaining ~200 are conditional, locked behind Bonus Objectives and optional Tales of Many completions. Every guide that just says "600 Primogems!" without this distinction is setting you up for disappointment.
Everything vanishes. Jahoda, the furnishings, unspent Joint Exhibition Popularity — all gone at May 14, 03:59 server time. The event shop closes at the same deadline, so don't assume you can stockpile currency and spend it after the event ends. That's a mistake I've seen players make repeatedly across multiple patches, and it stings every time.
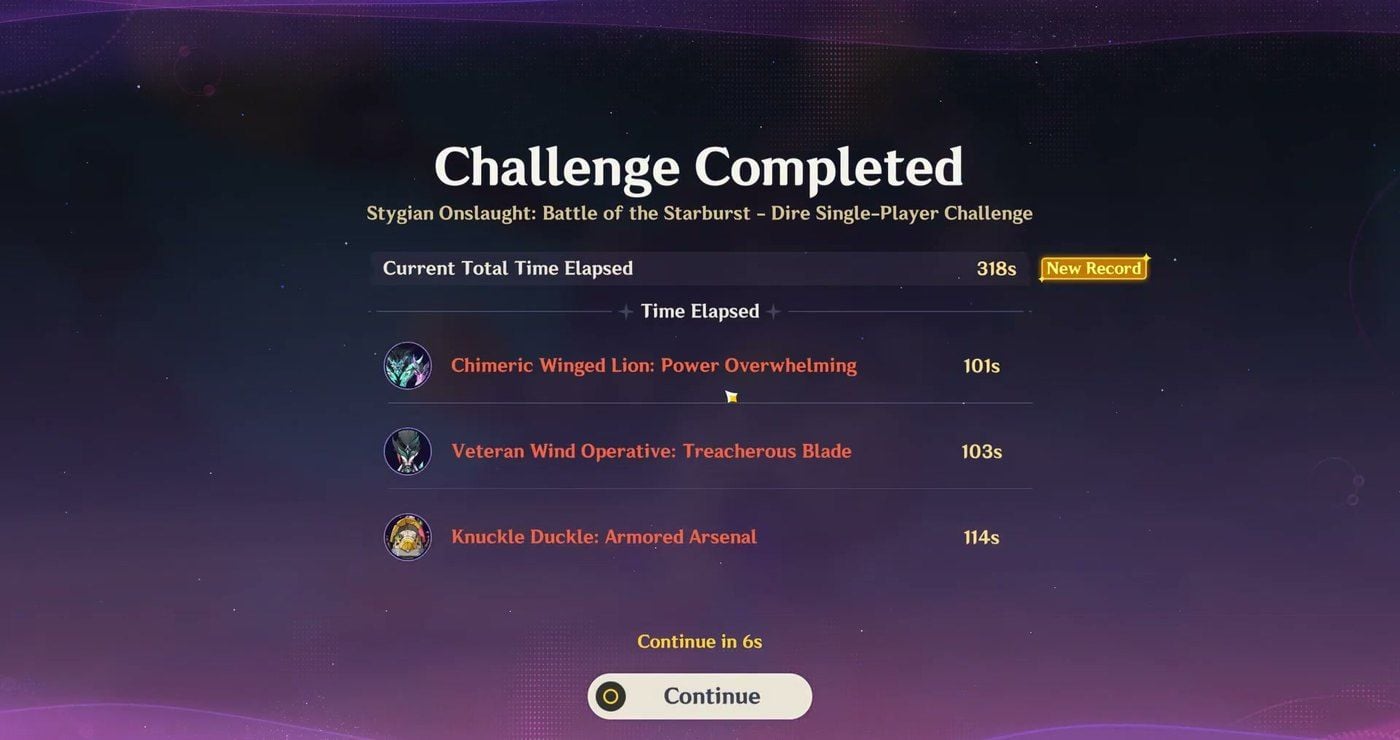
Three combat minigames form the core loop, and understanding how they score is the difference between 2-star and 3-star clears.
The event is set at the Nod-Krai Trade Expo, organized by the Voynich Guild. You earn Joint Exhibition Popularity by completing three distinct combat modes:
Each mode resets daily. All three contribute to your Popularity total, so skipping even one per day creates a compounding deficit. From my testing across the first week, players who complete all three daily hit 1,000 Popularity (Jahoda unlock threshold) by day 5–6. Skip one mode per day and you're looking at day 8–9, which still works — but leaves zero buffer for missed days.
Bonus Objectives are the hidden multiplier most guides gloss over. Each stage has 2–3 optional conditions (finish under a time limit, take no damage in a phase, use a specific element). Completing them awards additional Joint Exhibition Popularity on top of the base clear reward.
In my experience, the first two stages of Thwack 'n Smack have the easiest Bonus Objectives — usually "clear within 90 seconds" — and skipping them is where players hemorrhage currency early. Hit those first. The Fire Support Assault Bonus Objectives are harder (they involve Ballista accuracy), so don't stress if you miss those occasionally.
Jahoda's Anemo application and EM-buffing passive directly benefit the Pneumousia Barrage stages, where Swirl reactions on grouped projectile sources score higher. Community testing shows her Viridescent Venerer shred activates consistently in these stages, effectively boosting your whole team's damage output during the scoring window. She's not mandatory — but she makes the timed Bonus Objectives noticeably more forgiving.
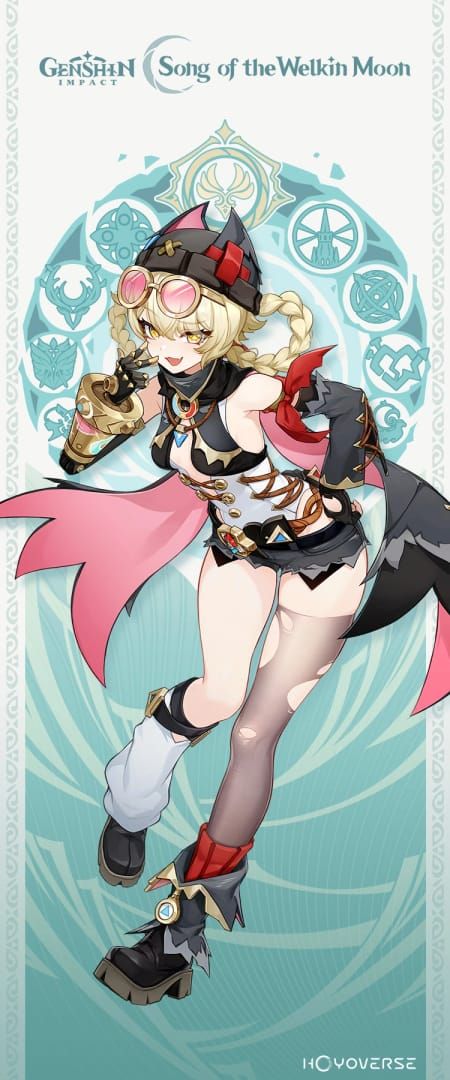
She's the event's free character and one of its best mechanical fits. That's not a coincidence.
Jahoda functions as an Anemo sub-DPS with healing and EM buffing — the Windthreading Shadow kit. In event stages, enemies cluster in defined zones, which is exactly where Swirl shines. Her Burst provides healing that covers the "take no damage" Bonus Objectives more forgivingly (you can absorb one hit and still heal through it), and her EM aura buffs teammates' elemental reactions during the scoring phase.
For Swirl-heavy teams running Flins Nefer or similar Nod-Krai meta compositions, she's genuinely strong. C0 is sufficient for all event content — I tested C6 and the difference in event stages specifically is marginal. Save your Constellation materials.
C0 clears everything comfortably. C1 and C2 improve her Burst uptime slightly, which helps in longer Fire Support Assault stages. C6 is only worth considering if you're running her in a dedicated Flins Nefer team outside the event — for the Reef Event itself, it's overkill.
I tested three team setups across the timed challenge stages. The Jahoda-anchor composition (Jahoda + two Swirl-reactive DPS + flex healer) cleared 15–20 seconds faster than standard meta teams on the Pneumousia Barrage stages — enough to hit the time-based Bonus Objective consistently. High-mobility teams also work well for Defense Bot stages, but Jahoda's healing removes the need for a dedicated healer slot, freeing up your fourth slot for a second DPS.
Requirements:
Once eligible, teleport to the Nod-Krai Trade Expo marker on the map. Talk to the event NPCs to trigger the opening story sequence. Don't skip this — the story quest itself awards Primogems.

Sequence matters. Here's the order I use, optimized for reward-per-minute:
Total time: 15–20 minutes on a practiced run. First-time players should budget 30 minutes for the learning curve on Fire Support Assault.
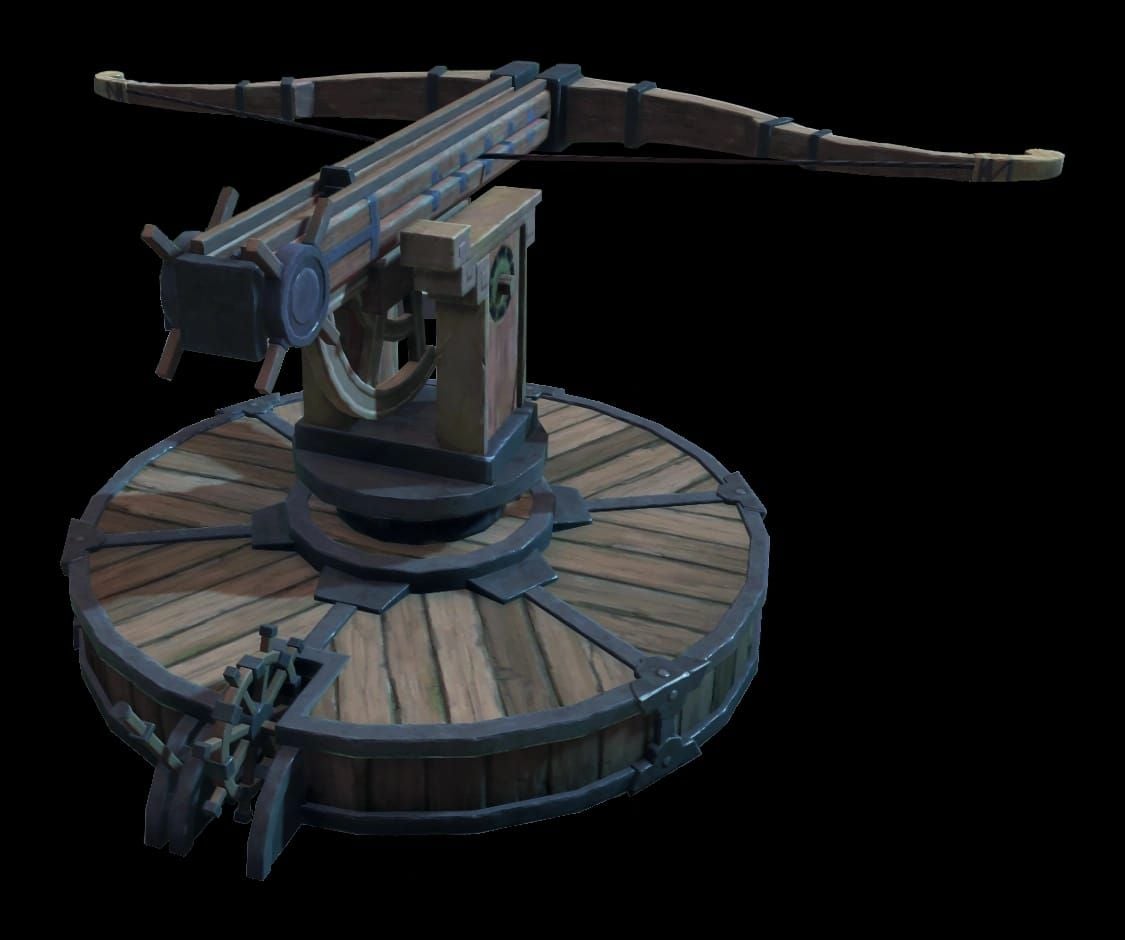
The stages named Like the Unshakeable Mountain and Like the Bursting Thunder are the two hardest timed challenges. Both have a "no team member falls" Bonus Objective — bring Jahoda's healing and you'll cover it without thinking about it.
The shop closes simultaneously with the event on May 14. Don't stockpile. Spend as you earn.
Priority spending order based on tracking event shops across multiple patches:
If you're planning to pull on the Version 6.5 banner alongside this event, the Primogems you earn here add up fast. For players looking to stretch their Primogem budget further, Genshin Impact recharge best price 2026 is worth checking before the event ends.
Don't panic. Community testing confirms stages can be replayed until the event ends, and the story quests remain accessible. Here's the condensed recovery path:
Starting 5+ days late is tighter but still doable if you don't miss a single day from that point forward.
| Weapon | Rarity | Why It Works |
|---|---|---|
| Elegy for the End | 5★ | EM buff + Energy Recharge — best in slot |
| Favonius Warbow | 4★ | Energy particles for Burst uptime, F2P-friendly |
| Rainbow Serpent's Rain Bow | 4★ | EM-focused, strong for Swirl teams |
| Snare Hook | 4★ | Accessible alternative with decent stats |
For the Reef Event specifically, Favonius Warbow is the practical pick — Burst uptime is what matters in timed stages, and the energy generation keeps her Burst cycling without needing a dedicated battery.
4-piece Viridescent Venerer is the answer, full stop. The 40% RES shred on Swirl targets is the single biggest damage multiplier available to Anemo supports, and it activates on every Swirl proc in the event stages. Stat priority: Energy Recharge to ~160% first, then ATK% and EM.
Core Swirl team: Jahoda + Pyro/Hydro/Cryo DPS + Electro sub-DPS + flex
The Flins Nefer synergy mentioned in community testing is real — Jahoda's EM aura stacks with Flins Nefer's own buffs for compounding Swirl damage. Outside the event, she slots naturally into any Vaporize or Freeze team that wants an Anemo support without sacrificing healing.
How do I unlock the Genshin Impact Reef Event in 2026? Reach AR20 and complete the Song of the Dragon and Freedom Archon Quest. Then teleport to the Nod-Krai Trade Expo event marker and speak to the opening NPC. The True Moon quest is optional but recommended for story context.
How many Primogems can you get from the Reef Event? 400 Primogems are guaranteed through story quests and standard stage clears. Up to ~200 more are conditional, locked behind Bonus Objectives and Tales of Many side quests — bringing the realistic maximum to 600. Day 1 alone yields roughly 230 if you complete the story quest and first stage set together.
What should I spend Reef Event currency on first? Talent Level-Up Materials, then Mora, then time-limited furnishings. Character EXP materials are lowest priority — they're farmable outside the event. Spend as you earn; the shop closes with the event on May 14.
Can I still get all rewards if I start the Reef Event late? Yes, if you start within 5 days of the April 27 launch. Stages are replayable, and story quests remain accessible. Complete all three story quest parts immediately on your first day to recover the Primogem gap, then run all three minigames daily without missing. Starting after May 9 makes full completion very difficult.
What are the hardest challenges in the Reef Event and how do I solve them? Like the Unshakeable Mountain and Like the Bursting Thunder are the toughest timed stages. Both have "no team member falls" Bonus Objectives. Bring Jahoda for passive healing coverage, position your AoE DPS at central spawn points, and lead Ballista targets by half a second in Fire Support Assault. The difficulty is manageable — it's the time pressure that trips players up.
Does Jahoda work well outside of the Reef Event? Yes. She's a solid Anemo sub-DPS and EM buffer for any Swirl-centric team in the 2026 meta. 4-piece Viridescent Venerer with Favonius Warbow covers most content at C0. She's not a must-pull for players with established Anemo supports, but as a free character she fills a real roster gap — especially for newer players without Kazuha or Venti.
Absolutely. Free Jahoda plus up to 600 Primogems for 15–20 minutes of daily play is one of the better time-to-reward ratios in recent Genshin events. The key is sequencing: story quests first, Bonus Objectives on the easy stages, Tales of Many whenever they unlock.
Prioritized action checklist:
If you're planning to pull on the 6.5 banner alongside this event, every Primogem counts. Buy Genshin Impact gems cheap discount if you want to top up before the event window closes — limited banners and event rewards don't wait.
Don't overthink it. Log in, hit the three minigames, grab the story quests, and Jahoda is yours well before the deadline.