

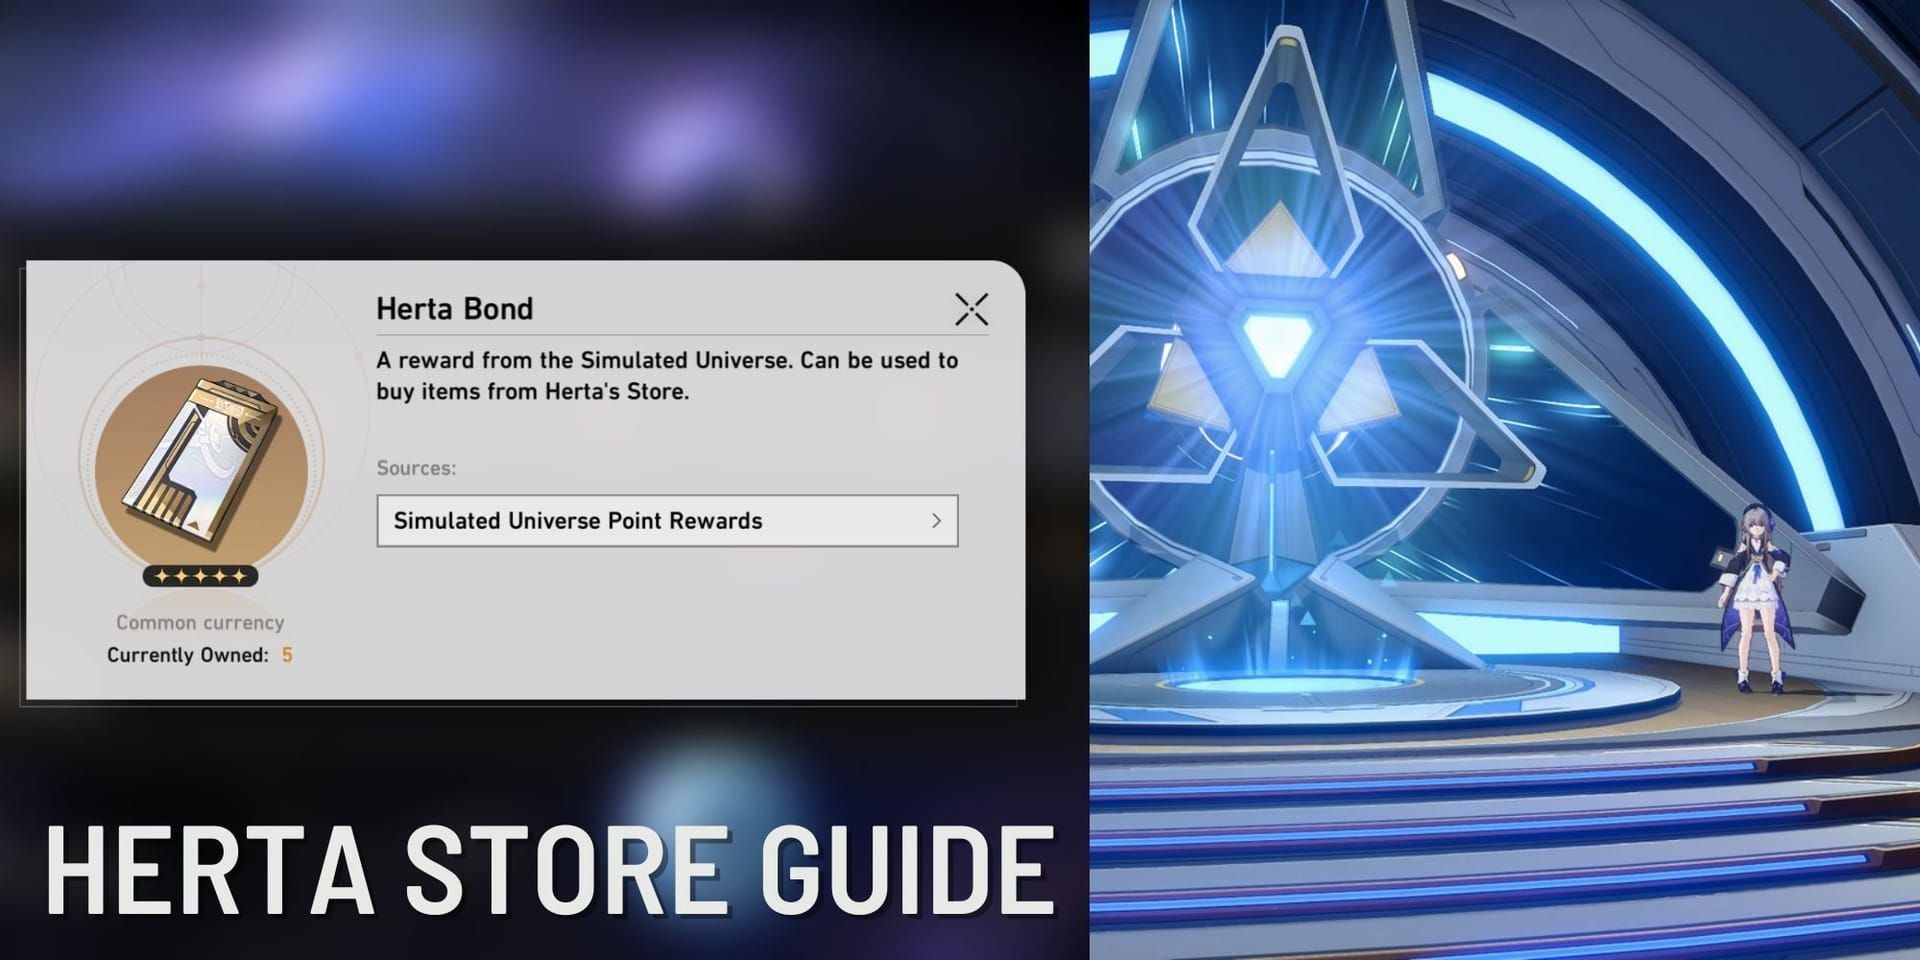
Understanding the Herta Bond Store System in 2026
The Herta Bond Store operates as a permanent exchange system converting Herta Bonds into premium Light Cones. Bonds accumulate through first-time Simulated Universe world clears and weekly point progression rewards.
The store stocks six 5-star Light Cones across different paths, each available in 8 copies at 8 Bonds per copy. For Nihility specialists, Solitary Healing represents the dedicated option with Break Effect and DoT mechanics. On the Fall of an Aeon (Destruction) functions effectively on certain Nihility characters despite path differences. Players can honkai star rail recharge through BitTopup for competitive rates and instant Stellar Jade delivery.
Exchange limits are permanent—once you claim all 8 copies, that slot remains exhausted. The store also offers 12 Superimposers at 2 Bonds each, enabling enhancement without duplicate copies.
How Herta Bonds Are Acquired
First-time world clears provide substantial one-time rewards. Higher difficulty worlds yield more currency, allowing new players to quickly accumulate 8-16 Bonds for initial purchases.
Weekly point progression yields approximately 2-4 Bonds per week depending on completion depth, translating to one 5-star Light Cone every 2-4 weeks. This rate makes strategic prioritization essential.
Efficiency optimization involves targeting higher-difficulty worlds with better point-to-time ratios. Complete all first-time clears before settling into weekly farming patterns.
Light Cone Pricing and Superimposition
All 5-star Light Cones cost 8 Bonds with no price variation. The 8-copy limit enables one S5 version with 3 spare copies for additional characters.
Each superimposition level requires one duplicate or one Superimposer. The 12 available Superimposers at 2 Bonds each provide an alternative path to S5 (requiring 4 Superimposers for S1→S5) while preserving extra copies.
Strategic choice between superimposition and copy distribution depends on team composition. Multiple Nihility characters in different teams benefit more from multiple S1 copies than a single S5 version.
Solitary Healing: Complete Stats and Mechanics
Solitary Healing (Nihility) is the dedicated Nihility option designed for Break Effect and DoT teams. Level 80 stats: HP 1058, ATK 529, DEF 396.
S5 Passive:
- Break Effect +40% (permanent)
- DoT taken by enemies +48% for 2 turns on Ultimate usage
- 8 Energy restoration when DoT-afflicted enemy is defeated
This dual-layered design rewards both Break application and DoT maintenance. The 48% DoT amplification represents substantial damage multiplication for Kafka, Black Swan, or hybrid DoT strategies. Energy restoration creates a positive feedback loop in multi-wave content.
Passive Scaling Across Superimposition
Standard scaling patterns suggest:
- S1: ~20% Break Effect, ~24% DoT amplification
- S3: ~30% Break Effect, ~36% DoT amplification
- S5: 40% Break Effect, 48% DoT amplification
Energy restoration remains constant at 8 Energy across all levels. S1 establishes functionality, S3 reaches ~70% of maximum potential, S5 delivers final 30% optimization.
Optimal Character Pairings
Kafka: Premier user. The 48% DoT amplification directly multiplies follow-up attack damage, Break Effect enhances Shock application, Energy restoration enables frequent DoT detonations.
Black Swan: Benefits from Break Effect for Arcana application. DoT amplification enhances Arcana stack damage, though she gains less relative value than Kafka's pure DoT focus.
Guinaifen/Luka: Budget-friendly pairings where Solitary Healing elevates 4-star characters to competitive performance. Burn and Bleed mechanics benefit from DoT amplification.
Silver Wolf: Lowest priority. Her value lies in defense reduction and weakness implantation rather than personal damage. Better served by Effect Hit Rate or defensive options.
On the Fall of an Aeon: Superimposition Scaling
On the Fall of an Aeon (Destruction) features identical Level 80 stats: HP 1058, ATK 529, DEF 396.

S5 Passive:
- ATK +16% per attack or hit taken, stacking up to 4 times (64% max)
- 24% DMG Boost for 2 turns on Weakness Break
Stacking builds rapidly, typically reaching full stacks within 2-3 turns. While categorized as Destruction, Break synergy and ATK scaling benefit any damage dealer who frequently attacks and breaks enemies.
S1 to S5 Stat Progression
Standard scaling:
- S1: ~8% ATK per stack (32% max), 12% DMG Boost on Break
- S3: ~12% ATK per stack (48% max), 18% DMG Boost
- S5: 16% ATK per stack (64% max), 24% DMG Boost
S1 establishes functional viability—32% ATK already provides substantial damage multiplication. S3 represents the value inflection point. The S3→S5 investment yields ~33% more ATK scaling and Break damage.
When S1 Is Sufficient vs S5 Necessary
S1 suffices for:
- Secondary Nihility characters in rosters where Solitary Healing occupies primary slot
- Dual-Nihility teams (Kafka + Black Swan)
- Mid-game content
S5 necessary for:
- Primary Nihility Light Cone when lacking Solitary Healing
- Endgame content with tight DPS checks (Memory of Chaos floor 12, high-difficulty Apocalyptic Shadow)
- Accounts heavily invested in Nihility-centric teams
Head-to-Head Comparison
Both share identical base stats. Comparison reduces to passive effect value within specific contexts.
Pure DoT teams (Kafka/Black Swan): Solitary Healing's 48% DoT amplification provides 25-35% higher DoT tick damage compared to On the Fall of an Aeon S5 in Memory of Chaos testing.
Hybrid damage profiles: On the Fall of an Aeon's 64% ATK boost amplifies all damage instances. Black Swan with On the Fall of an Aeon S5 achieves 15-20% higher total damage in Pure Fiction scenarios requiring frequent Ultimates and direct damage bursts.
Flexibility and Multi-Character Usability
On the Fall of an Aeon's ATK stacking requires no specific team composition—activates through normal combat. Solitary Healing's DoT amplification demands team construction around DoT application.
This flexibility favors On the Fall of an Aeon for diverse team compositions. Players committed to DoT-centric strategies should prioritize Solitary Healing for superior specialization.
Character-Specific Priority Recommendations
Kafka: Maximum value from Solitary Healing S5. Her follow-up attacks scale directly from DoT magnitude. The 48% DoT amplification multiplies every Shock tick and detonation. Alternative: On the Fall of an Aeon S1 provides ~70% effectiveness when Solitary Healing unavailable.
Black Swan: Roughly equivalent total damage between Solitary Healing S5 and On the Fall of an Aeon S5. Solitary Healing excels in extended single-target encounters, On the Fall of an Aeon in burst scenarios. In pure DoT teams with Kafka, use Solitary Healing. As solo Nihility damage dealer, use On the Fall of an Aeon.
Silver Wolf: Neither optimizes her support role. Deprioritize both in favor of Effect Hit Rate or defensive stats.
Guinaifen/Luka: Solitary Healing S1 provides most cost-effective performance boost for 4-star Nihility options.
Decision Framework: Which to Prioritize?
Roster assessment: Identify primary Nihility damage dealer. Kafka mains prioritize Solitary Healing S1. Black Swan requires team composition analysis—DoT teams favor Solitary Healing, hybrid teams lean toward On the Fall of an Aeon.
Team composition:
- Pure DoT teams (Kafka, Black Swan, DoT supports): Solitary Healing
- Hybrid teams (Nihility + traditional DPS): On the Fall of an Aeon
- Debuff-focused (Silver Wolf + carries): Deprioritize both
Account progression:
- Early-game (Level 50-60): Single S1 acquisitions across paths before superimposition
- Mid-game (60-70): Targeted S3 investments on primary carries
- Endgame (70+): S5 optimization for marginal gains
Resource Availability
Current Bonds:
- 8-16 Bonds: Binary choice between single acquisitions
- 24+ Bonds: Combination strategies (Solitary Healing S1 + On the Fall of an Aeon S1) or concentrated S3 investment
Future farming: 8-12 Bonds monthly from consistent weekly completion = one Light Cone every 4-6 weeks.
Superimposer strategy: Acquire 2-3 copies, use Superimposers to enhance one to S3-S5 while maintaining spares. Costs 16 for two copies + 8 for four Superimposers = 24 Bonds for S5 + spare vs 40 for five copies.
Investment Strategy by Player Type
F2P: Prioritize Solitary Healing S1 if running Kafka or DoT-focused Black Swan. After securing S1 coverage, resist superimposition until accumulating 24+ Bonds. Pursue S1→S3 jump for ~70% of total scaling value. Avoid S1→S2 incremental upgrades. For supplemental progress, buy hsr express pass through BitTopup for enhanced rewards.
Light spenders: Reach S3 breakpoints 4-6 weeks faster than F2P. Focus on primary carry optimization: Solitary Healing S3 for Kafka mains. S3 delivers 75% of maximum potential at 62.5% of S5 cost (24 Bonds vs 40). Diversify path coverage before pursuing S5.
Whale accounts: Acquire all Herta Store Light Cones at S5 for collection completion. For competitive play, S5 Solitary Healing on Kafka is mandatory for maximum DoT output. Systematic acquisition: all six at S1 (48 Bonds), then S3 (additional 96 Bonds), finally S5 (additional 96 Bonds) = 240 Bonds total over 20-30 weeks.
Common Mistakes
Always superimpose first myth: Distributed S1 coverage across multiple characters typically provides more total team damage than concentrated S5 investment on one carry with others using 4-star alternatives. Exception: True hypercarry teams where 80%+ damage comes from single character.
Overlooking team synergy: Solitary Healing's DoT amplification affects all team DoT sources, not just the wearer's. On the Fall of an Aeon's ATK scaling only affects wearer. Characters dealing 60%+ of team damage benefit more from personal amplification; those contributing 40% or less gain more from team-wide effects.
Ignoring future releases: Herta Bond purchases represent semi-permanent investments (10-15 weeks farming time). Maintain Bond reserves for flexibility. S3 provides sufficient performance—S3→S5 delivers marginal gains that rarely determine clear success.
Long-Term Planning
2026 character roadmap: Additional Nihility characters focused on debuff mechanics and alternative DoT types may favor different Light Cone characteristics (Effect Hit Rate, energy regeneration vs Break Effect/DoT amplification).
Meta predictions: Increasing emphasis on Break mechanics and multi-target scenarios favors Solitary Healing's Break Effect and sustained DoT amplification. If future content introduces DoT-resistant enemies, On the Fall of an Aeon's universal ATK scaling maintains value.
Versatile arsenal: Acquire 2-3 copies each of Solitary Healing and On the Fall of an Aeon before pursuing S5. Total investment: 16-24 Bonds per Light Cone = 8-12 weeks farming. Deploy Superimposers to enhance one copy of each to S3 while preserving spares (saves 8 Bonds per Light Cone).
Practical Action Plan
Step 1: Roster audit—list all Nihility characters and current equipment. Identify primary damage dealer.
Step 2: Evaluate team composition—pure DoT, hybrid damage, or debuff-focused.
Step 3: Calculate current and projected Bonds. Estimate weekly acquisition based on engagement.
Recommendation Matrix
Kafka main, 8 Bonds, pure DoT: Purchase Solitary Healing S1 immediately. Farm 16 additional Bonds for S3 upgrade.
Black Swan main, 16 Bonds, hybrid team: Purchase On the Fall of an Aeon S1 (8 Bonds) + Solitary Healing S1 (8 Bonds). Test both. Invest next 16 Bonds into S3 for better performer.
Multiple Nihility, 24+ Bonds, dual-Nihility teams: Purchase Solitary Healing x2 (16 Bonds) + On the Fall of an Aeon x1 (8 Bonds). Use Superimposers for S3 enhancement.
No premium Nihility, limited roster: Delay Nihility purchases until acquiring Kafka, Black Swan, or future 5-star. Invest in other paths with immediate needs.
Endgame optimization, 40+ Bonds: Pursue S5 Solitary Healing on primary DoT carry for maximum performance.
FAQ
Most efficient way to farm Herta Bonds? Complete all first-time world clears, then maintain weekly point progression. Higher-difficulty worlds offer better ratios. Expect 2-4 Bonds weekly = one Light Cone every 2-4 weeks.
Solitary Healing S1 or On the Fall of an Aeon S1 first? Solitary Healing S1 for Kafka or DoT-focused Black Swan in pure DoT teams. On the Fall of an Aeon S1 for hybrid damage teams or equipment flexibility.
Cost to fully superimpose to S5? 5 copies at 8 Bonds each = 40 Bonds total, OR 1 copy + 4 Superimposers = 16 Bonds. Superimposer path saves 24 Bonds but consumes 4 of 12 available Superimposers.
Is Solitary Healing better than limited 5-star for Kafka? Solitary Healing S5 provides competitive performance due to specialized DoT amplification. The 48% DoT increase directly multiplies her primary damage source. Limited options may offer 5-10% higher peak but require gacha investment.
Can I use same Light Cone on multiple characters simultaneously? No. Each equips on one character at a time. Multiple Nihility characters need multiple copies.
When should F2P prioritize superimposition over new Light Cones? Only after establishing S1 coverage across most-used paths. Pursue S1→S3 upgrade after accumulating 24+ Bonds with no roster gaps. Avoid S1→S2 incremental upgrades.
Ready to optimize your Nihility team? Top up Stellar Jades at BitTopup for best rates and instant delivery. Secure your Light Cone investments with BitTopup's trusted service!


