

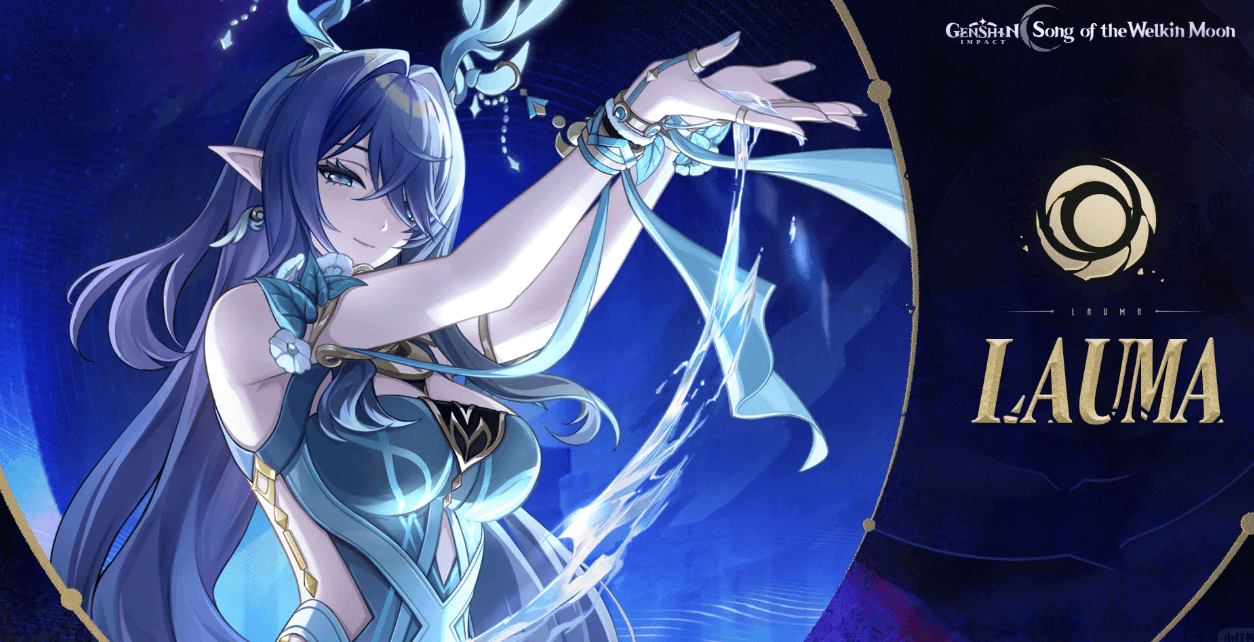
Lauma Character Overview & 6.0 Meta Position
Actually, Lauma’s doing something pretty unique in the Dendro support space. She takes those standard Bloom reactions we’ve been working with and completely transforms them into Lunar-Bloom variants that scale with her Elemental Mastery and - here’s the kicker - can critically strike.
What caught my attention during testing is her kit’s focus on amplification rather than just application. Her Elemental Skill “Runo: Dawnless Rest of Karsikko” creates this Frostgrove Sanctuary that hammers enemies with AoE Dendro damage every 2 seconds for a full 15 seconds. But the hold variant? That’s where things get interesting - it consumes Verdant Dew to deal Lunar-Bloom damage while stacking Moon Song and shredding enemy Dendro/Hydro resistance for 10 seconds.
Her burst is where the real magic happens. Eighteen Pale Hymn stacks that enhance Bloom-family damage based on her EM, plus she can grab up to 6 additional stacks per Moon Song consumed. With 115 base EM at Level 90 and EM as her ascension stat, she’s built to maximize reaction potential from the ground up.
Here’s what really sets her apart: “Moonsign Benediction: Nature’s Chorus” converts your party’s Bloom reactions into Lunar-Bloom, with each EM point boosting base damage by 0.0175% (capped at 14%). Then “Light for the Frosty Night” lets Bloom reactions crit with 15% CRIT Rate and 100% CRIT DMG, while Lunar-Bloom gets an extra 10% CRIT Rate and 20% CRIT DMG on top.
In my experience, she absolutely shines in Nilou teams where that Lunar-Bloom conversion turns Bountiful Cores into absolute monsters.

Best Artifact Sets for Lauma
Night of the Sky’s Unveiling (4-piece) is her best-in-slot, no question. The 80 EM from the 2-piece is nice, but Gleaming Moon: Intent is the real prize - 15-30% CRIT Rate based on Moonsign level when triggering Moonglare reactions. What’s clever is how all party members get 10% Moonglare reaction damage per different Gleaming Moon effect, and it works off-field.
Silken Moon’s Serenade (4-piece) offers a different approach if you’re struggling with energy management. The 20% Energy Recharge helps with burst uptime, while Gleaming Moon: Devotion provides 60-120 EM when dealing Elemental damage. This one’s particularly good if you’re running other Nod-Krai characters who benefit from the off-field effects.
For budget options, Flower of Paradise Lost (4-piece) still delivers solid reaction damage through pure EM stacking. Deepwood Memories (4-piece) works when Lauma’s your primary Dendro applier, but honestly? The specialized sets usually perform better.
Main Stats Priority: Sands needs to be EM - no exceptions. Goblet can be Dendro DMG or EM depending on your substats. Circlet should prioritize CRIT Rate/DMG over EM if you can hit 800+ EM elsewhere.
Substats: EM takes priority, followed by CRIT Rate/DMG, then Energy Recharge and ATK% in roughly equal measure. You’re aiming for 800+ EM with at least 50% CRIT Rate for optimal reaction damage.
Optimal Weapon Choices & Tier List
Nightweaver’s Looking Glass (R1) is her signature for good reason. It provides 60 EM for 4.5 seconds after Hydro/Dendro skill damage, plus another 60 EM for 10 seconds when party members trigger Lunar-Bloom. When both effects are active? Party Bloom damage increases by 120% while Hyperbloom and Burgeon get an 80% boost. Those numbers are hard to argue with.
A Thousand Floating Dreams remains an excellent generalist option through its EM stacking and party buffing mechanics. Wandering Evenstar gives you that solid EM/Energy Recharge balance for consistent burst uptime.
Now here’s something interesting - Etherlight Spindlelute performs way better than you’d expect for a free weapon. I’m seeing about 80-90% of signature weapon performance, which is frankly impressive. Sacrificial Fragments provides exceptional F2P value with its skill reset enabling 100% resistance shred uptime, plus substantial EM stats.
Fruit of Fulfillment and Sacrificial Jade round out the budget options with balanced EM/Energy Recharge for newer players.
Focus on EM as your primary stat, then Energy Recharge for burst consistency. CRIT substats enhance those reaction crits, while ATK% provides minimal benefit given her scaling.
Talent Leveling Priority & Skill Rotation
Talent Priority: Elemental Burst first, Elemental Skill second, Normal Attack last. The burst provides your most significant damage amplification through those Pale Hymn stacks that scale with EM. Skill follows for the resistance shredding and Lunar-Bloom conversion. Normal Attacks stay lowest priority unless you’re planning an on-field build (which requires C6).
Optimal Rotation: Start with Elemental Skill on hold to consume Verdant Dew and generate Moon Song stacks, then immediately burst to maximize Pale Hymn through Moon Song consumption. Deploy that skill early since you get 15 seconds of Sanctuary duration and 10 seconds of resistance reduction.
Energy Management: That 80-energy burst is demanding - you’ll need 160-180% Energy Recharge without C4, or 140-160% with C4. C4 provides 4 energy when Sanctuary hits opponents every 5 seconds, which helps considerably. Dendro resonance and Electro characters like Fischl are your friends here.
Best Team Compositions with Lauma
Hyperbloom Teams: Alhaitham + Lauma + Yelan + Kuki Shinobu maximizes single-target damage with amplified Hyperbloom reactions. For a more defensive variant, Nahida + Lauma + Kokomi + Raiden Shogun provides superior sustainability without sacrificing too much damage.
Bloom Teams: This is where Lauma really shines. Nilou + Lauma + Nahida + Kokomi creates the ultimate Bloom composition where Bountiful Cores receive massive amplification from Lunar-Bloom conversion. For Version 6.0 synergy, Lauma + Aino + Nilou + Baizhu represents the cutting edge of team building.
Double Dendro: Lauma + Nahida + Furina + Yelan maximizes Dendro resonance with overwhelming Hydro application. If you need maximum sustainability, Lauma + Baizhu + two Hydro ensures you’ll never die while maintaining solid reaction potential.
The key is focusing on teams that provide consistent Bloom-family reactions to maximize that Lunar-Bloom conversion value.
Constellation Analysis & Value Guide
C1 provides Lunar-Bloom healing (500% of EM every 2 seconds) and Spirit Envoy Form improvements - 40% reduced stamina consumption and a 5-second extension. Nice quality of life, but not essential.
C2 is where things get serious. Enhanced Pale Hymn increases Bloom/Hyperbloom/Burgeon damage by 500% of EM, Lunar-Bloom by 400% of EM, plus 40% Lunar-Bloom damage from Moonsign: Ascendant Gleam. This is a massive power spike that transforms her from good to exceptional.
C4 addresses those energy concerns with 4 energy restoration when Sanctuary hits opponents every 5 seconds. C6 completely changes her playstyle - Sanctuary deals additional AoE Dendro damage (160% EM) while granting 2 Pale Hymn stacks, Normal Attacks consume stacks for Dendro damage (120% EM), and all party members gain 25% Lunar-Bloom damage.
Investment Recommendations: C1 for comfort, C2 for the biggest power increase, C4 if you’re having energy issues, C6 only if you want an on-field build and have deep pockets.
Spiral Abyss Performance & Strategies
Floor 12 Teams: For the first half, Nilou + Lauma + Nahida + Kokomi handles grouped enemies through massive AoE Bloom damage. Second half, Alhaitham + Lauma + Yelan + Kuki Shinobu provides excellent single-target DPS with consistent damage output.
Deploy Lauma’s skill and burst quickly before switching to your primary damage dealers. That 15-second Sanctuary and 10-second resistance shred provide substantial damage windows - don’t waste them. Pre-funnel energy between chambers and make sure you’re using consistent energy generators like Raiden or Fischl.
From my testing, well-built Lauma teams achieve 36-star clears through 200-400% Bloom damage increases compared to standard reactions. C2 Lauma approaches C0 5-star DPS performance in optimal compositions, which is honestly impressive for a support character.
Build Variations: F2P vs Premium
F2P Build: Sacrificial Fragments + Flower of Paradise Lost (4-piece) + EM/EM/EM. Target 800+ EM, 160%+ Energy Recharge, 50%+ CRIT Rate. It’s straightforward and effective.
Low-Spender: Etherlight Spindlelute + Gilded Dreams (4-piece) + EM/Dendro/CRIT for balanced performance. This gives you most of the premium experience without breaking the bank.
Premium Build: Nightweaver’s Looking Glass + Night of the Sky’s Unveiling (4-piece) + EM/Dendro/CRIT. You’re targeting 1000+ EM, 70%+ CRIT Rate, 140%+ CRIT DMG, and 140%+ Energy Recharge. C2 provides the most significant power increase if you’re investing heavily.
Prioritize EM artifacts over CRIT initially, invest in burst talent first, and save Normal Attack investment until everything else is complete. That Etherlight Spindlelute really does provide 80-90% of signature weapon performance at zero cost.
Common Mistakes & Optimization Tips
Avoid these pitfalls: Over-investing in ATK% (minimal scaling value), neglecting Energy Recharge (you need 160-180%), using wrong artifact priorities (EM-focused sets outperform Deepwood unless you’re the sole Dendro), and ignoring CRIT stats (reactions can crit through her passives).
Advanced Techniques: Hold that Elemental Skill when Verdant Dew is available to maximize Moon Song before bursting. Deploy skill early for optimal 10-second resistance reduction timing. Use skill positioning with multiple enemies for maximum energy generation.
Future Considerations: Version 6.0’s Nod-Krai resonance might provide 36% Lunar Reaction damage increases for 20 seconds. Upcoming characters like Flins and Aino feature synergistic kits that complement the Bloom focus, suggesting Lauma’s meta relevance will only increase.

FAQ
What are the best artifacts for Lauma? Night of the Sky’s Unveiling (4-piece) for maximum Moonglare damage, or Silken Moon’s Serenade (4-piece) for Energy Recharge/EM balance. Use EM main stats on Sands, Dendro DMG or EM on Goblet, and CRIT or EM on Circlet depending on your substats.
What’s her optimal weapon choice? Nightweaver’s Looking Glass (signature) provides the best performance overall. Etherlight Spindlelute offers competitive free alternative performance. Sacrificial Fragments serves as an excellent F2P option with solid EM stats and skill reset utility.
How does Lauma compare to Nahida? Lauma specializes in Bloom amplification through Lunar-Bloom conversion and resistance shredding. Nahida excels at consistent Dendro application and EM sharing. Use both in double Dendro for maximum Bloom damage - choose Lauma for Bloom-focused teams, Nahida for versatility.
What are her best team compositions? Nilou + Lauma + Nahida + Kokomi for maximum Bloom damage. Alhaitham + Lauma + Yelan + Kuki Shinobu for premier Hyperbloom performance. The key is focusing on teams that provide consistent Bloom-family reactions to maximize that Lunar-Bloom conversion value.
【BitTopup Genshin Top Up Center】
✅ Official direct recharge, 100% secure
✅ No waiting – top-up arrives in 7 seconds
✅ Big discounts, low prices to save more
✅ 7×24-hour customer service, ready to assist anytime


