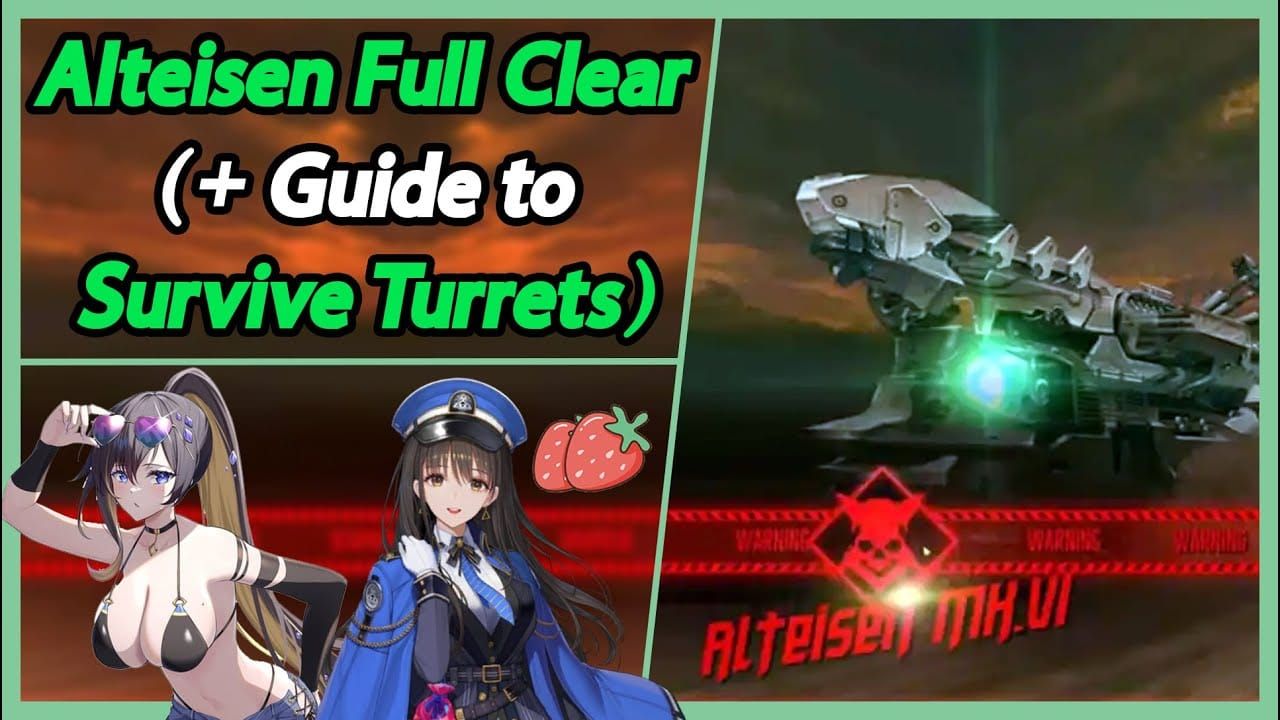
Alteisen Boss Overview: F2P Essentials
Season 32's featured boss runs December 11-18. The boss targets your highest ATK unit—use this to direct aggro away from fragile DPS. Taunters like Noah and Ludmilla bypass this entirely.
For faster progression, NIKKE gems recharge cheap fast through BitTopup provides secure transactions with instant delivery.
Boss Mechanics and Attack Patterns
Two critical QTEs trigger at 1:20 remaining and after 1:40 elapsed time. Failing these weak point checks causes devastating party damage.
Turret Spawn Timeline:

- 2:42-2:36: First left turret
- 2:12-2:02: Right missile launchers
- 2:00: Additional left turret
- 1:31-1:22: Final left turret wave
- After 1:20: No more turrets
Turrets blink red 1-2 seconds before firing. Attack right launchers from the left side to expose weak points. Use 21:9 aspect ratio for better turret visibility.
Elemental Weakness
Alteisen is Iron element—pierce damage is most effective. F2P pierce options: Dorothy, Harran, Laplace.
Weak point damage multipliers far exceed normal DPS. Time bursts during exposed phases for maximum impact.
Phase Transitions
Transitions occur at 75%, 50%, 25% HP. Hold bursts when boss sits within 5-10% of thresholds to avoid wasting damage during invulnerability frames.
Don't burst immediately before 1:20 and 1:40 QTE marks—animations overlap with QTE inputs.
F2P Squad Tier List (December 18)
Rankings assume core level 7, skill level 7-10, tier 7-8 equipment.
S-Tier: Top Performers
Dorothy - Best F2P pierce DPS with 20% team CDR. Core of the proven 70,000-point composition.
Harran - Consistent pierce damage, minimal investment needed. Campaign-accessible.
Pepper - Critical healing that scales with team damage. Burst 1 slot.
Noise - Healing plus damage mitigation for particle cannon phases.
A-Tier: Reliable Options
Laplace - Pierce damage with burst generation. Lower ceiling than Dorothy/Harran but accessible.
Liter - 40% CDR to highest ATK unit. Appears in virtually every competitive composition. Wishlist priority.
Volume - 20% team CDR when Liter unavailable. Miranda-tier accessibility.
Blanc and Noir - Combined 20-second CDR when deployed together. Strong healing output justifies two slots.
B-Tier: Situational
Rapunzel - Burst 1 support with shields. Better for learning runs prioritizing survival.
Jackal - Damage share prevents focused fire on key DPS.
Diesel and Mast - Burst 2 placeholders until better options available.
Avoid
Non-pierce DPS units deal 30-40% less damage. Burst 3 units without significant DPS waste critical slots.
Best F2P Team Compositions
Team #1: Maximum Burst Damage

Dorothy (B1) | Harran (B3) | Laplace (B3) | Pepper (B1) | Noise (B1)
Documented 70,000-point clears. Dorothy provides pierce DPS and CDR. Harran and Laplace deliver concentrated B3 damage. Pepper and Noise maintain health.
Rotation: Activate B1 skills (Dorothy, Pepper, Noise) for energy and buffs. Full burst at max energy during weak point windows. Repeat every 20-25 seconds, avoiding QTE overlap.
Positioning: Dorothy in highest ATK position draws aggro. Pepper and Noise in cover minimize turret exposure.
Team #2: Sustained DPS
Liter (B1) | Blanc (B2) | Noir (B2) | Harran (B3) | Dorothy (B3)
Extended run duration through enhanced CDR and healing. Liter's 40% CDR to Dorothy accelerates burst generation. Blanc and Noir provide 20-second CDR plus healing.
Rotation: Liter first for CDR to Dorothy. Blanc and Noir trigger simultaneously in B2 windows. Dorothy and Harran burst during full burst with accumulated buffs.
Excels during learning phases—triple support survives multiple errors.
Team #3: Hybrid Balance
Liter (B1) | Volume (B1) | Pepper (B1) | Dorothy (B3) | Harran (B3)
CDR stacking (Liter + Volume) with healing (Pepper) and dual pierce DPS. Triple B1 generates energy rapidly.
Rotation: Stagger Liter and Volume by 2-3 seconds for continuous CDR. Pepper during damage spikes. Dorothy and Harran burst during weak point exposure.
Substitutions:
- No Dorothy: Laplace + extra CDR support
- No Harran: Laplace or campaign pierce units
- No Liter: Volume + Miranda combo
- No Pepper/Noise: Blanc + Noir pairing
Don't substitute more than two units—disrupts synergy.
Optimal Burst Rotation Strategy
Burst Generation
F2P teams achieve full burst every 20-25 seconds with proper CDR. Liter's 40% + Dorothy's 20% approaches premium composition speeds.
Dorothy's rapid-fire attacks generate more energy than slower alternatives.
Timing Windows
Optimal burst timing:

- Weak Point Exposure (2:30-2:20): First major damage window
- Mid-Phase Burst (1:50-1:30): Before first QTE
- Final Push (0:40-0:20): Last full burst cycle
Avoid bursting:
- 5-10 seconds before QTE marks
- During phase transitions
- Immediately after turret spawns
Hold bursts near transition thresholds (75%, 50%, 25%). Wait for animation completion, then burst during vulnerability window. Adds 15-20% effective damage.
Manual vs Auto
Switch to manual for:
- QTE windows (5 seconds before 1:20 and 1:40)
- Turret destruction during red blink
- Burst timing optimization
- Weak point precision (20-30% damage increase)
For additional resources, buy NIKKE gems secure online discount through BitTopup offers reliable transactions with fast delivery.
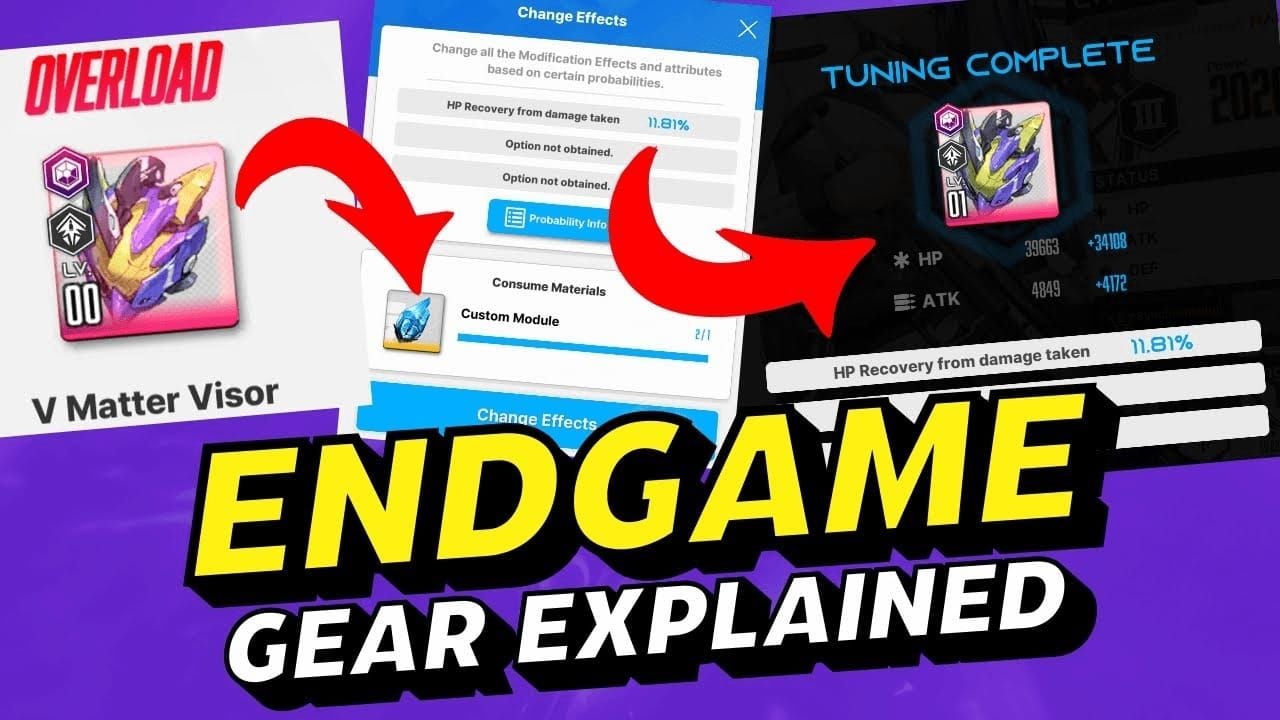
Gear and Overload Optimization
Priority Overload Lines

Tier 1 (Invest First):
- ATK%: Direct damage scaling
- Max Ammo: Extends damage uptime
- Elemental Damage%: Amplifies pierce damage
Tier 2:
- Critical Rate%: Damage consistency
- Critical Damage%: Burst window amplification
- Hit Rate%: Prevents missed shots
Tier 3:
- DEF%, HP%, Resistance%: Low priority with proper positioning
Focus on primary DPS (Dorothy, Harran) before supports.
Gear Level Requirements
Minimum thresholds:
- Primary DPS: Tier 8+ equipment, level 5+ overload
- CDR Support: Tier 7+, level 3+ overload
- Healers: Tier 6+, level 1+ overload
Slot priority:
- Weapon: Highest ATK contribution
- Helmet: Secondary ATK, crit rate
- Gloves: Elemental damage
- Armor: Defensive stats (lowest priority)
Concentrated investment in 2-3 core DPS beats spreading resources evenly.
Core Dust Strategy
Phase 1 (Core 1-7): Primary DPS (Dorothy, Harran). Level 7 provides 80% potential at 40% cost.
Phase 2 (Core 7-10): CDR support (Liter) and secondary DPS.
Phase 3 (Core 10+): Favorites only—diminishing returns.
Wishlist optimization: Prioritize raid-viable units (Liter, Dorothy, Harran). Builds competitive rosters 30-40% faster.
Damage Calculation and Scoring
Scoring Formula
- Base Damage: 70% of score
- Time Bonus: 20% (top clears finish with 14s remaining)
- Survival Bonus: 10%
Score thresholds:
- 50,000: Baseline competent
- 70,000: Optimized F2P
- 85,000: Hybrid with 1-2 premium units
- 100,000+: Full premium compositions
Weak Point Maximization
Weak points multiply damage by 2-3x:
Primary weak points:
- Particle Cannon Core: During charge (2:30-2:20, 1:50-1:40)
- Turret Cores: Red blink windows (1-2 seconds)
- QTE Targets: 1:20 and 1:40 marks
Perfectly-timed burst during weak point exposure equals 3-4 burst cycles outside optimal windows.
CP Thresholds
- CP 180k-200k: 50k-60k points
- CP 200k-220k: 60k-70k points
- CP 220k-240k: 70k-80k points
- CP 240k+: 80k+ points possible
Assumes proper composition and timing. Poor teams score 20-30% below CP predictions.
Common F2P Mistakes
F2P Can't Compete
The documented 70,000-point F2P clear disproves this. Raid rewards tier by percentile ranking—F2P competes against F2P. Well-executed budget runs outrank poorly-played premium teams.
Positioning Errors
Aggro Mismanagement: Build Dorothy/Harran with slightly higher ATK to control aggro deliberately.
Cover Abandonment: Maintain cover during turret spawns—only expose during burst windows.
Turret Blind Spots: Attack right launchers from left side for clear weak point access.
Wasting Bursts
Anti-patterns:
- Bursting when energy maxes regardless of boss state
- Activating during QTE countdown
- Bursting during turret spawns before clearing threats
Solutions: Hold for weak points, complete bursts 10+ seconds before QTE, clear turrets first.
Advanced Tips
Manual Aim Techniques
Pre-Aim Positioning: Position crosshairs over predicted weak points before exposure. Shots land immediately.
Burst Aim Lock: Activate bursts while manually aiming. Animations maintain aim direction.
Turret Snap Targeting: Practice rapid camera movements. Reduce reaction time from 2-3 seconds to under 1 second.
Resource Management
Wishlist Strategy: Maintain 2-3 raid-viable units permanently (Liter, Dorothy, pierce DPS). Builds core rosters over 2-3 months.
Core Dust Banking: Reserve 20-30% for emergency investments when new bosses demand specific units.
Equipment Flexibility: Maintain 2-3 tier 7+ sets for role swapping. Transferring gear costs less than building multiple sets.
Long-Term Wishlist
Priority 1: Liter—universal CDR improves all compositions.
Priority 2: Pierce specialists (Dorothy, Alice, Maxwell).
Priority 3: Versatile DPS across elemental matchups.
Focused targeting builds usable units 40-50% faster than scattered approaches.
Future Raid Preparation
Universal Investments
Always valuable:
- Liter: CDR for every composition
- Pepper/Noise: Healing regardless of boss
- Dorothy: Pierce damage plus CDR
Situational:
- Harran/Laplace: Pierce-vulnerable bosses
- Volume/Miranda: Liter alternatives
- Blanc/Noir: Sustain compositions
Campaign Balance
Balanced approach:
- Progress campaign to unlock tier 8 equipment
- Pause to build raid rosters to 70k capability
- Resume campaign pushing
- Repeat cycle
Maintains steady progression without sacrificing raid competitiveness.
Resource Sources
Daily (50-100 gems): Missions, Interception, Arena
Weekly (500-800 gems): Tribe Tower, Rookie Arena, Co-op
Events (1000-2000 gems): Raid rewards, limited missions, login bonuses
BitTopup provides additional options with secure transactions, competitive pricing, and excellent customer service.
FAQ
Best F2P NIKKEs for December 18 Alteisen raid?
Dorothy, Harran, Laplace, Pepper, Noise. Proven 70,000-point composition balancing accessibility with competitive performance.
How to beat Alteisen without gacha units?
Time bursts around QTE marks (1:20, 1:40), destroy turrets during red blinks, align full bursts with weak point exposure. Dorothy controls aggro, manual control for QTEs and weak points.
Highest F2P DPS against Alteisen?
Dorothy leads with pierce damage plus team CDR. Harran provides comparable raw damage but lacks support utility.
Optimal F2P burst rotation?
Activate B1 skills (Dorothy, Pepper, Noise) for energy and buffs. Full burst at max energy during weak points. Repeat every 20-25 seconds, avoiding 10 seconds before QTE marks.
Can F2P get high raid scores?
Yes—documented 70,000-point clear proves viability. Premium teams reach 100k+, but F2P achieves competitive performance within bracket through optimized execution.
What gear for F2P raiders?
Tier 8+ weapons/helmets for primary DPS (Dorothy, Harran) with ATK%, Max Ammo, Elemental Damage% overload. CDR support at tier 7+. Healers function with tier 6+.


