Master your first week in Free Fire with our clear roadmap on essential free character unlocks, weapon loadouts, sensitivity setups, and costly beginner traps.
Dropping into your first Free Fire match feels deceptively simple. You land, loot an assault rifle, knock down a few obvious bots, and secure an easy Booyah. Then account progression kicks in. The lobby suddenly confronts you with character skills, pet passives, Craftland builders, and flashing shop banners. It looks pay-to-win on the surface.
It isn't.
Free Fire offers reliable earnable gear, but it mixes generous progression tracks with resource sinks designed to waste beginner currency. Here is how to spend your first seven days unlocking actual meta tools while ignoring the clutter.
First-Week Progression: The Road to Level 8
Reach account level 8 before worrying about anything else. Ranked matchmaking stays locked until that point, stranding you in casual Battle Royale where heavy bot counts teach sloppy habits.
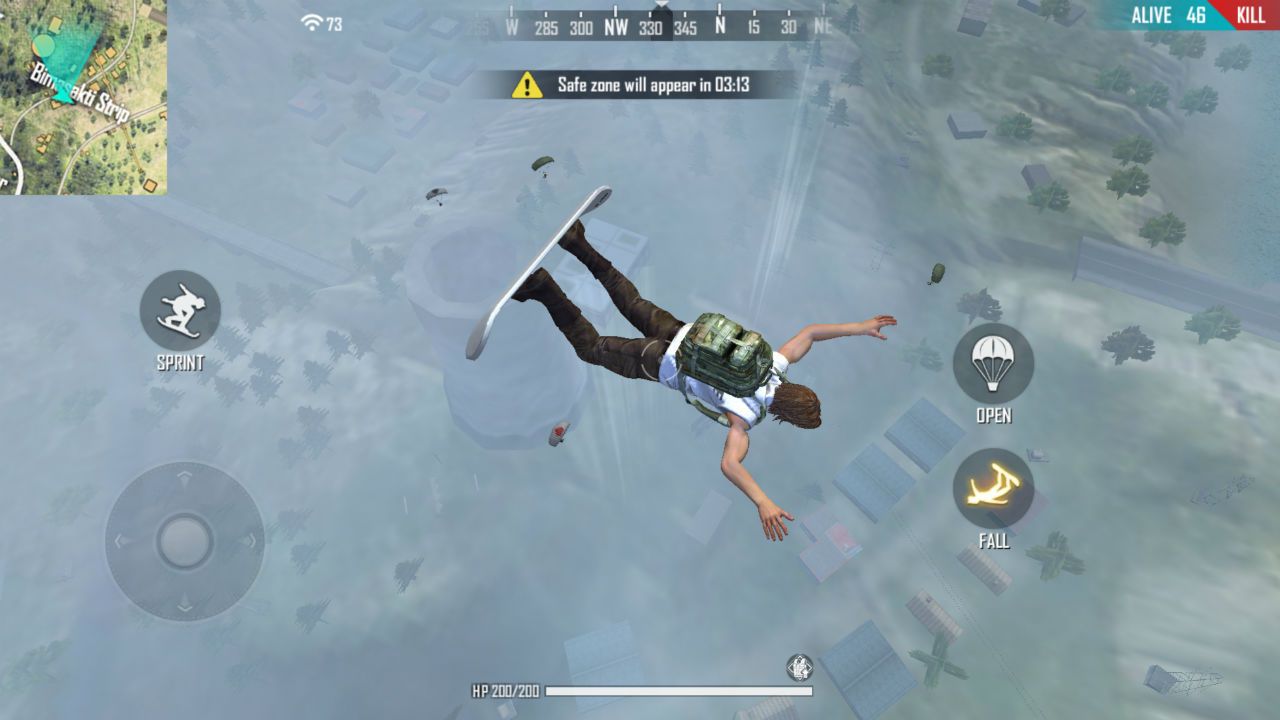
Check your inventory immediately for EXP power-up cards. Equipping them through the Power-Ups menu doubles match experience payouts. Because XP calculates upon match conclusion, quitting early when knocked forfeits all earned experience from that round. Play every match to elimination or victory.
Daily Progression Milestones
- Day 1 (Levels 1–3): Learn movement, looting routes, and circle timings. Level 3 awards Andrew automatically, securing your first defensive passive.
- Day 2 (Levels 4–7): Pop an EXP booster. Rotate through classic maps to learn building layouts, then adjust HUD scale.
- Day 3 (Level 8 & Ranked Access): Queue ranked matches immediately, face human targets, and start your first character Link.
- Day 4 (Gold Accumulation): Clear daily guild tasks and standard missions for Gold Coins. Do not open cosmetic crates.
- Day 5 (Clash Squad Testing): Play Clash Squad to drill round-based trades without downtime spent looting.
- Day 6 (Sensitivity Refinement): Adjust your drag-shot settings in the training grounds based on recent ranked duels.
- Day 7 (First Roster Expansion): Complete your first Link unlock or purchase an 8,000 Gold staple character to round out your build.
Unlocking Characters for Free: Link System vs. Gold Store
Outdated guides claim competitive characters sit behind Diamond paywalls. Garena actually provides two non-premium acquisition routes: the Link system and the direct Gold store.
The Link system lets you assign one character target at a time and generate Link Points by finishing matches. Hitting 13,500 points unlocks that character permanently. You can change your targeted character, though swaps trigger a 24-hour cooldown.
Prefer instant roster depth? Spend Gold Coins earned from account levels and daily missions. Reliable staples cost 8,000 Gold, while newer roster additions cost 20,000 to 25,000 Gold.
| Character | Acquisition Method | Ability Type | Primary Tactical Benefit |
|---|
| Andrew | Free (Reaches Level 3) | Passive | Reduces vest durability loss; solid baseline defense |
| DJ Alok | Link System (13,500 pts) | Active | Deploys 5m aura providing movement buff and 5 HP/s healing |
| Jota | Link / Gold Store | Passive | Instantly restores 40 HP upon shotgun or SMG knockdowns |
| Hayato | Gold Store (8,000 Gold) | Passive | Increases armor penetration as your health drops |
| Kairos / Ryden | Gold Store (20,000–25,000) | Active / Passive | Advanced combat utility; expensive for week one |
Table note: Acquisition values and character skill types reflect current free-to-play progression tracks.
Takeaway: Start by linking DJ Alok immediately on Day 3 while using Andrew, then pick up Hayato with your first 8,000 Gold.
Community sources conflict on DJ Alok's exact active figures depending on patch cycles—some list Drop the Beat at 10 seconds with 15% speed, others at 5 seconds with 10% speed. Regardless of balance passes, his combined speed and direct healing make him the most forgiving active skill for new players. Jota pairs best with aggressive playstyles, since getting 40 HP back instantly on close-range knocks rescues mistimed trades.
If you plan to grab limited collaboration passes or seasonal cosmetics down the road, Garena Shells ID vouchers offer a direct, secure way to top up Garena accounts.
Weapon Priorities and Starter Loadouts
High-damage guns in Free Fire carry erratic recoil that punishes frantic screen swipes. Early on, consistency beats theoretical damage output every time.
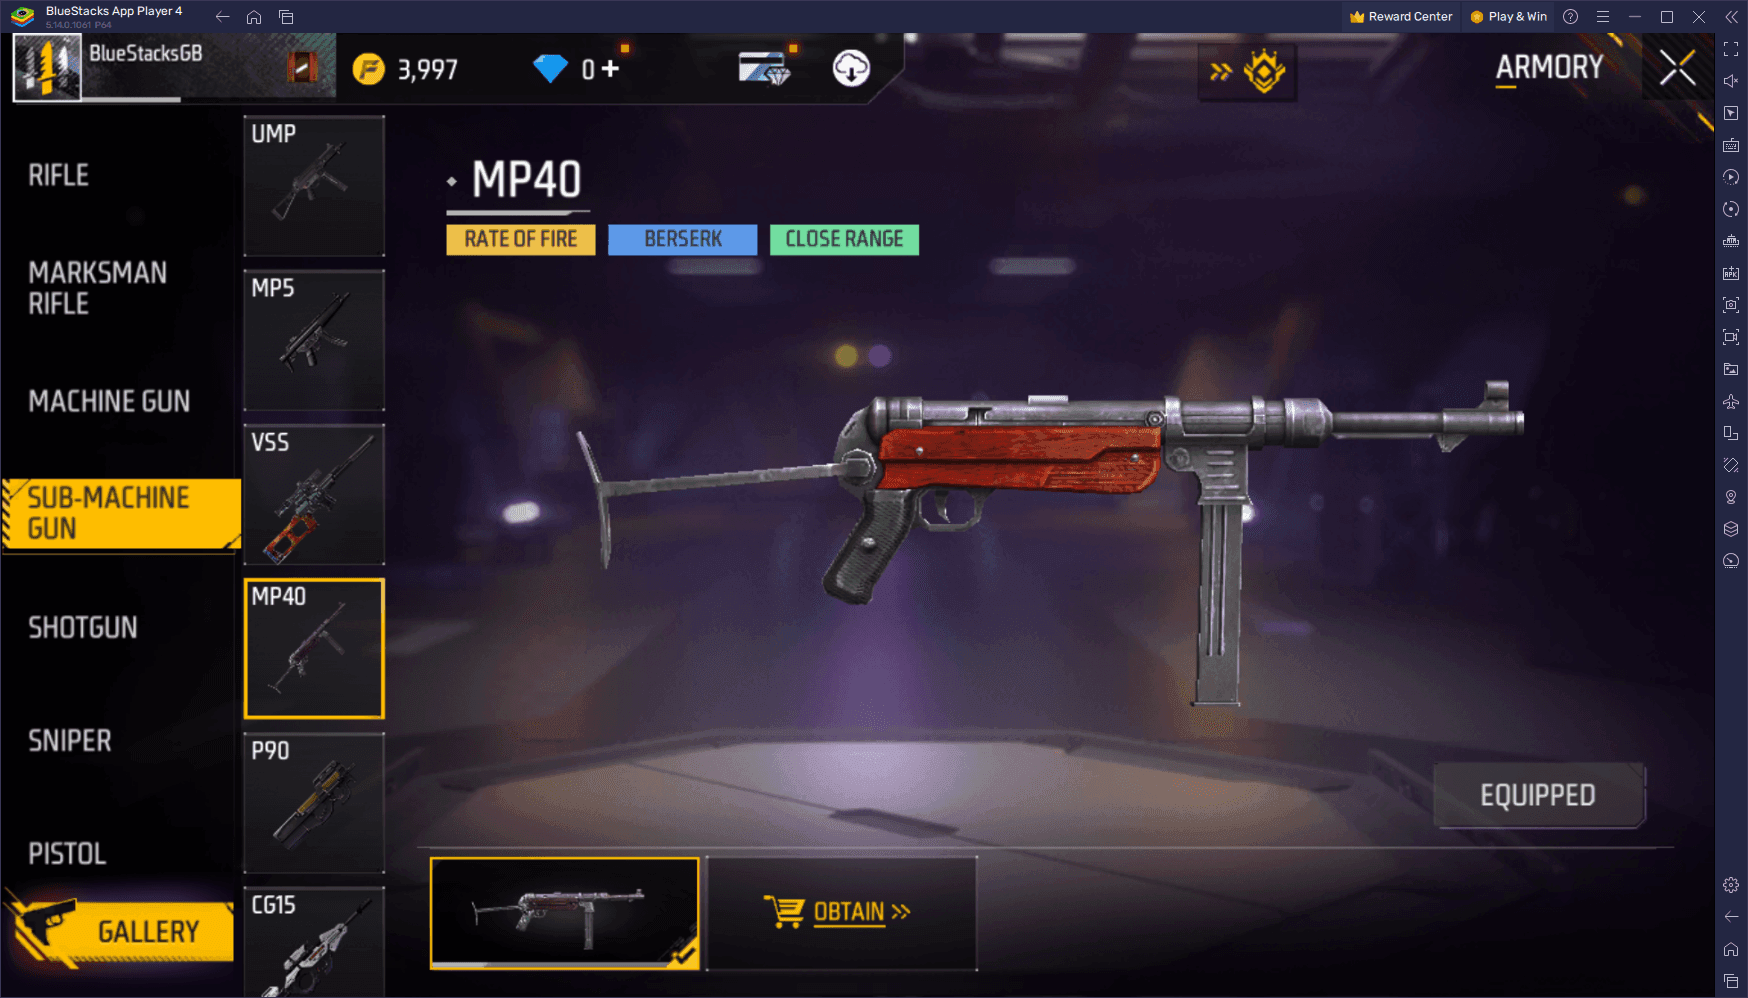
Pair a controllable assault rifle with a dedicated close-range cleaner. The SCAR is your safest primary pick: its 53 base damage and predictable recoil reset let you practice crosshair tracking without fighting wild vertical climb like the AK.
| Weapon | Category | Base Damage | Fire Rate | Primary Combat Role |
|---|
| SCAR | Assault Rifle | 53 | Moderate | Forgiving mid-range spray control for newer aim styles |
| MP40 | Submachine Gun | 27 | 83 | Rapid close-range shredder; empties magazine in ~1 second |
| M1887 | Shotgun | 100 | 35 | Lethal two-shot burst at point-blank range |
| Woodpecker | Marksman Rifle | 85 | 42 | High innate armor penetration for disciplined tap-firing |
| Groza | Assault Rifle | 61 | 58 | Airdrop-exclusive heavy hitter with minimal spread |
Table note: Firearm statistics represent standard baseline values without gun skin modifications.
Takeaway: Run the SCAR combined with the MP40 as your default loadout until your drag-aim mechanics become second nature.
In your secondary slot, the MP40 deletes opponents up close with its 83 fire rate. The trade-off is severe: its stock magazine empties in about one second, leaving you vulnerable if you whiff your opening burst.
The M1887 shotgun delivers 100 base damage per hit and built-in armor penetration, but its two-shot limit demands precise crosshair placement. For long-distance duels, watch for the M82B sniper rifle. Weapon databases dispute its exact base damage—some document 91, others 123—yet its utility remains unmatched: it is the only sniper rifle capable of shooting directly through deployable Gloo Walls.
Gloo Wall Mechanics and Movement Fundamentals
Natural cover is not enough in Free Fire. Rocks and tree trunks leave your flanks open. Gloo Walls solve this by letting you plant instant, physical cover anywhere on the terrain.
Do not wait until you lose 80% of your HP to drop one. The moment damage indicators flash, plant a wall before trying to locate the shooter.
Tactical Gloo Wall Drills
- The Crouch-Deploy: Crouch simultaneously as you drop a wall. This seeds the barrier tighter against your feet, sealing the gap underneath where opponents can shoot exposed ankles.
- The 360-Degree Triangle Bunker: When reviving a downed teammate in open ground, place three walls in a tight triangle around the revive interaction to block sniper angles.
- Vertical Stacking: To breach an L-shaped house, place one Gloo Wall, jump on top of it, place a second wall higher, and use the stack as a ladder into second-story windows.
Ignore older gameplay clips showing players firing through Chrono's Time Turner shield. Garena patched that interaction out completely; you cannot shoot through Chrono's bubble from the inside. Rely on physical Gloo Walls for protection.
Controls, Sensitivity, and the OB55 HUD Setup
Stock mobile shooter controls favor casual thumb positioning over quick target acquisition. Leave them untouched and your crosshair will stick to enemy torsos while opposing players snap straight to your head.
Free Fire uses an aim-assist lock that pulls crosshairs toward chest level. To land headshots, competitive players use "drag shooting"—flicking the fire button upward the instant aim assist engages. Bad sensitivity calibration locks your crosshair to the chest instead of dragging smoothly upward.
General:          50
Red Dot:         100
2x Scope:         80
4x Scope:         75
Sniper Scope:     50
Free Look:        65
Device DPI:      480
Setting Red Dot sensitivity to 100 while holding General around 50 allows your crosshair to break free from torso friction without throwing your camera into wild spins. A screen DPI of 480 provides stable swipe response on standard mobile displays.
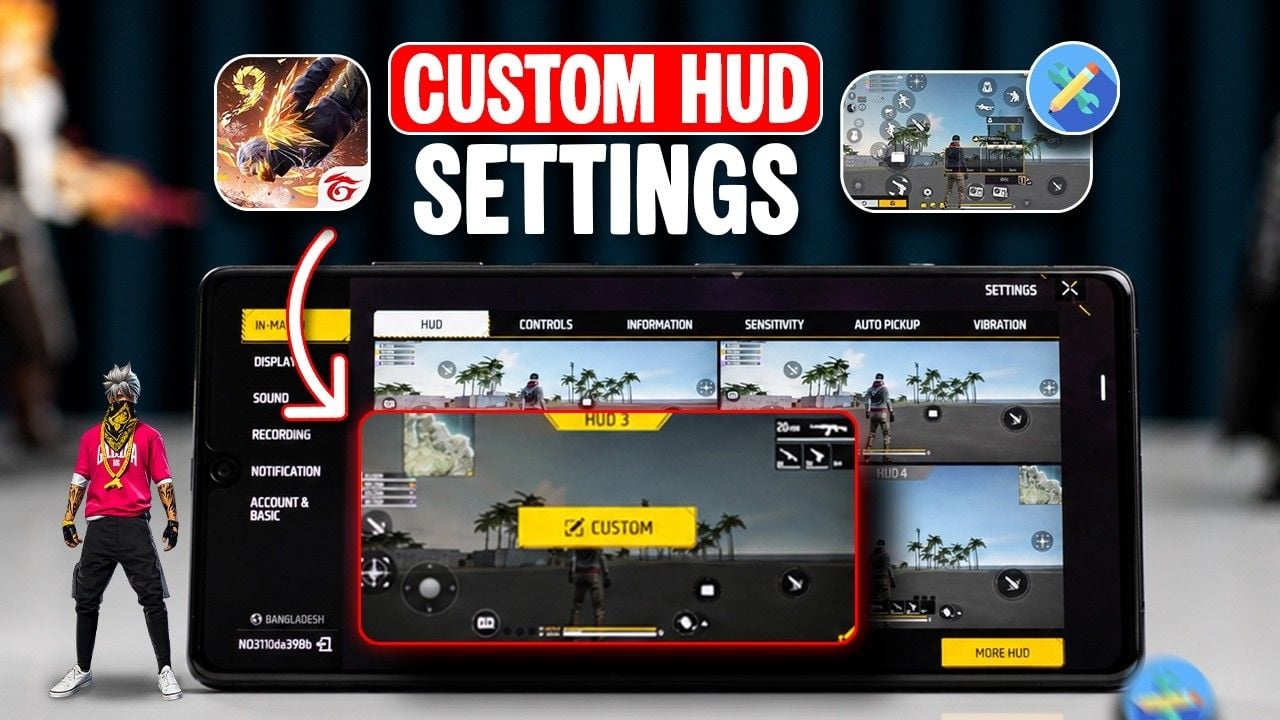
Under OB55, you do not need to position buttons by hand. Open Settings > HUD and enter a community layout code (such as #FFHUDT603jiMfWfVPo7e0) to load an established three-finger setup. Scale your primary Gloo Wall button to at least 80% and keep it pinned near your left thumb for split-second deployment.
Ranked Play Realities: Battle Royale vs. Clash Squad
Clearing level 8 unlocks two competitive modes with contrasting progression rules.
| Feature | Battle Royale Ranked | Clash Squad Ranked |
|---|
| Player Format | 50 Players (Solo, Duo, Squad) | 4v4 Round-Based Squads |
| Win Condition | Last team standing (Booyah) | First team to win 4 rounds (Best of 7) |
| Progression Metric | Ranked Points (RP) based on kills & survival | Star Rating system per match victory |
| Economy System | In-match field looting & vending machines | Round-by-round shop purchase system |
| Penalty Profile | Harsh RP deductions at Platinum and Diamond | Loss of 1 Star on match defeat |
Table note: Mode comparison reflects current competitive rulesets across standard ranked seasons.
Takeaway: Grind Clash Squad to develop raw mechanical aim, then play Battle Royale Ranked when climbing seasonal tiers.
The Battle Royale ranked ladder spans nine tiers: Bronze, Silver, Gold, Platinum, Diamond, Heroic, Master, Elite Master, and Grandmaster. Bronze and Silver feature three sub-ranks, while Gold, Platinum, and Diamond feature four. Grandmaster has no flat RP threshold; it is reserved exclusively for the top 300 players on each regional leaderboard.
Early deaths in Bronze and Silver cost almost nothing. Do not let that leniency build bad habits. Starting at Platinum and Diamond, early eliminations trigger steep point deductions that erase two matches of gains in seconds. If three squads contest your drop marker, pivot to a secondary building cluster.
To pick up seasonal character cosmetics before squading up for ranked pushes, Garena Shells ID vouchers provide a straightforward way to load credit into your account profile.
Traps and Currencies to Skip in Week One
Flashing banners, temporary gacha spins, and creator tools clutter the main menu. Most provide zero combat utility during your first week.
- Cosmetic loot boxes: Never spend Gold on clothing crates. Bank every coin for direct character unlocks (Hayato at 8,000 Gold, newer units at 20,000).
- Paid Craftland slots: The map builder includes 5 free design slots across 50x50 and 100x100 grids. Extra slots cost 100 Diamonds each. Skip them entirely unless you intend to design custom modes.
- Weapon Luck Royales: Weapon skins feature stat adjustments (+1 Damage, +1 Fire Rate), tempting new players into low-rate gacha wheels. Good drag-aiming and rapid Gloo Walls decide gunfights far more reliably than minor stat skins.
- Pet banners: Pets grant minor passive perks, but their combat impact is negligible compared to core character passives. Upgrade characters first.
- Match abandonment: Quitting matches while downed forfeits all earned match XP, directly slowing your climb to level 8.
Whenever you choose to purchase elite passes or character bundles later on, Garena Shells ID vouchers provide a clean payment route.
FAQ
How do I unlock ranked mode as a new player in Free Fire?
You must reach account level 8 through standard casual matches to unlock competitive ranked mode. Equipping EXP power-up cards from your inventory doubles your match experience payouts, allowing you to hit level 8 in two to three days.
Do I have to spend real money or Diamonds to unlock meta characters?
No, you do not need to spend Diamonds to unlock competitive characters. The in-game Link system lets you unlock characters completely free by generating 13,500 Link Points, while several staple characters can be purchased directly using 8,000 to 25,000 earned Gold Coins.
Which character should a beginner focus on unlocking first?
You should target versatile sustain characters like DJ Alok or Jota. Alok delivers reliable movement speed boosts and squad healing, while Jota instantly restores 40 HP whenever you secure close-range eliminations with an SMG or shotgun.
What is the difference between Battle Royale Ranked and Clash Squad Ranked?
Battle Royale Ranked awards Ranked Points across a 50-player map based on final placement and kills. Clash Squad Ranked features a 4v4 format played to a best-of-seven round structure where victories grant Stars rather than raw survival points.
What weapons make the best beginner-friendly loadout?
The most dependable starter setup pairs a SCAR assault rifle with an MP40 submachine gun. The SCAR offers low, predictable recoil for mid-range engagements, while the MP40 provides rapid burst damage during close-quarters fights.
Why are Gloo Walls considered essential in Free Fire?
Gloo Walls provide instant, physical cover against enemy gunfire on open terrain. They allow you to safely revive teammates, heal behind 360-degree barriers, and block line-of-sight during rotations.
How does Free Fire punish early match deaths in ranked games?
Early eliminations carry almost no point penalties while climbing through Bronze and Silver tiers. However, once you reach Platinum and Diamond, dying early without securing kills results in severe Ranked Point deductions.
Final Verdict: Building Your Core Foundation
Free Fire rewards disciplined habits over impulsive spending. Your initial week should not be wasted on gun skin gachas, paid map slots, or pet menus.
Push straight to level 8 using EXP boosters, immediately link DJ Alok for reliable sustain, and run Andrew to preserve your vest durability. Put your first 8,000 Gold toward Hayato, stick with the SCAR and MP40 combo, and drill crouch Gloo Walls until deployment becomes second nature. Once those mechanics settle in, climbing through Heroic and Master comes down to clean execution.