

What is Bond of Life: Core Mechanic
Here’s the thing about Bond of Life (BoL) – it’s basically anti-healing on steroids. Instead of your character getting healed normally, all that healing gets absorbed by the Bond first. You can’t recover a single HP point until you’ve cleared the entire Bond value through equivalent healing amounts.
The numbers get wild fast. Maximum value caps at 200% of your character’s Max HP – that’s double their entire health bar. You’ll see it as a red outline around the HP bar, but here’s where it gets confusing: the visual uses a 1:2 ratio. So 100% Bond shows as only 50% red outline. (Honestly, this threw me off for weeks when I first started testing.)
Unlike most temporary effects in Genshin, Bond of Life sticks around when you swap characters. It persists across combat encounters too. New applications? They stack with existing ones. The only ways to clear it instantly: Statue of Seven, entering/exiting domains, or relogging. Otherwise, it’ll disappear naturally after 600 seconds – assuming you survive that long without healing.
For optimal Bond of Life character performance, securing adequate resources becomes crucial. Artifact farm crystals purchase through BitTopup provides competitive pricing and instant delivery for uninterrupted farming.
Arlecchino’s Bond of Life Implementation
Skill Mechanics and Damage Scaling
Arlecchino’s kit revolves around her Blood-Debt Directive system. Her Elemental Skill marks enemies, and absorbing these marks with Charged Attacks grants 65% Max HP as Bond of Life. But wait 5 seconds? Those Directives upgrade to Blood-Debt Dues – now you’re getting 130% Bond of Life per absorption. The skill caps at 145% per usage, so timing matters.
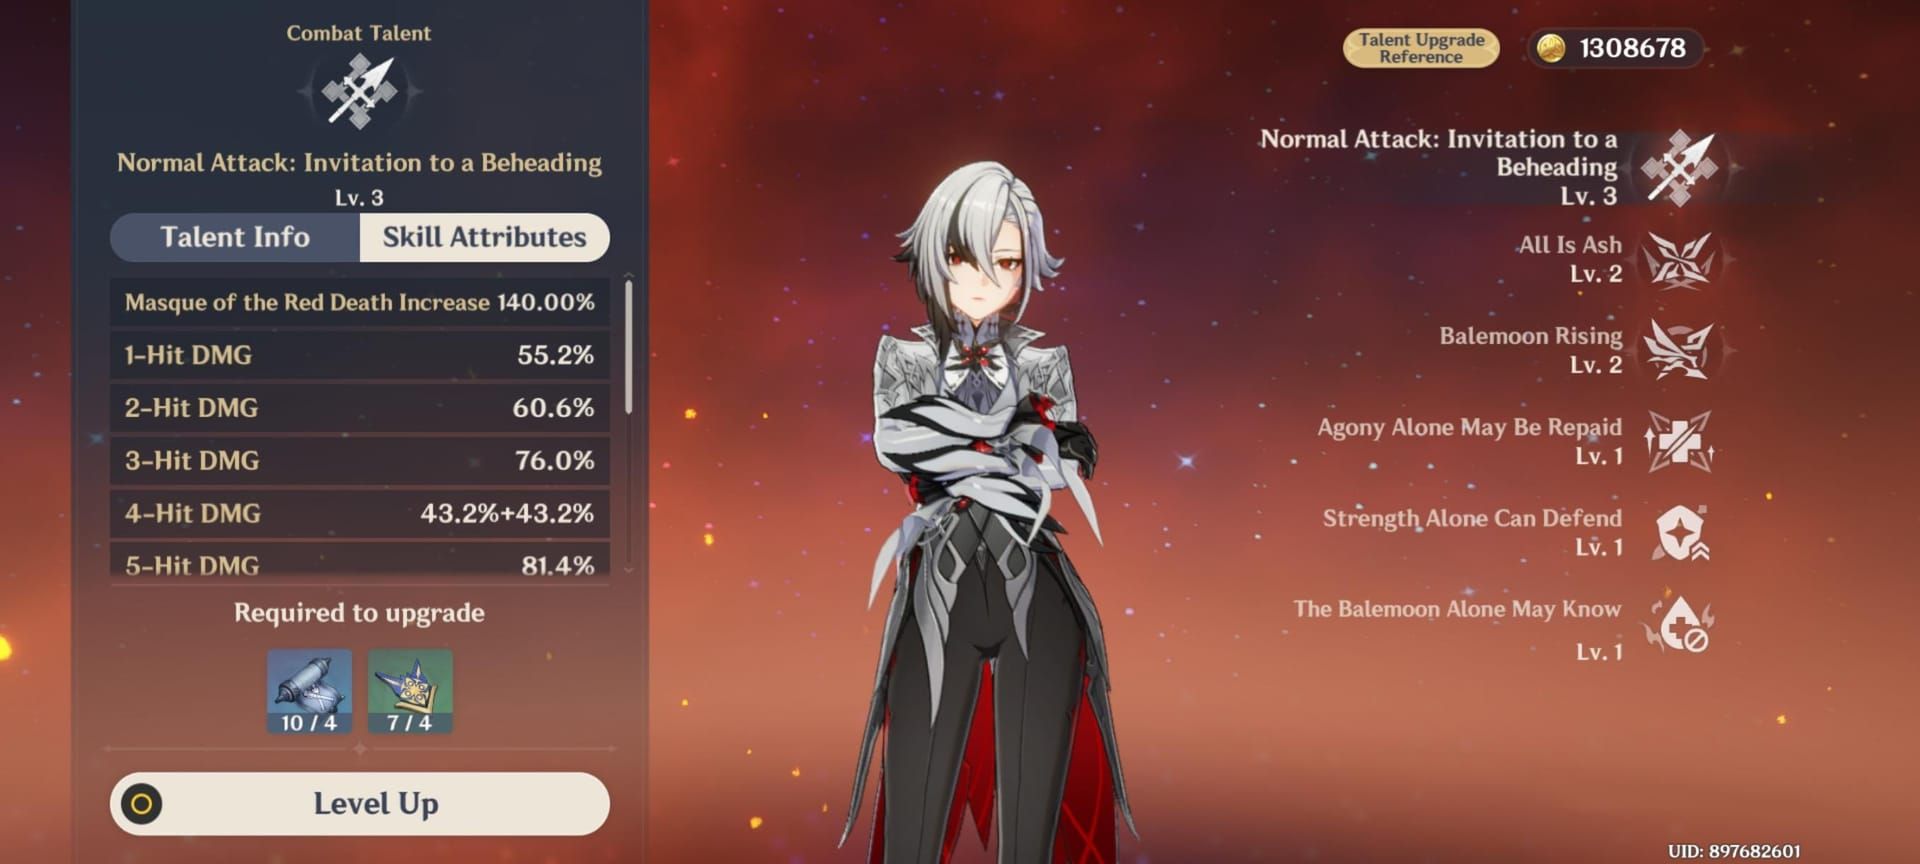
At ≥30% Bond of Life, she enters Masque of the Red Death state. This is where things get spicy – her Normal, Charged, and Plunging Attacks all deal Pyro damage with bonus scaling from ATK × Bond of Life percentage. Each Normal Attack consumes 7.5% of current Bond while shaving 0.8 seconds off her Elemental Skill cooldown.
Here’s what caught me off guard during testing: despite all the Bond calculations, her damage heavily favors ATK investment over HP. Her Ascension Passive grants 1% All RES per 100 ATK above 1,000 (maxing at 20% with 3,000 ATK). C2 immediately applies Dues instead of Directives plus delivers a massive 900% ATK AoE when absorbing.
Optimal Rotations
The standard sequence flows like this: Elemental Skill → Support rotations for 5+ seconds → Return to absorb Dues with Charged Attack → Normal Attack combos.
Her Elemental Burst? Think of it as an emergency healing tool rather than a damage button. It clears all Directives while providing healing based on 150% ATK + 50% of consumed Bond of Life.
Clorinde’s Bond of Life Usage
Combat Mechanics
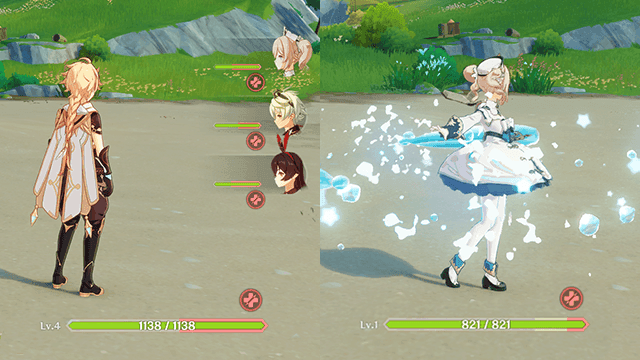
Clorinde takes a completely different approach. Her A4 Passive converts external healing to Bond of Life at 100% rate during Night Vigil state (7.5 seconds). Normal Attacks become Swift Hunt shots that generate 35% Bond of Life per hit when she’s below 100% Max HP.

The magic happens at ≥100% Bond of Life – her Elemental Skill transforms into Impale the Night lunge, consuming Bond while providing healing. The optimal loop becomes: Elemental Skill → 3 Normal Attacks (105% Bond of Life) → Empowered lunge attack. You can repeat this 2-3 times per Night Vigil duration.
Her A1 Passive increases Electro damage by 20% ATK after Electro reactions, stacking 3 times with a 1,800 damage cap. Energy requirements sit around 120-140% ER depending on team composition – not terrible, but not negligible either.
For maximizing Clorinde’s potential, consistent resources prove essential. BitTopup’s Primogem recharge via Genesis Crystals offers competitive rates and instant delivery for optimal weapons and constellations.
Optimal Builds and Equipment
Artifacts and Stats
Fragment of Harmonic Whimsy 4-piece is tailor-made for these characters: 18% ATK + 18% damage bonus for 6 seconds when Bond values change. Stacks 3 times for 54% total damage bonus. Both characters maintain near-100% uptime on this effect.

Can’t get a good 4-piece set? 2-piece Gladiator/Shimenawa + 2-piece elemental sets work fine as alternatives.
Main stats follow standard DPS patterns: ATK% Sands, Elemental DMG Goblet, CRIT circlet. Arlecchino needs roughly 70% CRIT Rate/140% CRIT DMG. Clorinde can get away with 60% CRIT Rate/160% CRIT DMG thanks to her passive bonuses.
Critical point: prioritize ATK% over HP% despite Bond scaling. The damage formulas favor ATK investment.
Weapons
Arlecchino’s signature Crimson Moon’s Semblance provides 25% Bond of Life on Charged Attack hits plus 36% damage bonus at ≥30% Bond. F2P options include The Catch, Staff of Homa, and Deathmatch – all solid choices.
Clorinde’s Absolution grants CRIT DMG plus damage bonuses when Bond increases. For F2P players, Finale of the Deep (craftable 4-star) provides ATK bonuses and Bond of Life generation.
Team Compositions
Arlecchino Teams
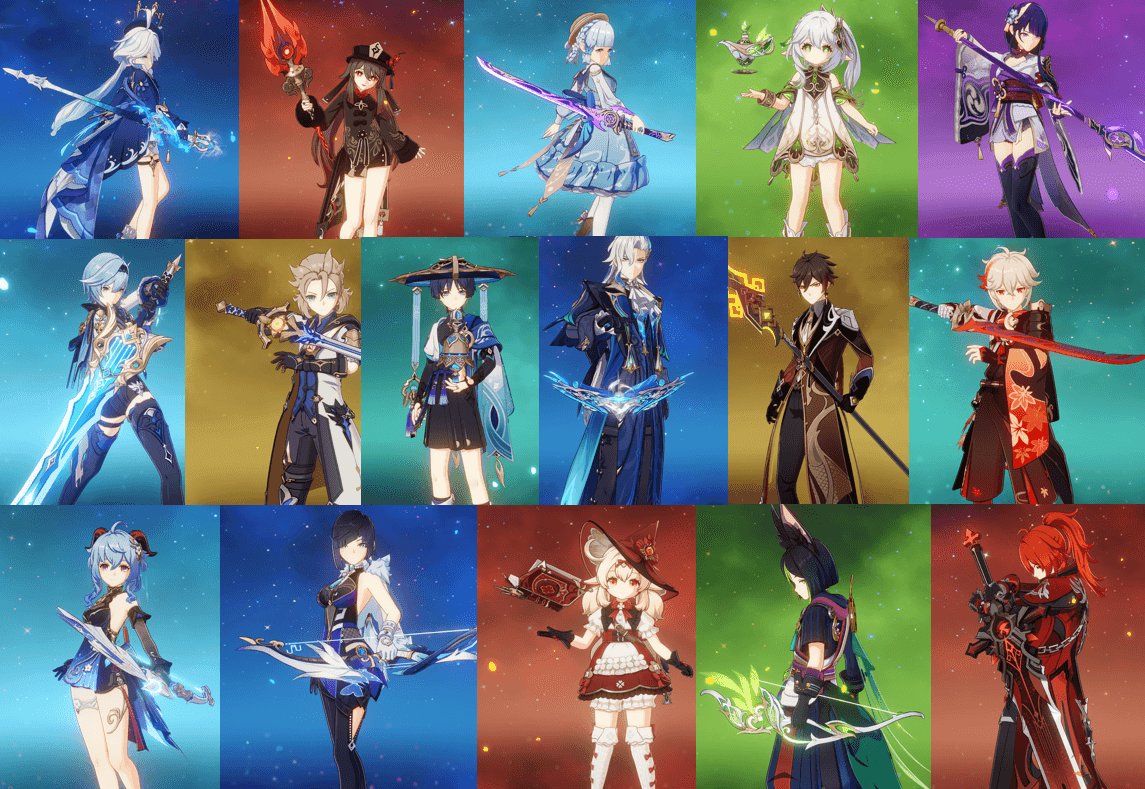
Vaporize setups with Yelan/Xingqiu + Bennett + Zhongli offer the highest damage ceiling with survivability. Overload teams using Chevreuse + Fischl + Bennett provide ATK buffs and resistance shred.
Mono-Pyro with Bennett + Kazuha + Xiangling keeps things simple and consistent – sometimes that’s exactly what you need.
Clorinde Teams
Fischl is absolutely essential for particles and Aggravate reactions. Pair with Nahida for Dendro application and Kazuha/Sucrose for VV shred. Furina provides damage bonuses and healing conversion synergy that works beautifully with Clorinde’s kit.
Aggravate teams achieve the highest single-target damage while maintaining decent AoE potential.
Combat Applications
Spiral Abyss Strategies
Floor 12’s high-HP enemies favor sustained damage over burst windows – perfect territory for Bond of Life characters. Arlecchino excels against Ruin Guards and Fatui that require sustained pressure. Clorinde’s rapid cycles work brilliantly against enemies with brief vulnerability windows.
Energy management becomes crucial in multi-wave encounters. Both characters benefit from off-field particle generation during support phases. Proper rotation timing allows burst usage at wave beginnings for maximum damage windows.
Advanced Techniques
Animation canceling optimizes damage output significantly. Arlecchino’s Normal Attack strings benefit from dash/jump canceling. Clorinde’s Swift Hunt attacks can be canceled into lunges, reducing rotation time by 0.5-1 seconds.
Charged Attack canceling is particularly important for Arlecchino when absorbing Dues – don’t let those animations drag out.
Energy funneling strategy: pre-funnel energy during support rotations. Use Clorinde’s burst at rotation start rather than mid-combo for better energy economy.
Common Mistakes
Build Errors: The biggest mistake? Prioritizing HP% over ATK%. I see this constantly – players assume Bond scaling means HP investment, but the damage formulas heavily favor ATK.
Incorrect talent priority for Clorinde trips up many players. Focus on Elemental Skill > Burst, and leave Normal Attack at level 1. Over-investing in Energy Recharge is another common pitfall.
Rotation Issues: Don’t absorb Directives immediately! Wait 5 seconds for the Dues upgrade – it’s literally double the Bond value. Extending Clorinde’s field time beyond the 7.5-second Night Vigil window wastes potential.
Using Arlecchino’s burst for damage instead of emergency healing misses the point entirely.
Resource Problems: Focusing on set bonuses over substat quality hurts more than helps. Choose weapons based on kit synergy, not rarity. Over-investing in healers while under-investing in shielders creates unnecessary problems.
FAQ
How does Bond of Life interact with shields? Bond of Life only prevents healing – shields and damage reduction work normally. This makes shielders like Zhongli particularly valuable for Bond of Life teams.
Are Bond of Life characters viable in co-op? Absolutely, but communication is key. Arlecchino needs teammates providing shields rather than healing. Clorinde’s self-healing makes her more adaptable to random co-op scenarios.
What happens at zero HP with active Bond of Life? Your character gets defeated normally. Bond of Life doesn’t prevent damage or death – it only blocks healing. The Bond status clears upon defeat/revival, allowing normal healing afterward.
What are minimum investment requirements? Level 80+ characters with level 8+ relevant talents, appropriate artifact sets with decent substats, level 80+ weapons. Properly built support characters are essential. These characters require higher investment than traditional DPS units due to their specialized mechanics.
How do they perform against different enemy types? Generally well across all regions. Enemies with healing prevention or high damage output require careful positioning. Some Fatui Operatives can apply Bond of Life to players – in those scenarios, traditional healing becomes essential.
Will future characters use Bond of Life? Based on Fontaine patterns, future characters may explore similar risk-reward systems. Sigewinne demonstrates alternative Bond applications for support roles. Keep an eye on official announcements for upcoming character mechanics – this system has room for creative expansion.


