

What Makes Nod-Krai Fishing Different (And Why You Should Care)
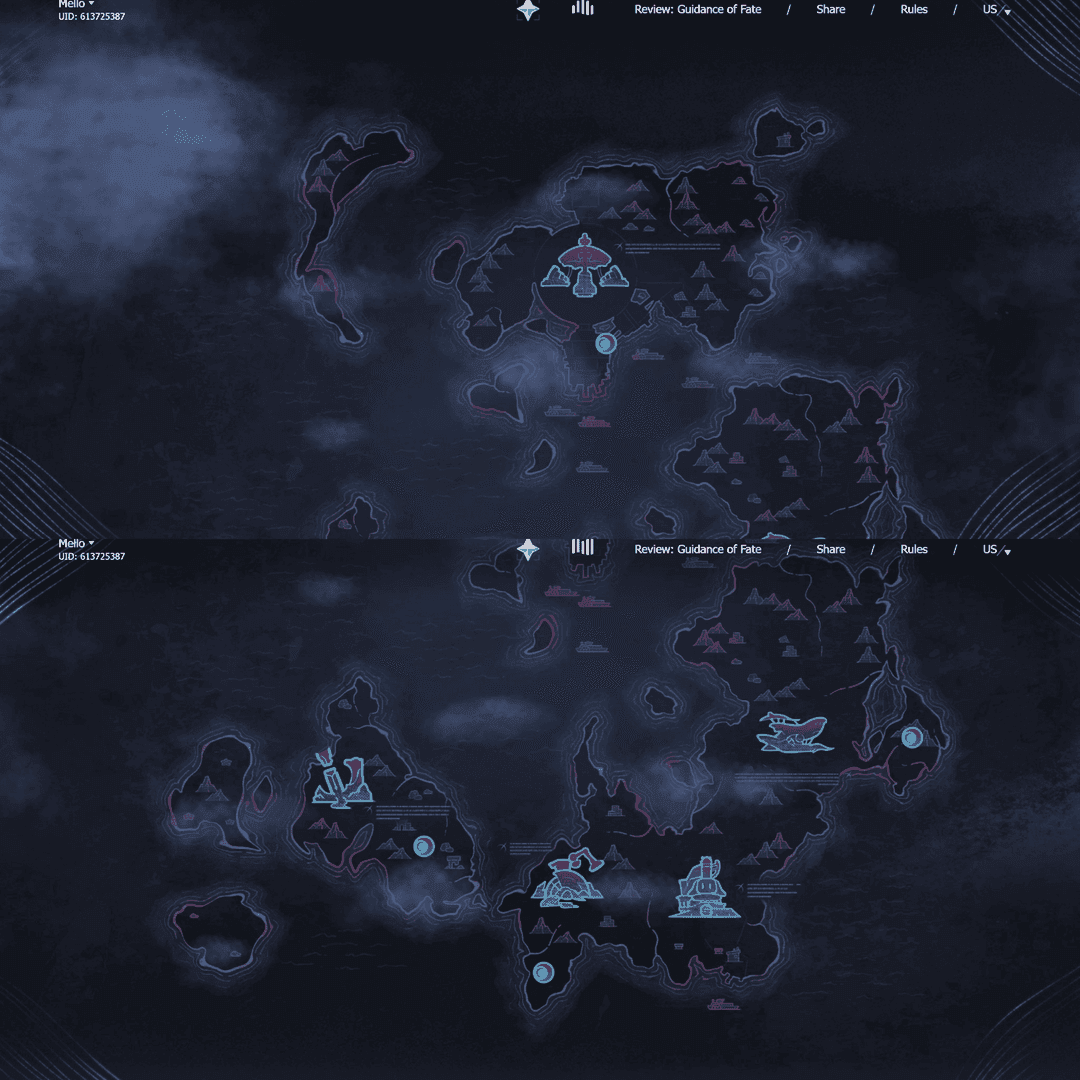
The Snezhnayan Territory That Changes Everything
Here’s what caught my attention about Nod-Krai: it’s positioned in southernmost Snezhnaya and features this mysterious Kuuvahki power that actually predates the seven elements we know and love. That’s not just lore fluff—it strongly suggests we’re getting entirely new fish species that won’t behave like anything we’ve seen before.
The region splits into three distinct areas. You’ve got Lempo Isle containing Barrowmoss Barrens, Blue Amber Lake, and Nasha Town. Then there’s Hiisi Island with its Frostmoon Enclave, and finally Paha Isle housing the ominously named Final Night Cemetery. Based on established patterns, each sub-area should contain 8-11 fishing spots.
The mechanics stay consistent, though. Fish respawn follows that strict 3-day (72-hour) real-time timer once you’ve completely depleted a spot. Day/night cycles matter—daytime runs from 06:00-18:00, nighttime from 18:00-06:00, each offering different species. You’ll need Adventure Rank 35, completion of Liyue’s Archon Quest for Serenitea Pot access, and that Exploding Population world quest tutorial under your belt.
Quick note for resource management: if you need Genshin Impact Top Up services for quest progression and region exploration, BitTopup offers competitive rates with instant delivery and secure transactions.
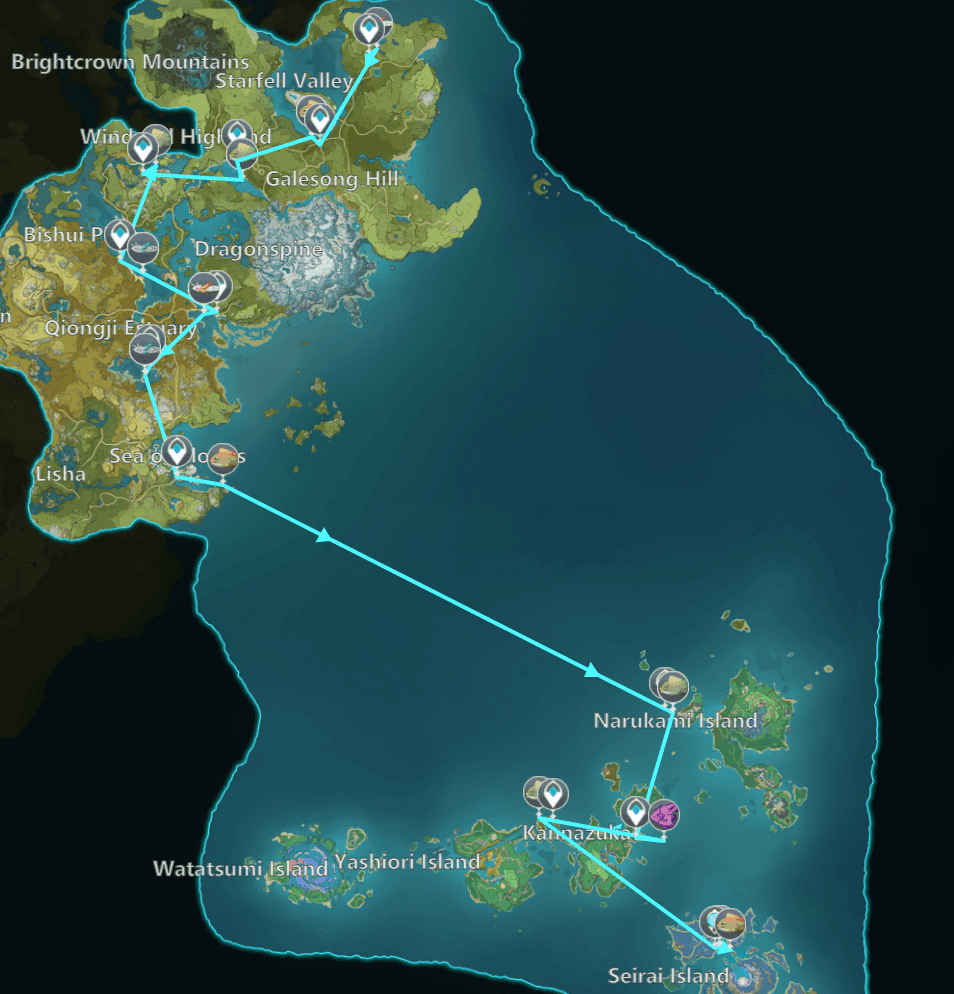
Your Complete 20-Minute Nod-Krai Circuit (The Real Deal)
Prep Work That Actually Matters
Look, I’ve seen too many guides skip the boring-but-crucial preparation phase. Don’t make that mistake. You need 200+ regional bait units minimum, the region-specific fishing rod (trust me on the reduced struggle time), cleared enemy camps around your target spots, and identified backup locations for Co-Op fishing when your main spots are depleted.
Start north and work systematically south—backtracking kills your efficiency faster than anything else. Reserve 50+ inventory slots for fish, pack multiple bait types, bring emergency food for cold survival (this is Snezhnaya, after all), and craft that portable waypoint for remote access. Nod-Krai’s specialized fishing rod will likely require around 80 fish from various species as exchange materials, following established patterns.
Navigation and Waypoint Strategy
Many fishing spots will require quest progression for waypoint access. We’ve seen this pattern in Enkanomiya and The Chasm, and I’d bet money Nod-Krai follows suit given its hostile environment and ongoing factional conflicts. The Portable Waypoint gadget (craftable after sufficient Mondstadt reputation) becomes invaluable here—it provides a 7-day temporary waypoint for those isolated locations that would otherwise eat up half your circuit time.
Breaking Down Nod-Krai’s Fishing Territories
Northern Zones: Your Starting Point
Northern areas feature 3-4 spots with relatively easy access and common species. Expect regional Medaka variants requiring Fruit Paste Bait (1 Sunsettia + 1 Wheat) and cold-climate species similar to Dragonspine’s Snowstrider. The harsh environment suggests unique adaptations that’ll require new Snezhnayan-specific bait formulations.
Central Region: Where the Action Is
Central areas around Nasha Town pack the highest fishing spot density with the best species variety. Here’s where it gets interesting—the Kuuvahki Experimental Design Bureau’s presence suggests mechanically-enhanced fish similar to Fontaine’s Maintenance Mek types. These will likely require specialized baits but offer higher exchange values.
Southern Circuit: High Risk, High Reward
Southern spots feature the rarest species and most challenging access. The proximity to Wild Hunt’s Abyssal entities might create combat-integrated fishing scenarios requiring threat clearance before you can even cast your line. These locations will contain fish for Nod-Krai’s unique weapon rewards, following the patterns we’ve seen with The Catch (Raimei Angelfish) and End of the Line (Sumeru species).
Mastering Respawn Timing (Because Time Is Everything)
The 72-Hour Rule and How to Work It
That 72-hour respawn timer applies independently to each spot once you’ve completely depleted it. Here’s my recommended rotation: Day 1 complete circuit (8-11 spots), Day 2 alternative activities or Co-Op fishing, Day 3 return after the 72-hour mark hits, Day 4 resume rotation.
Day/night availability effectively doubles your catches per spot. Plan circuits that hit each location twice—once during daytime and again after 18:00 for nighttime species. This gives you 16-22 fishing opportunities per 72-hour cycle. Don’t forget Thoma’s passive Snap and Swing gives you a 20% double catch chance in Inazuma (sadly, region-locked).
Co-Op: Your Secret Weapon Against Timers
Co-Op mode completely bypasses respawn limitations. Fish populations in other worlds remain independent, allowing unlimited fishing across instances. Caught fish belong to whoever catches them, there’s no frequency restrictions, and it’s ideal for rare species farming when you’re pushing for weapon materials.
Bait and Equipment: What Actually Works
Bait Breakdown by Fish Type
Fruit Paste Bait (1 Sunsettia + 1 Wheat): Your go-to for Medaka variants, Crystalfish, and Dawncatcher. Craft 100+ units for extended circuits.
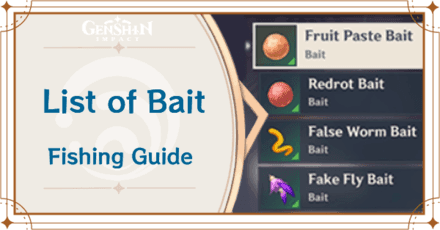
False Worm Bait (1 Slime Condensate + 1 Berry): Essential for Shirakodai variants and Angelfish species. Critical for high-value catches and weapon materials.
Fake Fly Bait (1 Sakura Bloom + 1 Horsetail): Targets Koi variants and Pufferfish species. You’ll need this for The Catch weapon requirements.
Nod-Krai will introduce region-specific formulas requiring local materials—similar to how Sumeru brought us Sugardew Bait (1 Harra Fruit + 1 Sumeru Rose).
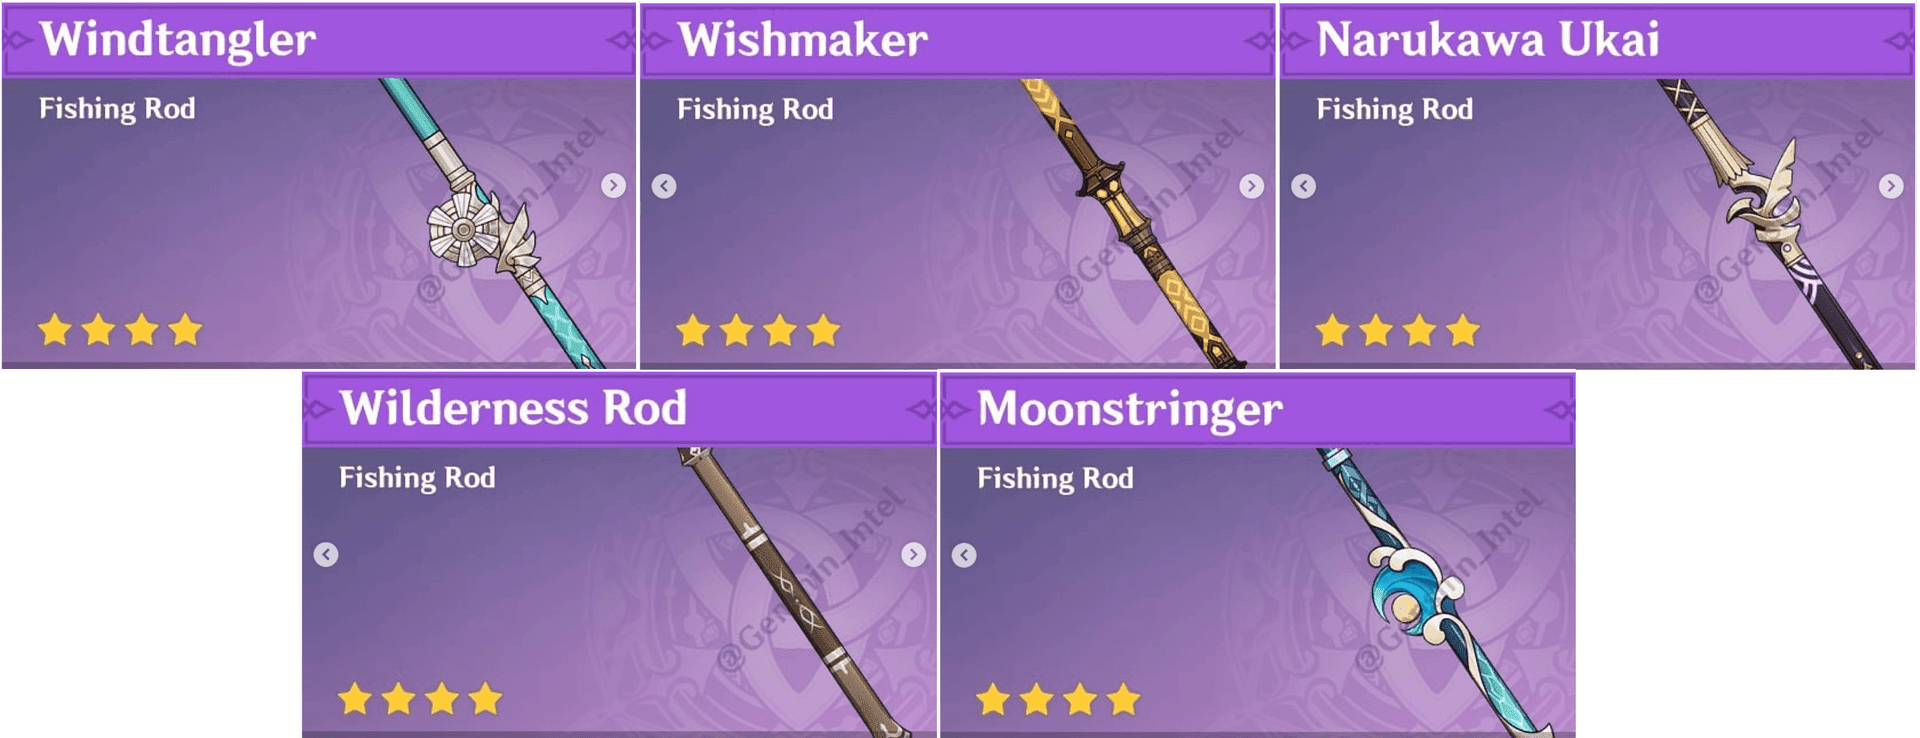
Rod Selection Strategy
Regional rods reduce struggle time in their respective areas, but they require investment—roughly 80 fish from 4 species each. The Windtangler (Mondstadt) needs 20 each of Medaka, Aizen Medaka, Venomspine Fish, and Tea-Colored Shirakodai. Wishmaker (Liyue) requires 20 each of Medaka, Sweet-Flower Medaka, Betta, and Brown Shirakodai. Narukawa Ukai (Inazuma) demands 20 each of Medaka, Glaze Medaka, Lunged Stickleback, and Purple Shirakodai.
Watch for Ornamental Fish—they show blue icons and jumping behavior, appear with 10-15% frequency, go to your Furnishings bag, and can be displayed in the Pool of Sapphire Grace (costs 10 Medaka from Liyue Fishing Association).
Advanced Optimization (For the Serious Angler)
Movement Efficiency That Saves Minutes
Twenty-minute circuits demand precision. Pre-clear enemy camps near fishing locations, utilize gliding paths between waypoints and water-level spots, batch nearby locations to reduce teleports, and plan sequences that eliminate backtracking. That Portable Waypoint provides significant time savings for isolated spots during its 7-day duration.
Many prime locations require quest progression for waypoint access. Expect similar restrictions in Nod-Krai given the dangerous conflicts between Voynich Guild, Frostmoon Scions, Fatui forces, and Wild Hunt entities.
Weather and Timing Considerations
Cold regions require warming mechanisms or food buffs to prevent health drain—Nod-Krai’s harsh climate will impose similar requirements. Day/night cycling doubles varieties per location, so revisit high-value spots after 18:00 for nighttime-exclusive species like Raimei Angelfish.
Avoiding Common Pitfalls (Learn from Others’ Mistakes)
Route Planning Disasters
I’ve seen these failures repeatedly: insufficient bait crafting causing mid-circuit shortages, ignoring quest prerequisites for remote spots, poor waypoint planning resulting in excessive travel time, and overlooking enemy interference. Pro tip: when fish appear scared, teleport to a distant waypoint and return to reset the area.
Remember—that 72-hour timer operates on real-world time, not in-game progression. Track depletion times for each spot to optimize your returns. Always carry 50+ units of each bait type plus backup materials.
For resource support during intensive fishing campaigns, Buy Genesis Crystals through BitTopup for secure transactions with competitive pricing and instant delivery.
Return on Investment: What You’re Really Getting
Fish per Hour Mathematics
Optimized 20-minute circuits yield 15-25 fish per run, translating to 45-75 fish per hour during active periods. High-efficiency circuits focus on spots with multiple valuable species—think Golden Koi and Rusty Koi locations.
The Catch polearm requires 6 Raimei Angelfish, 20 Golden Koi, and 20 Rusty Koi. Refinement materials (Ako’s Sake Vessel) demand additional investments: 3 Raimei Angelfish, 10 Pufferfish, and 10 Bitter Pufferfish per level.

Achievement Progress Worth Tracking
Monitor progress across species collection achievements for all regional fish, quantity achievements for total caught milestones, rare fish achievements for specific species, and regional completion achievements for all area spots.
Route Variations for Different Goals
15-Minute Speed Route
Abbreviated circuits cover 5-6 prime locations prioritizing multiple rare species, easy waypoint access, minimal enemy interference, and high catch rates per time invested.
30-Minute Comprehensive Circuit
Extended routes incorporate every regional spot, maximizing yield through full day/night cycling at each location, systematic coverage of all spots, ornamental fish collection, and achievement progress across categories.
Specialized Fish Farming Routes
Target-specific routes focus on particular species locations. Raimei Angelfish farming exemplifies this approach—single nighttime spawn east of Tatarasuna. Works best for completing weapon requirements, targeting achievement fish, and farming high-value trading species.
For efficient Genshin Top Up Online services supporting your fishing endeavors, BitTopup ensures reliable transactions with excellent customer service and comprehensive payment options.
Your Most Pressing Questions Answered
How long does it take for fish to respawn in Genshin Impact fishing spots? Fish respawn exactly 72 hours after complete spot depletion. The timer operates on real-time and can’t be accelerated. Each spot operates independently.
What’s the most efficient way to farm rare fish like Raimei Angelfish? Raimei Angelfish appears only east of Tatarasuna shipwreck during nighttime (18:00-06:00) using False Worm Bait. Most efficient farming uses Co-Op in other players’ worlds.
Which bait types work best for different fish categories? Fruit Paste Bait attracts Medaka variants; False Worm Bait catches Shirakodai and Angelfish; Fake Fly Bait works for Koi and Pufferfish. Regional baits are required for area-specific species.
How do you unlock fishing in new regions like Nod-Krai? You’ll need Adventure Rank 35, Serenitea Pot unlocked, and the Exploding Population tutorial completed. New regions need additional quest progression for remote spots and waypoints.
What rewards can you get from intensive fishing? Major rewards include The Catch polearm and End of the Line bow. Additional benefits: regional fishing rods, Ornamental Fish, achievement Primogems, and Mora from sales.
Can you fish in other players’ worlds to bypass respawn timers? Absolutely. Co-Op fishing bypasses the 72-hour limitation completely. Fish populations operate independently, and caught fish belong to whoever catches them.


