

The Meta Just Got a Lunar Makeover
So here we are—Version 6.1 Luna II dropped on October 22, 2025, and honestly? It's been a wild ride. The combat system got completely flipped on its head with these enhanced Dendro synergies and Lunar-Bloom mechanics that nobody saw coming.
Those hypercarry strategies we've been relying on for months? Yeah, they're taking a backseat now. The new meta's all about balanced teams and those crisp 20-second rotations if you want any hope of clearing Spiral Abyss optimally.
November's Abyss rotation is absolutely brutal—we're talking 200% Bloom and Electro-Charged bonuses, plus 75% Lunar reaction boosts on Floor 12. But here's the kicker: enemy HP jumped by 375%. That means you need to pump out 40,000+ DPS for those coveted 36-star clears. Your characters better have 160-180% Energy Recharge if they're DPS units, and supports need 180% or higher if they're burst-dependent.
For players looking to optimize their roster during these limited banner periods, Genshin Impact Genesis Crystals top up through BitTopup offers instant delivery and competitive pricing—because let's face it, you'll need every advantage you can get.
What Makes Luna II So Different?
The Moonsign mechanics are where things get interesting. You absolutely need Nod-Krai characters like Lauma to activate these enhanced reactions—there's no way around it. Lunar-Bloom does something fascinating: it converts regular Bloom cores into these Seeds of Deceit that you consume through Charged Attacks for those sweet 20-30% damage increases.
But here's what really caught my attention—the scaling rewards balanced damage distribution. You want 100% from your top DPS and 50% from your second DPS. No more putting all your eggs in one basket.
The artifact sets got some love too. Night of Sky's Unveiling grants 80 EM and 15-30% CRIT Rate during Lunar reactions, while Silken Moon's Serenade provides 20% ER and 60-120 EM. Mix and match these sets? You unlock 20% Lunar DMG bonuses.
How I'm Ranking These Characters
I'm evaluating level 80/90 characters with 8/8/8 talents and +16 artifacts—basically what you need for 36-star Spiral Abyss capability. Main DPS units need 70% field time efficiency (that's non-negotiable), while Sub-DPS characters need 180% ER for consistent off-field performance. Supports get ranked on their buffing, healing, and RES shred capabilities.
The Tier List Breakdown
SS-Tier DPS: Mavuika (Pyro Claymore), Neuvillette (Hydro Catalyst), Flins (Electro Polearm) SS-Tier Sub-DPS: Yelan (Hydro Bow), Ineffa (Electro Polearm), Furina (Hydro Sword) SS-Tier Supports: Kazuha (Anemo Sword), Bennett (Pyro Sword), Xilonen (Geo) S-Tier DPS: Nefer (Dendro Catalyst), Arlecchino (Pyro Polearm), Chasca (Anemo Bow)
Main DPS: The Heavy Hitters
SS-Tier: These Characters Are Broken (In a Good Way)
Mavuika is absolutely dominating the Pyro DPS scene right now. Her Lunar-Charged Vaporize synergy is insane—we're talking 2000+ ATK and 60-70% CRIT Rate using A Thousand Blazing Suns with Obsidian Codex 4-piece.
The rotation's pretty straightforward: Bennett Burst > Xingqiu Burst > Kazuha Burst/Skill > Mavuika Skill/Burst/NA across those 20-second cycles. I've seen sub-90 second Floor 12 clears with proper Bennett ATK buffs and Xilonen's RES shred. It's honestly ridiculous.
Neuvillette remains the king of versatility. Whether you're dealing with single-target or AoE scenarios, this guy delivers. 2000+ ATK, 1:2 CRIT ratio, 160% ER—that's all you need. The best part? He doesn't rely on complex rotations while still enabling consistent Vaporize and Electro-Charged reactions.
Flins specializes in Electro-Charged compositions and requires some serious investment—2000-2200+ ATK and 160-180% ER (though C2 drops that to 140-160%). Using Bloodsoaked Ruins weapon, this character achieves 600% Lunar-Charged damage with Ineffa, Yelan, and Sucrose through quick-swap mechanics. The damage ceiling is absolutely nuts.
S-Tier: Solid Choices That Won't Let You Down
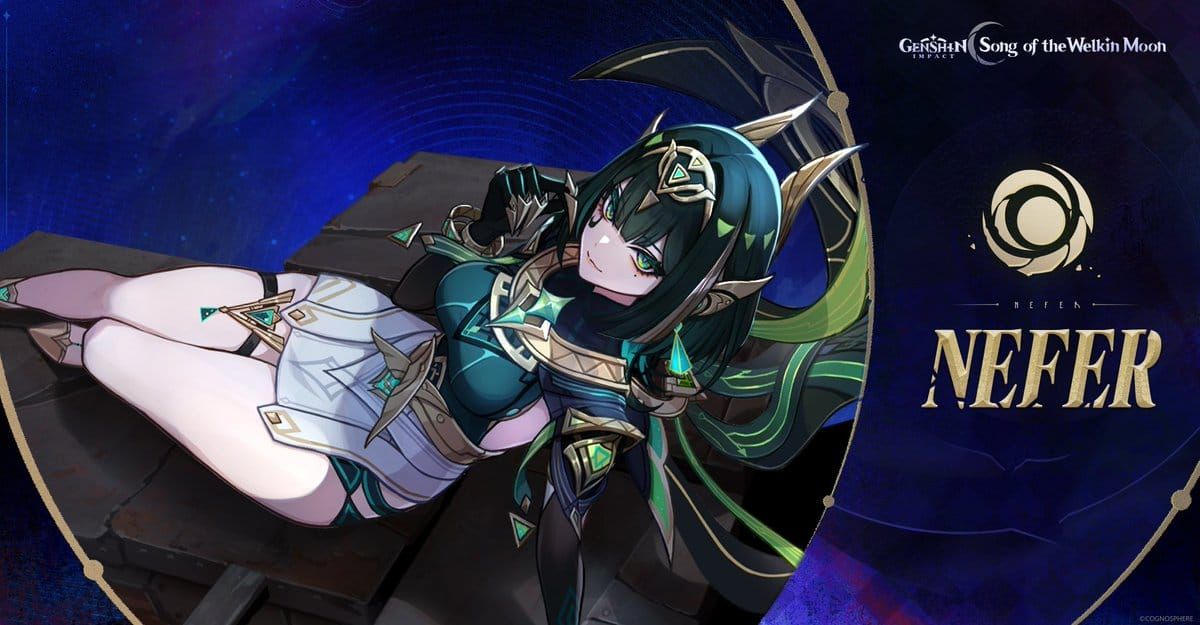
Nefer is the poster child for Lunar-Bloom specialization. This Dendro catalyst user creates zones and focuses on Charged Attack mechanics. You'll want 1000+ EM with CRIT balance using Reliquary of Truth artifacts. Team her with Lauma, Aino, and Nahida for those 20-30% damage boosts through Moonsign level 2 activation.
The rotation's a bit involved: Nahida NA/Burst > Aino Skill/Burst > Nahida Skill > Lauma Skill/Burst > Nefer Skill + 2 CA (dash cancel) > Burst. F2P players can substitute with Dendro Traveler, Barbara, and Aino—not optimal, but it works.
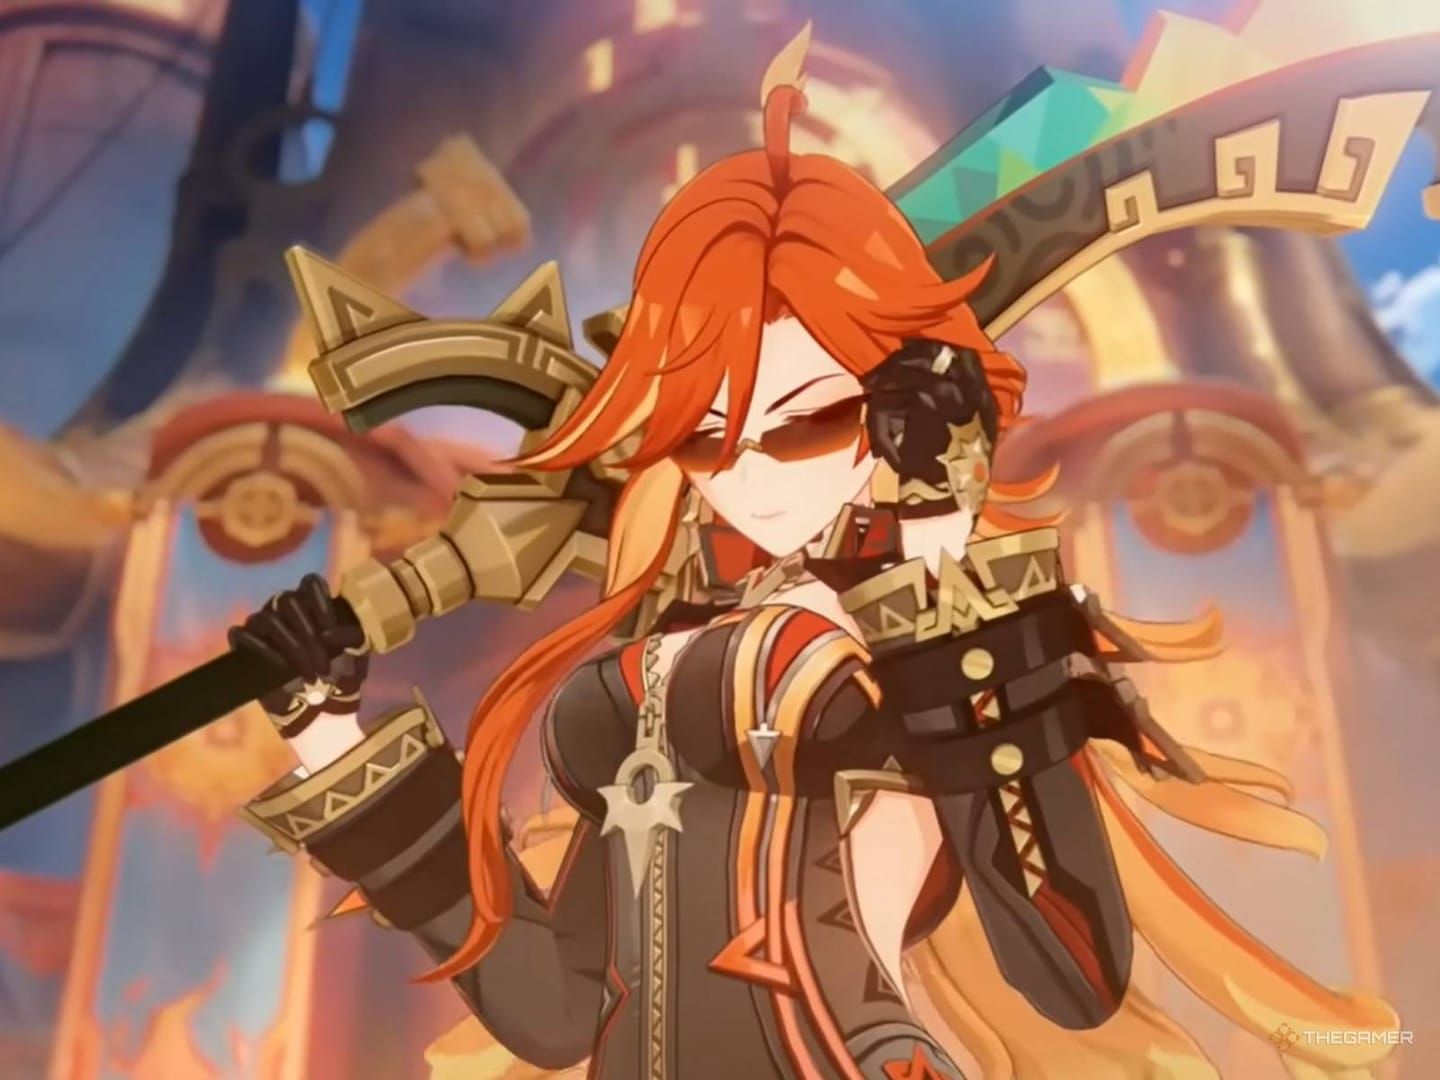
Arlecchino maintains her strong Pyro DPS status with enhanced Lunar-Charged synergy, while Chasca provides that Anemo DPS flexibility for diverse team compositions.
A-Tier: Niche but Still Powerful
Hu Tao excels in those burst Vaporize windows using Crimson Witch 4-piece with proper 1:2 CRIT ratio and HP management. Ayaka still rocks Blizzard Strayer 4-piece for burst damage, and Ganyu focuses on Charged Attack Freeze-Melt setups.
Looking to enhance constellations? Buy Genshin Impact Genesis Crystals cheap from BitTopup for secure transactions and instant delivery with competitive rates.
The New Kid on the Block: Nefer Analysis
Nefer's passive abilities are genuinely game-changing—reduced stamina consumption while boosting EM scaling. C1 enhances ER and Skill damage, C2 extends duration with team buffs. The fact that C0 remains viable ensures F2P accessibility for this meta-defining character.
Sub-DPS & Off-Field: The Unsung Heroes
Hydro/Dendro Enablers That Actually Matter
Yelan provides superior off-field Hydro application with HP scaling and those crucial 180% ER requirements. Golden Troupe 4-piece maximizes off-field potential with HP/CRIT main stats. She's basically irreplaceable in most comps.
Furina combines damage buffing with Hydro application through Fanfare stack mechanics. Using Golden Troupe or Noblesse 4-piece enhances team DMG while providing healing utility—talk about versatility.
Nahida maintains S-tier status with her 25-second Skill duration and 1000+ EM scaling via Deepwood Memories 4-piece. C2 provides 250 EM team sharing, which dramatically improves reaction damage across the board.
Off-field Burst Specialists
Ineffa delivers consistent off-field Electro damage through deployable mechanics, synergizing beautifully with Hydro enablers for Electro-Charged reactions. Yae Miko deploys those Electro turrets for sustained damage, while Emilie enables Burning reactions using Emblem of Severed Fate 4-piece.
Supports, Healers, and Shielders: The Foundation
The Holy Trinity of 6.1 Supports
Bennett provides 1000+ ATK buffing, healing, and Pyro application. ER%/HP%/Healing Bonus with 200% ER and Skyward Blade plus Noblesse Oblige 4-piece. C1 removes that annoying HP restriction—totally worth it.
Kazuha shares EM while providing 40% RES shred through Viridescent Venerer 4-piece. His grouping utility and elemental damage amplification make him essential for reaction teams. Period.
Xilonen offers RES shred and defense buffs via Archaic Petra 4-piece. She's increasingly preferred over Zhongli for offensive compositions thanks to healing utility and Geo resonance.
Staying Alive in High-Gravity Zones
Zhongli provides universal shielding with ATK buffs through Tenacity of the Millelith 4-piece using HP%/HP%/HP% main stats. Kokomi combines healing with Hydro application using Ocean-Hued Clam 4-piece. Baizhu offers heal, shield, and Dendro application simultaneously—the ultimate multitasker.
Buffer Rankings That Actually Matter
Lauma revolutionizes Dendro support through 100% uptime and 25% RES shred using Nightweaver's Looking Glass. Enhanced Bloom mechanics ignore DEF with CRIT scaling, 1.2s timing, and 3.5m AoE. At C0, she rivals C2 Nahida's Dendro application. That's saying something.
Sucrose provides EM sharing and VV shred using Sacrificial Fragments for crowd control and energy generation—still reliable after all these versions.
Team Compositions That Actually Work
The New 'Luna' National Team
Lunar-Bloom Core: Nefer/Lauma/Aino/Nahida maximizes Dendro-Hydro synergy with sustained reactions. The rotation maintains Dendro aura through Lauma and Nahida while Aino provides Hydro application. Nefer consumes Seeds through Charged Attacks for those 20-30% damage boosts.
Nilou Enhanced Bloom: Nilou/Lauma/Aino/Baizhu achieves 500% Bloom damage with 1.5M core cap. Rotation: Lauma Skill (Dendro) > Aino Burst (Hydro) > Nilou triple Skill generates 6 Hermit Seeds with 40% RES shred. The numbers are honestly absurd.
Hypercarry Comps That Still Slap
Mavuika Vaporize: Mavuika/Xingqiu/Bennett/Kazuha provides reliable clear potential through consistent Vaporize reactions with optimal conditions for Mavuika's 70% field time requirement.
Flins Electro-Charged: Flins/Ineffa/Aino/Sucrose achieves 600% Lunar-Charged damage requiring 2+ Nod-Krai characters. Rotation: Aino Skill > Flins Skill > Ineffa Burst > Sucrose Burst enables shield breaks within 30 seconds. Fast and brutal.
F2P Teams That Don't Suck
Budget Hyperbloom: Dendro Traveler/Xingqiu/Kuki Shinobu/Fischl provides accessible endgame performance. Level 90 characters with 800+ EM and 180%+ ER using R5 4-star weapons achieve 8:30+ Floor 12 clears. Not bad for free characters.
National Variant: Xiangling/Xingqiu/Bennett/Sucrose offers Vaporize-based clearing without 5-star requirements, scaling effectively with investment.
Luna II Region: More Than Just Pretty Scenery
Exploration Advantages You'll Actually Use
Nefer's stamina reduction passives and Dendro zone creation provide serious exploration efficiency. Kazuha's mobility and grouping utility excel in those vertical environments. Moonsign level 2 activation through Nod-Krai characters unlocks environmental bonuses including enhanced reaction damage and resource gathering efficiency.
Surviving the Void Mechanics
Dendro application through Nahida and Lauma enables navigation of Void-affected areas. Hydro characters provide cleansing mechanics for environmental debuffs. Diverse elemental coverage proves more valuable than specialized single-element strategies—learned that the hard way.
Pull Strategy for November 2025
Priority Banners (And Why)
New players should prioritize Nefer and Lauma for Luna II specialization, followed by Mavuika for universal DPS capability. Investment costs range from 150-180 pulls for C1/C2 improvements. F2P players receive 75-90 pulls per version through events and exploration—budget accordingly.
Looking Ahead to 6.2
Version 6.2 likely expands Lunar mechanics and Nod-Krai synergies with potential Archon debuts. Versatile characters like Bennett, Kazuha, and Xingqiu prove more valuable than narrow archetypes as new Abyss rotations may counter specific strategies. Play it safe.
The Bottom Line
Version 6.1 Luna II establishes reaction-based gameplay as the dominant meta, with Lunar-Bloom and Lunar-Charged mechanics providing 20-30% damage increases. SS-tier characters like Mavuika, Neuvillette, and Flins define the landscape, while supports like Bennett, Kazuha, and Lauma enable their success.
November 2025 Spiral Abyss rewards balanced team compositions with 200% elemental reaction bonuses. F2P players can achieve competitive performance through Bennett, Xingqiu, and Fischl, while targeted investments in Nefer provide significant power increases.
Success requires understanding energy management, reaction optimization, and team synergy over individual character strength. It's not about having the strongest character—it's about making them work together.
FAQ
Q: Who's the best DPS in Genshin Impact 6.1? Mavuika leads SS-tier DPS with Lunar-Charged Vaporize synergy, achieving sub-90 second Floor 12 clears. Neuvillette and Flins provide alternative SS-tier options for Hydro and Electro compositions.
Q: Is Nefer worth pulling for Luna II content? Absolutely. Nefer specializes in Lunar-Bloom reactions providing 20-30% damage boosts with Nod-Krai characters like Lauma. C0 viability and F2P team options make her accessible while offering meta-defining performance.
Q: What are the best F2P teams for Version 6.1? Budget Hyperbloom (Dendro Traveler/Xingqiu/Kuki/Fischl) and National variants (Xiangling/Xingqiu/Bennett/Sucrose) provide 36-star Abyss capability with 4-star characters at reasonable investment levels.
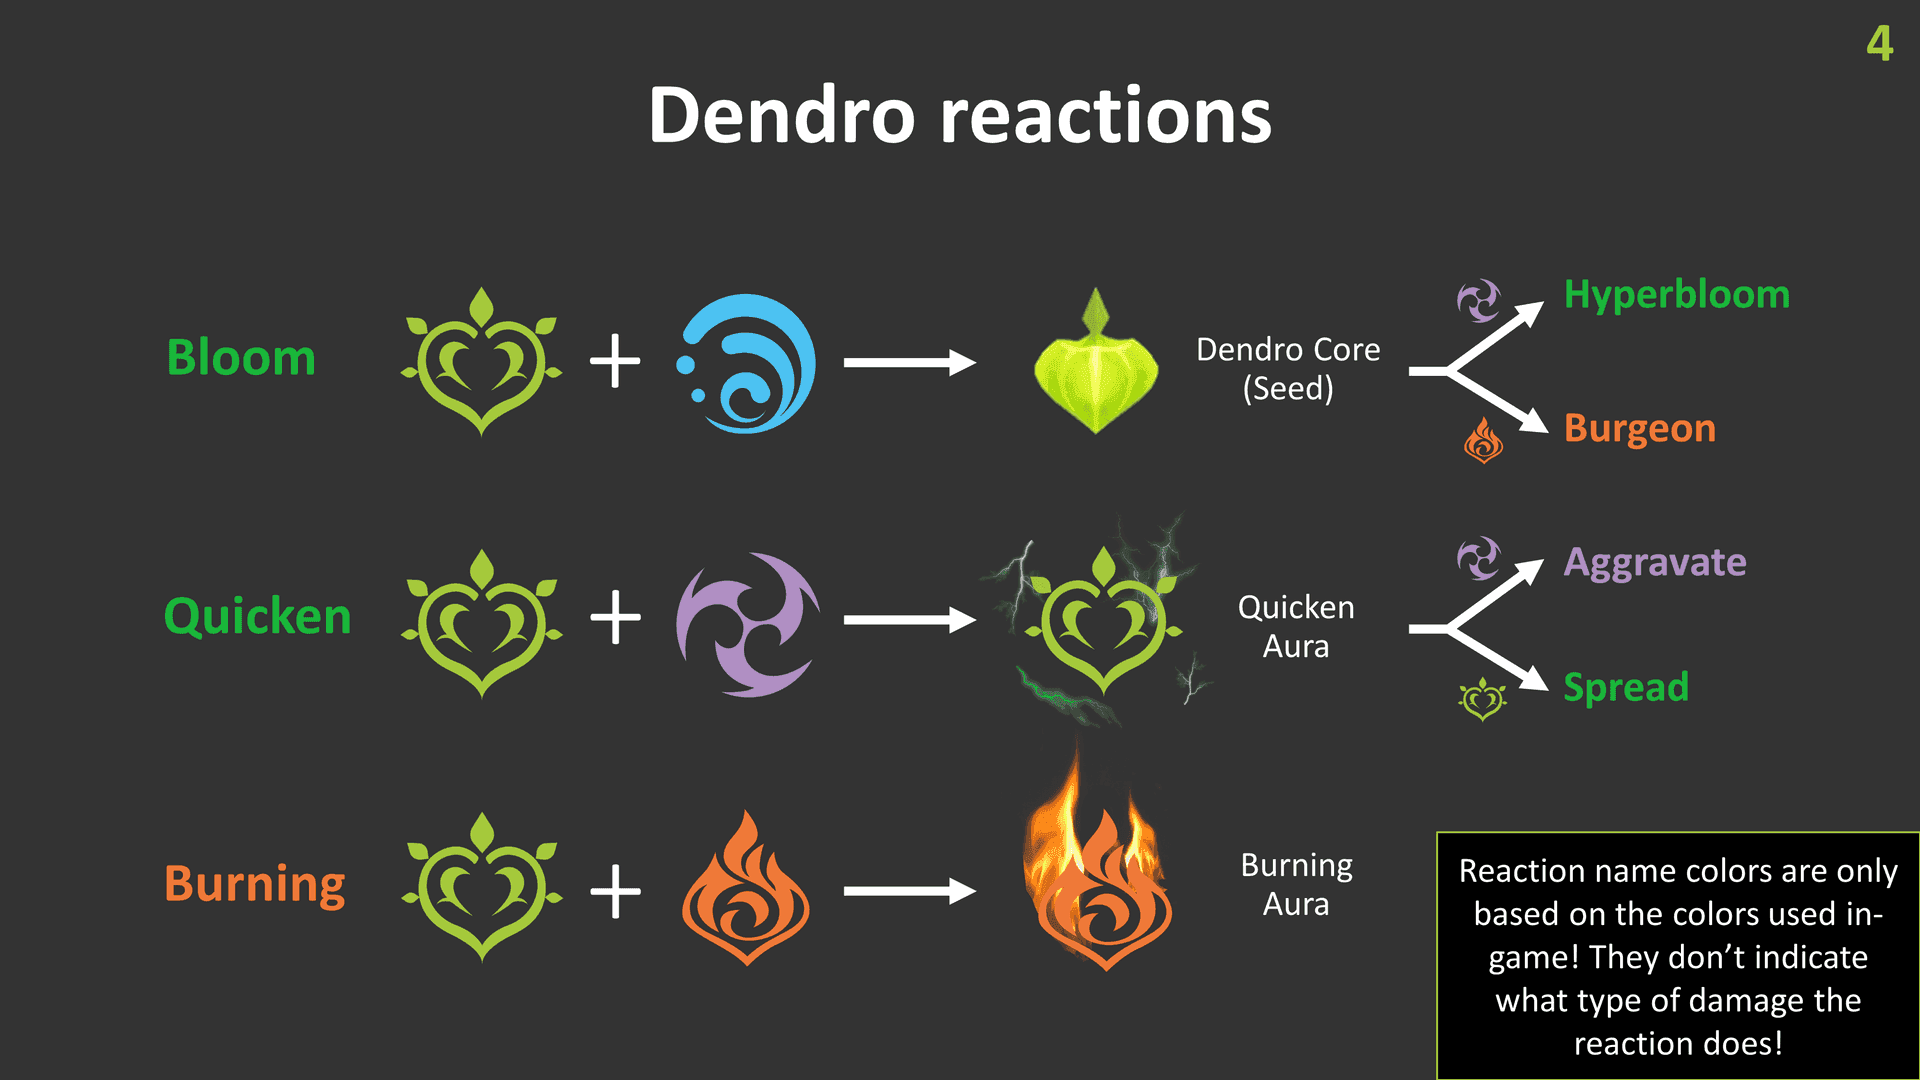
Q: How do Lunar reactions work in combat? Lunar-Bloom converts Bloom cores into Seeds of Deceit, consumed through Charged Attacks for damage multipliers. Lunar-Charged enhances Electro reactions. Both require Moonsign level 2 activation via Nod-Krai characters.
Q: Which supports are essential for 6.1 meta? Bennett (ATK buff/healing), Kazuha (grouping/EM share), and Lauma (Dendro application/RES shred) form the core support trinity. Xilonen increasingly replaces Zhongli for offensive compositions.
Q: What Energy Recharge requirements changed in 6.1? DPS characters need 160-180% ER, while burst-dependent supports require 180%+ ER due to increased enemy HP. Favonius weapons at 50%+ CRIT Rate provide essential particle generation.


