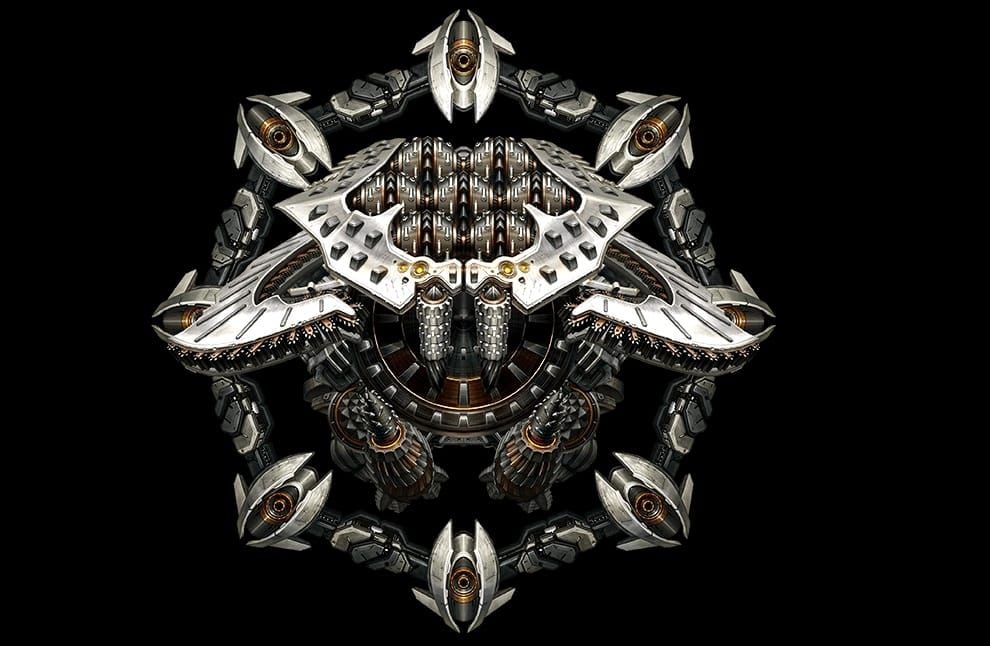
Stage 9 Requirements
Unlocks after Campaign 9-15. Provides guaranteed T7 manufacturer gear at Stages 8-9, essential for late-game progression.
Stage 9 features tankier red circles during QTE phases and higher damage output. Players typically reach it around 3k CP, though composition matters more. Shotguns dominate since Gravedigger stays in shotgun range, allowing all 10 pellets to hit for max damage.
Need premium characters faster? Use nikke recharge through BitTopup for competitive rates and instant delivery.
Stage 9 vs Lower Stages
Three key changes from Stage 8:
- Phase 3 drill missiles pierce cover
- Red circles absorb significantly more damage
- Boss position resets: Position 1 (Phase 1) → Position 1 (Phase 2) → Position 0 (Phase 3)
Requires full T8 gear across your team, T9 for water units. Viper needs level 3 chest. Unlike lower stages, manual intervention can't compensate for gear gaps.
Minimum Stats
3k CP is baseline, but composition quality trumps raw CP. The 10-second full burst window demands coordinated damage amplification.
Prioritize ATK buffs, hit rate, and CDR over pure CP. Liter provides ATK buffs and CDR. Noir delivers ATK buffs, hit rate, damage amp, and shotgun support. Sugar gives shotgun users max ammo for sustained damage.
Why Full Auto Needs Specific Teams
Full auto eliminates manual burst control, making CDR and burst generation critical. Isabel's burst cuts full burst duration by 5 seconds, requiring 2 CDR units for rotation consistency.
Shotguns excel in full auto—Gravedigger's positioning eliminates range issues. Boss fires 2 drill missiles (destroy by shooting or block with cover until Phase 3). Proper gear investment beats manual dodging.
Core Team Framework
Four roles: primary DPS, burst generation, damage amp, survivability.
DPS Choices
Shotgun users dominate:
- Modernia: Top burst damage with proper support (avoid middle slot)
- Isabel: Reduces full burst by 5 seconds, needs 2 CDR (Liter + Dolla)
- Scarlet: Reload-speed focus with Liter-Admi-Scarlet-Noir-Privaty
Buffers and Supports
- Liter: ATK buffs + CDR, cornerstone of all teams
- Noir: ATK buffs, hit rate, damage amp, red circle breaking, shotgun bonuses
- Sugar: Max ammo for shotguns, prevents reload downtime
- Drake: Alternative with ATK buffs and hit rate
Burst Generation
- Dolla: B2 CDR, essential for Isabel teams
- Guilty: B2 shotgun burst generation for Modernia teams
- Volume: Can replace Liter but reduces consistency
- Rupee: B2 ATK buffs alternative
Proven Teams
Shotgun Isabel: Liter-Dolla-Isabel-Sugar-Noir

Maximizes burst frequency via Isabel's 5-second reduction + dual CDR. Sugar maintains Isabel's ammo, Noir amplifies shotgun damage.
Requirements:
- Full T8 minimum, T9 for water units
- 2 CDR units mandatory
- Skill priority: Isabel burst → Noir damage amp → Liter CDR/ATK → Sugar (minimal)
Shotgun No-Isabel: Liter-Guilty-Sugar-Noir-Modernia
For players without Isabel. Guilty's B2 generation fuels Modernia. Needs only Liter's CDR vs dual sources.
Investment:
- Modernia burst skill + Guilty generation
- Slightly higher CP than Isabel teams
- More forgiving CDR requirements
Bunny Twins: Liter-Blanc-Sugar-Noir-Modernia
Blanc's damage-taken debuff lasts 10 seconds (60s cooldown, reduced to 20s with Noir). Aligns perfectly with 10-second full burst duration.
Focus:
- Full T8/T9 gear
- Blanc debuff timing with Modernia burst
- Moderate Blanc investment, max Modernia
Scarlet Reload: Liter-Admi-Scarlet-Noir-Privaty
Reload speed stacking via Admi + Privaty. Highest individual investment requirement but repurposes existing Scarlet builds.
Creates burst spikes for rapid phase clears, slightly lower consistency than shotgun teams.
Build Priorities
Skill Investment Hierarchy
- Primary DPS burst skills - Max first, multiplicative damage
- Noir - Damage amp affects whole team
- Liter - Moderate CDR/ATK investment
- Sugar/Dolla/Guilty - Low priority, function at base levels
Gear Recommendations

- Full T8 minimum for all
- T9 for water units
- Viper: Level 3 chest
- DPS: ATK, crit rate, crit damage, hit rate
- Supports: Balanced defense/offense, T8 minimum
- Healers/shields: Defensive stats + HP
Support Investment Caps
Stop investing in supports once they hit functionality thresholds:
- Liter: Once CDR ensures rotation timing
- Sugar: Survival + ammo buffs only
- Dolla/Guilty: Base CDR/generation works
Focus remaining resources on DPS.
Boss Mechanics

Phase 1 (100-70% HP)
Starts Position 1. Fires 2 drill missiles (destroy or block). Establish burst rotation timing. Don't burn all skills immediately.
Phase 2 (70-30% HP)
Resets to Position 1. Increased drill frequency. Tests survivability and sustained damage. Burst desync here rarely recovers.
Phase 3 (30-0% HP)
Resets to Position 0. Drills pierce cover—demands T9 gear on water units. Red circles much tankier. Break only red circles, ignore white.
Burst Timing Windows
10-second full burst (5 seconds with Isabel). Activate damage amps before DPS bursts. With 2 CDR + Isabel, stagger bursts to avoid cooldown overlap waste.
Full Auto Burst Optimization
Ideal Sequence
- B1 skills - Liter's ATK buffs/CDR first
- B2 skills - Dolla/Guilty for energy/buffs
- B3 skills - Modernia/Isabel/Scarlet last, benefiting from all buffs
Noir's B3 shotgun buffs should activate with/before shotgun DPS bursts.
CDR Management
- Isabel teams: Exactly 2 CDR units
- Non-Isabel: Single CDR (Liter) works
- Balance CDR with burst generation
Why Timing > Stats
2.8k CP with optimal rotation beats 3.2k CP with poor sync. Buffs multiply base damage—coordinated stacking = 2-3x damage vs uncoordinated.
Burst desync wastes buff uptime, activates DPS without amps, fails to maximize 10-second windows.
Common Mistakes
Higher CP ≠ Auto-Win
CP aggregates all stats, but not all matter equally. Focused ATK/crit/hit rate on DPS beats distributed mediocre investment.
2.9k CP Liter-Dolla-Isabel-Sugar-Noir outperforms 3.1k CP with suboptimal composition.
Burst Generation Gaps
Insufficient generation = energy starvation = dead rotation cycles. Guilty essential for non-Isabel shotgun teams. Isabel teams still need baseline generation.
Poor Cube Allocation
Concentrate cubes on DPS first, supports second. Harmony Cubes (ATK) to DPS. Resilience Cubes to vulnerable elements.
Spreading thinly = everyone adequate, none excel.
Ignoring Elemental Disadvantage
Water units need T9 gear—elemental disadvantage amplifies incoming damage beyond T8 mitigation. Prioritize neutral/advantaged elements when possible.
Troubleshooting
Wipes Before 50% HP
Check gear: Full T8 (non-water), T9 (water), level 3 Viper chest. Drill missile destruction failing = insufficient damage or bad positioning. Should complete 2-3 burst cycles before 50% HP.
Insufficient Phase 3 Damage
Surviving to Phase 3 but not clearing = DPS optimization needed:
- Max DPS skill levels first
- Verify buff timing (Noir before DPS burst)
- Match DPS to support roster (Modernia ≠ Isabel ≠ Scarlet needs)
RNG Minimization
- Increase crit rate/damage for consistency
- Isabel teams show higher variance (compressed windows)
- Overwhelming damage reduces QTE targeting errors
Retry vs Upgrade
Retry if: Consistently reach Phase 3 above 50% HP Upgrade if: Wipe before Phase 3 or enter below 30% HP
Upgrade priority: DPS burst → Noir amp → gear for dying characters
30-Day Progression
Days 1-10: Foundation
- Select composition
- Full T8 for non-water
- Start T9 for water
- Viper chest to level 3
Days 11-20: Skills + First Attempts
- Max DPS burst
- Noir amp to level 7+
- Liter CDR/ATK to level 5+
- Attempt Stage 9, identify gaps
Days 21-30: Optimization
- Fix identified issues
- Complete T9 water sets
- Raise secondary supports
- Achieve first clear, refine consistency
Resource Priority
- Primary DPS burst books
- T8/T9 survival-critical gear
- Noir damage amp
- Liter CDR/ATK
- Cubes to DPS
- Secondary support skills
Don't spread evenly—concentrate for faster progress.
Weekly Rewards
Stage 9 gives guaranteed T7 manufacturer gear. One Stage 9 clear > multiple Stage 8 clears. Attempt weekly even if clear rate < 100%.
Advanced Tips
Micro-Optimizations
- Team slot order affects AI targeting/burst sequence
- Never put Modernia in middle slot (10-15% damage loss)
- Break only red circles in QTE
- Monitor burst energy patterns across runs
Future-Proofing
Core principles persist across metas: shotgun advantage, CDR importance, burst generation. Invest in versatile supports (Liter, Noir) who synergize with diverse DPS.
Avoid over-specialization unless you have deep roster alternatives.
Testing Efficiently
Use Stage 8 for composition experiments. Document metrics: Phase 2 timing, Phase 3 HP, burst window damage. Test one variable at a time.
Accelerate testing with premium characters via top up goddess of victory nikke through BitTopup—secure transactions, competitive rates, 24/7 support.
FAQ
What CP for Stage 9 full auto? Around 3k CP, but composition > raw CP. Well-optimized 2.8k beats poorly composed 3.2k. Focus ATK, crit, hit rate.
Essential NIKKEs? Liter + Noir core. DPS: Modernia, Isabel, or Scarlet. Sugar for shotguns. Dolla or Guilty for CDR/generation.
Can F2P clear consistently? Yes. Liter-Guilty-Sugar-Noir-Modernia works without premium exclusives. Needs full T8 gear + focused Modernia/Noir investment.
How do attacks change in Stage 9? Tankier red circles, Phase 3 drills pierce cover (needs T9 water gear), position resets each phase. 2 drill missiles per cycle.
Required skill levels? DPS burst: Max. Noir amp: Level 7+. Liter CDR/ATK: Level 5+. Sugar/Dolla/Guilty: Low priority.
How important is Overload Gear? Non-negotiable. T8 minimum (non-water), T9 (water), Viper level 3 chest. Teams lacking proper gear fail regardless of skills/composition.
Dominate Gravedigger Stage 9 faster with BitTopup! Instant Gems, best rates, secure transactions, 24/7 support. Visit BitTopup now!


