

Understanding PUBG Mobile Mortars: What’s Actually New in 4.0
The Mortar Changes Everything
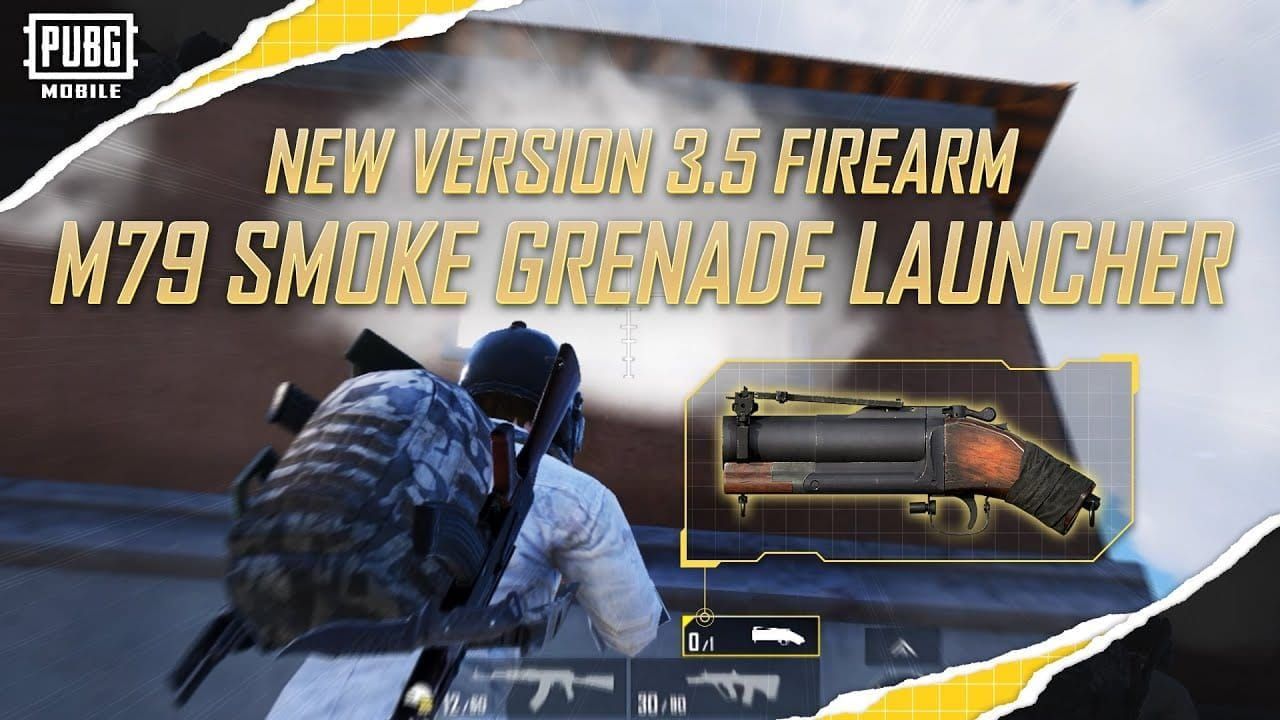
Here’s the thing about Update 4.0 - the Mortar isn’t just another weapon. It’s a complete game-changer that dropped on September 4, 2025, and honestly? Most players are still figuring out how devastating this thing can be.
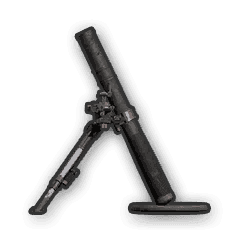
This heavy weapon delivers high-explosive, area-of-effect blasts that’ll make camping squads rethink their entire strategy. But here’s what caught me off guard during testing: it takes up a primary weapon slot. That means you’re sacrificing an AR or SMG for what’s essentially a tactical nuke launcher. The inventory management alone will mess with your head initially.
For maximizing your PUBG Mobile experience, having sufficient UC becomes crucial for accessing premium content and battle passes. cheap UC for PUBG Mobile through BitTopup ensures you can unlock weapon skins and seasonal content while maintaining competitive advantages - instant delivery, competitive pricing, no hassle.
What Actually Changed in Version 4.0
The weapon system overhaul goes way beyond just adding mortars. We’re talking fluid reload animations, redesigned stocks and foregrips that actually feel responsive, and attachment systems that make sense. The Mortar itself features some of the most realistic reload animations I’ve seen in mobile gaming.
Quick tip: if you updated before September 10, 2025, you snagged 3,000 BP, 100 AG, and that Halloweeks Eve Lobby theme. Not bad for early adoption.
Damage Numbers That Matter
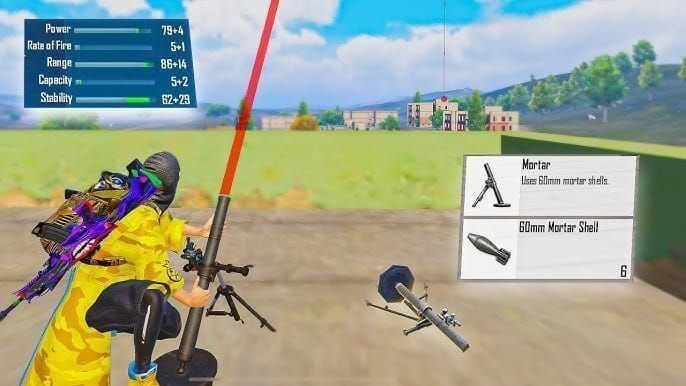
The dual firing modes are where things get interesting:
Direct-fire mode: Think rocket launcher for close encounters - instant impact, devastating results
Indirect-fire mode: This is your compound-breaker. Mark distant areas, calculate trajectory, watch chaos unfold
The AoE damage is no joke. I’ve seen full squads abandon perfectly good compounds after two well-placed shells. It’s psychological warfare meets explosive ordinance.
Mastering Mortar Arc Calculations (Without the Math Headache)
Distance Estimation That Actually Works
Forget complicated formulas. The map grid system is your best friend - each large square equals 1000 meters, smaller subdivisions give you 100-meter increments. But here’s what most guides won’t tell you: use environmental markers as your reference points.
That distinctive building shape? The weird rock formation? These become your range cards for consistent targeting. I keep mental notes of key landmarks at different ranges - it’s faster than counting grid squares mid-fight.
Arc Calculation Made Simple
The free-look feature (that eye button everyone ignores) is absolutely crucial here. You can track trajectory without moving your character’s aim, essentially previewing where your shell will land. Game-changer for shooting over obstacles.
For targets within 500 meters, use moderate arc angles. Beyond that? Increase progressively, accounting for ballistic drop. Uphill targets need more angle, downhill shots need less - overshooting is embarrassingly common on slopes.
Environmental Factors You Can’t Ignore
Dense forests will detonate your shells on tree canopies. Learned this the hard way during a Sanhok compound push - wasted three shells on jungle canopy while the enemy squad laughed from their building.
Urban environments create trajectory shadows where indirect fire becomes useless. Weather affects visibility more than you’d think. And wooden structures? They crumble way faster than concrete - adjust your shell count accordingly.
Smoke Grenade Synchronization (The Art of Perfect Timing)
Getting the Timing Right
Deploy smoke 3-5 seconds before bombardment. This isn’t arbitrary - it’s the sweet spot where enemy vision gets obscured right as your shells land. Too early and the smoke dissipates; too late and they see the incoming rounds.
Multiple smoke grenades around supply crates create massive concealment areas. Perfect for those risky loot grabs in final circles. Also works brilliantly for reviving downed teammates in open areas - visual cover saves lives.
Communication That Doesn’t Fail Under Pressure
Smoke in 3, 2, 1, deploy - practice this countdown until it’s automatic. Designate specific team members for smoke duty while others handle targeting. Linear smoke deployments create advance corridors; circular patterns provide defensive perimeters.
Pro tip: always include wind direction in your callouts. Smoke drift can mess up positioning faster than you’d expect.
Advanced Smoke Patterns That Win Fights
The smoke-frag combination is devastating. Deploy smoke to blind enemies, then throw frags into the cloud. They can’t see the grenades coming, forcing movement or dealing damage without line of sight.
Overlapping smoke fields require deploying grenades at 10-second intervals. Maintains continuous visual obstruction during extended engagements - essential for prolonged compound sieges.
For enhanced tactical gameplay with premium equipment, PUBG Mobile UC redeem instantly through BitTopup provides immediate access to in-game currency. Competitive pricing, instant delivery, secure transactions - no waiting around.
Compound Breaking Tactics (Where Mortars Truly Shine)
Pre-Attack Intelligence Gathering
Sound cues tell you everything. Footsteps, reloading sounds, even healing audio - map these before bombardment begins. Mark priority targets for team reference, but don’t rely solely on visual confirmation.
Establish firing positions with clear trajectory paths and adequate cover. This isn’t Call of Duty - you need escape routes planned for failed assaults and inevitable third-party interference.
Structural Weak Points and Target Priority
Focus fire on building corners and support structures first. Maximum structural damage, minimum shell waste. Target upper floors initially - eliminate height advantages, then work downward to ground-level defenses.
This top-down approach prevents enemies from maintaining elevated positions while maximizing psychological impact. Nothing says abandon ship like your roof disappearing.
Entry Coordination That Actually Works
Synchronize team entry with mortar impact timing. Begin your assault approach during the final bombardment - minimizes enemy recovery time between shells and boots on ground.
Stun grenades combined with mortar strikes create sensory overload that’s almost unfair. Designate specific entry points per team member - avoid clustering and divide enemy attention effectively.
Map-Specific Positioning (Location, Location, Location)
Erangel’s Sweet Spots
Hills surrounding Pochinki offer elevated firing positions with clear sight lines to town compounds. Position mortars on the northern ridgeline for optimal central building coverage while maintaining escape routes.
School requires southeast positioning - target main buildings while keeping ridgeline cover available. Military Base benefits from western positioning near the bridge approach, but watch for rotations.
Sanhok’s Jungle Challenges
Elevated positions around Bootcamp provide clear firing lanes despite that annoying jungle canopy. Rocky outcroppings north and south of compounds work best - natural cover with optimal positioning.
Paradise Resort demands eastern hills positioning. Overlook the resort with jungle escape routes planned. Ruins area benefits from surrounding ridgeline positions providing comprehensive fire support.
Miramar and Livik Considerations
Miramar’s desert terrain offers excellent long-range visibility - almost too good. Elevated positions around Pecado provide commanding arena views, while Los Leones hills offer multiple urban assault positions.
Livik’s compact size changes everything. Quick deployment and rapid repositioning matter more than sustained bombardment. The central mountain provides excellent coverage of most map areas, but expect company.
Team Coordination (Making Four Players Function as One)
Role Assignments That Make Sense
Primary mortar operator handles targeting calculations and fire control - requires strong map knowledge and steady nerves under pressure. Spotter maintains visual contact with target areas for damage assessment and target identification.
Support players handle smoke deployment, perimeter security, and ammunition resupply. Everyone has a job; no one gets to spectate.
Call-out Systems Under Fire
Clock positions for target designation: Target building, 3 o’clock window, second floor provides precise targeting information without confusion. Countdown systems: Mortar impact in 5, 4, 3, 2, 1, impact synchronizes team actions.
Cease-fire protocols matter: Check fire, check fire, friendlies advancing must halt bombardment immediately. Practice these until they’re instinctive.
When Plans Go Sideways
Alternative strategies for failed assaults include flanking maneuvers and siege tactics. Maintain ammunition reserves for extended engagements - careful inventory management prevents mid-fight shortages.
Coordinate with area teams when possible. Temporary truces or information sharing prevents third-party interference during complex operations.
Common Mistakes (Learn from Others’ Pain)
Positioning Errors That Get You Killed
Maintain hard cover between firing position and potential enemy locations. Use terrain, buildings, or vehicles - anything that stops bullets. Avoid low-lying areas that complicate trajectory calculations.
Never establish positions without planned escape routes. Mortar operations attract multiple enemy teams like moths to flame.
Timing Miscalculations and Wasted Ammo
Premature bombardment wastes ammunition and alerts enemies to your assault plans. Practice distance estimation and arc calculations in training mode until accuracy becomes instinctive.
Account for enemy movement patterns - predict positioning rather than reacting to current locations. Leading targets applies to mortars too.
Communication Breakdowns Under Pressure
Practice standardized communication protocols during training. Clarity under pressure requires muscle memory, not improvisation. Establish communication priorities and speaking order - overlapping radio chatter kills coordination.
Always verify target designation before bombardment. Friendly fire incidents and wasted ammunition result from rushed communication.
Advanced Tactics for Competitive Play
Counter-Mortar Strategies
Detect enemy firing positions through launch sounds and shell trajectory observation. Maintain rapid repositioning to disrupt enemy targeting calculations and reduce bombardment effectiveness.
Deploy counter-battery fire when mortar capability is available. Turn their tactical advantage into a liability.
Psychological Warfare Elements
Sustained bombardment creates psychological pressure that forces enemy repositioning even with minimal direct damage. Vary bombardment timing and intensity - maintain pressure while conserving ammunition.
Combine with vehicle positioning and aggressive movement. Maximize enemy stress and decision pressure through multiple threat vectors.
Resource Management in Extended Engagements
Prioritize high-value targets and confirmed positions rather than speculative bombardment. Distribute mortar rounds among team members - prevents total loss if primary operator gets eliminated.
Balance mortar usage with other tactical options. Maintain flexibility when ammunition runs out.
Practice Drills (Building Muscle Memory)
Training Mode Exercises That Transfer
Training grounds feature a dedicated grenade area with three difficulty levels - perfect for trajectory calculation practice. Practice 2-second cook times for 20-meter targets, developing timing instincts applicable to mortar coordination.
Use the free-look feature extensively. Develop instinctive trajectory visualization over obstacles and terrain variations.
Squad Practice Routines
Regular smoke-mortar coordination sessions until countdown protocols become automatic execution. Conduct compound breaking exercises using different locations and defensive scenarios.
Practice communication protocols during high-stress scenarios. Combat effectiveness depends on clarity under pressure.
Performance Metrics Worth Tracking
Track accuracy percentages for different ranges - identifies practice areas and maintains training logs for improvement. Measure coordination timing between smoke deployment and mortar impact.
Evaluate ammunition efficiency by tracking shells per successful breach. This indicates tactical proficiency development over time.
Frequently Asked Questions
How do you calculate mortar arc in PUBG Mobile? Use the map grid system (1000m per large square, 100m subdivisions) and environmental markers as reference points. The free-look feature visualizes trajectory paths effectively. Uphill targets need increased angles; downhill shots need reduced elevation to prevent overshooting.
What’s the maximum range of mortars in PUBG Mobile? Indirect-fire mode allows long-range bombardment across significant distances, typically most effective beyond 500 meters where traditional weapons lose effectiveness. The exact maximum range varies by map terrain and positioning.
How do you coordinate smoke grenades with mortar attacks? Deploy smoke 3-5 seconds before bombardment using Smoke in 3, 2, 1, deploy countdown protocols. Create overlapping fields with 10-second intervals for continuous visual obstruction during extended engagements.
What are the best compound breaking strategies in PUBG Mobile? Combine reconnaissance, positioning, and coordinated timing. Target building corners and upper floors first, then work downward. Coordinate team entry with final impacts for maximum psychological effect and minimal enemy recovery time.
How much damage does a mortar do in PUBG Mobile? High-explosive AoE damage designed specifically for defense breaking. Wooden structures take significantly more damage than concrete buildings. Most effective against multiple enemies in confined spaces or defensive positions.
How do you counter enemy mortar attacks in PUBG Mobile? Detect through launch sounds and trajectory observation. Maintain rapid repositioning to disrupt targeting calculations. Deploy counter-battery fire when available and plan flanking maneuvers on enemy firing positions.


