

Understanding Genshin Impact Interactive Maps
Here’s the thing about Genshin’s exploration—it’s simultaneously the game’s biggest strength and most overwhelming aspect. Interactive maps become your lifeline when you’re staring at a completion percentage stuck at 87% with no clue what you’ve missed.
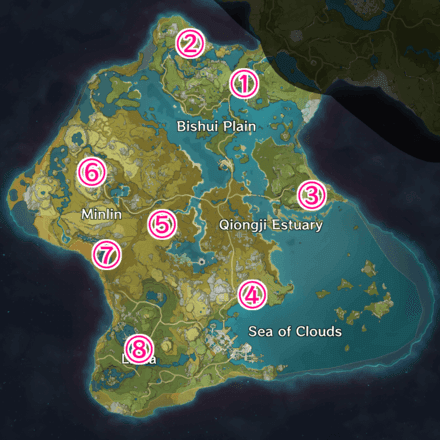
The official HoYoLAB map dropped on April 27, 2021, and while it syncs with your account (a godsend for cross-platform players), it’s… well, let’s just say it has personality. Community alternatives often run smoother, but you’ll lose that sweet account integration.
Editor’s note: I’ve crashed the official map more times than I care to admit, usually right after marking 20+ pins.
For enhanced exploration, Genshin Impact top up tutorial resources on BitTopup provide competitive pricing, instant delivery, and secure transactions for Primogems, ensuring uninterrupted exploration sessions.
Official vs Third-Party: The Eternal Struggle
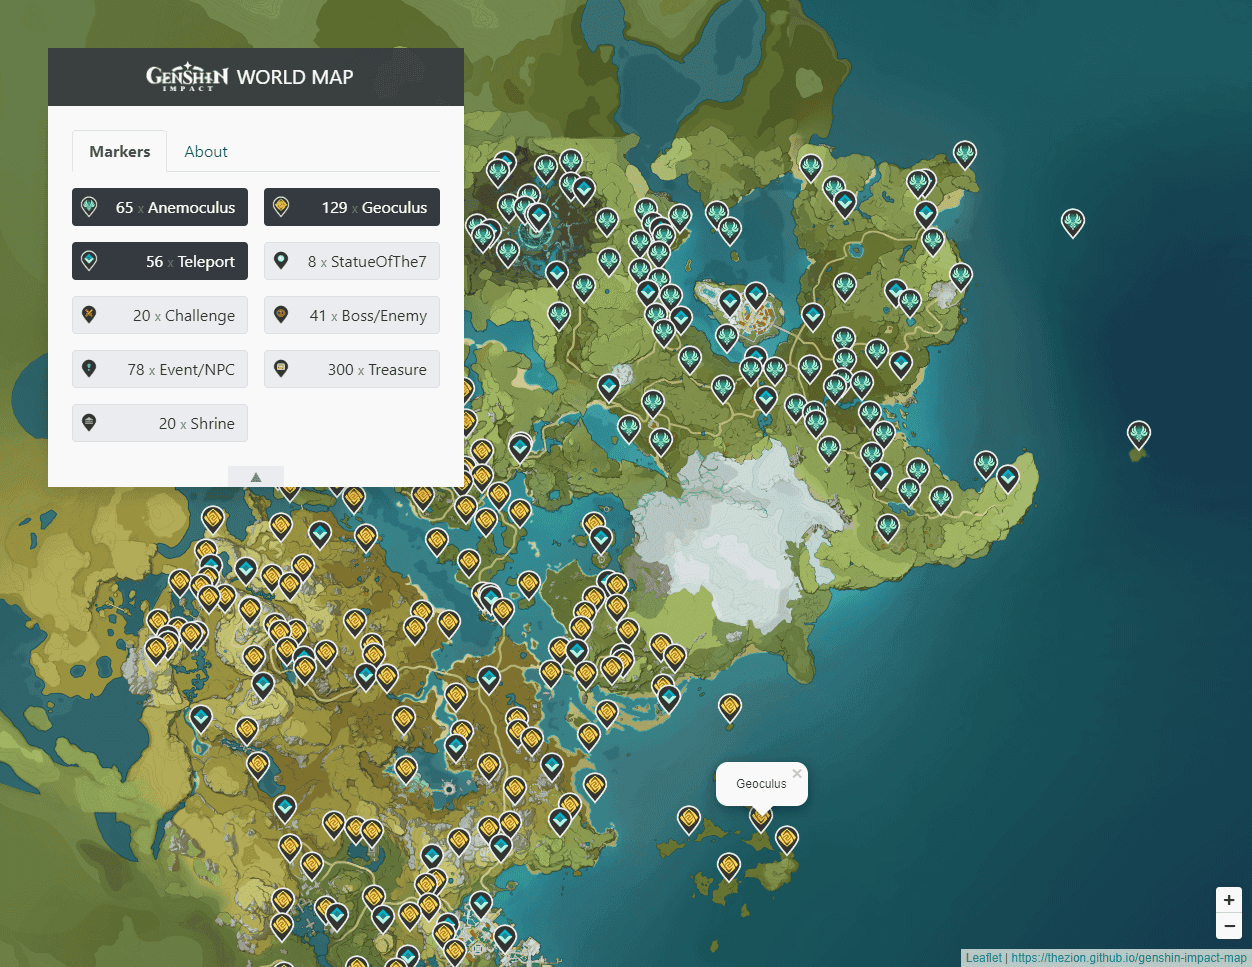
Official HoYoLAB Map brings account sync magic—mark something on mobile, see it on PC. It handles multi-layered areas like The Chasm’s underground sections beautifully. But performance? That’s where things get spicy. Expect lag, crashes, and the occasional freeze when syncing pins.
Community Maps are the speed demons here. Lightning-fast loading, comment sections packed with player screenshots, and custom route tools that actually work. The trade-off? Manual tracking only. No sync means you’re flying solo.
Key Features That Actually Matter
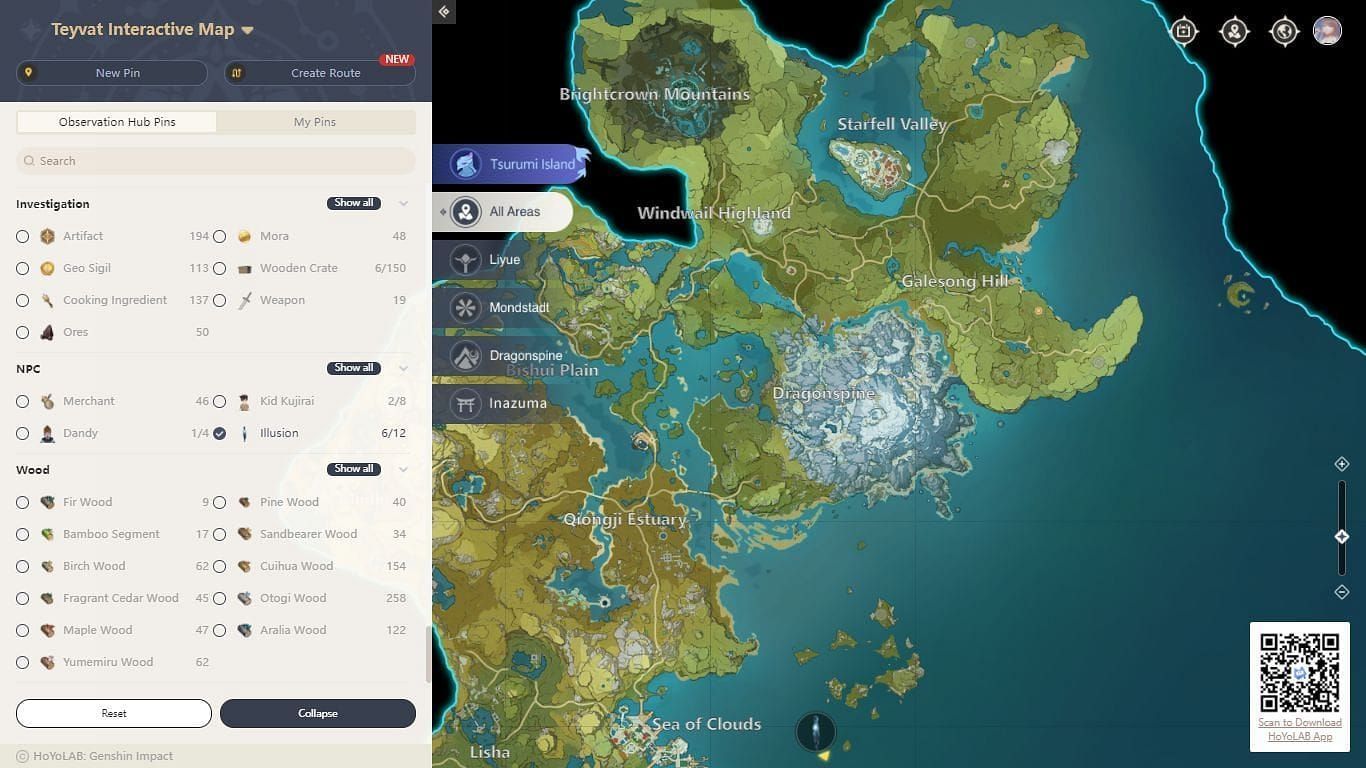
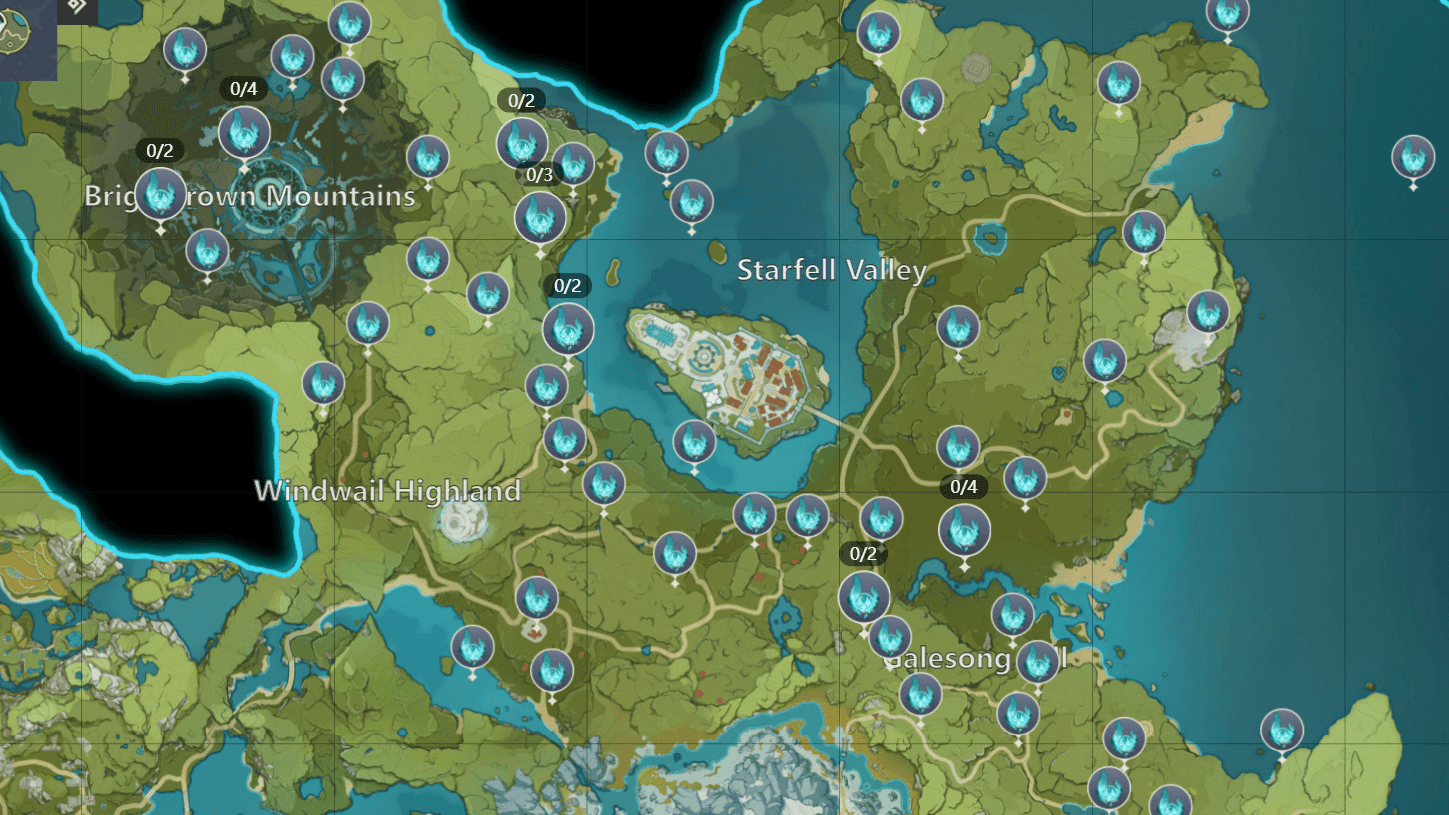
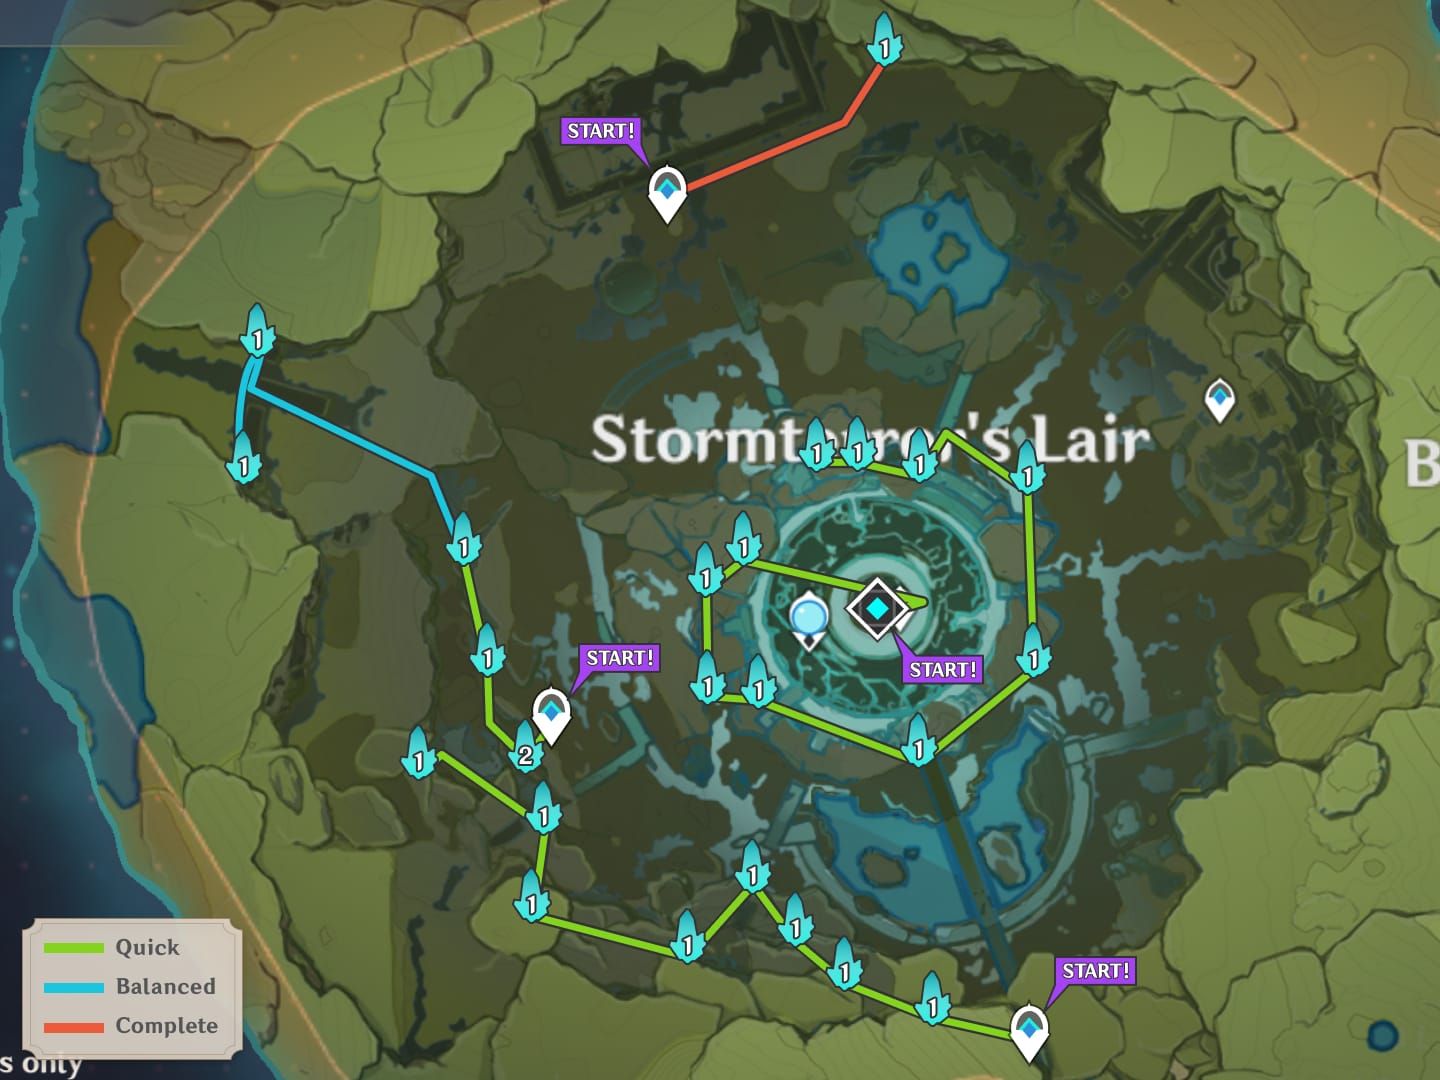
Modern maps filter everything: teleporters, statues, all five Oculi types, four chest tiers, Seelie, specialties, bosses, and those elusive Unusual Hilichurls. Custom route creation (added July 20, 2021) changed the game—literally. You can now link pins for optimized farming paths instead of wandering aimlessly.
Getting Started with Interactive Map Navigation
Don’t try to eat the elephant whole. Focus on single regions with specific filters active. I learned this the hard way after spending three hours in Liyue looking for that one Geoculus with every pin type visible.
Basic Interface Tutorial
Start simple. Pick one region, apply one filter type. The multi-layer viewing helps with complex areas, but it’s easy to get lost in the visual noise.
Progress marking varies by platform—manual on community maps, automatic sync on official ones. Either way, develop a system. Different colors for different collectibles, priority levels, completion status. Trust me, when you’re managing hundreds of collection points, organization saves sanity.
Pro tip: That 150-pin limit isn’t a suggestion—it’s a hard cap. Use temporary markers wisely.
Complete Oculi Collection Strategy
Oculi hunting is where interactive maps truly shine. Each region has exact quantities needed for max statue levels, and missing even one feels like a personal betrayal.
Anemoculus Hunting in Mondstadt
66 total Anemoculi with 65 required for max level. That extra one? It’s like Mihoyo’s way of saying we got you covered.
Distribution breaks down as: Starfell Valley (14), Galesong Hill (13), Windwail Highlands (18), Brightcrown Mountains (20). Many require Anemograna activation—those wind current puzzles that make you feel clever until you realize you’ve been doing them wrong for months.
The real challenges? Unnamed Island demands a Cryo ice bridge (Kaeya mains, your time to shine), and Musk Reef requires navigating that Cape Oath warp hole situation.
When you’re down to the last few, craft an Anemoculus Resonance Stone. Costs 5 Dandelion Seeds, 5 Cecilias, 1 Crystal Chunk, and 500 Mora. Blueprint unlocks at Mondstadt Reputation Level 2.
Geoculus Locations in Liyue
131 Geoculi with 130 required. Liyue’s vertical terrain makes this a stamina management masterclass. Those Mt. Aozang peaks and Guyun Stone Forest islands will test your climbing skills and patience equally.
Electroculus Guide for Inazuma
181 Electroculi across the island nation introduce Waverider mechanics and Electrograna systems. The multi-island structure means systematic island-hopping using Thunder Sphere networks. It’s actually pretty satisfying once you get the rhythm down.
Dendroculus Farming in Sumeru
271 Dendroculi spread across Rainforest, Great Red Sand, Hadramaveth, and Girdle of Sands. Four-Leaf Sigil grappling transforms jungle traversal—suddenly you’re Spider-Man in a fantasy world.
Rewards include 540 Primogems, 2,500 Adventure EXP, 90 Dendro Sigils, 6 Shrine Keys, and 3 Memory of Flourishing Green materials. Not bad for glorified hide-and-seek.
Hydroculus Collection in Fontaine
271 Hydroculi with full underwater diving mechanics. Three-dimensional exploration reaches new heights (or depths?). Mastering underwater currents and pressure-based traversal becomes essential.
For exploration investment, Genesis Crystal purchase step-by-step guidance ensures resource availability. BitTopup delivers instant top-ups with competitive rates and 24/7 support.
Mastering Ore Farming Routes
Ore respawn timers are your bible here: Iron Chunk (24 hours), White Iron Chunk (48 hours), Crystal Chunk (72 hours), Magical Crystal Chunk (daily reset). Plan accordingly.
Crystal Ore Priority Locations
Mt. Aozang Route starts at the teleport waypoint—glide west into the bottom cave system.
Expect 15-20 Crystal Chunks if you’re thorough.
Mt. Tianheng Route begins west of Liyue Harbor. Navigate northwest into the mountain pass for 12-18 Crystal Chunks.
Guyun Stone Forest Route focuses on the central archipelago island. Circle the perimeter for coastal nodes yielding 8-12 Crystal Chunks.
White Iron Ore Daily Routes
Mingyun Village is your goldmine—three mining caves packed with deposits. Optimal teams feature claymore users (Diluc, Razor) for rapid destruction or Geo characters (Zhongli) for AoE mining.
Editor’s note: Ningguang’s passive Trove of Marvelous Treasures displays ore veins on your minimap. Game-changer for lazy farmers like myself.
Magical Crystal Ore Spots
Unlocks at Adventure Rank 30. The conversion rate: 3 Magical Crystal Chunks + 10 Original Resin = 6 Mystic Enhancement Ores + 50 Adventure EXP. They spawn alongside regular Crystal Chunks and get marked by city blacksmiths.
Unusual Hilichurl Tracking System
These guys operate on a 12-hour spawning cycle with specific mechanics that’ll drive you crazy if you don’t understand them. Maximum two defeats per cycle, only one exists simultaneously. Second spawn happens immediately after the first defeat, then the 12-hour cooldown begins.
Location Rotation Schedule
14 fixed locations split between Mondstadt (6) and Liyue (8). No RNG here—just patience and timing.
Mondstadt spots: Stormbearer Mountains, Windrise, Dadaupa Gorge, Cape Oath, Wolvendom, Stormterror’s Lair
Liyue locations: Qingce Village, Stone Gate, Mingyun Village, Liyue Harbor mountain, Cuijue Slope, Qingyun Peak, Tianqiu Valley, Lingju Pass
Efficient Hunting Routes
Each kill nets 18 Adventure EXP, 233 Mora, and 1-3 Cabbage. The …Well, That Was Strange achievement requires 50 defeats for 35 Primogems (tiers at 1, 20, 50 kills).
Co-op acceleration works beautifully—defeat two in your world, then join others for additional encounters. Four-player parties can potentially locate 8 Unusual Hilichurls by rotating worlds, though the 10-drop daily cap still applies.
Advanced Pin Management Techniques
That 150-pin limit forces strategic thinking. Develop color coding early: Red for immediate priorities, Yellow for convenience routes, Green for completed areas. Use distinct symbols for resource types, difficulty indicators, and temporal markers.
Progress Tracking Methods
Regional Completion: 100% single-region clearing before advancing prevents the wait, what did I miss? syndrome.
Collectible Batching: Complete all Anemoculi before touching Geoculi. Switching between types creates confusion.
Daily Integration: Incorporate hunting into commission routes for efficiency.
Achievement Alignment: Prioritize collections that contribute to multiple achievements.
Community maps with comment systems provide troubleshooting gold—player screenshots and video guides for those how the hell do I get there? moments.
Daily and Weekly Farming Routes
Daily Mora (Non-Resin) Breakdown:
Commissions: ~20,000 Mora
Expeditions: 15,000 Mora (three 20-hour runs)
Elite Routes: 40,000-50,000 Mora (50-60 defeats, 20 minutes)
Random Events: Up to 150,000 Mora (10 daily encounters)
Total: 225,000+ Mora daily
Weekly Reputation Rewards:
Bounties: 90,000 Mora per region
Requests: 60,000 Mora per region
Regional Total: 150,000 Mora weekly
Route optimization requires mastering regional traversal: Mondstadt’s wind currents, Liyue’s climbing routes, Inazuma’s Waverider, Sumeru’s Four-Leaf Sigil, and Fontaine’s underwater currents.
Common Mistakes and Pro Tips
Navigation Errors usually stem from pin overload. Visual clutter kills efficiency. Filter single categories during collection runs.
Account for environmental hazards—Sheer Cold, Balethunder, Withering zones. Prepare appropriate characters for access requirements.
Efficiency Strategies include Overload mining (Pyro-Electro reactions near grass) when you lack claymore/Geo characters. Expedition optimization with Fischl/Bennett reduces times by 25%.
Editor’s observation: Advanced players maintain separate tracking for achievement hunting, daily farming, and exploration completion. Mixing objectives creates chaos.
FAQ
How do I use the interactive map effectively? One region, one collectible type at a time. Use filters religiously. Mark progress manually or sync officially. Work systematically through sub-regions instead of random jumping.
Where are all Anemoculus locations? 66 total across Mondstadt’s four areas. Challenging spots include Unnamed Island (ice bridge required) and Musk Reef (Cape Oath warp access needed).
Best ore farming route? Liyue’s trinity: Mt. Aozang, Mt. Tianheng, Guyun Stone Forest for Crystal Chunks. Mingyun Village for Iron/White Iron. Ningguang’s passive reveals ore on minimap.
Unusual Hilichurl respawn timing? 12-hour cycles, two defeats maximum across 14 fixed Mondstadt/Liyue locations. Each kill: 18 Adventure EXP, 233 Mora, achievement progress.
Most accurate map tool? Official HoYoLAB offers accuracy and syncing but suffers performance issues. Community maps provide speed and detailed guides. Many players use both strategically.
Daily farming optimization? Combine ore collection, specialty gathering (48-hour respawns), and Hilichurl checks in single routes. Plan around teleport waypoints. Optimized runs yield 200,000+ Mora without resin investment.


