

Wriothesley Overview: Understanding the Warden
Let me be straight with you – Wriothesley isn’t your typical catalyst user. This 5-star Cryo Main DPS literally punches things with ice-enhanced fists while managing his own HP like some kind of masochistic boxer. It’s weird, but it works.
His Elemental Skill Icefang Rush is where the magic happens. Enhanced Normal Attacks that drain his HP when he’s above 50% Max HP. Sounds counterintuitive? That’s because it is – until you factor in his A1 Passive. Drop below 60% HP and boom, enhanced Charged Attacks that heal him back up for 30% Max HP. It’s this constant dance between hurting himself and healing that makes him so unique.

The damage output centers on those Cryo-infused punches with small AoE. Yeah, he’s primarily single-target, which can be limiting. But when you see those numbers… trust me, single targets melt. (Pun intended.)
Here’s where artifact choice becomes obvious – 4-piece Marechaussee Hunter is practically made for him. That HP fluctuation? It translates to up to 36% CRIT Rate just from existing. His base stats at Level 90 aren’t groundbreaking (13,593 HP, 311 ATK, 763 DEF), but that 88.4% CRIT DMG from ascensions starts painting a picture.
Talent priority is refreshingly straightforward: Normal Attack > Elemental Skill > Elemental Burst. Those enhanced attacks scale with Normal Attack talent, so max that first.
Now, about C1 – and this is crucial – it fundamentally rewrites his playbook. Terror for the Evildoers lets enhanced Charged Attacks trigger from the 5th Normal Attack hit with a 2.5s cooldown, bumping damage bonus from 50% to 200%. Your combo shifts from N3C at C0 to N5C at C1+. It’s not just an upgrade; it’s a different character.
For players serious about maximizing Wriothesley’s potential, resource management becomes critical. Wriothesley banner fund top up through BitTopup ensures you’ve got the Primogems for constellations and weapon pulls – competitive pricing, instant delivery, no waiting around.
Freeze Team Compositions: The Control Freak’s Dream
Freeze teams are all about that satisfying crowd control. Enemies can’t hurt you if they can’t move, right? The formula’s simple: Wriothesley + Hydro enabler + supports that actually support.
The Premium Setup: Wriothesley, Shenhe, Kazuha, Kokomi
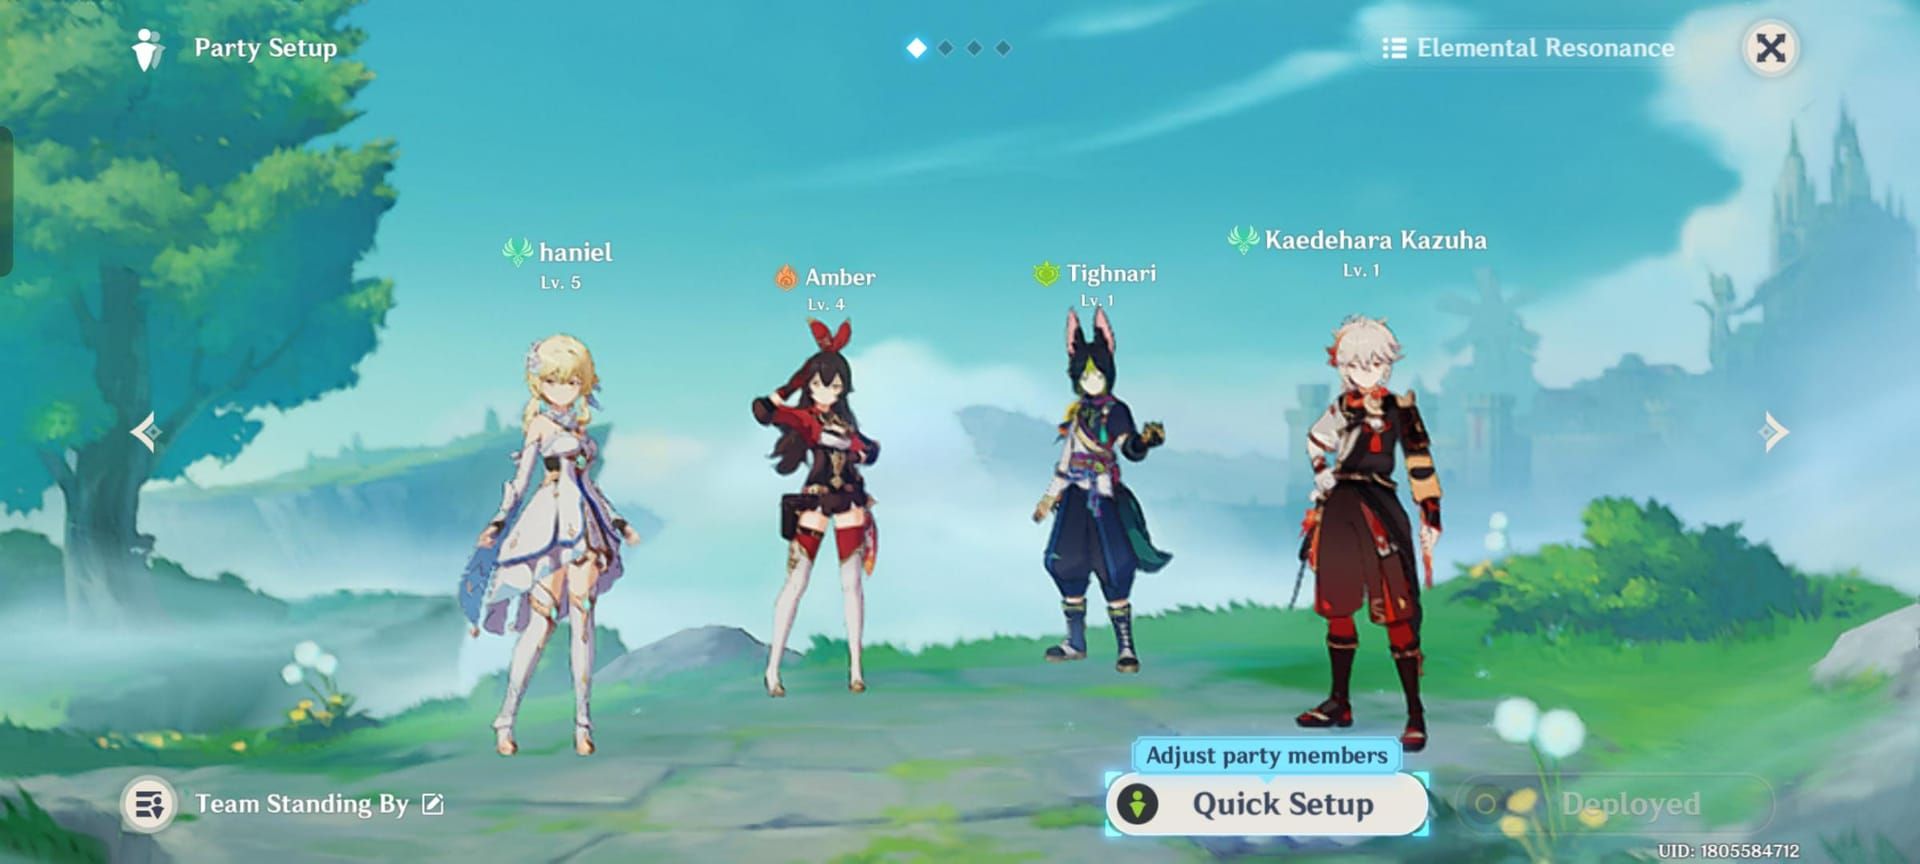
This is the whale team, and it shows. Shenhe brings those massive Cryo DMG buffs and Icy Quill bonuses that make Wriothesley’s punches hit like freight trains. Kazuha groups everything up while shredding resistance with 4pc Viridescent Venerer. Kokomi? She’s your consistent AoE Hydro applicator and team mom, keeping everyone healthy while potentially holding Thrilling Tales for even more buffs.
The Furina Alternative: Wriothesley, Furina, Yelan/Xingqiu, Charlotte/Mika
Furina’s interesting here because her DMG% bonus stacking synergizes beautifully with Wriothesley’s HP mechanics. It’s like they were designed for each other. Yelan or Xingqiu add that coordinated off-field Hydro damage that makes your Normal Attacks feel twice as impactful.
Shenhe deserves special mention – she’s the premier Cryo support for a reason. Those Icy Quills provide flat damage bonuses that stack with percentage-based buffs. Her Hold Skill specifically enhances Normal and Charged Attacks, which is literally Wriothesley’s entire kit.
Standard Freeze Rotation:
Kokomi drops her jellyfish
Shenhe Hold Skill for buffs and RES shred
Kazuha groups and shreds
Wriothesley goes to town with his optimal combo
You can run 4pc Blizzard Strayer for extra CRIT Rate against Frozen enemies, though honestly? Marechaussee Hunter remains universally better. With Cryo Resonance (15% CRIT Rate) and Blizzard Strayer (40% against Frozen), you’re looking at CRIT DMG circlets becoming incredibly valuable.
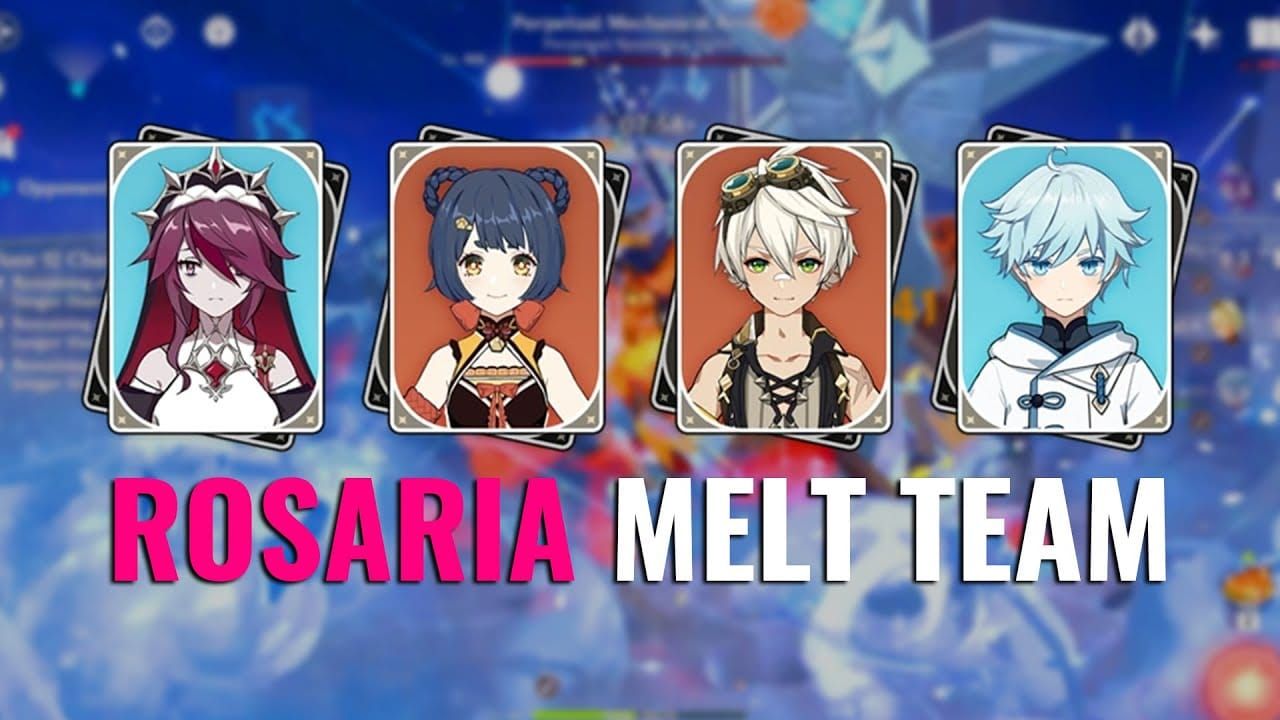
Melt Team Setups: When You Want Everything Dead
This is where Wriothesley truly shines. Melt teams represent his absolute ceiling – that 1.5x Reverse Melt multiplier turns good damage into obscene damage.
The Winternational Standard: Wriothesley, Xiangling, Bennett, Flex
This is accessible, effective, and proven. Xiangling’s your Pyro enabler with serious off-field damage. Bennett provides that massive flat ATK buff (we’re talking 800-1000+ ATK) plus healing and Pyro particles. The flex slot? Zhongli for comfort and universal RES shred, or Kazuha for grouping and Elemental DMG bonus.
The Premium Experience: Wriothesley, Mavuika, Xilonen, Bennett (S+ Tier)
Now we’re talking endgame. Mavuika brings off-field Pyro with DMG Bonus buffs. Xilonen provides healing, RES shred, and can run 4pc Scroll of the Hero of Cinder City for that juicy 40% Cryo DMG Bonus. This team hits different.
Bennett’s value here can’t be overstated. That flat ATK bonus from his Burst often adds more attack than your weapon provides. Xiangling’s Pyronado snapshots Bennett’s buff, creating this beautiful synergy where she’s dealing massive damage while enabling your Melts. Just remember – she needs 160-180% Energy Recharge to function.
Melt Rotation:
Zhongli shield and RES shred
Bennett Burst, then Skill
Xiangling Burst (snapshots Bennett), then Skill
Wriothesley unleashed
Resource management becomes crucial for consistent Melt performance. Genesis Crystal instant pay through BitTopup provides the fastest route to resin refreshes and materials – secure transactions, immediate delivery, zero downtime.
The Burn-Melt Experiment: Wriothesley, Nahida/Emilie, Thoma/Bennett, Kazuha/Sucrose
This uses Burning reactions (Dendro + Pyro) to maintain Pyro aura. It’s niche but effective when you want sustained Pyro without consuming the aura too quickly. Nahida or Emilie handle Dendro application while Thoma provides that slow, consistent Pyro.
Mono Cryo Teams: Pure Elemental Mastery
Mono Cryo is the purist’s choice. Raw Cryo damage through stacked buffs and Cryo Resonance. It’s powerful, elegant, and expensive as hell.
The Standard: Wriothesley, Shenhe, Kazuha, Diona/Layla
Shenhe remains irreplaceable here – Cryo DMG buffs, RES shred, and those Icy Quills that add flat damage based on her ATK. Kazuha brings grouping, VV shred, and Cryo DMG% through his A4 Passive. Diona or Layla provide shields, healing (Diona), particles, and activate Cryo Resonance.
That 15% CRIT Rate from Cryo Resonance stacks beautifully with Marechaussee Hunter’s 36%, giving you 51% CRIT Rate before substats. Shenhe’s Icy Quills effectively provide both percentage and flat damage bonuses – it’s double-dipping in the best way.
The catch? This requires multiple limited 5-stars for optimal performance. Cryo-immune enemies completely shut you down. Electro and Pyro shields laugh at your damage. It’s high risk, high reward.
Artifacts and Stats: The Foundation
4pc Marechaussee Hunter remains king across all teams:
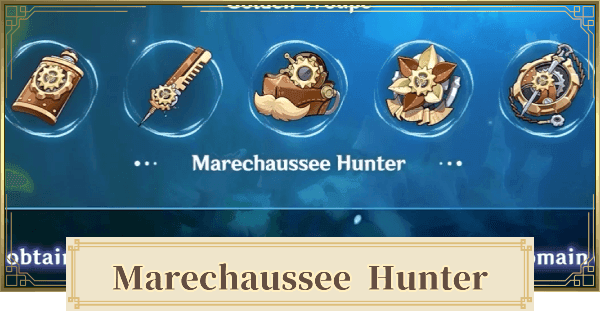
2pc: Normal and Charged Attack DMG +15%
4pc: HP changes = 12% CRIT Rate per stack (max 36%)
4pc Blizzard Strayer works for Freeze/Mono Cryo:
2pc: Cryo DMG +15%
4pc: +20% CRIT Rate vs Cryo-affected, +40% vs Frozen
Main Stats:
Sands: ATK% (EM for Reverse Melt)
Goblet: Cryo DMG Bonus
Circlet: CRIT DMG preferred
Substats (in order of importance):
CRIT Rate/DMG (aim for 70%+ Rate, 200%+ DMG)
ATK% (target 2000+ total ATK)
Elemental Mastery (200-300 for Melt)
Energy Recharge (100-125% is plenty)
Weapon Selection: Your Damage Dealers
Cashflow Supervision (Signature)
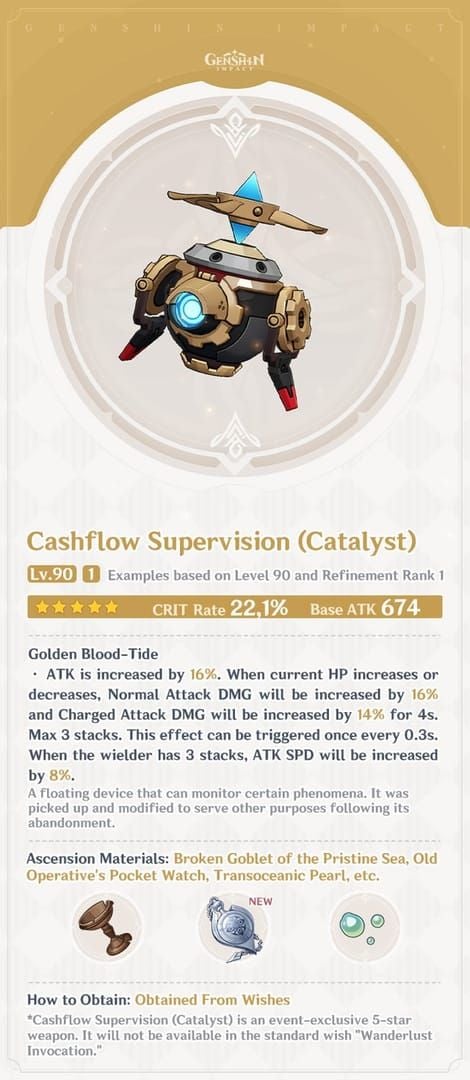
Base ATK 674, CRIT Rate 22.1%. The passive synergizes perfectly with his HP mechanics – ATK +16%, stacking Normal/Charged Attack DMG bonuses, plus ATK SPD at max stacks.
Tulaytullah’s Remembrance (Second Best) High CRIT DMG with ATK SPD and Normal Attack bonuses. About 95% of signature weapon performance without the HP management requirement.
The Widsith (Best 4-Star) That 55.1% CRIT DMG substat at Level 90 is no joke. Random buffs (ATK%, Elemental DMG%, or EM) but all three are useful.
Flowing Purity (F2P King) Craftable with ATK% substat and significant Elemental DMG Bonus. The Bond of Life mechanic requires healer management but it’s accessible.
Performance breakdown:
Cashflow R1: 100% baseline
Tulaytullah R1: ~95%
Widsith R5: ~90%
Flowing Purity R5: ~85%
Character Synergies: Building the Perfect Team
Hydro Enablers: Kokomi brings consistent AoE off-field Hydro and team healing. Xingqiu offers strong coordinated damage with Normal Attacks. Yelan provides higher personal damage than Xingqiu plus DMG% buffs.
Pyro Supports: Bennett’s flat ATK buff (800-1000+ ATK) is irreplaceable. Xiangling delivers mobile off-field Pyro with high personal damage. Mavuika adds off-field Pyro with DMG Bonus buffs.
Utility Options: Kazuha groups, shreds, and buffs. Zhongli provides universal RES shred and interruption resistance. Xilonen brings RES shred, healing, and artifact set synergy.
Investment Priority: Bang for Your Buck
Character Level: 80/90 is cost-effective for most content. 90/90 maximizes ATK scaling and Melt damage.
Talents:
Normal Attack: 9-10 (highest priority)
Elemental Skill: 8-9 (significant multiplier)
Elemental Burst: 6-8 (lowest priority pre-C2)
Constellations: C1 provides the highest value – 200% damage bonus (up from 50%) and improved combo fluidity. C6 adds 10% CRIT Rate, 80% CRIT DMG, and additional icicle damage.
F2P Priority:
Level 80/90 with final ascension
Normal Attack to Level 8
Weapon to Level 90
4pc Marechaussee optimization
Meta Performance: Where He Stands
Late 2025, Wriothesley holds solid A-Tier status among Main DPS characters. His single-target focus excels against bosses and high-HP enemies but struggles with spread-out mobs without grouping support.
Team Performance Rankings:
Melt: Highest damage ceiling, boss destroyer
Freeze: Superior crowd control, mob clearer
Mono Cryo: Consistent damage, element-dependent
His kit design ages well due to self-contained mechanics and flexible team building. Relying on fundamental game mechanics (Normal/Charged Attacks, reactions) provides meta stability.
FAQ: The Real Questions
What’s the absolute best Wriothesley team in 2025? The premium Melt team with Mavuika, Xilonen, and Bennett currently sits at S+ Tier for pure damage. F2P players should focus on Winternational (Xiangling, Bennett, Zhongli) for excellent accessibility and performance.
Freeze vs Melt damage – what’s the real difference? Melt teams typically output 20-30% higher damage thanks to that 1.5x multiplier and Bennett’s ATK buffs. But Freeze teams offer superior crowd control, easier execution, and more consistent multi-enemy performance.
Artifact choice – why Marechaussee over everything else? That 36% CRIT Rate from his HP mechanics is essentially free stats. Works across all team types, synergizes perfectly with his kit, and provides consistent value regardless of enemy types.
Is C1 actually worth the investment? Absolutely. It’s not just damage – it’s a fundamental gameplay change. N3C becomes N5C, 50% damage bonus becomes 200%, and you get consistent access to enhanced attacks even with healers. It’s his most valuable constellation by far.
Weapon recommendations for different budgets? Cashflow Supervision if you’re going all-in. Tulaytullah’s Remembrance for 95% performance without HP management. The Widsith at high refinements for 4-star users. Flowing Purity for F2P players willing to manage Bond of Life.
Investment needed for Spiral Abyss 36 stars? Substantial but achievable. Level 80/90 minimum, 8/8/6 talents, optimized artifacts hitting 70%+ CRIT Rate and 200%+ CRIT DMG. C1 significantly improves clear consistency and is highly recommended for endgame performance. Without it, you’ll need near-perfect artifacts and execution.


